|
|
|
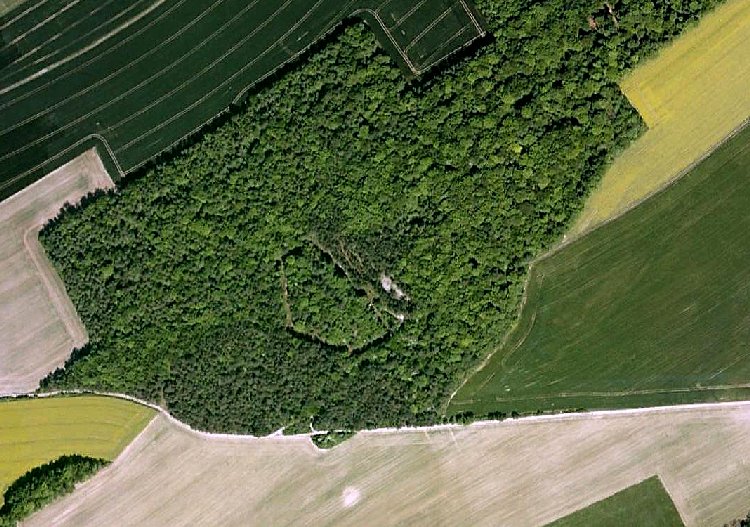
Le Fort de Choisel... |
|
|
|
Following the declaration of peace after the Franco-Prussian war the French had to rapidly construct a ring of forts around the fortress town of Verdun to bolster their defences. The Prussians had annexed most of Alsace and Lorraine as conditions of their punitive settlement terms and this meant that the border between the two countries had effectively moved much, much closer to the city. With such a short distance to march before engaging the key French defence an invading German army could quickly over run Verdun and proceed along the shortest route to Paris with little in their way to stop them. The first forts built were rendered woefully inadequate almost overnight by the rapid evolution in German artillery and by the development of "Picric Acid" high explosive. The next huge blow to the French defence plans was an alliance between Germany, the Austro-Hungarian empire and Italy, meaning that yet again the French would have to have a radical rethink and spend millions of Francs "bigging up" the Verdun ring of steel and concrete.
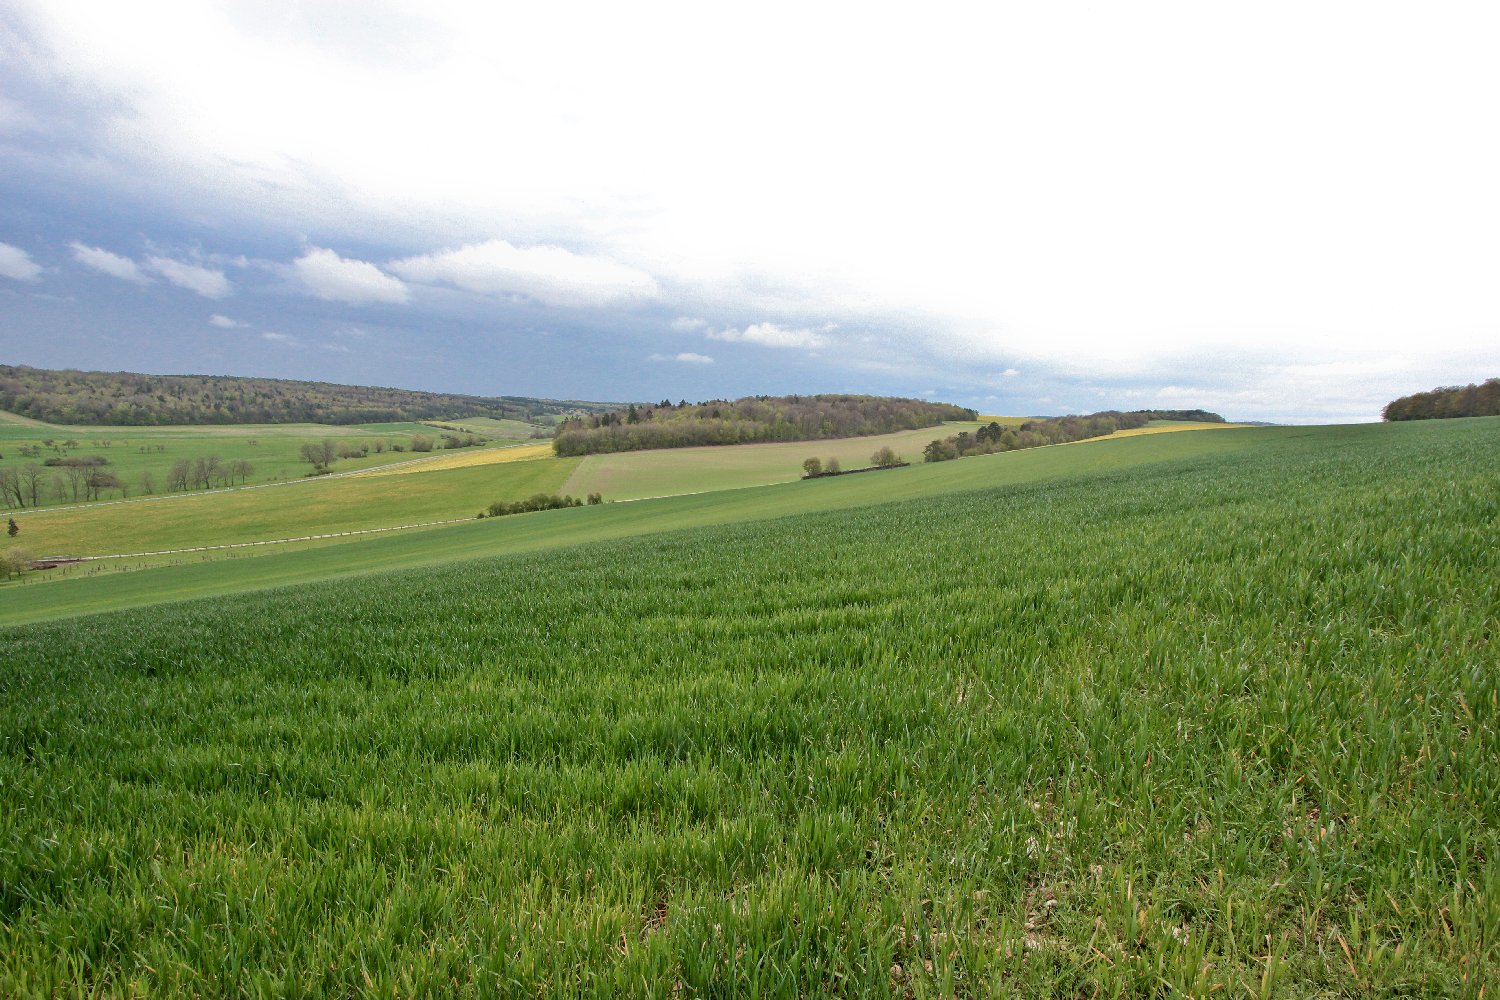
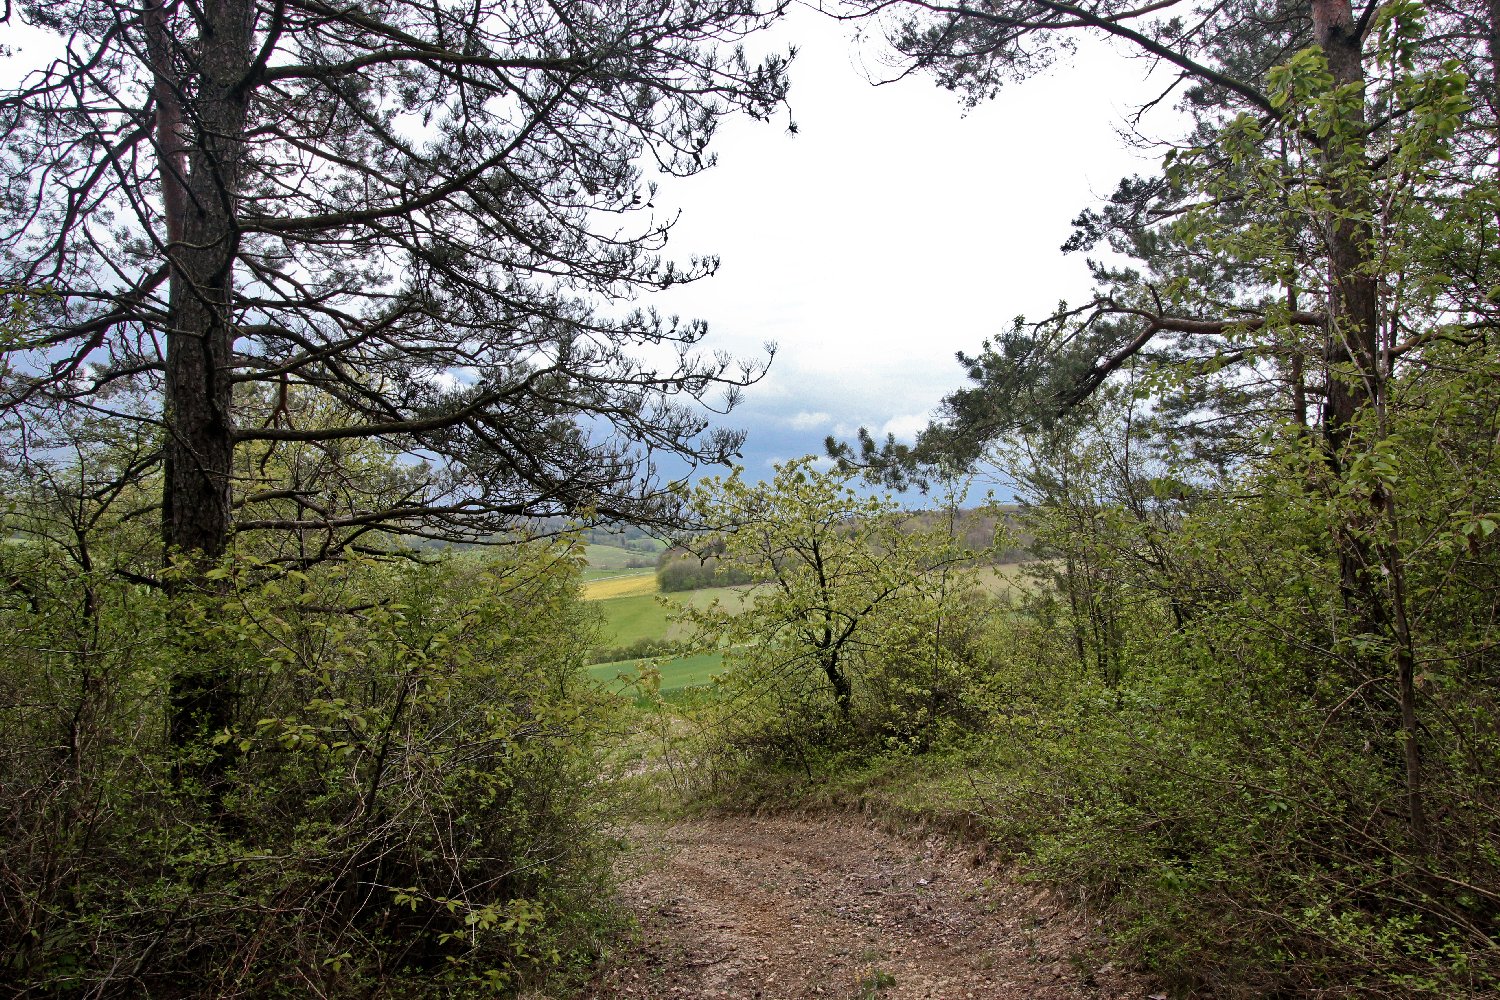
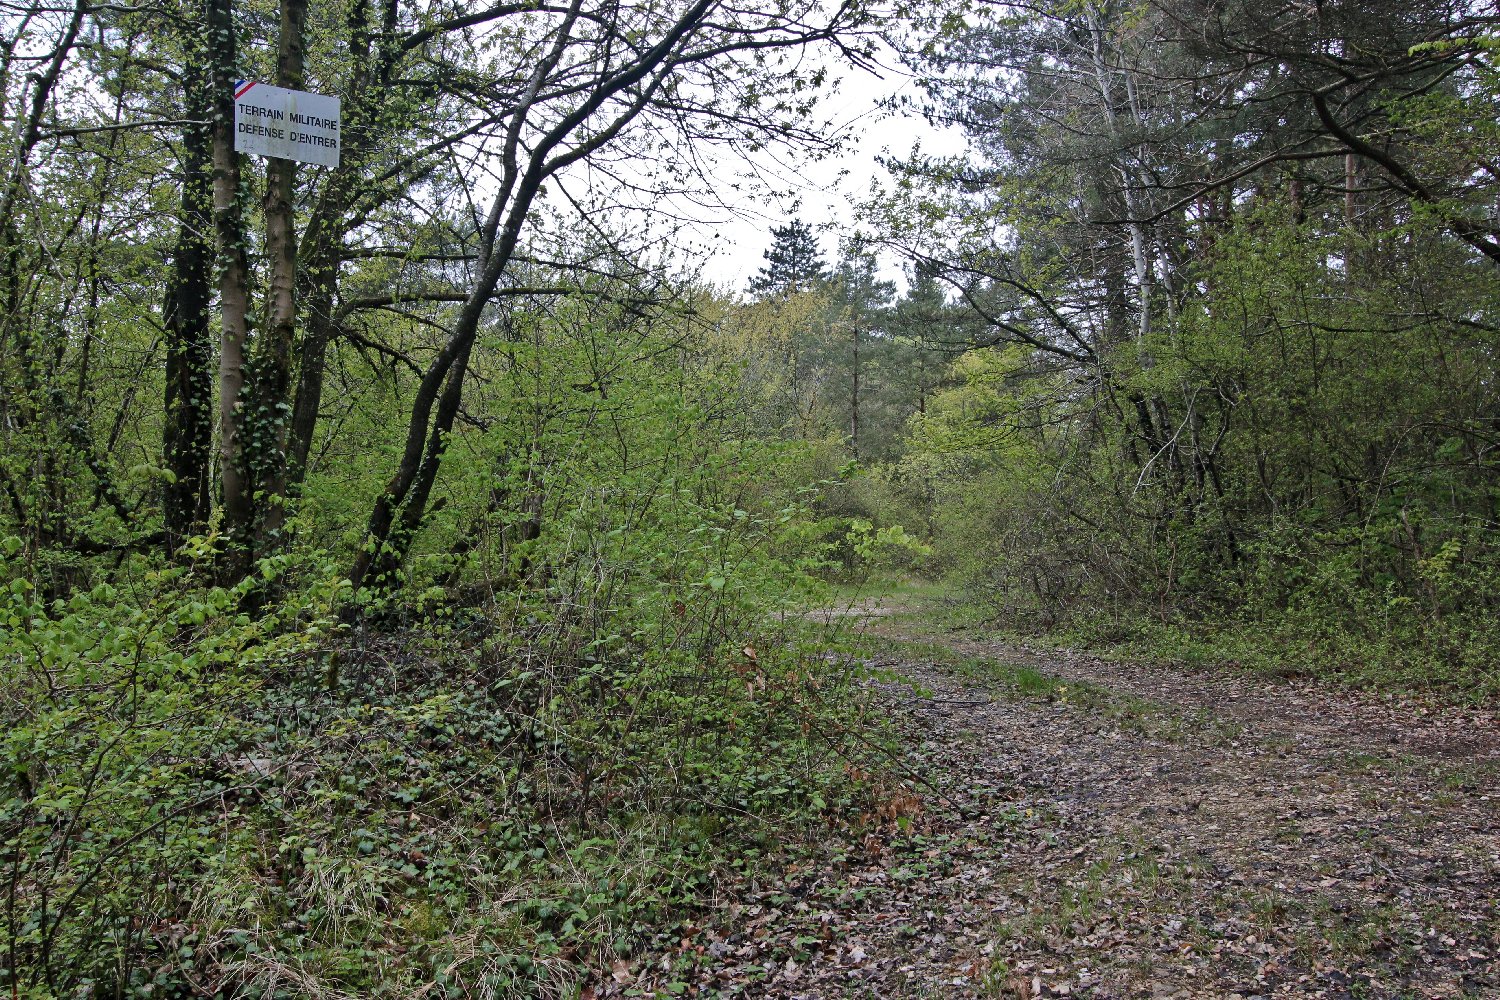
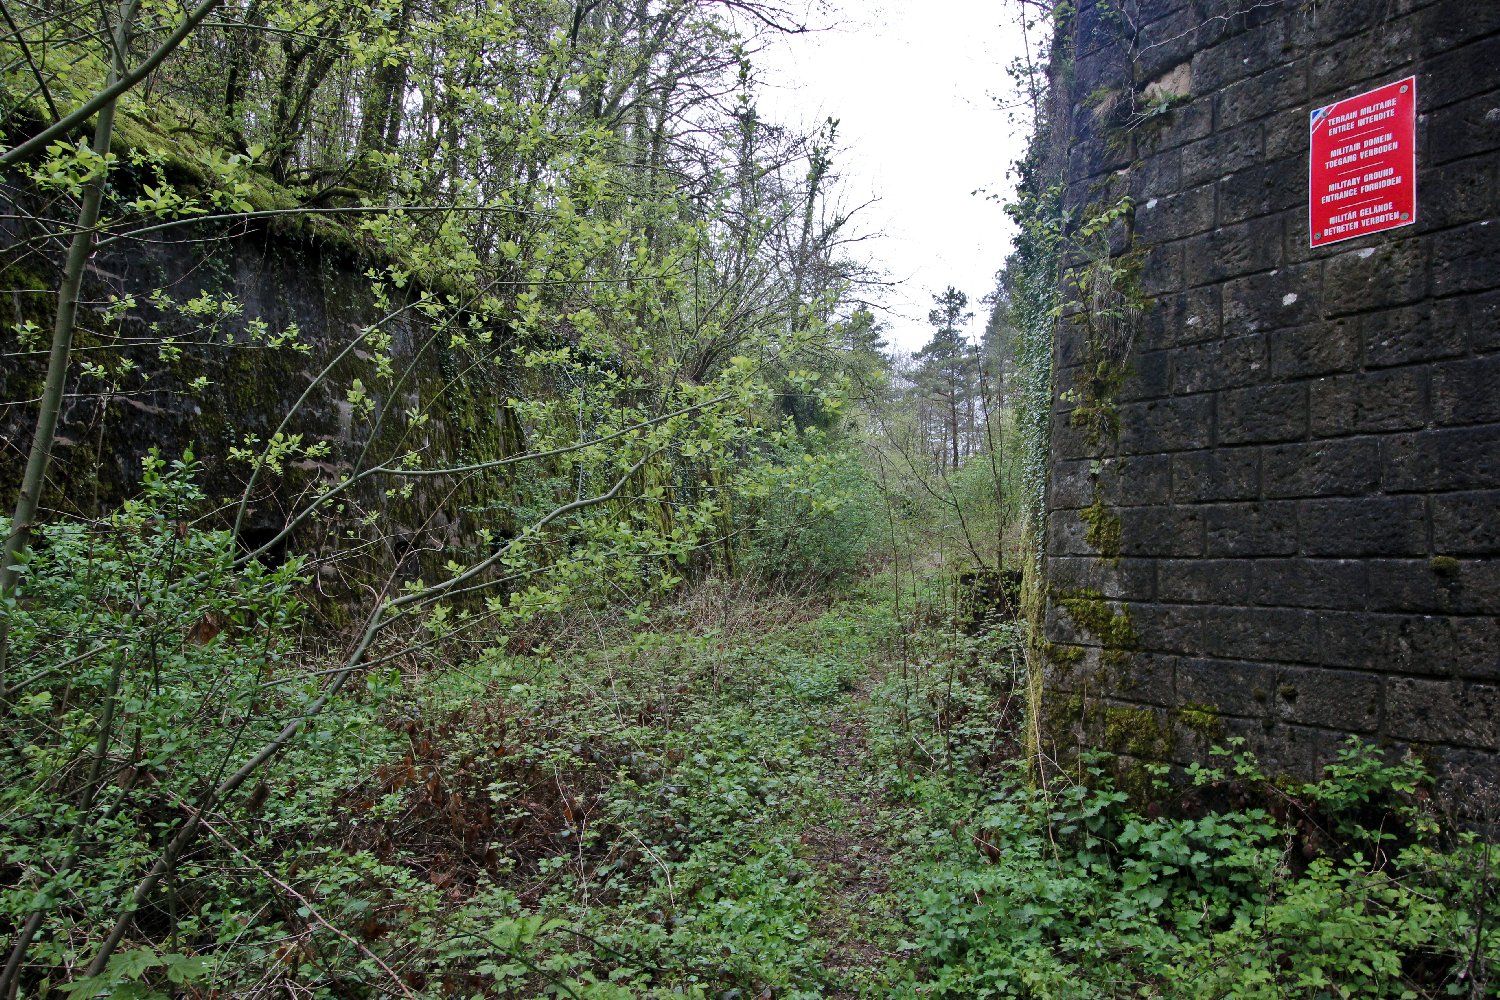
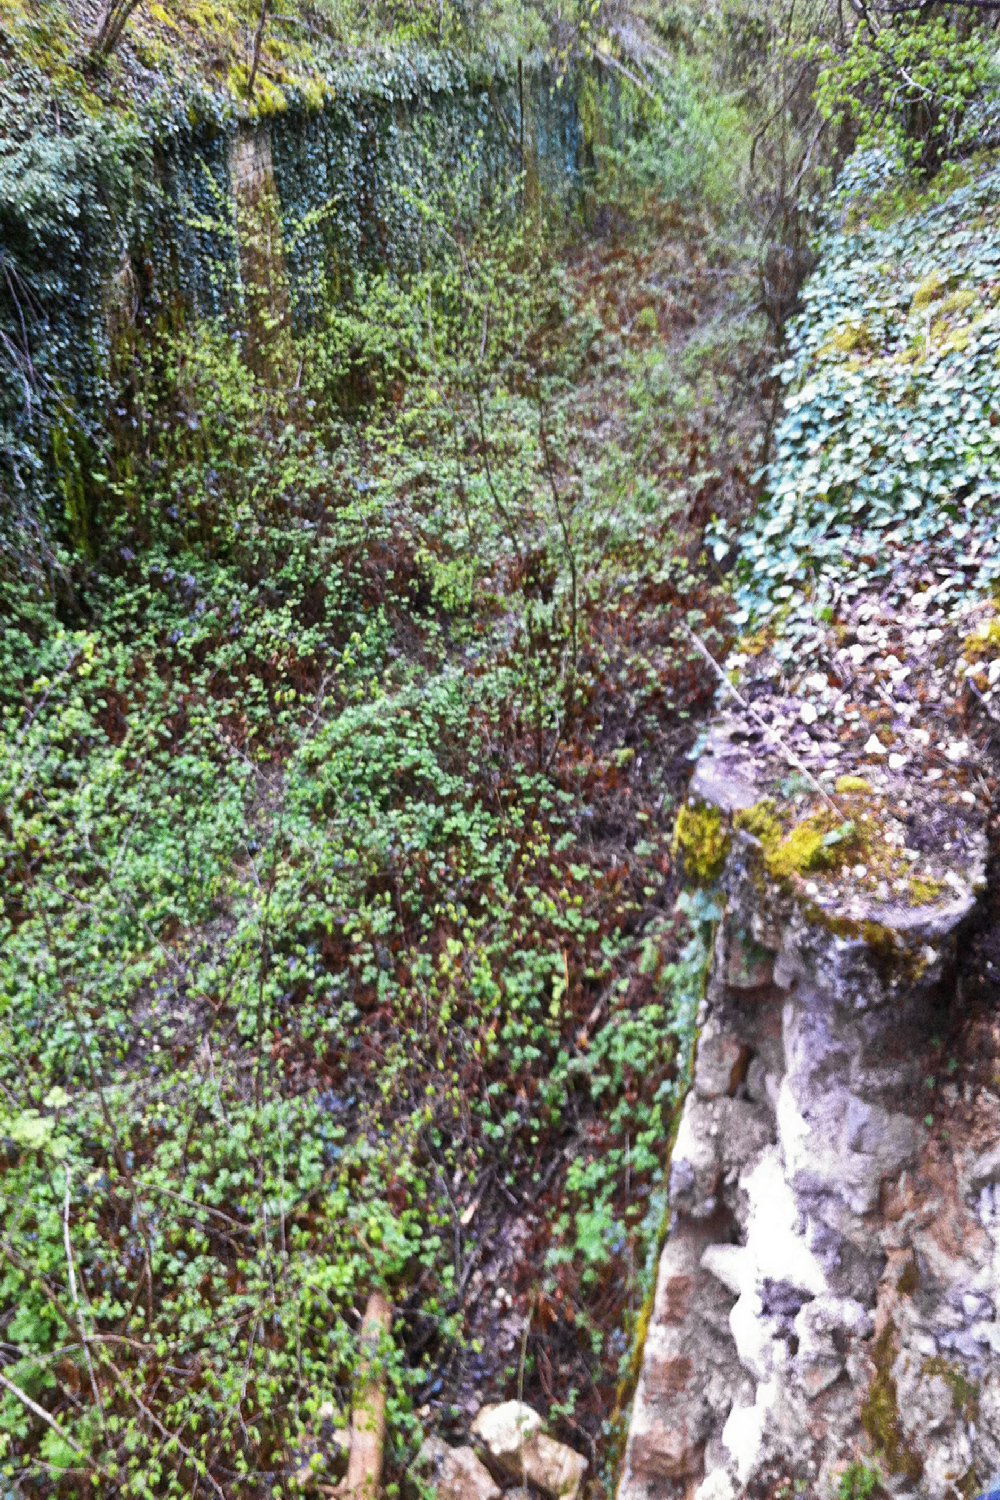
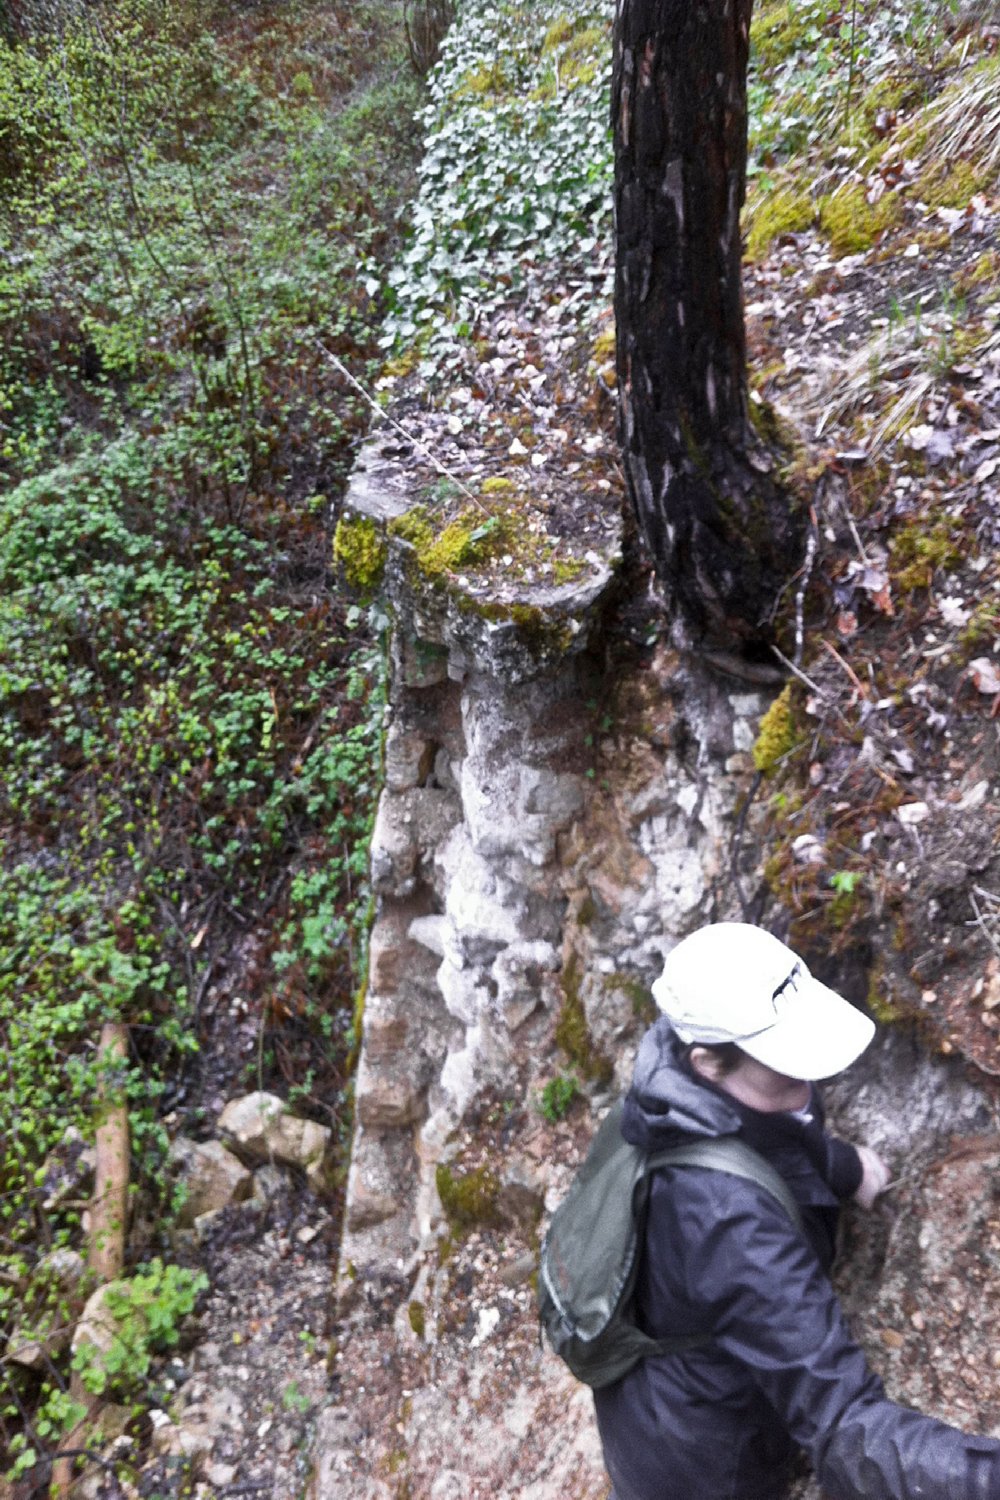
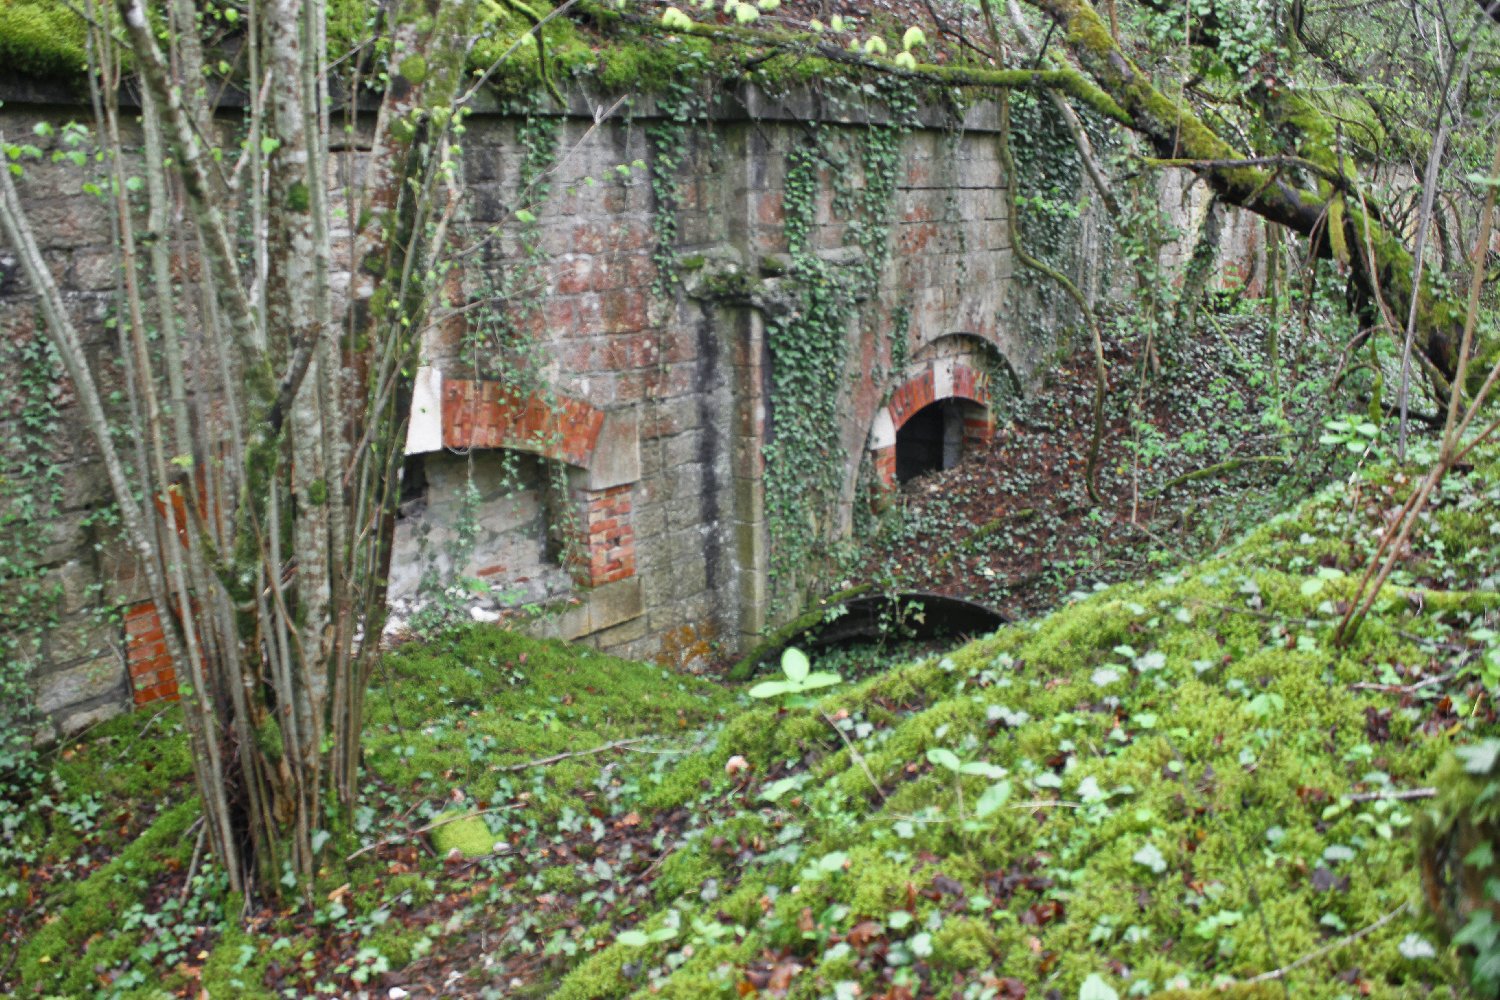
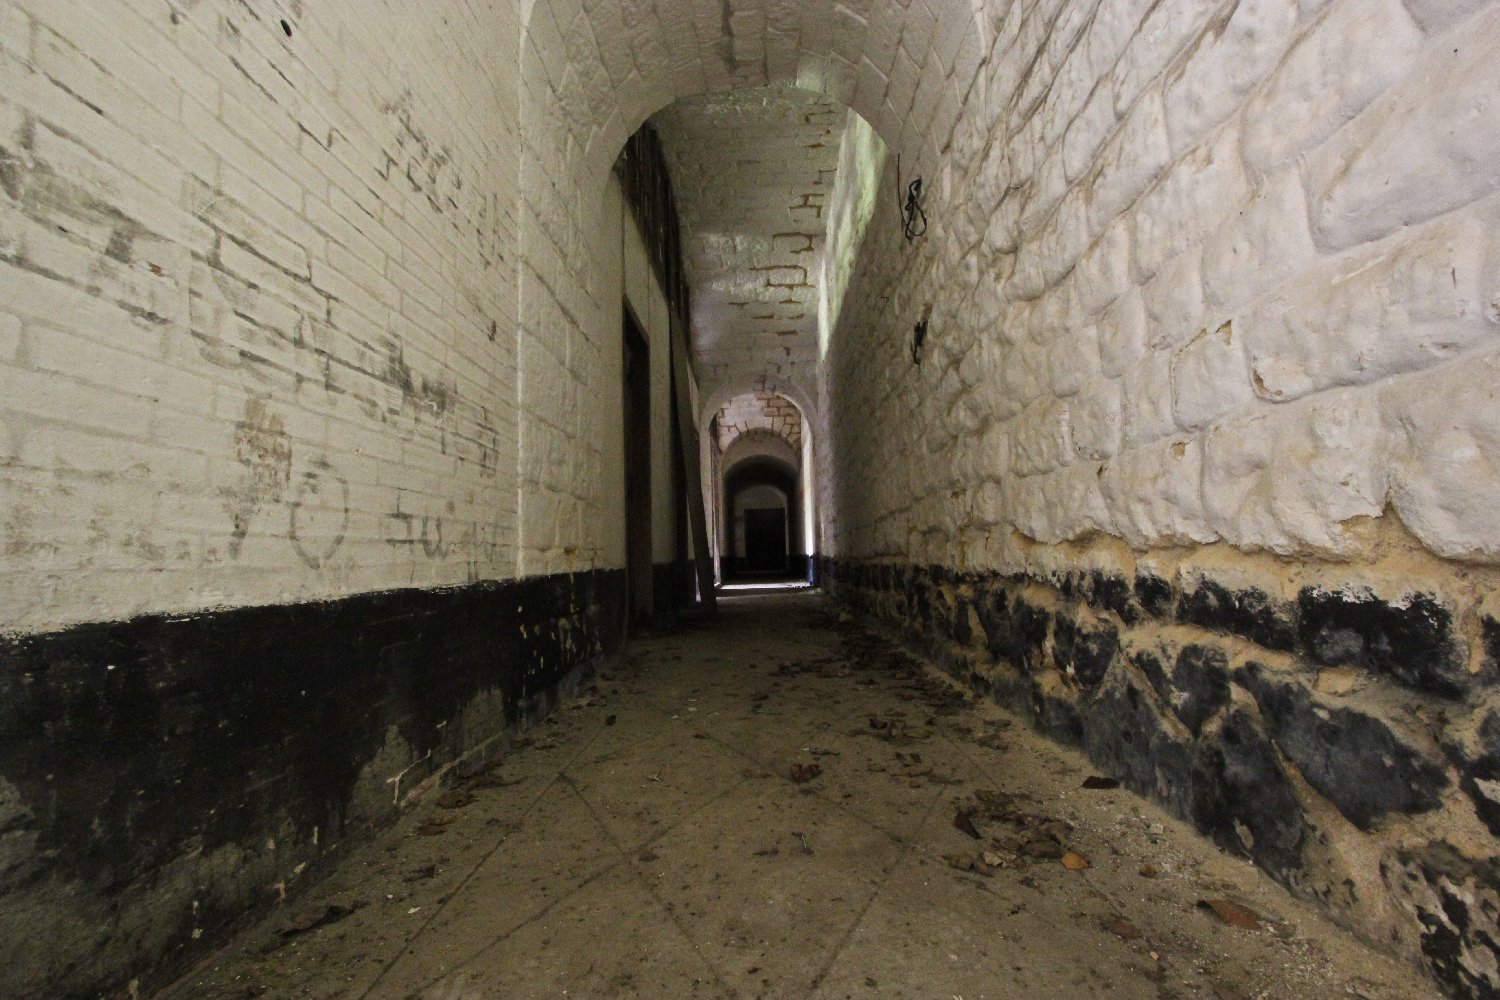
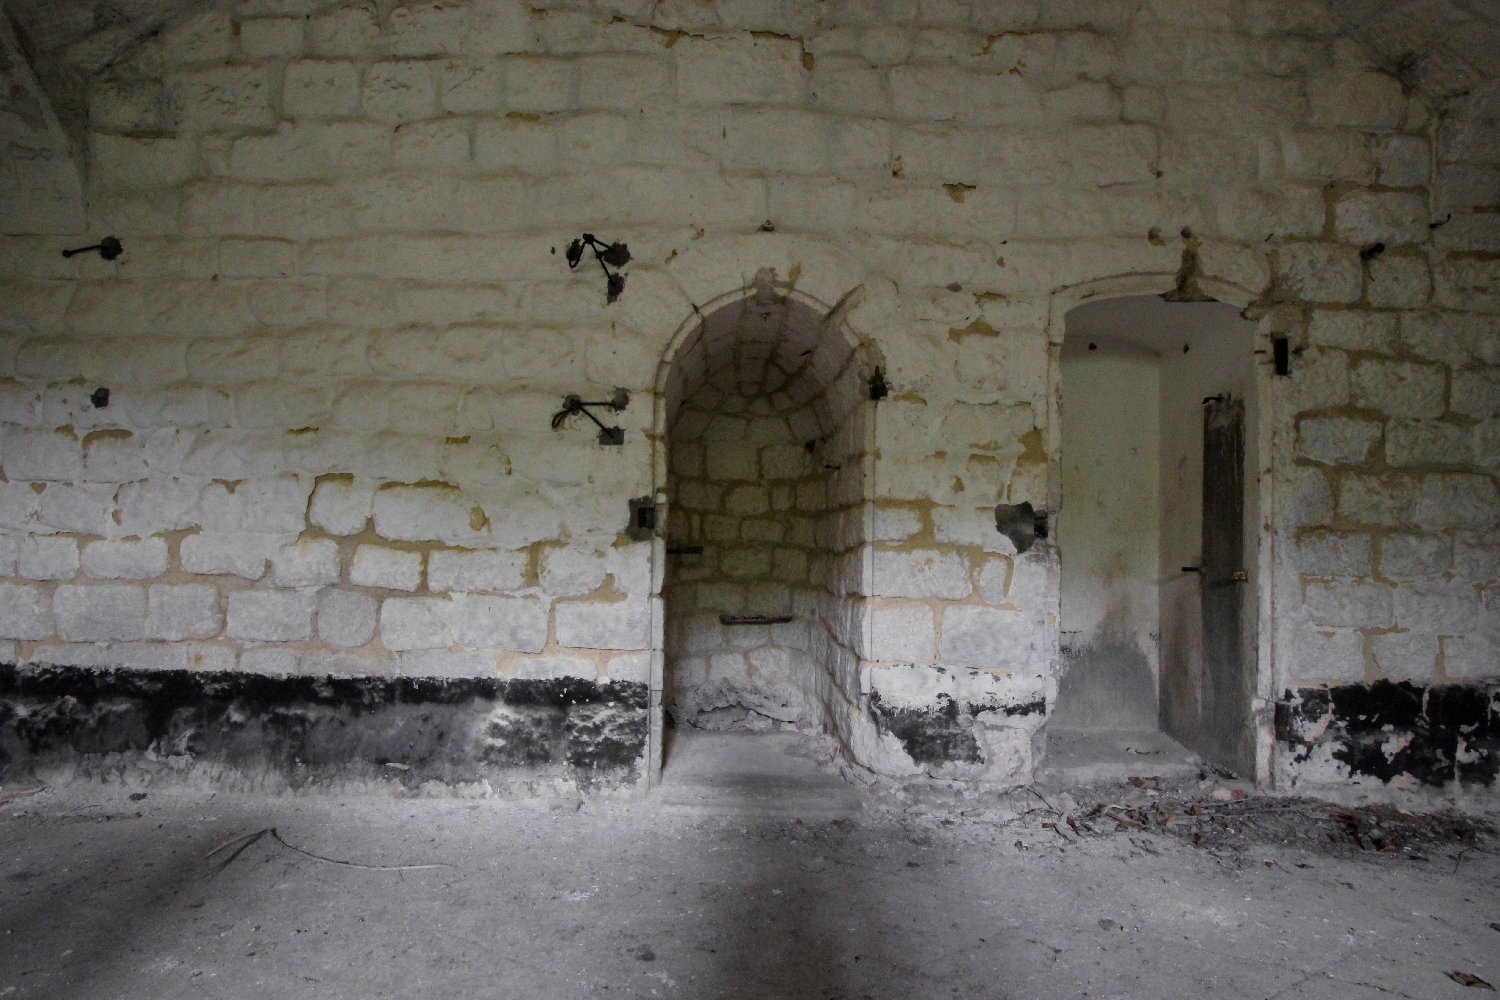
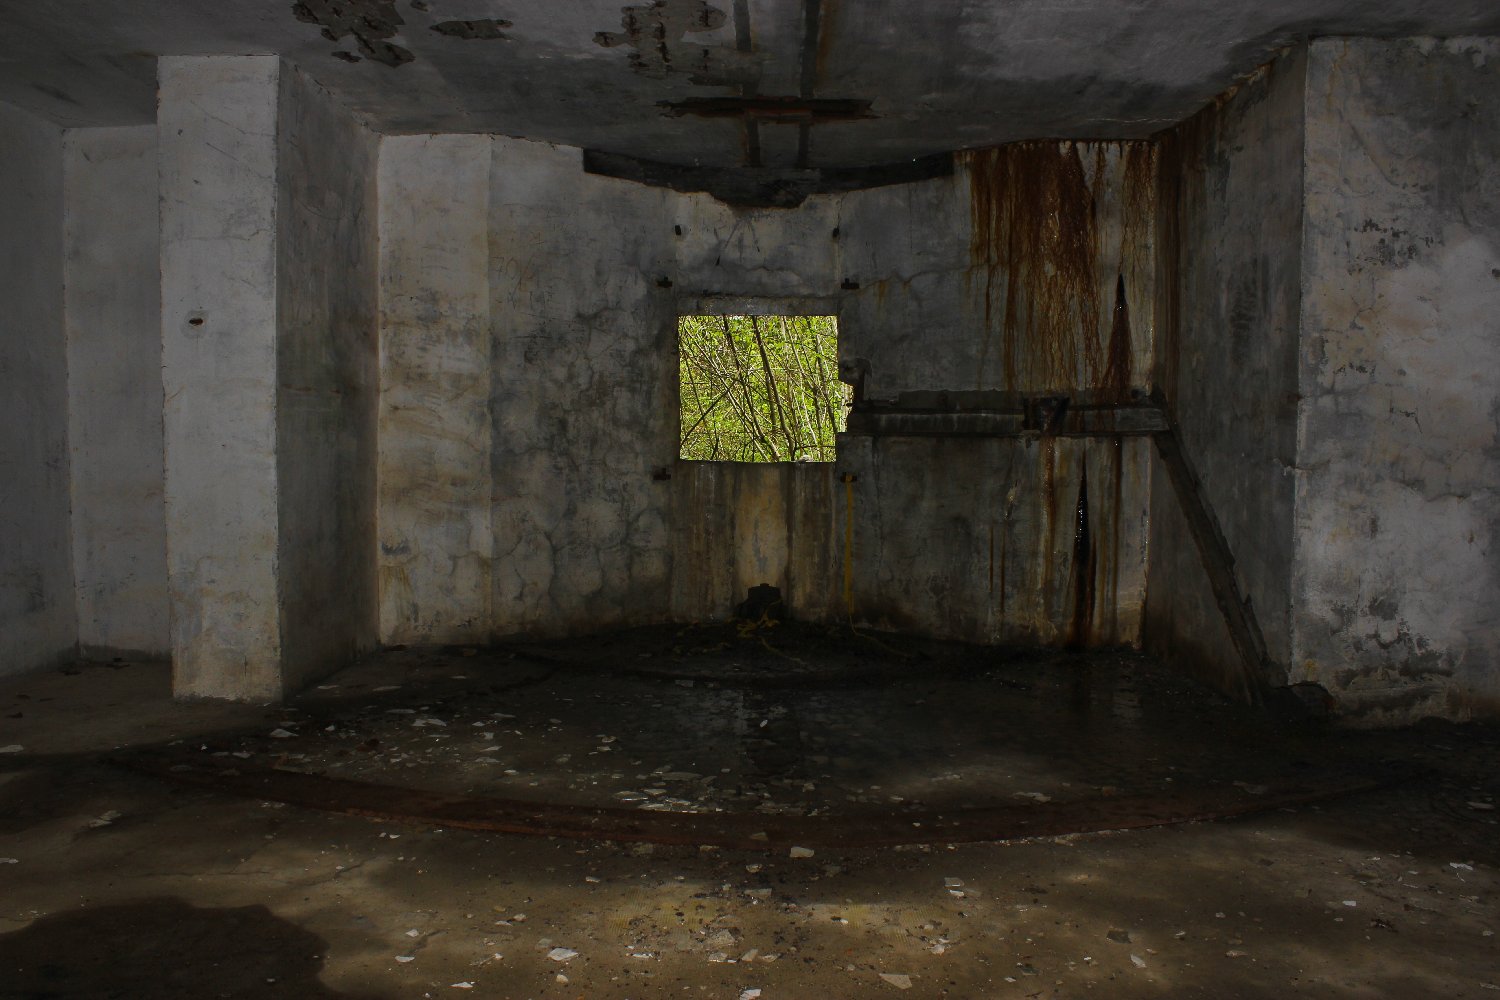
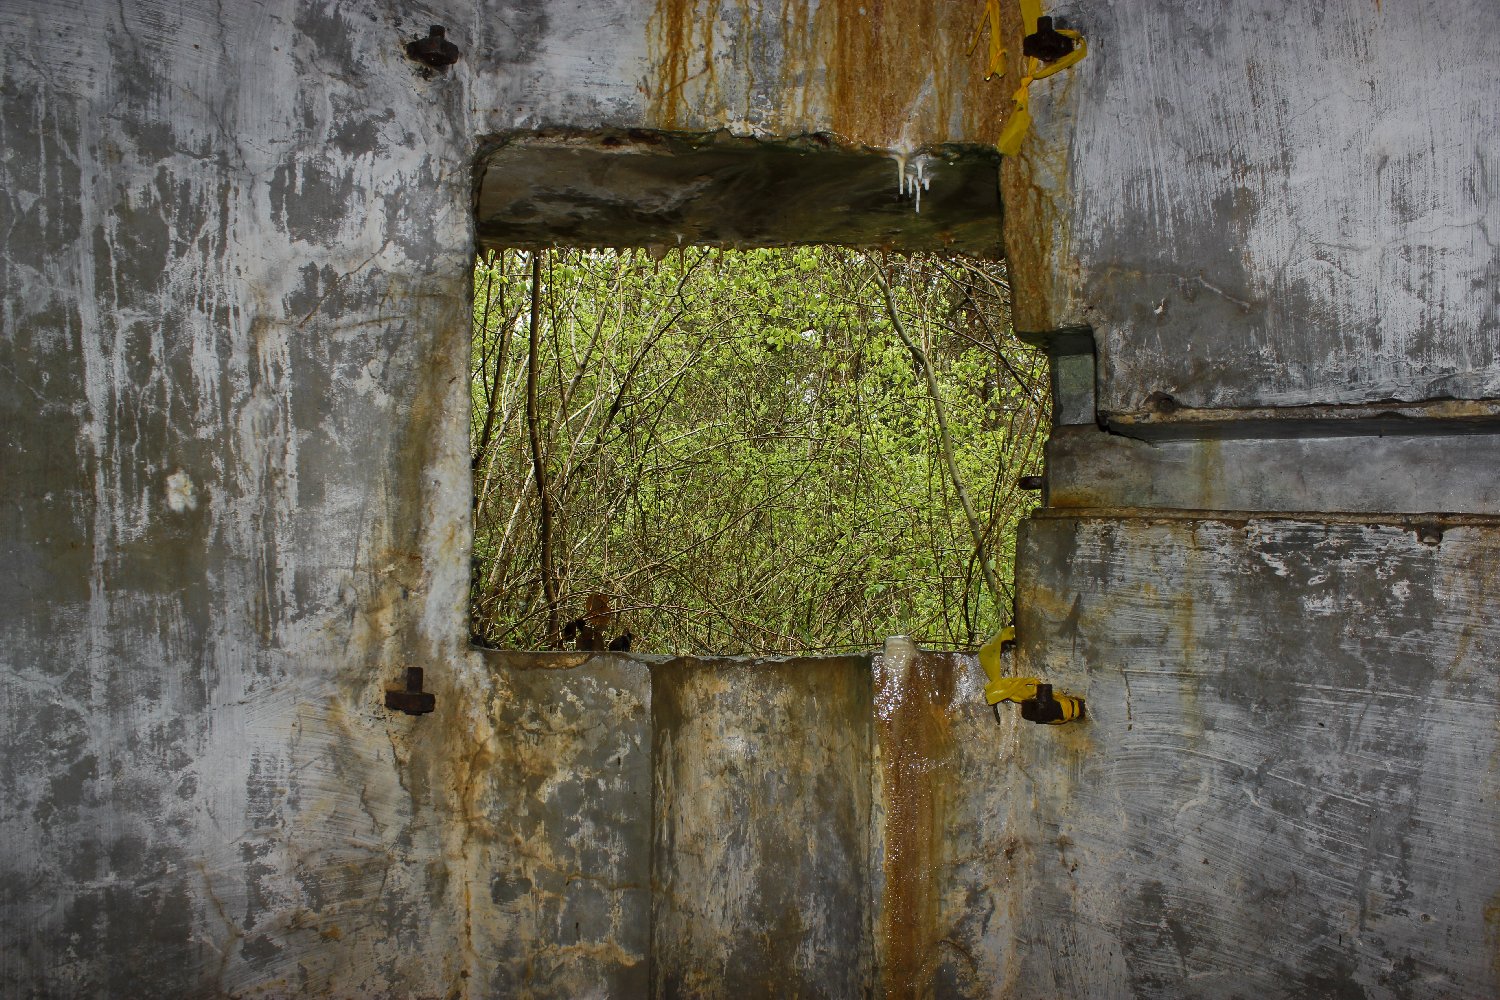
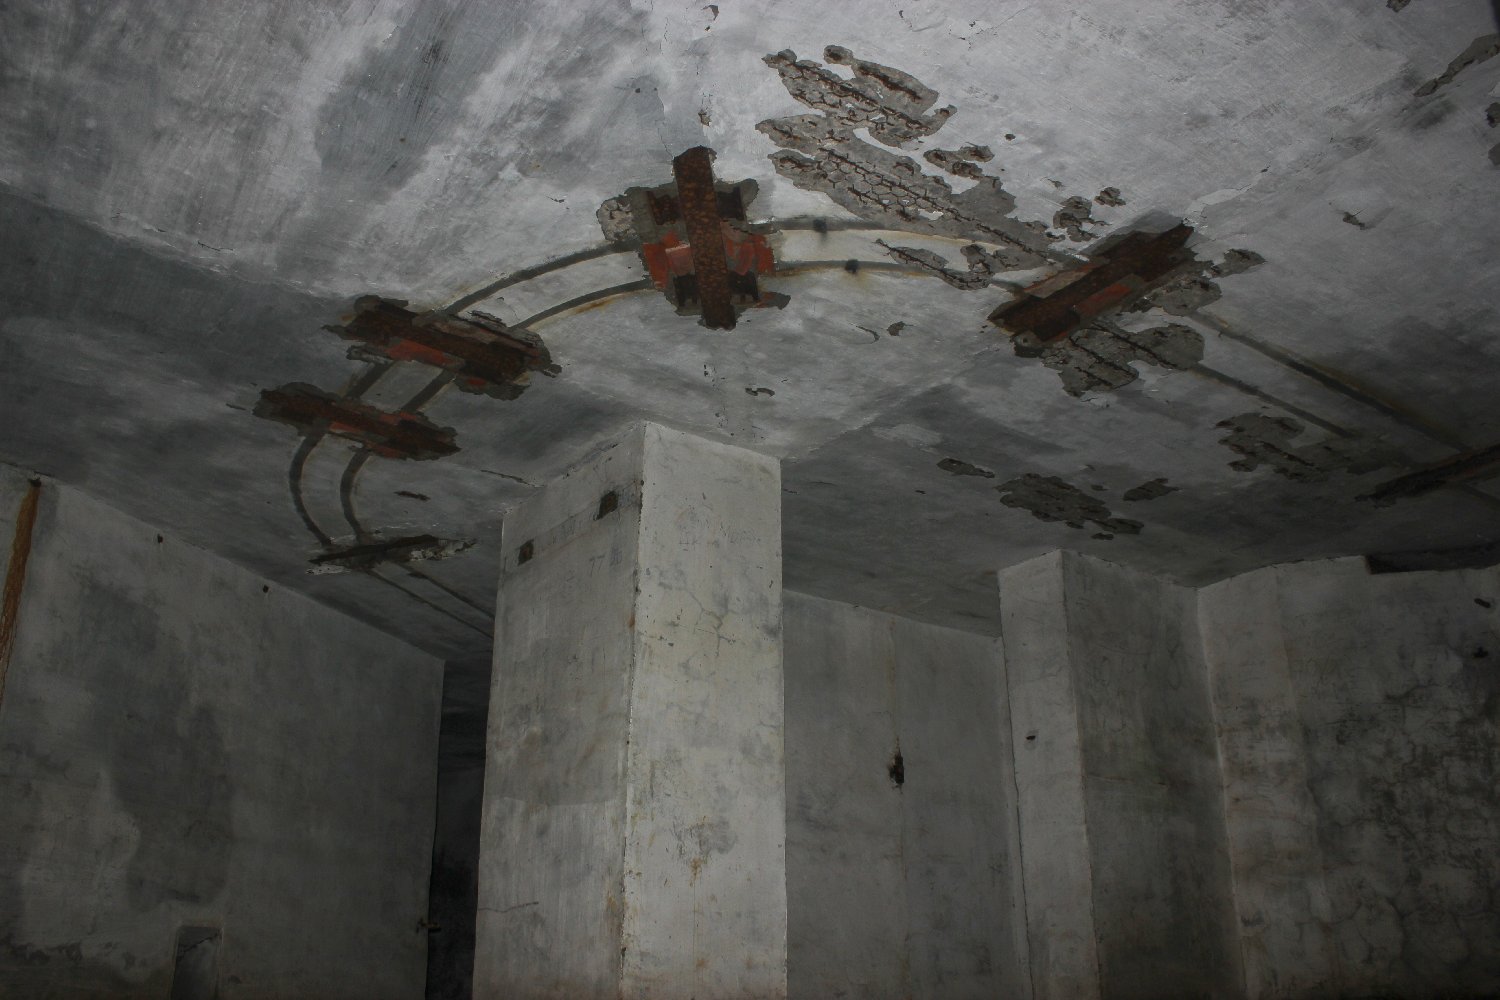
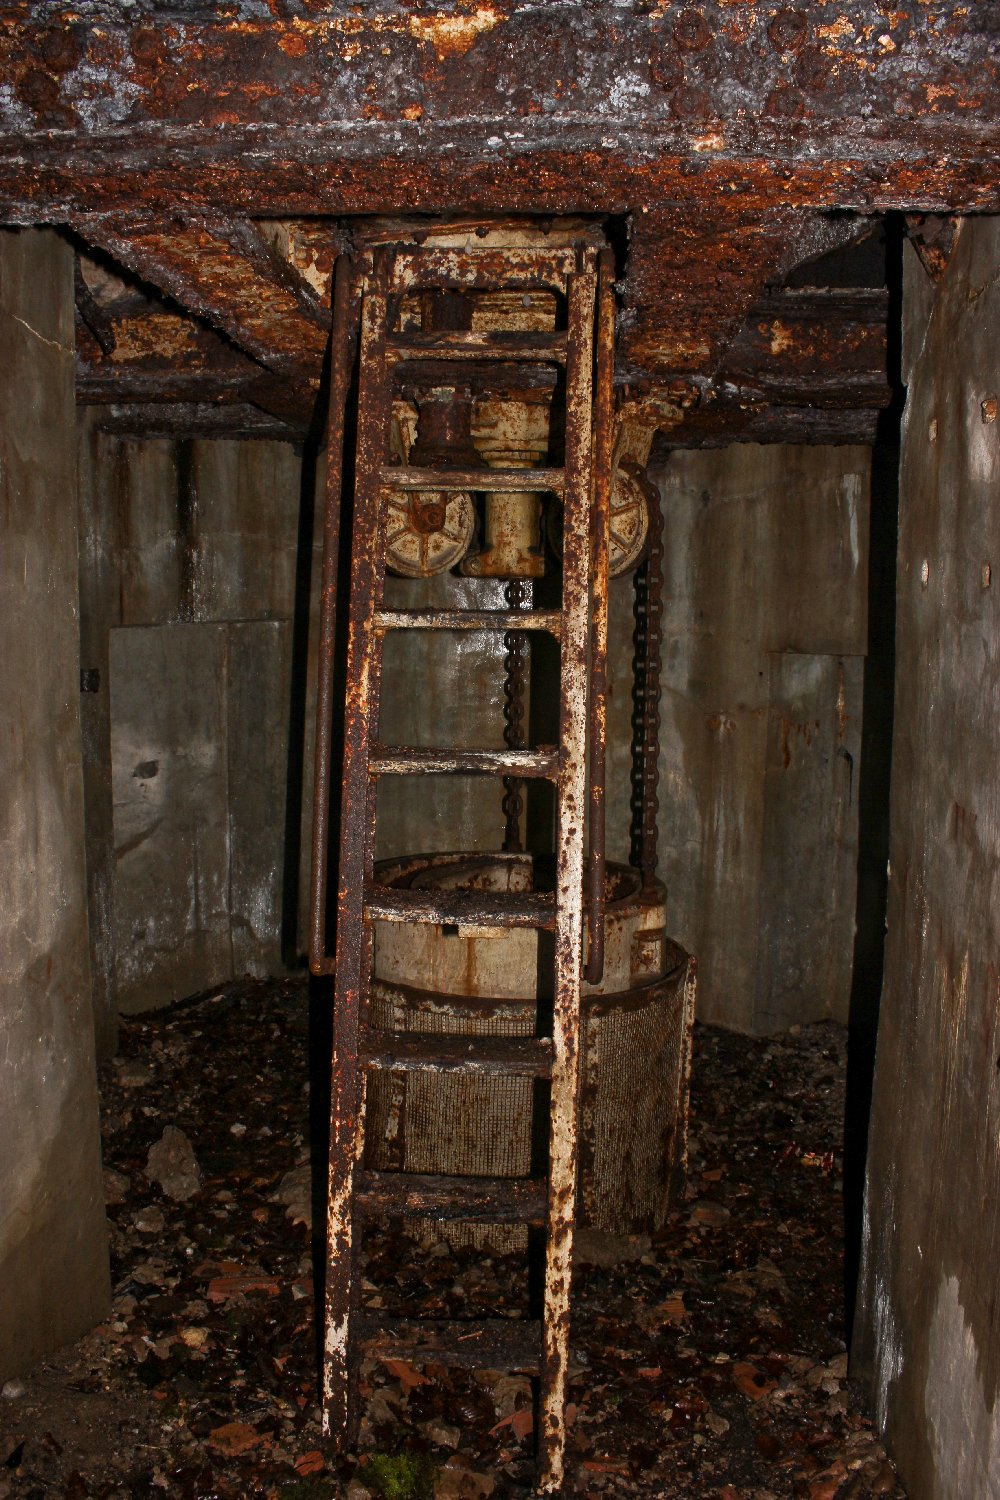
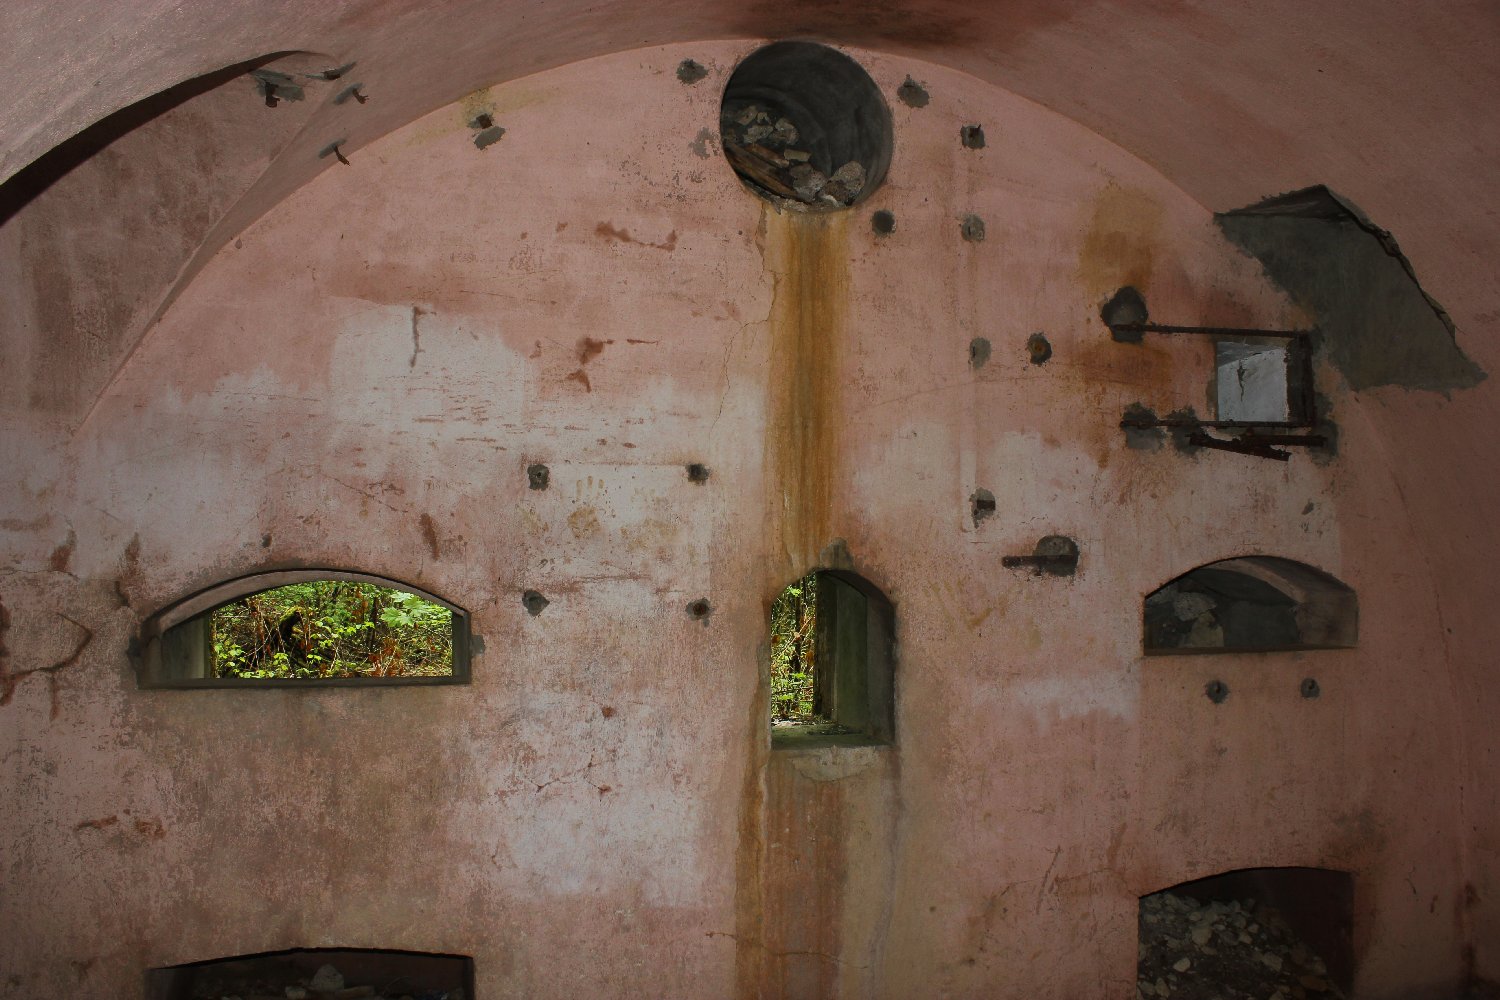
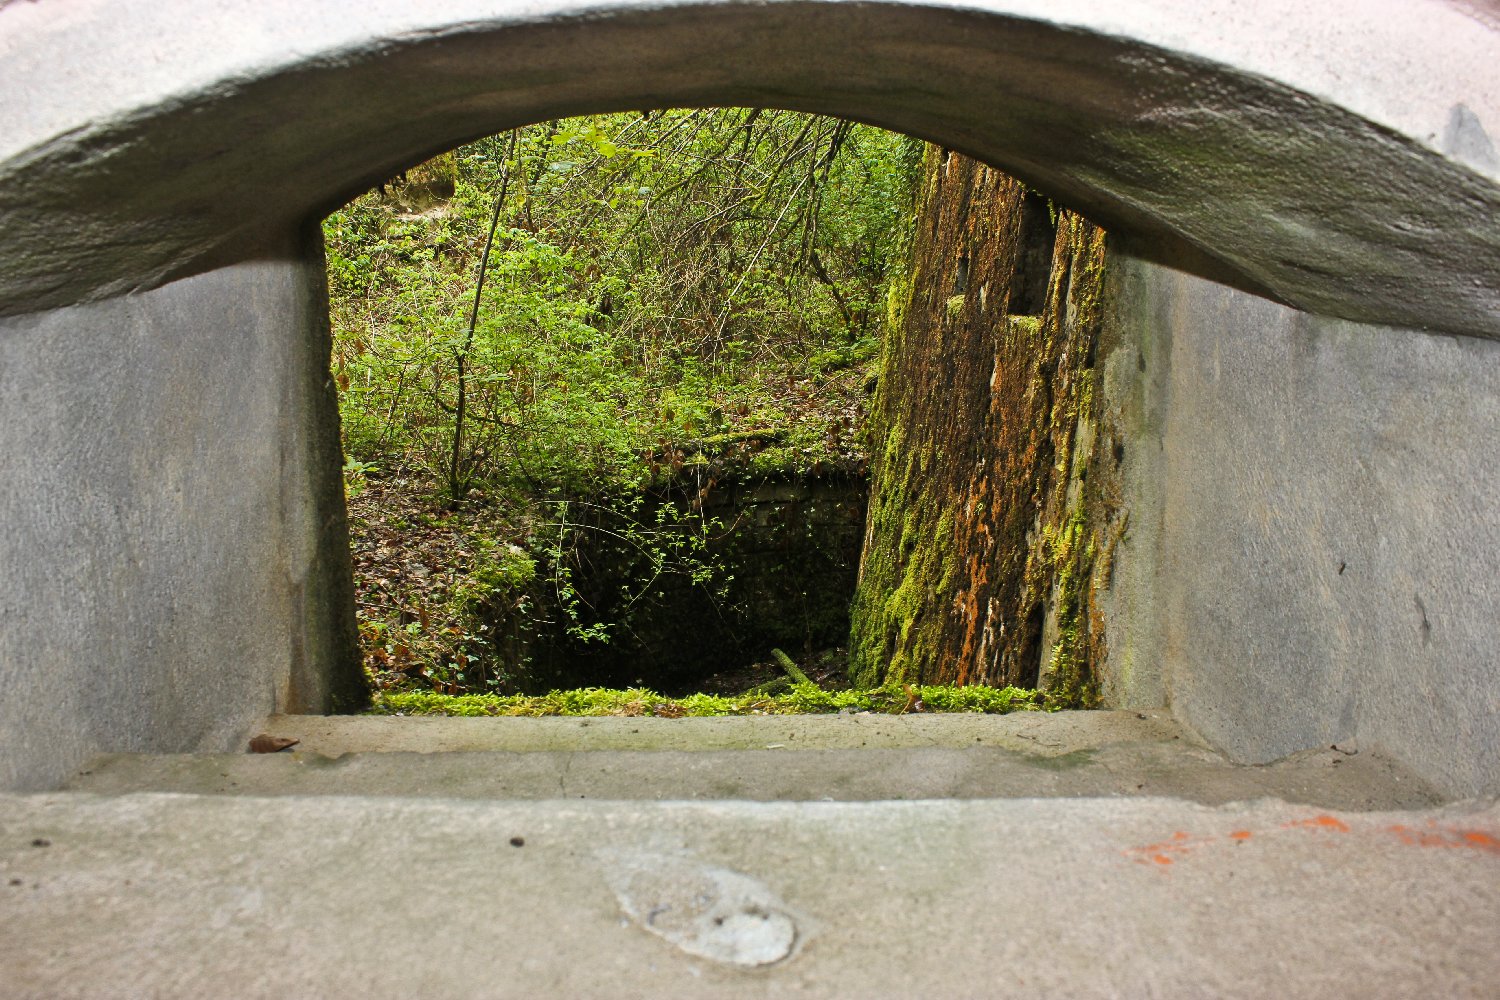
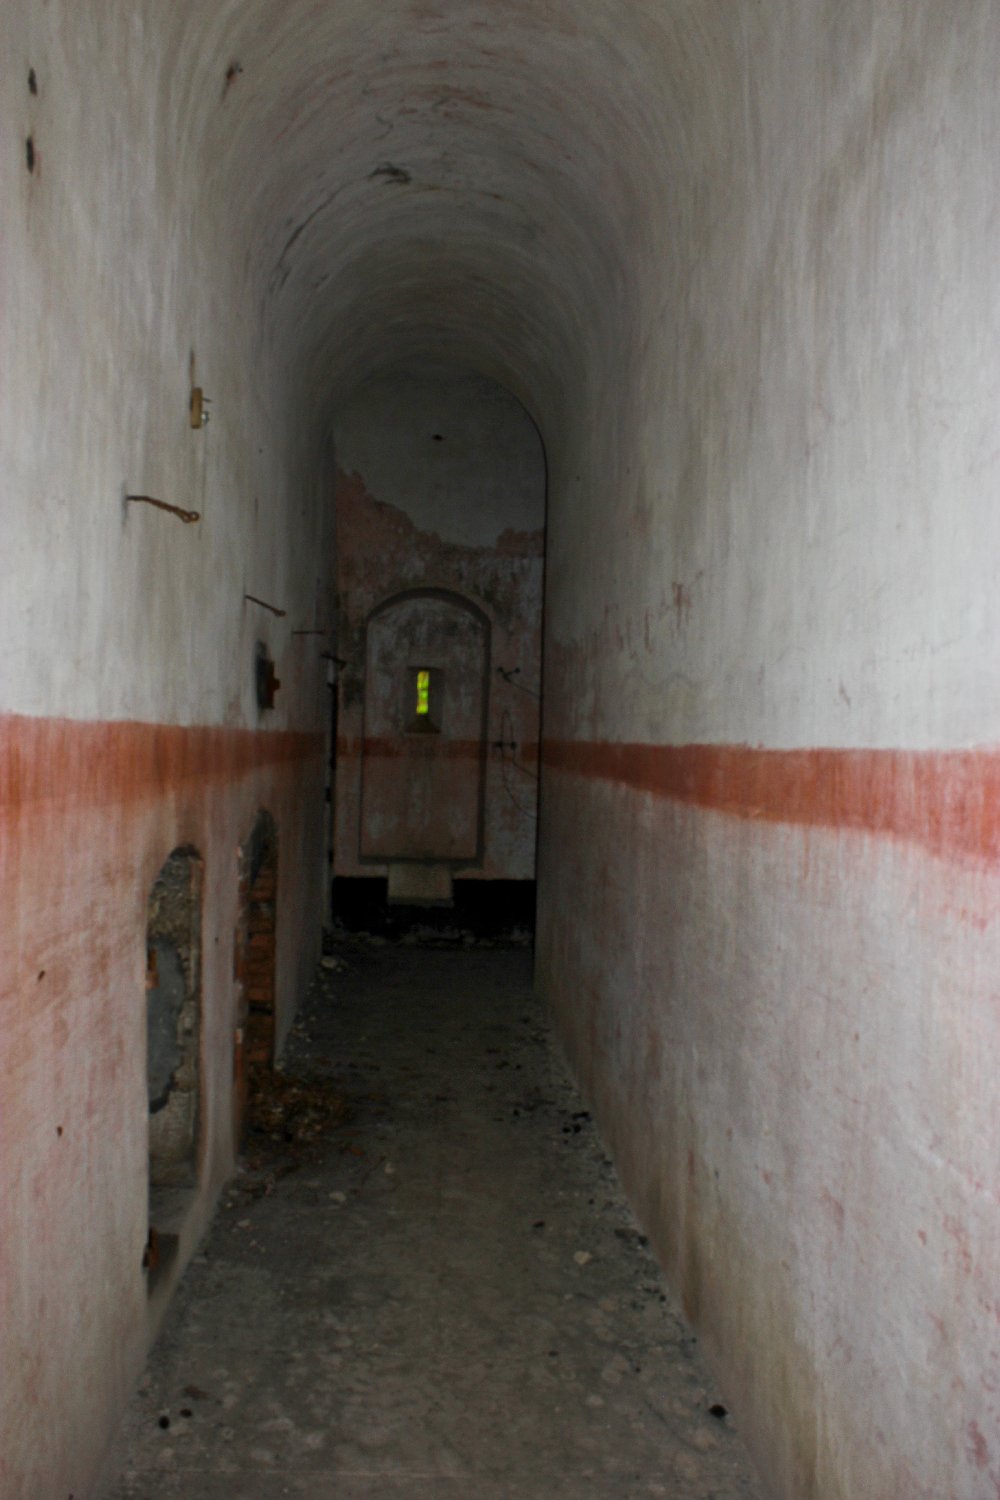
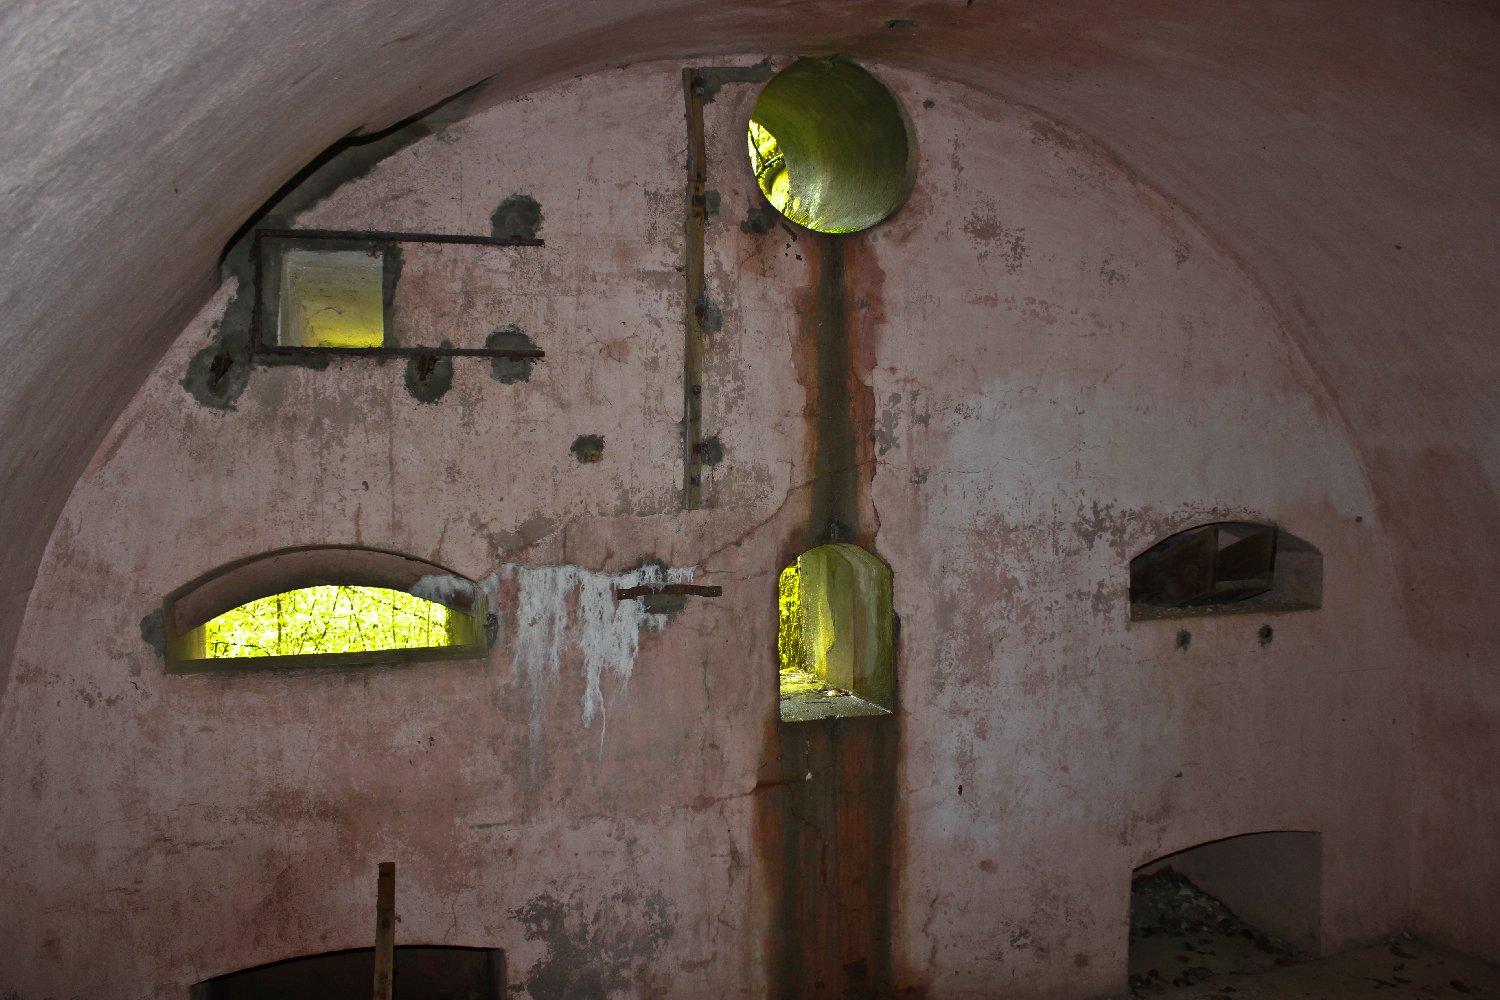
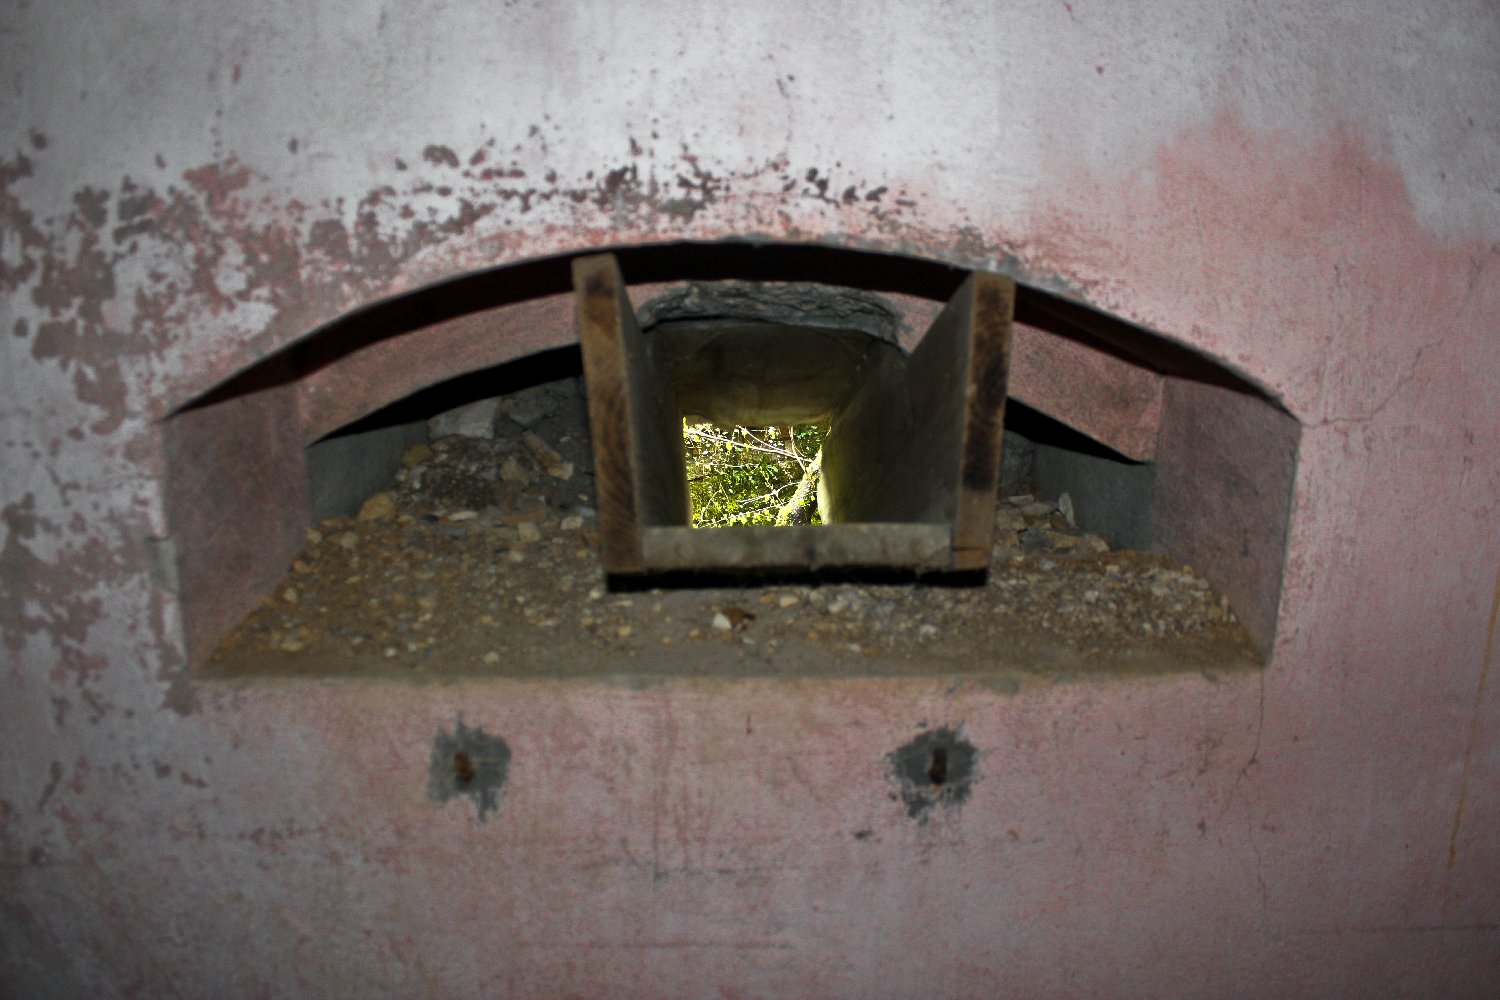
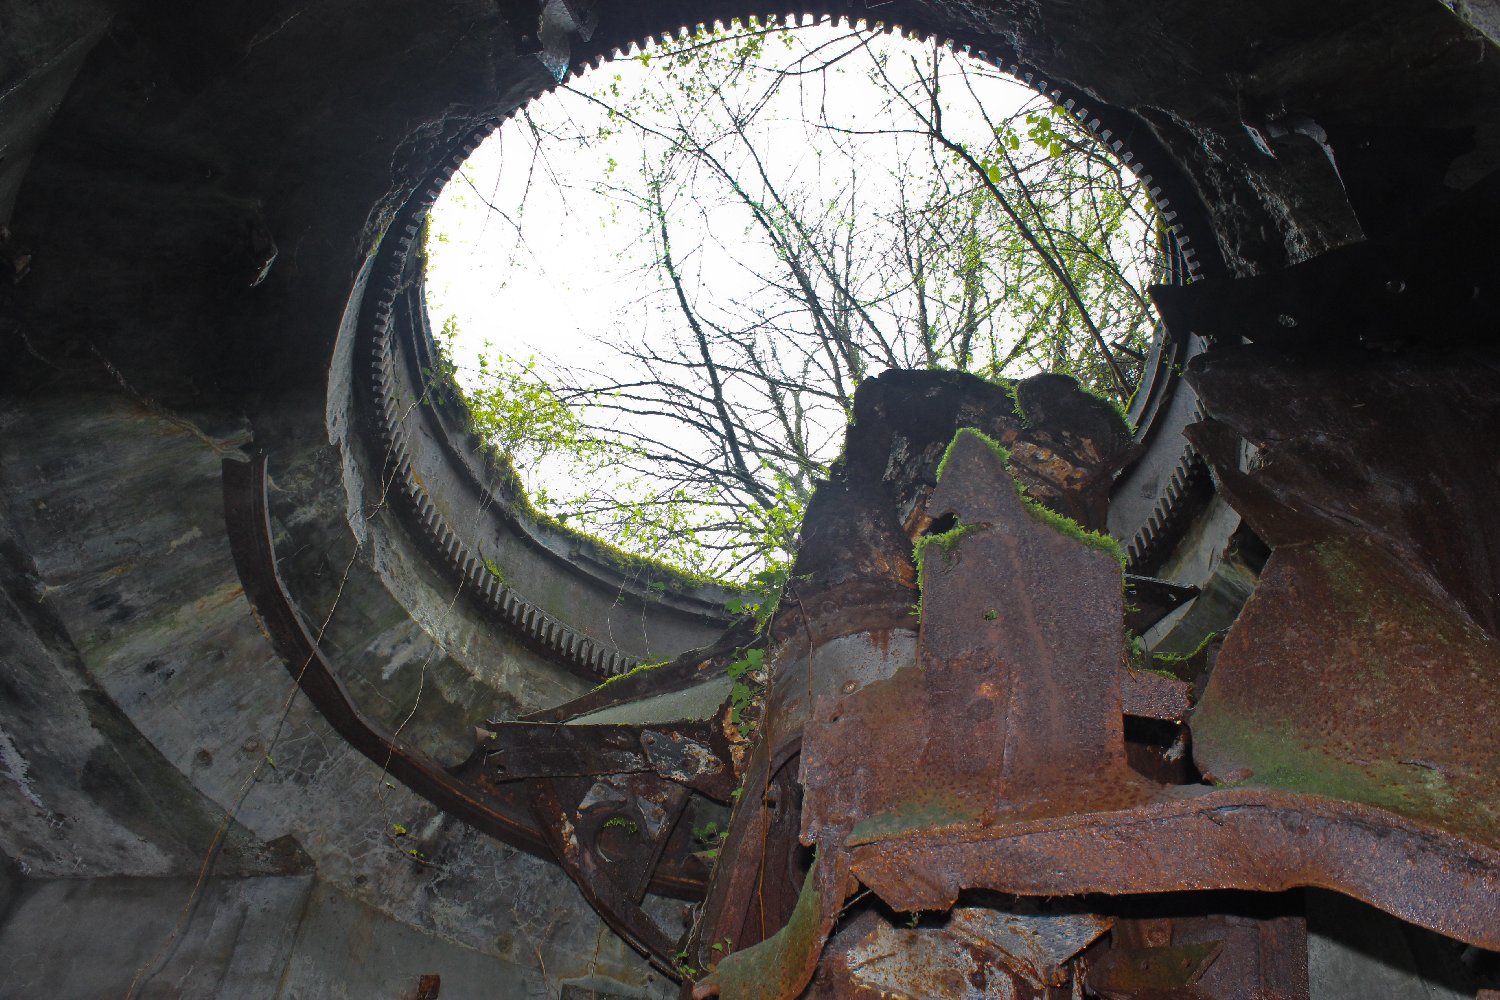
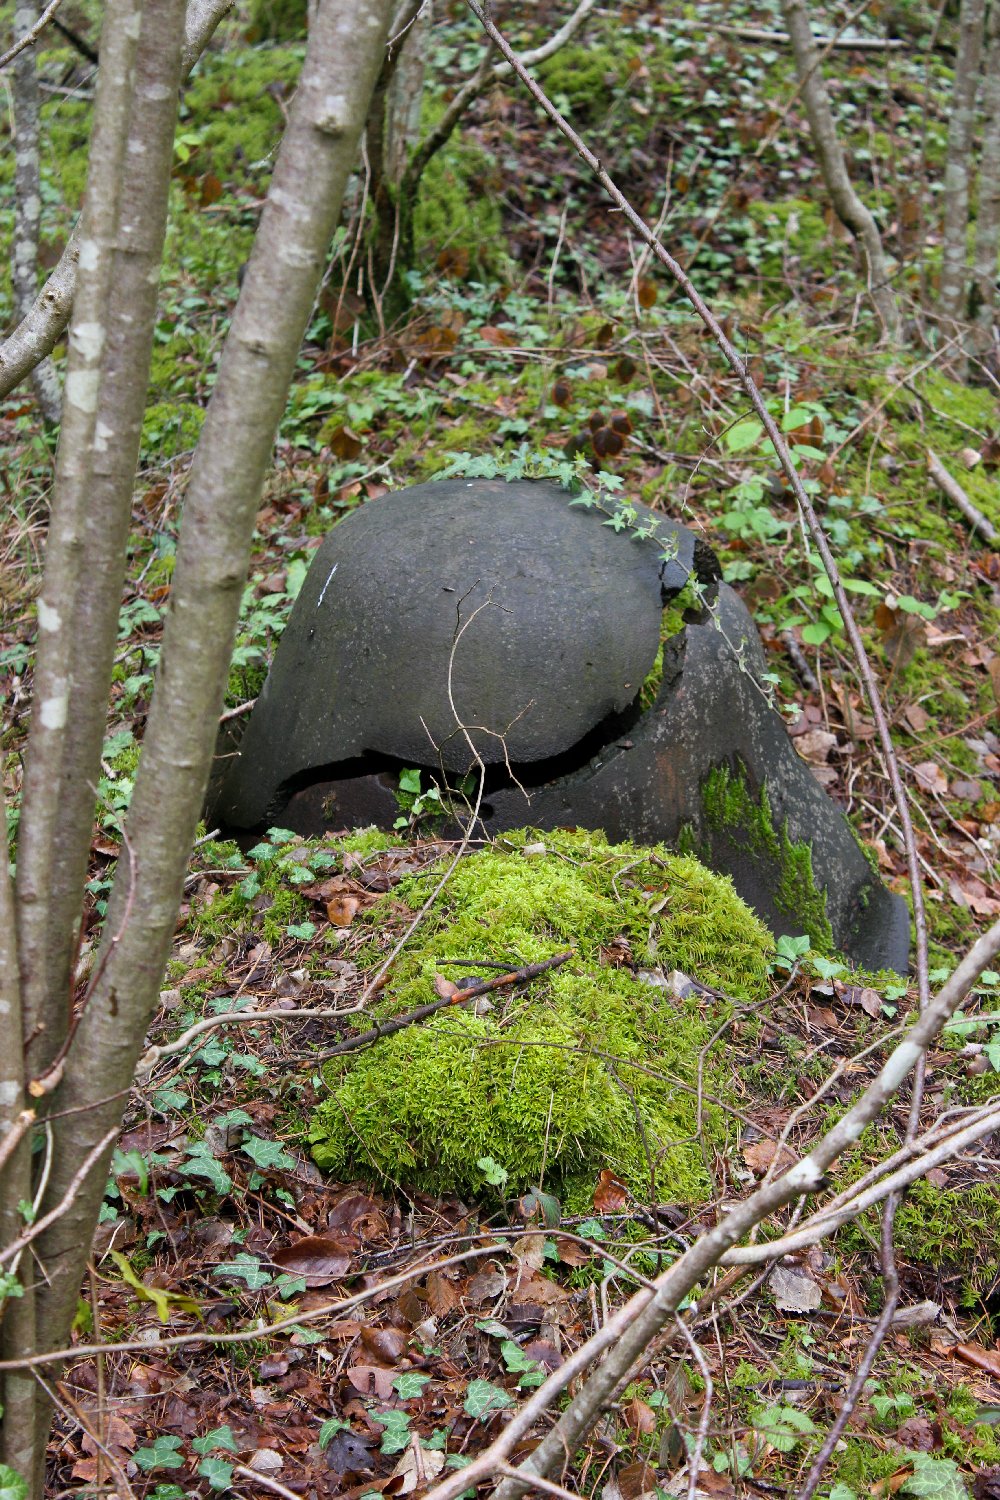
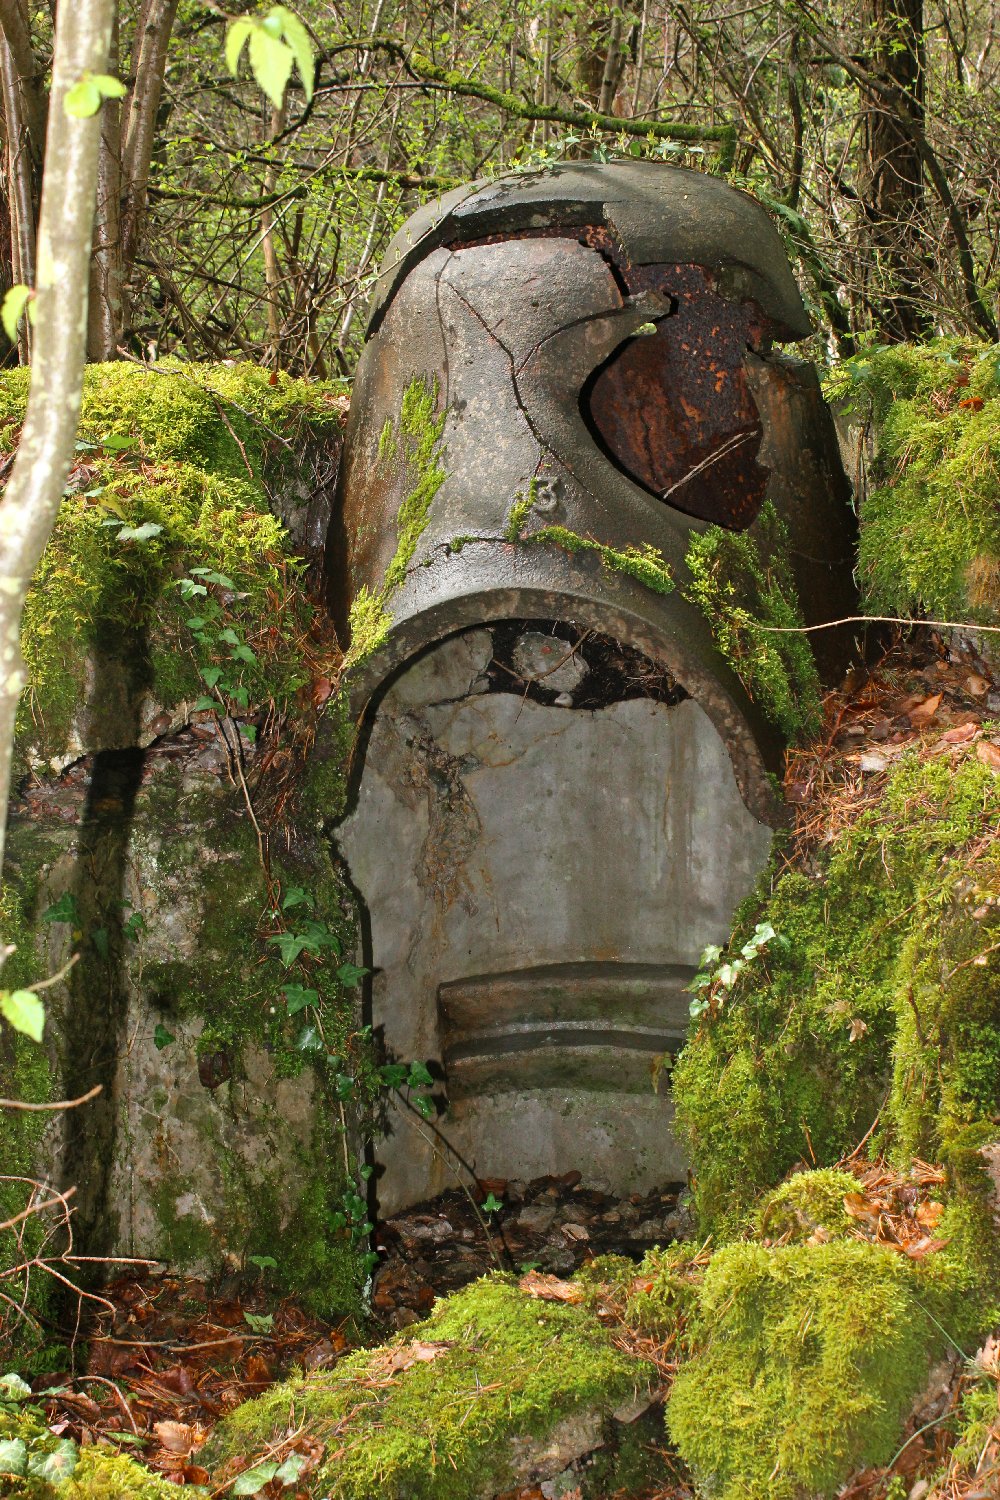
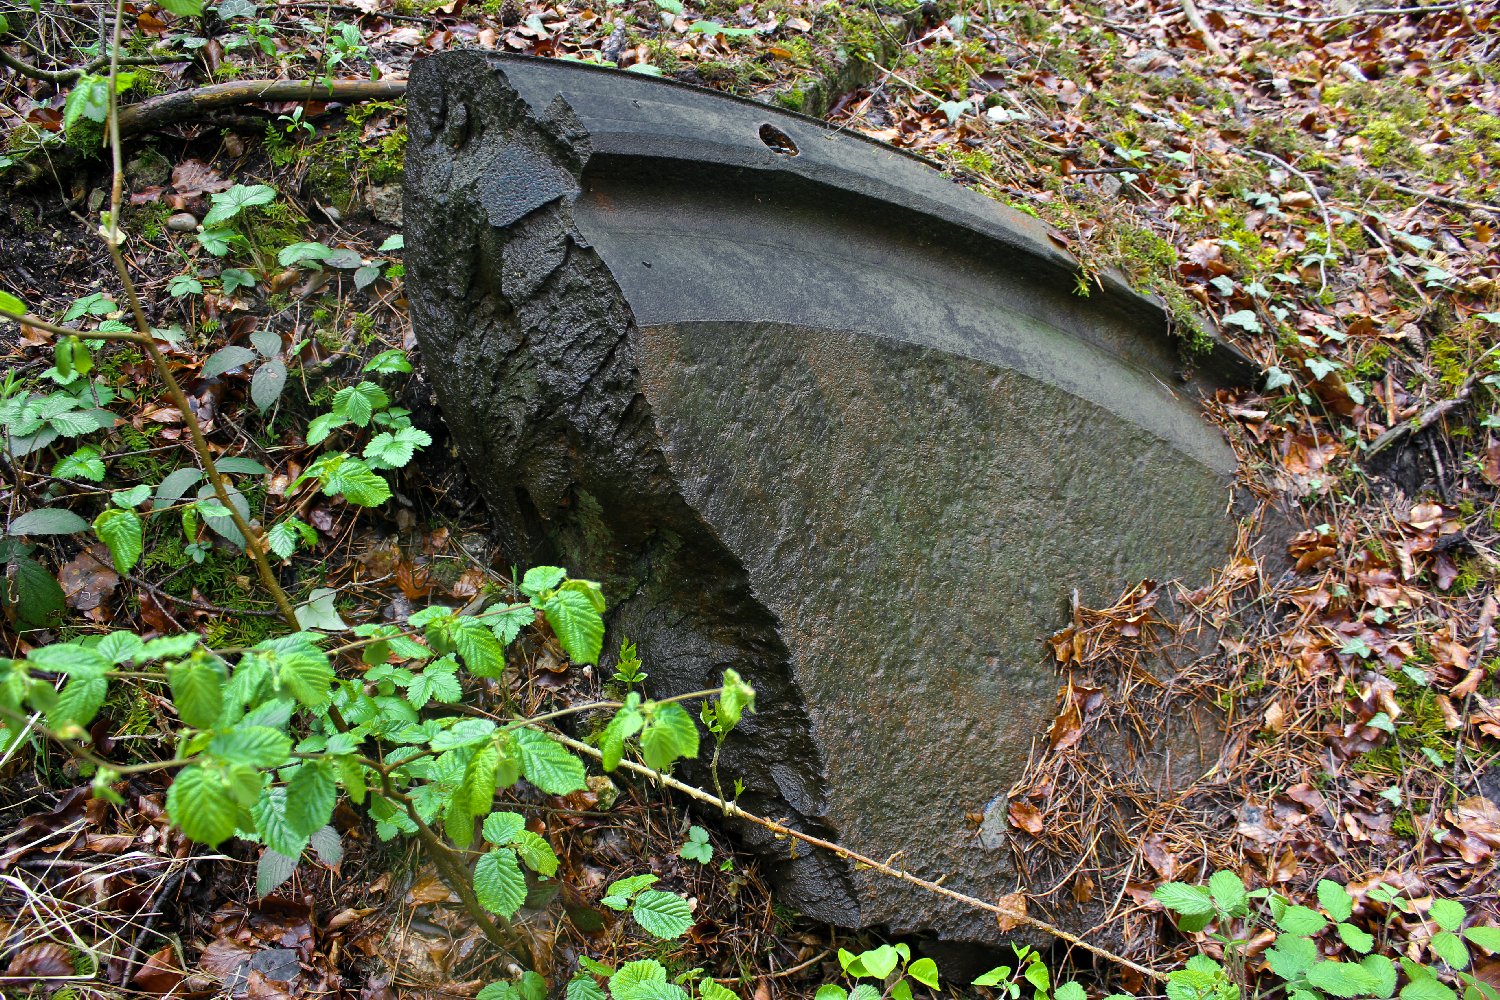
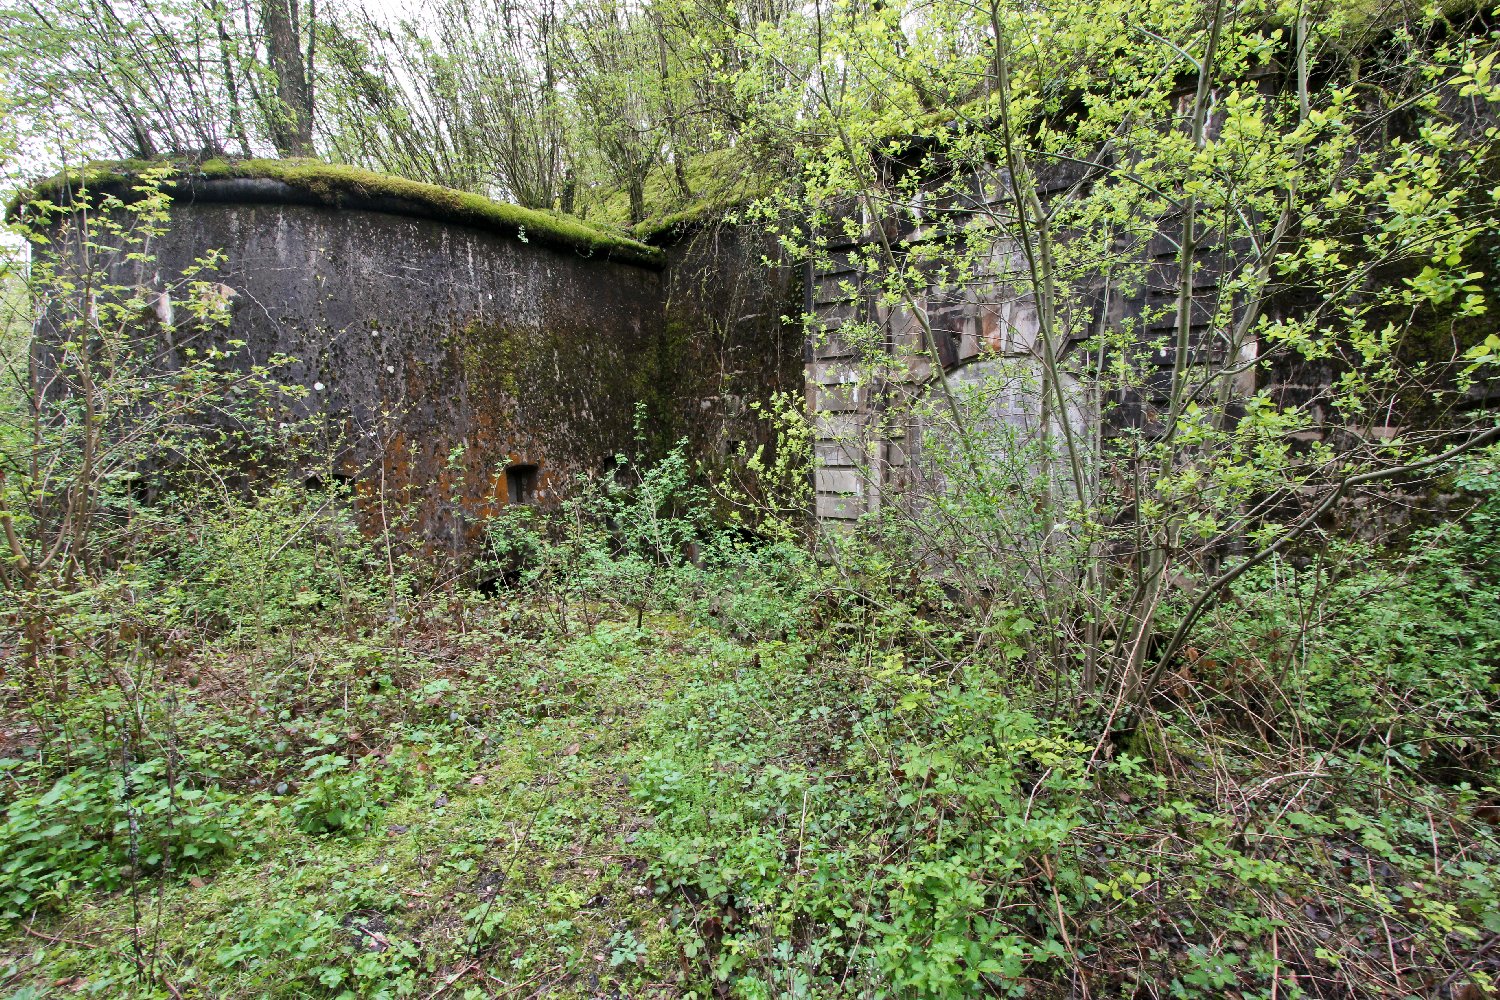
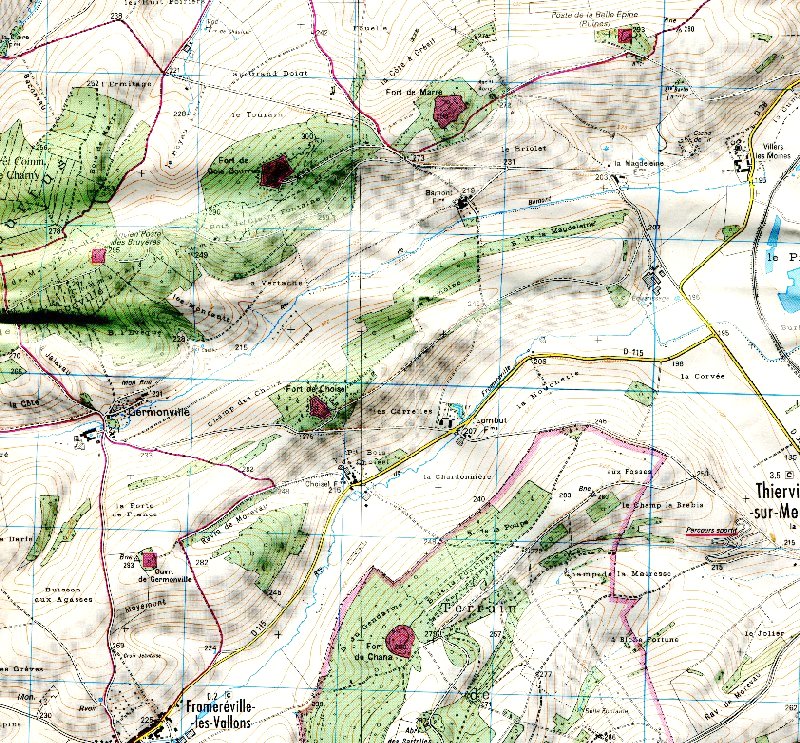
On the RIGHT is a section of the map of the area in which Fort de Choisel is located. On the left bank of the River Meuse there are two prominent ridges along which a series of forts were built which effectively closed down the route around Verdun on that side of the river. Just outside the tiny village of Lombut the first fort in the chain is de Choisel and it operated with the close support of a smaller fort or "ouvrage", du Chana, on the opposite side of the valley. Forming the slightly offset point to the triangle of defences for this valley is the Ouvrage de Germonville to the south west, and the three acting in conjunction could stop a sizeable force from proceeding as far as Fromereville-les-Vallons, the village at the exit to the narrow valley. In addition de Choisel could act in support of Forts de Bois Bourrus and Marre on the ridge of the next valley to the north. These chains of mutually supporting forts effectively closed off any possibility of an enemy bypassing Verdun on that side of the River Meuse. There is an oddity here though which we really cannot fathom for sure, and a glance at the map of the area ABOVE RIGHT will show you what I mean... given that the enemy the fort was designed to repulse would surely be coming from the east or the north east it is rather odd that Fort de Choisel appears to face in the opposite direction! I can only conclude that the nature of the terrain here abouts meant that there was a strong possibility of the enemy flanking the forts by heading west way up to the north and then turning back on itself to attempt access to the Meuse valley floor and ultimately Verdun itself along either of these valleys in a north easterly direction. Thus the direction de Choisel faces would then make sense. As the twentieth century approached and the newly emerging German empire increased their sabre rattling the need to rapidly install cheap but effective additional fire power into all of the forts became apparent. Tests were carried out at the French Army Artillery proving grounds near Bourges, and the result - the "Bourges Casemate" - began to be added to the forts, each one armed with two quick firing 75mm artillery pieces. Fort de Choisel was no exception with two of these formidable emplacements sited on the top of the fort. At the outbreak of the Great War de Choisel was armed with no less than six QF 75mm artillery pieces and four turreted Hotchkiss machine guns. In addition the garrison infantry could man the ramparts, each section controlled by an officer standing in an armoured observation turret of a similar design to those which had been built to work with each of the armoured turrets. Moat protection was achieved with the placement of Hotchkiss Revolver canons and machine guns plus infantry deploying small arms and hand grenades. The peace time masonry barrack blocks were not used in time of conflict, the garrison was housed instead in subterranean barrack blocks deep within the armoured "red line" areas of the fort. Painted red lines on corridor walls within the fort denote the areas which were deemed to be bombardment proof.
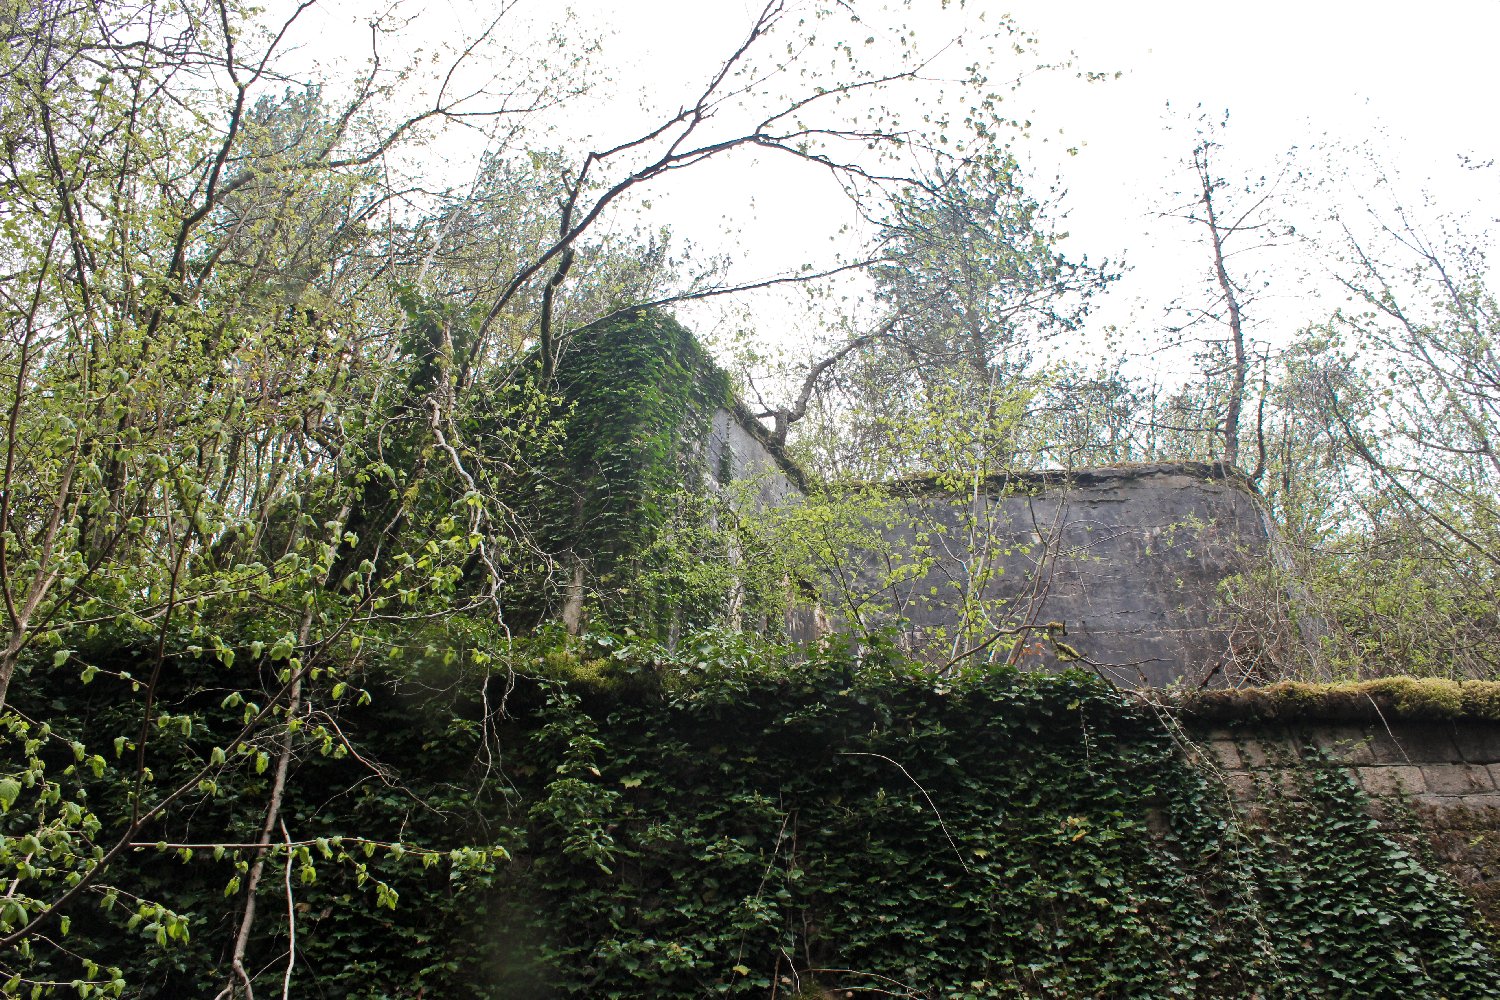
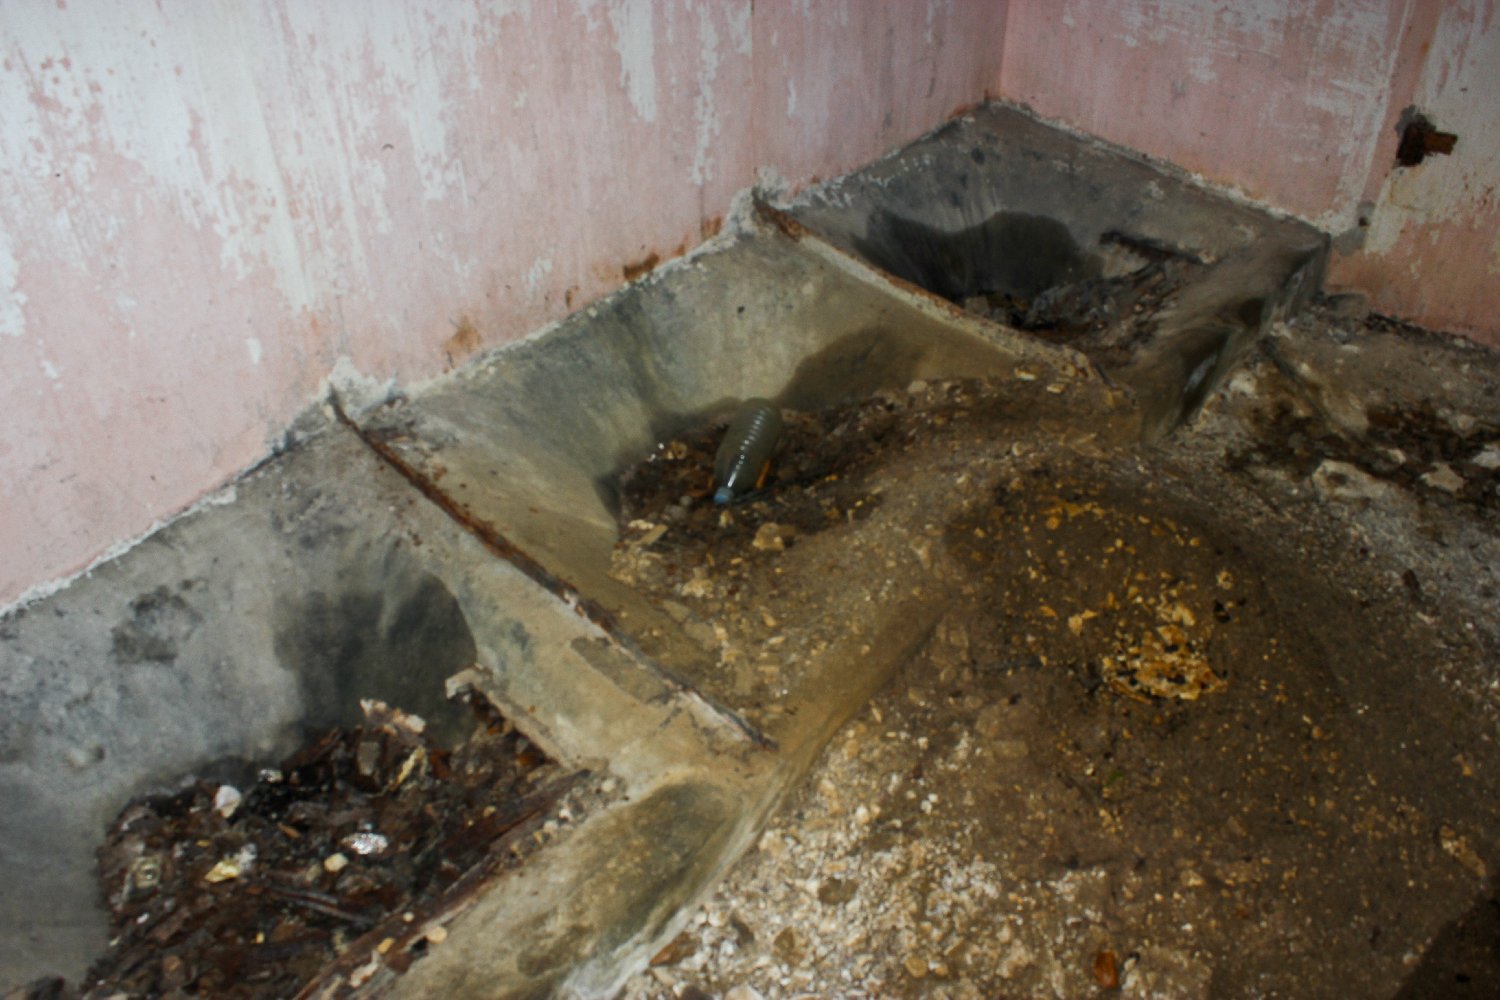
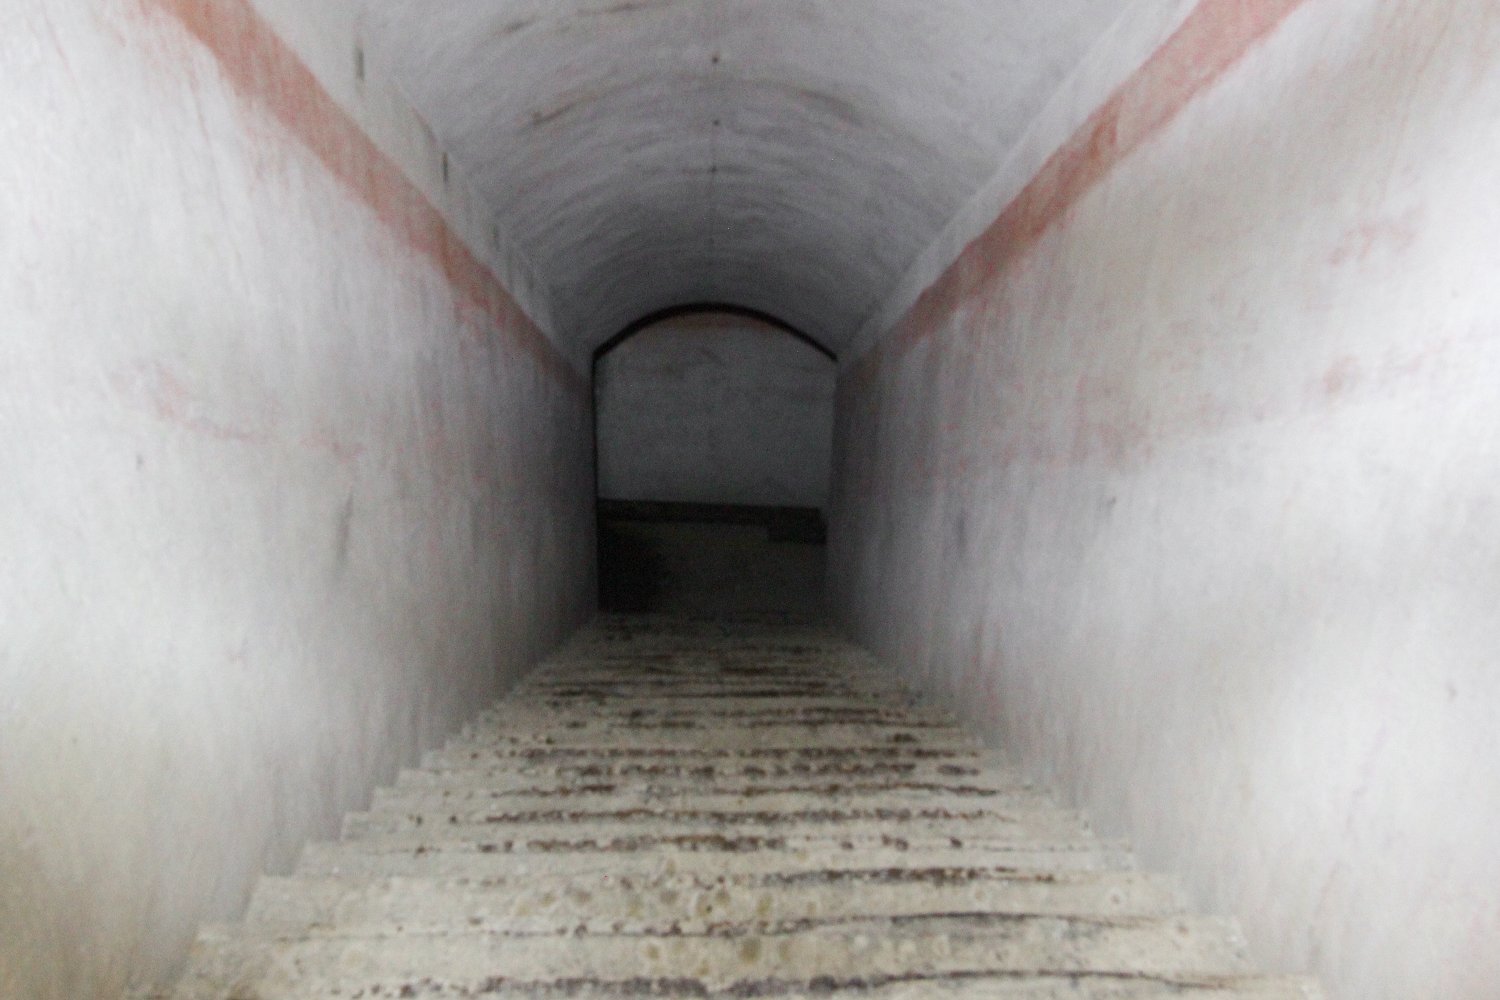
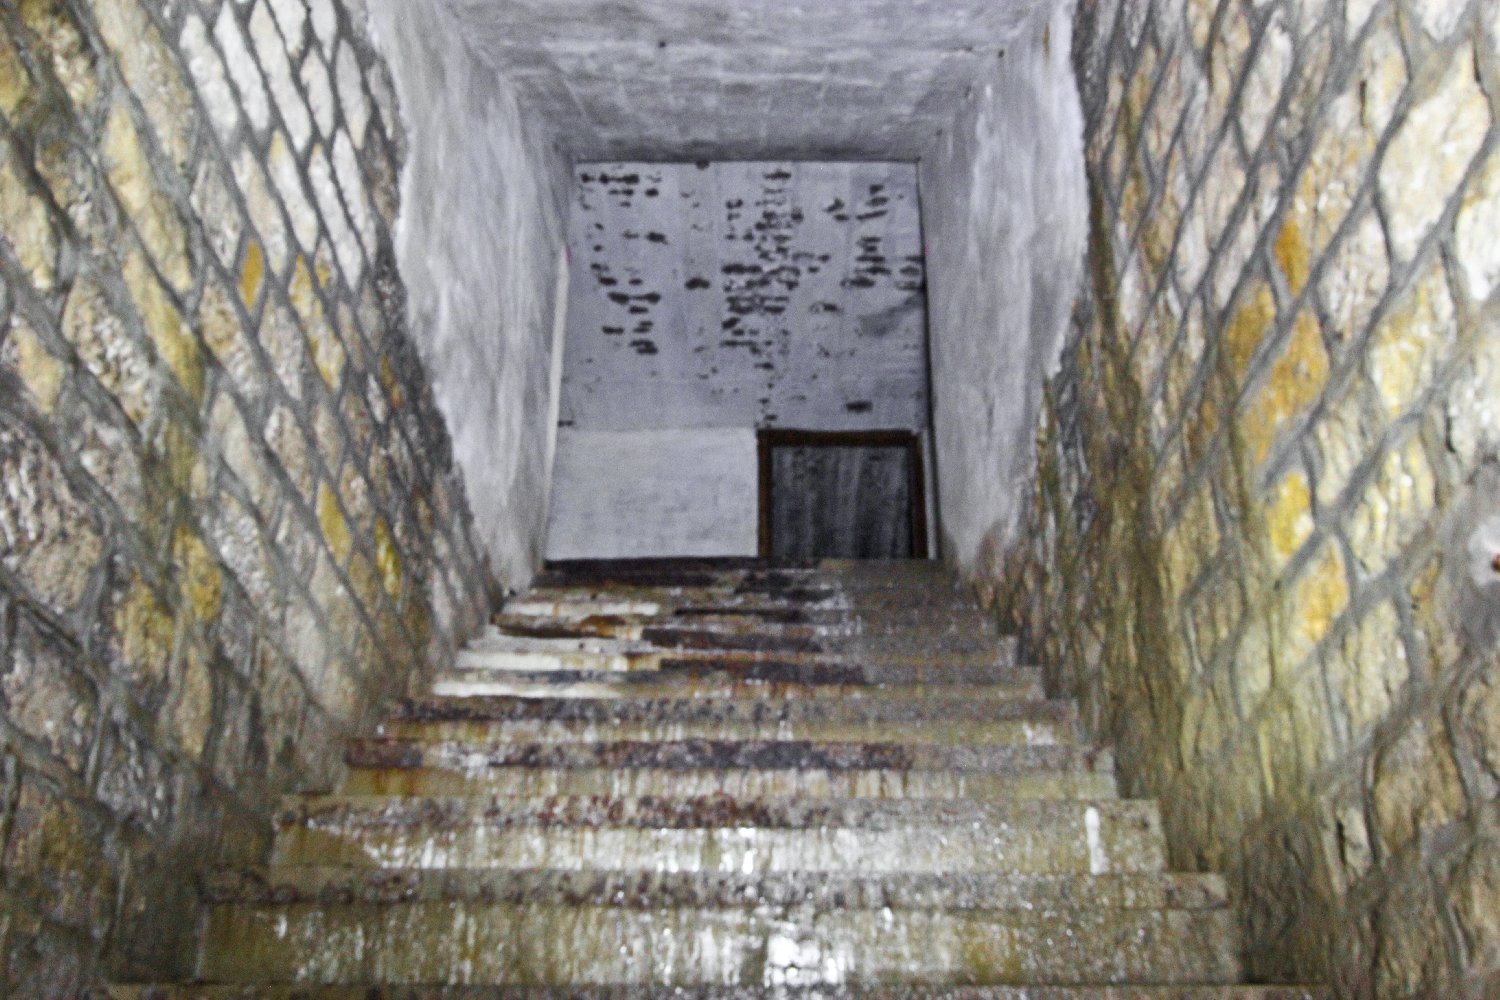
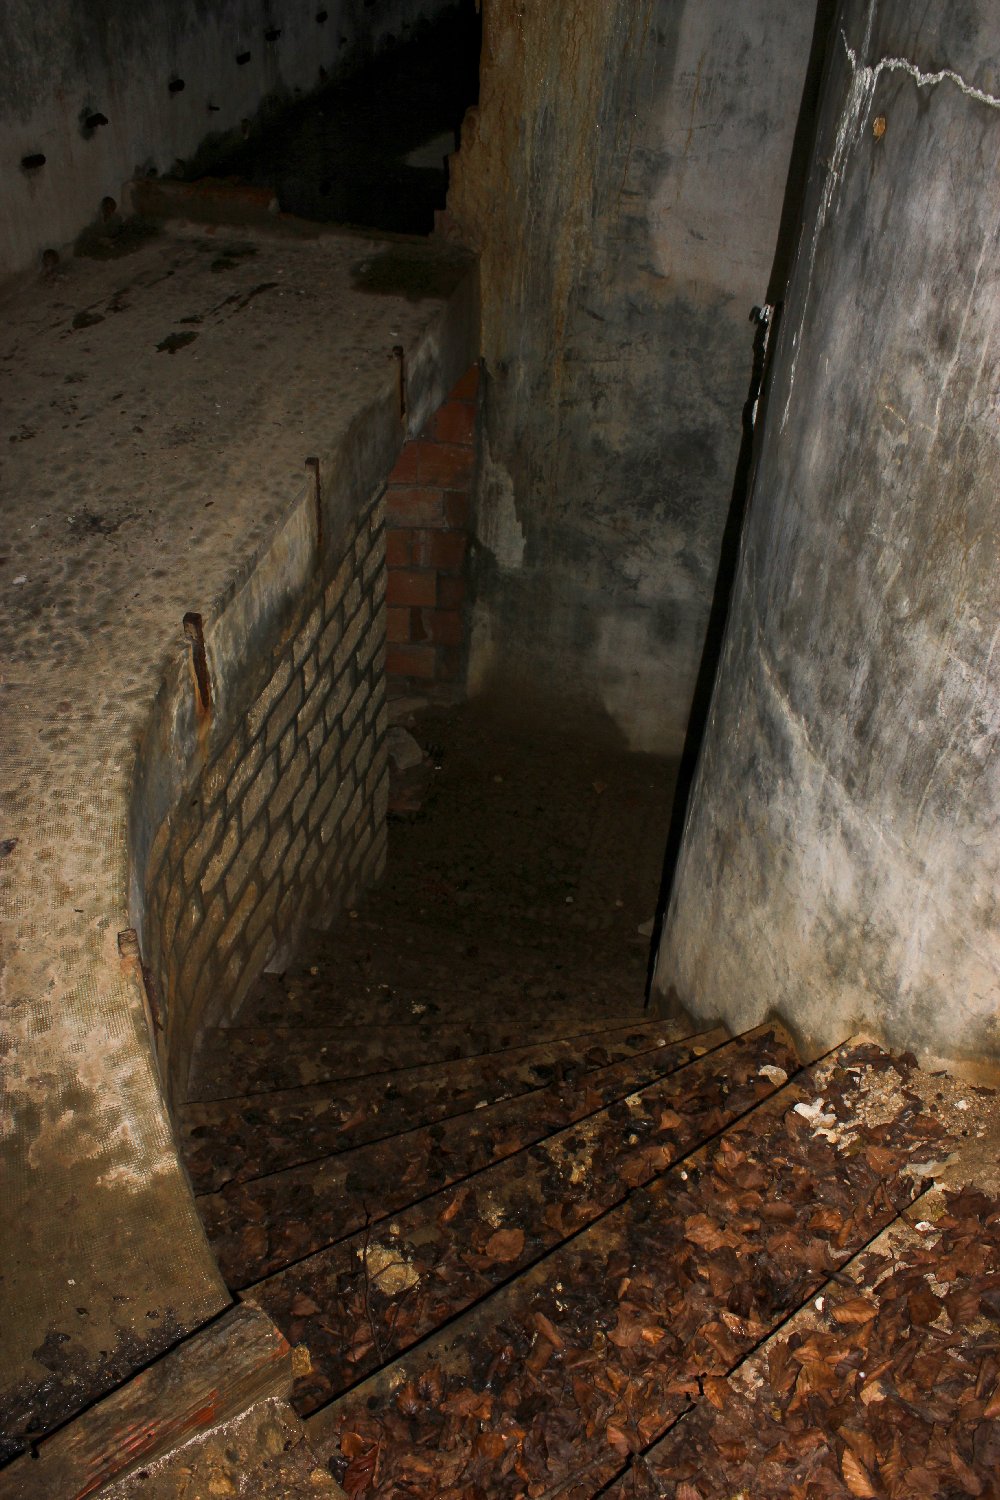
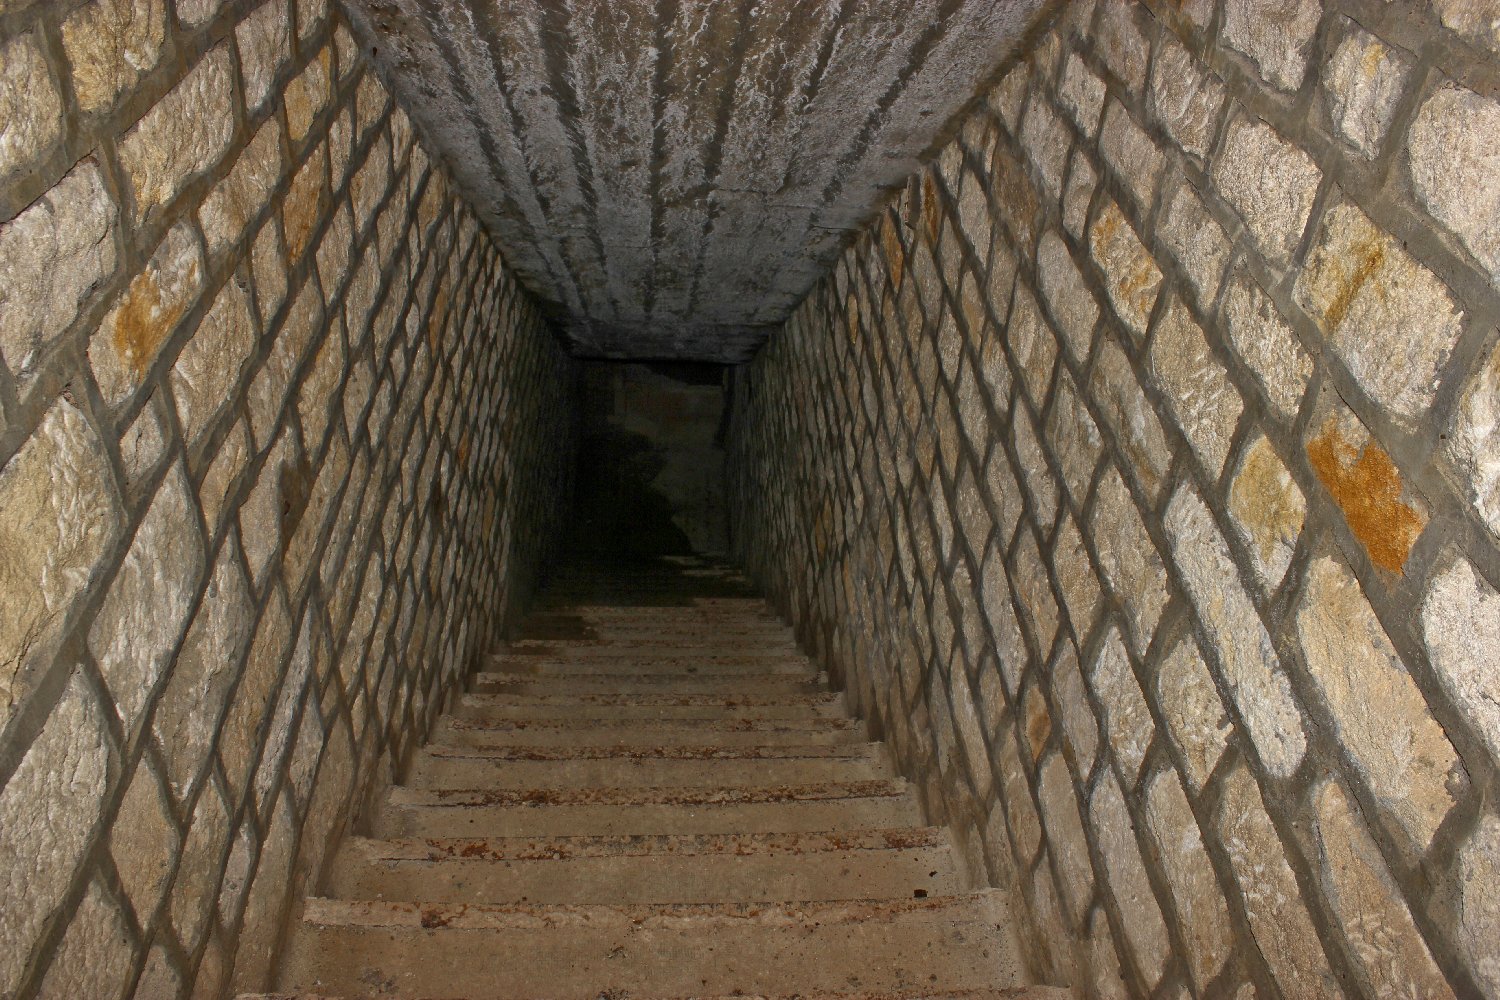
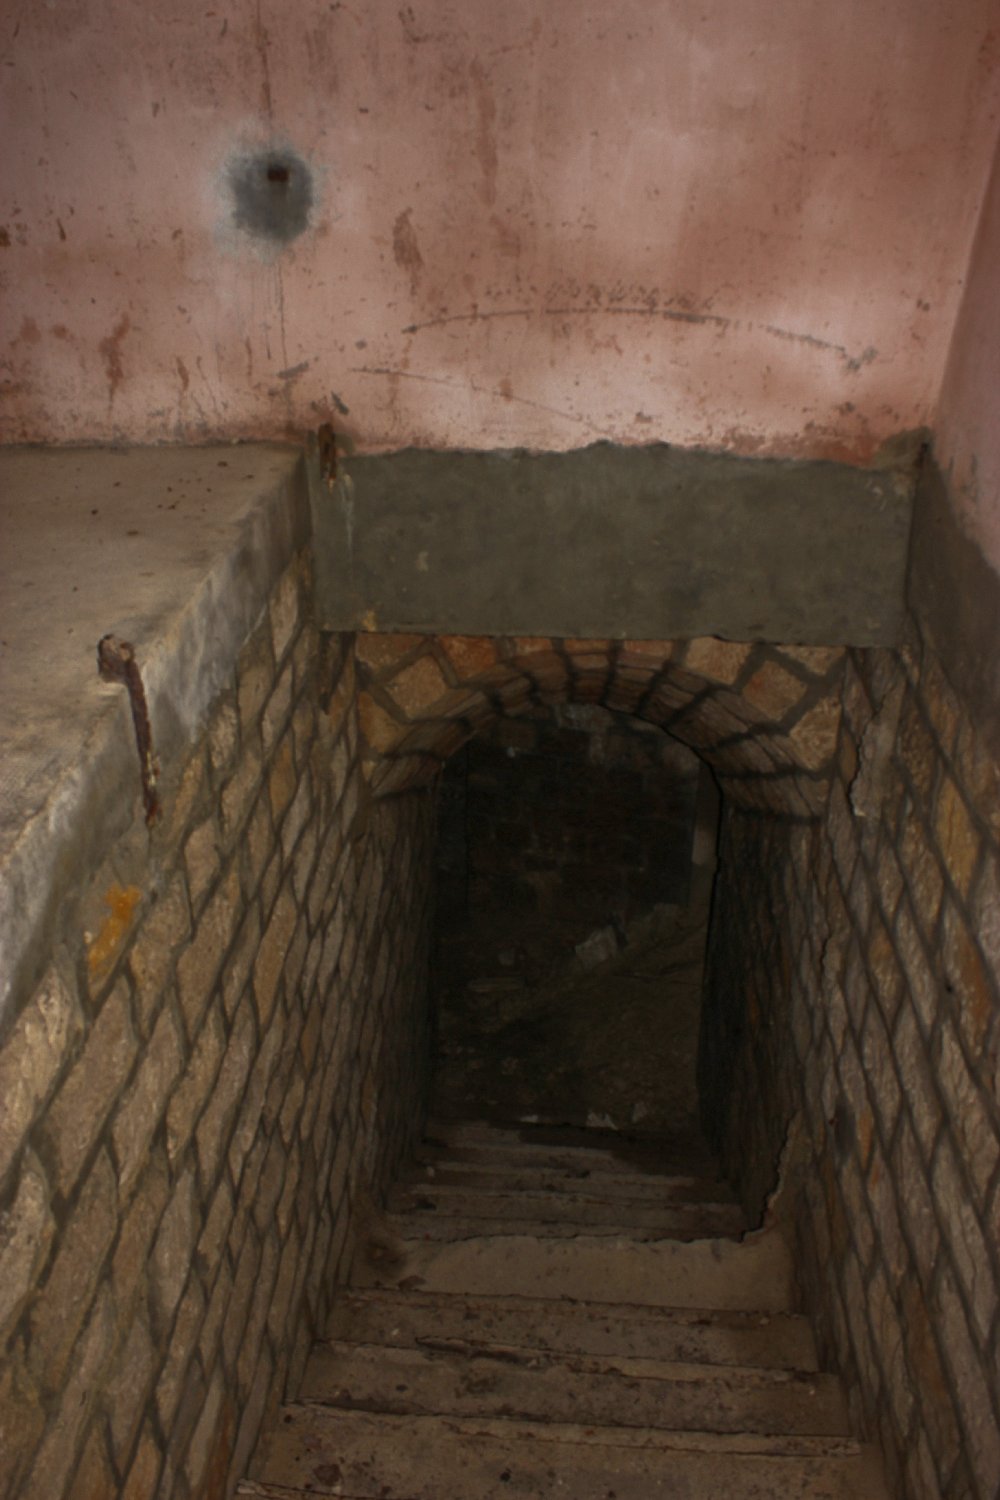
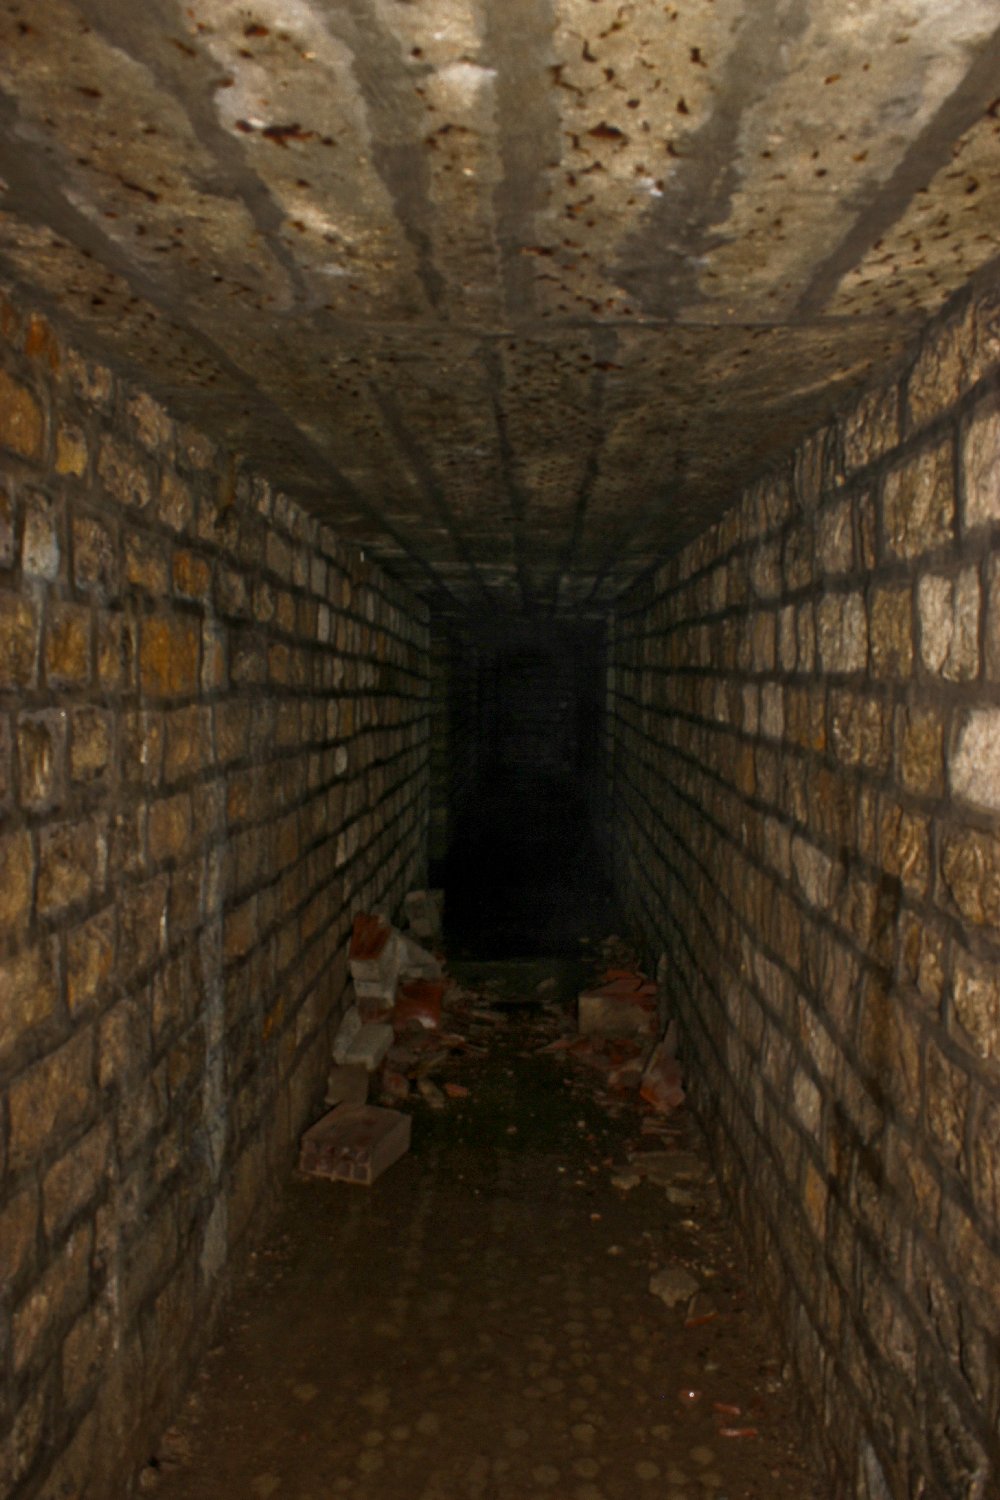
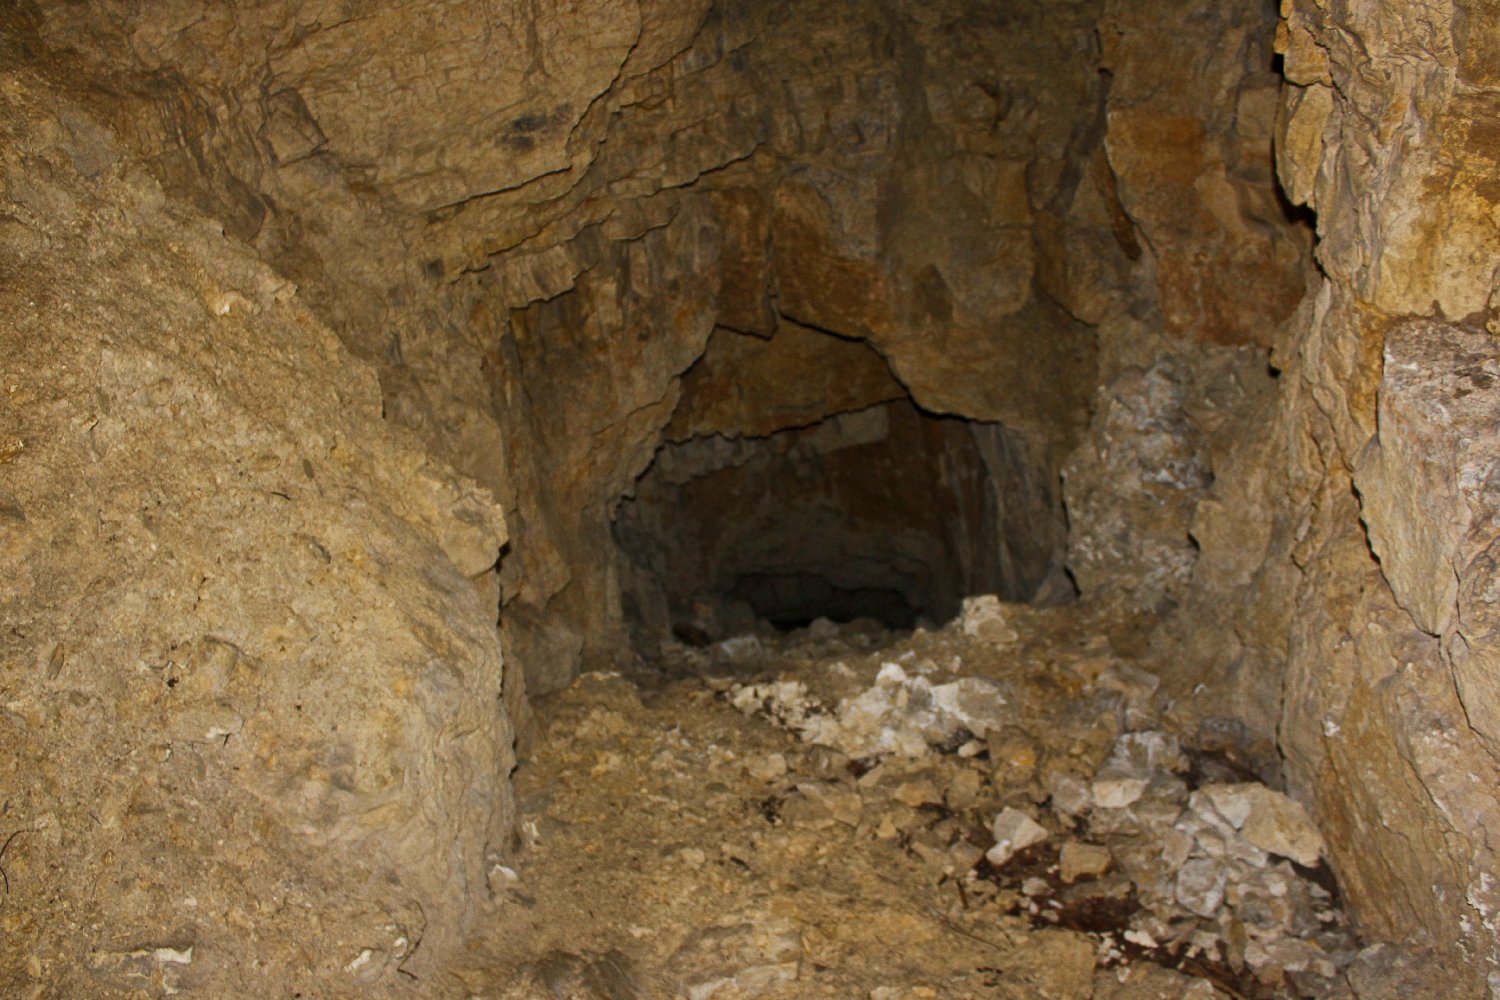
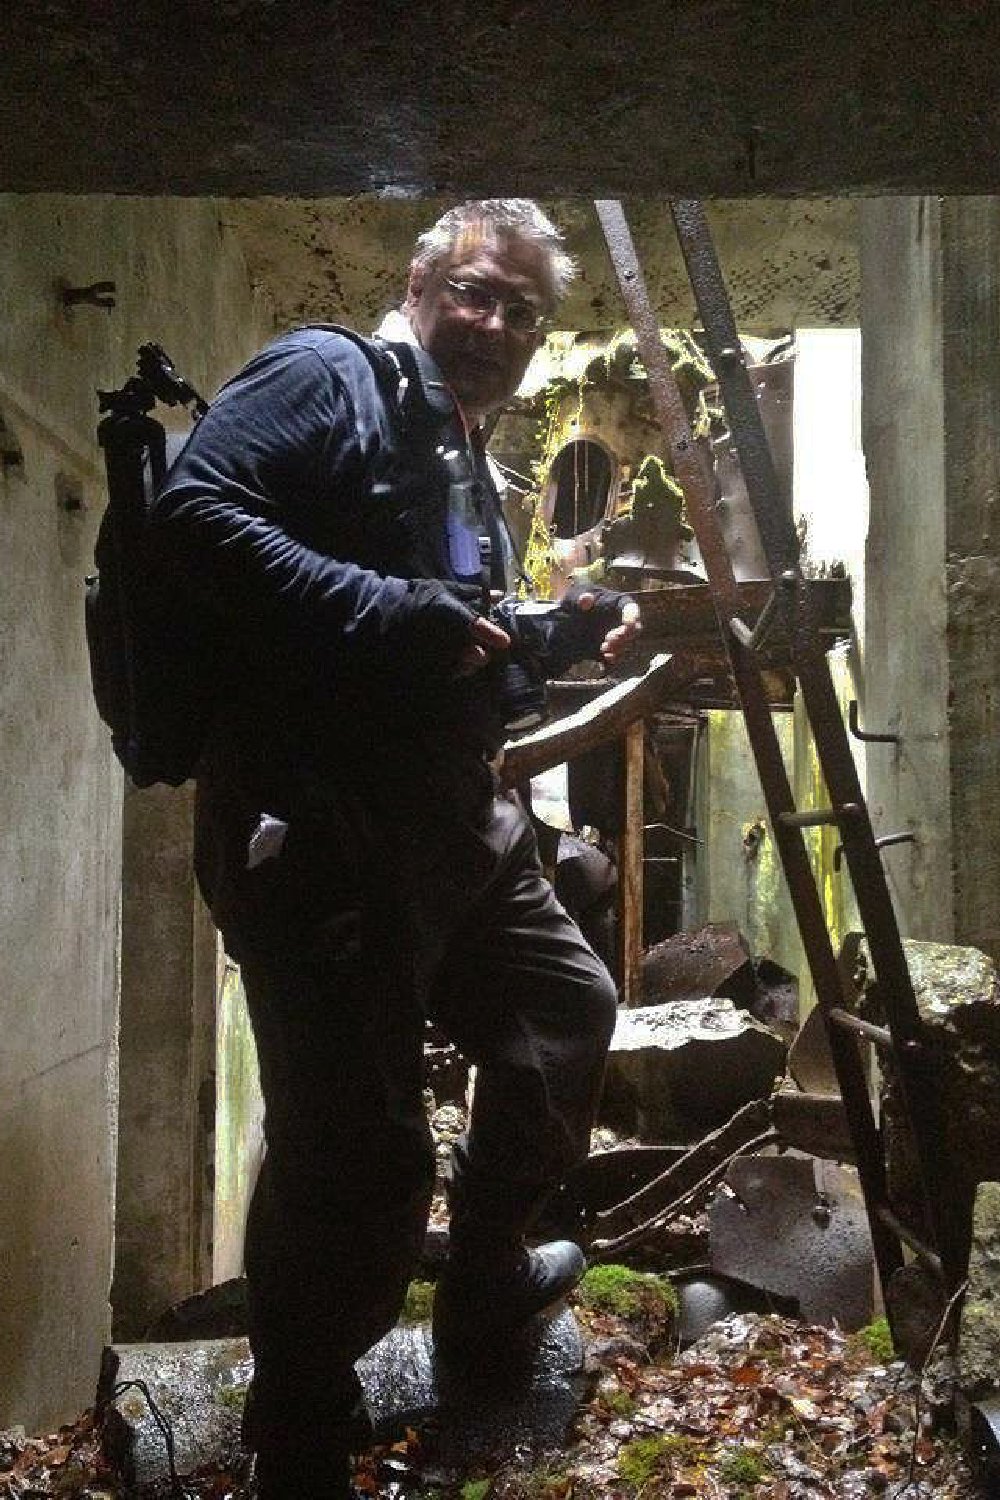
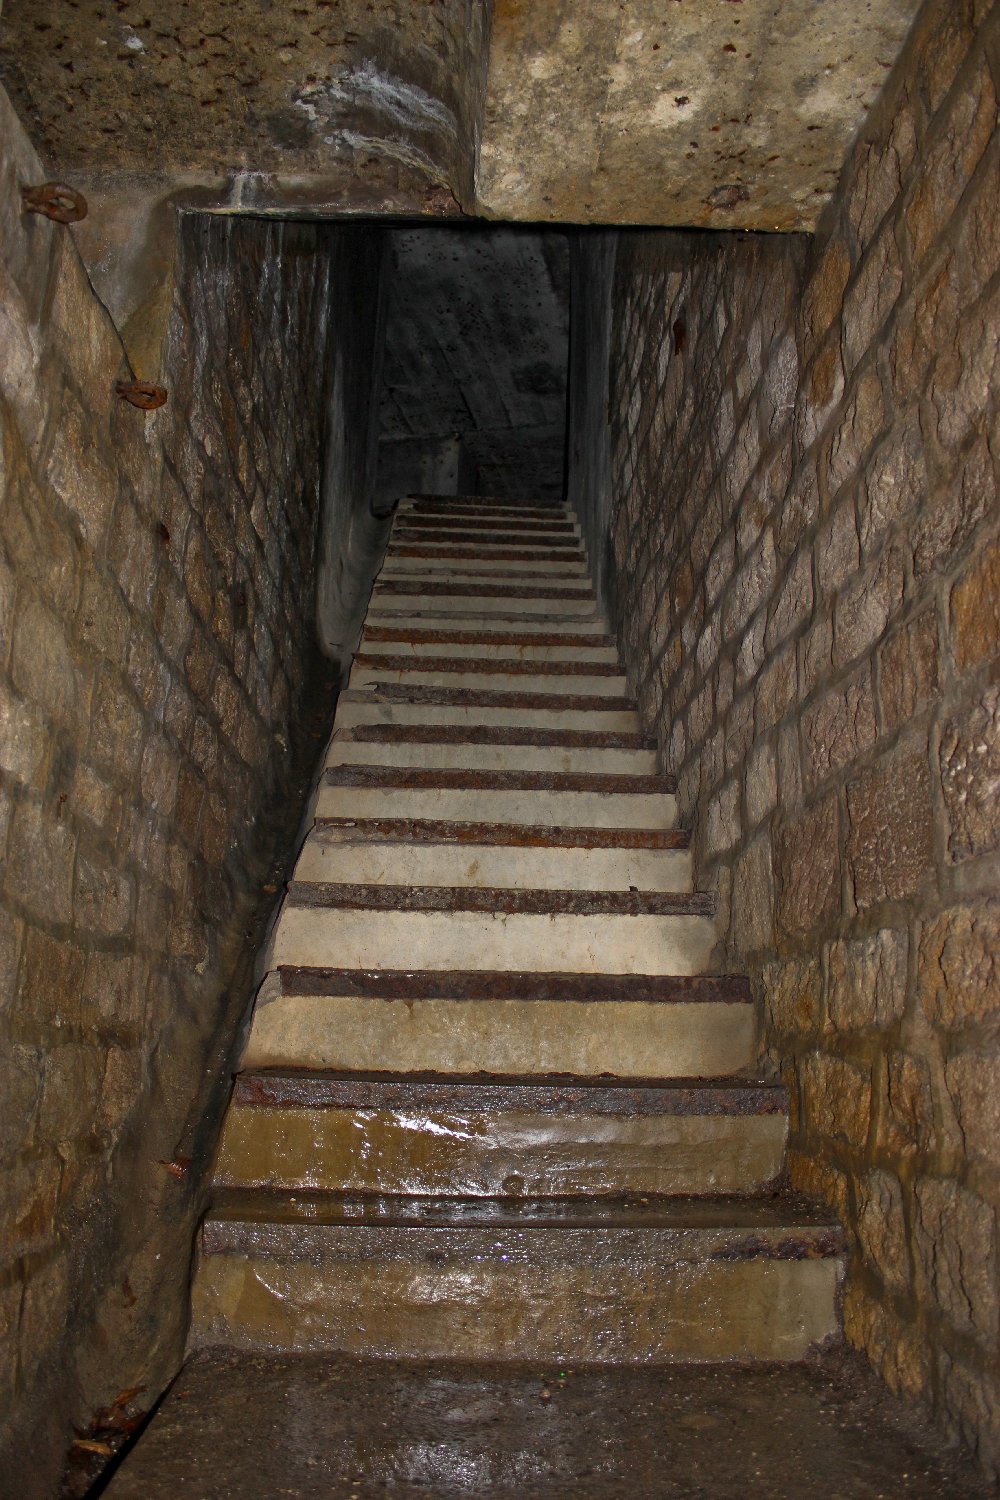
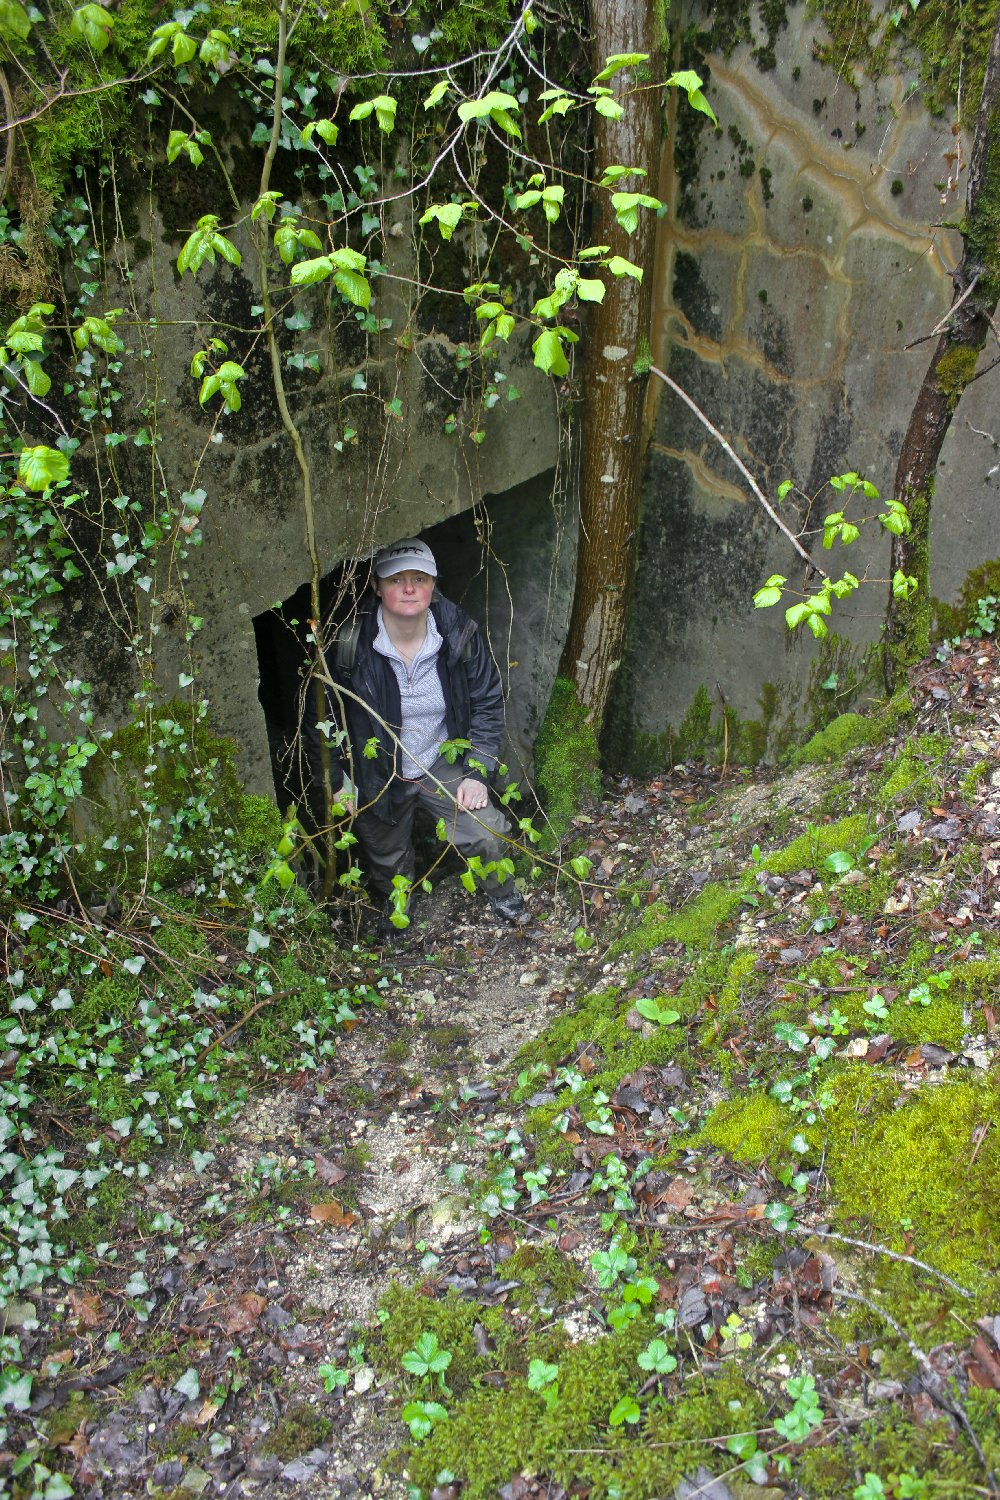
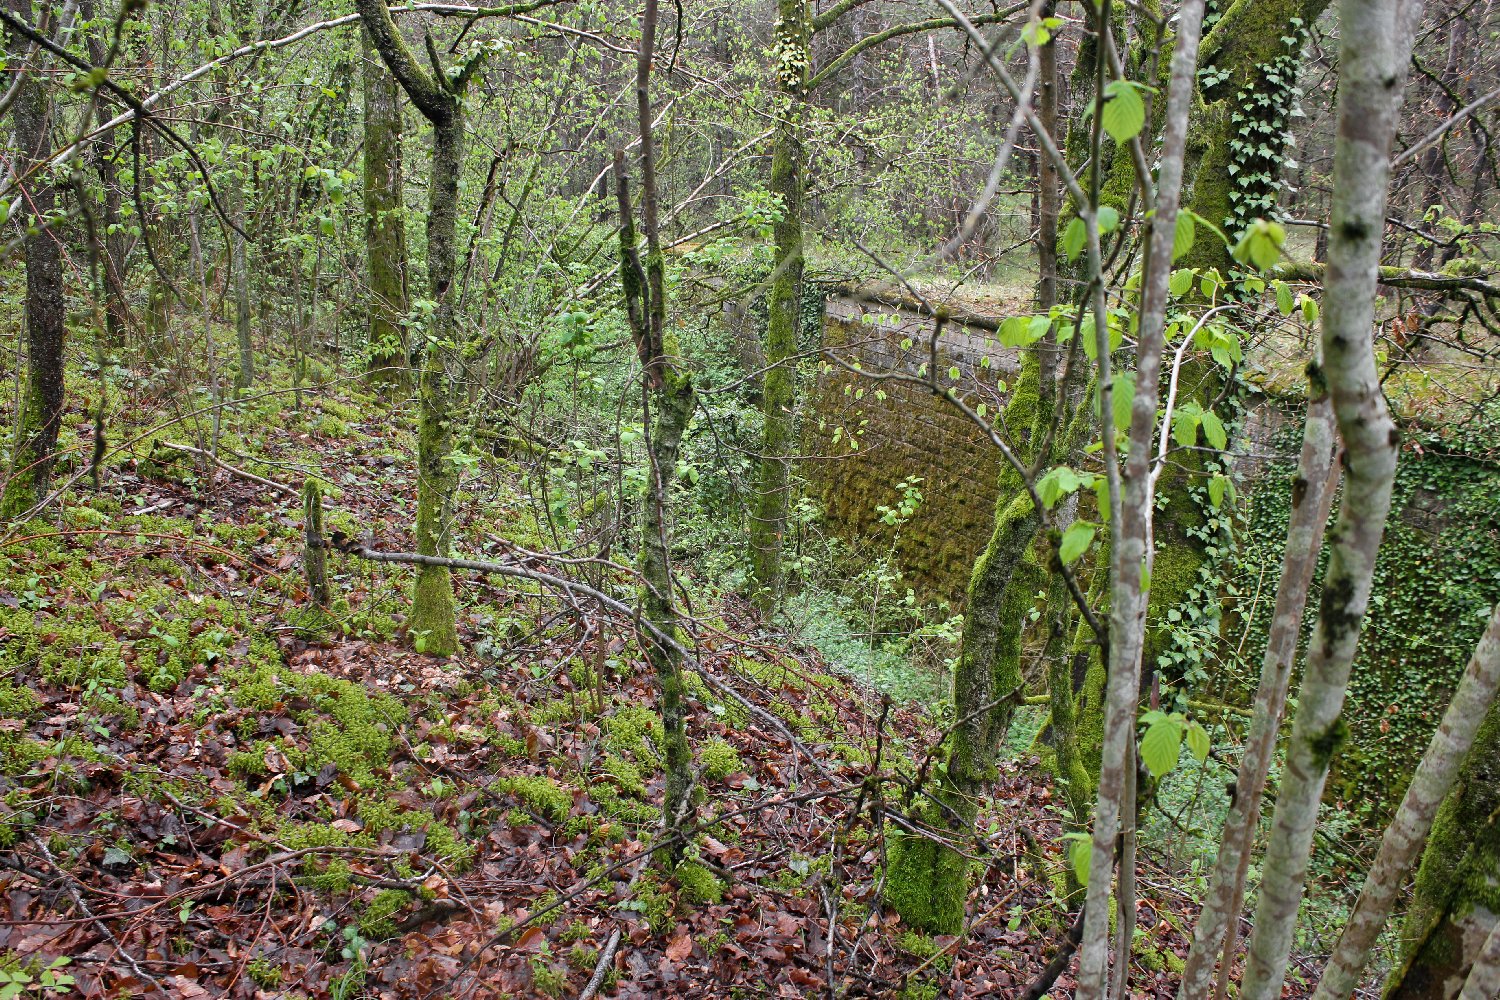
After the Battle of Verdun ground to a halt in December 1916 the lessons learnt during the fighting for Fort Vaux were analysed and a need for a series of interconnecting tunnels within all the forts was identified. This was in order to allow any fighting compartment to continue the battle even if the fort was partially occupied by the enemy. At Vaux the garrison had eventually capitulated not from lack of ammunition, nor by being overrun; rather they had to finally surrender simply because they ran out of drinking water. With the new tunnel systems that were ordered to be dug in the forts any fighting compartment could be re-supplied almost indefinitely through the tunnels, and the fort itself could also be accessed from the outside world by the same tunnel network in order to effect continued re-supply. The work began in 1917 and received the name "Travaux 17", which literally translates as "17 works". Many of the tunnels were never finished and very few were properly concrete lined, so it is common to find narrow tunnels dug into the rock with rotten pit props barely holding up the roofs, or huge areas of collapse only a few feet beyond the concrete walls proper of the fort. ABOVE is a "floor plan" of Fort de Choisel, shown here by kind permission of Cedric and Julie Vaubourg. I would strongly recommend a visit to their excellent site where comprehensive information and masses of superb photographs document this and all the other Verdun forts, plus many other fortifications throughout the whole of France - it is a "must see" site and there is a picture link to access it at the bottom of this page.
|

 Their
answer was to begin a second wave of fort construction employing several
radically new design concepts. The main feature of the newer forts was the
addition of self contained, heavily armoured gun emplacements in the form
of retractable turrets carrying a variety of different calibre weapons.
This design got rid of the reliance upon mobile artillery deployed within the
confines of the fort such as was conceived with the "Panic Forts" in the
first wave of construction after the peace of 1872. By far the most
commonly encountered emplacements from this period are the double
Hotchkiss machine gun turret and the twin 75mm fast firing artillery
turret, but there are also several twin 155mm artillery turrets dotted
amongst the forts providing a much heavier bombardment capability in
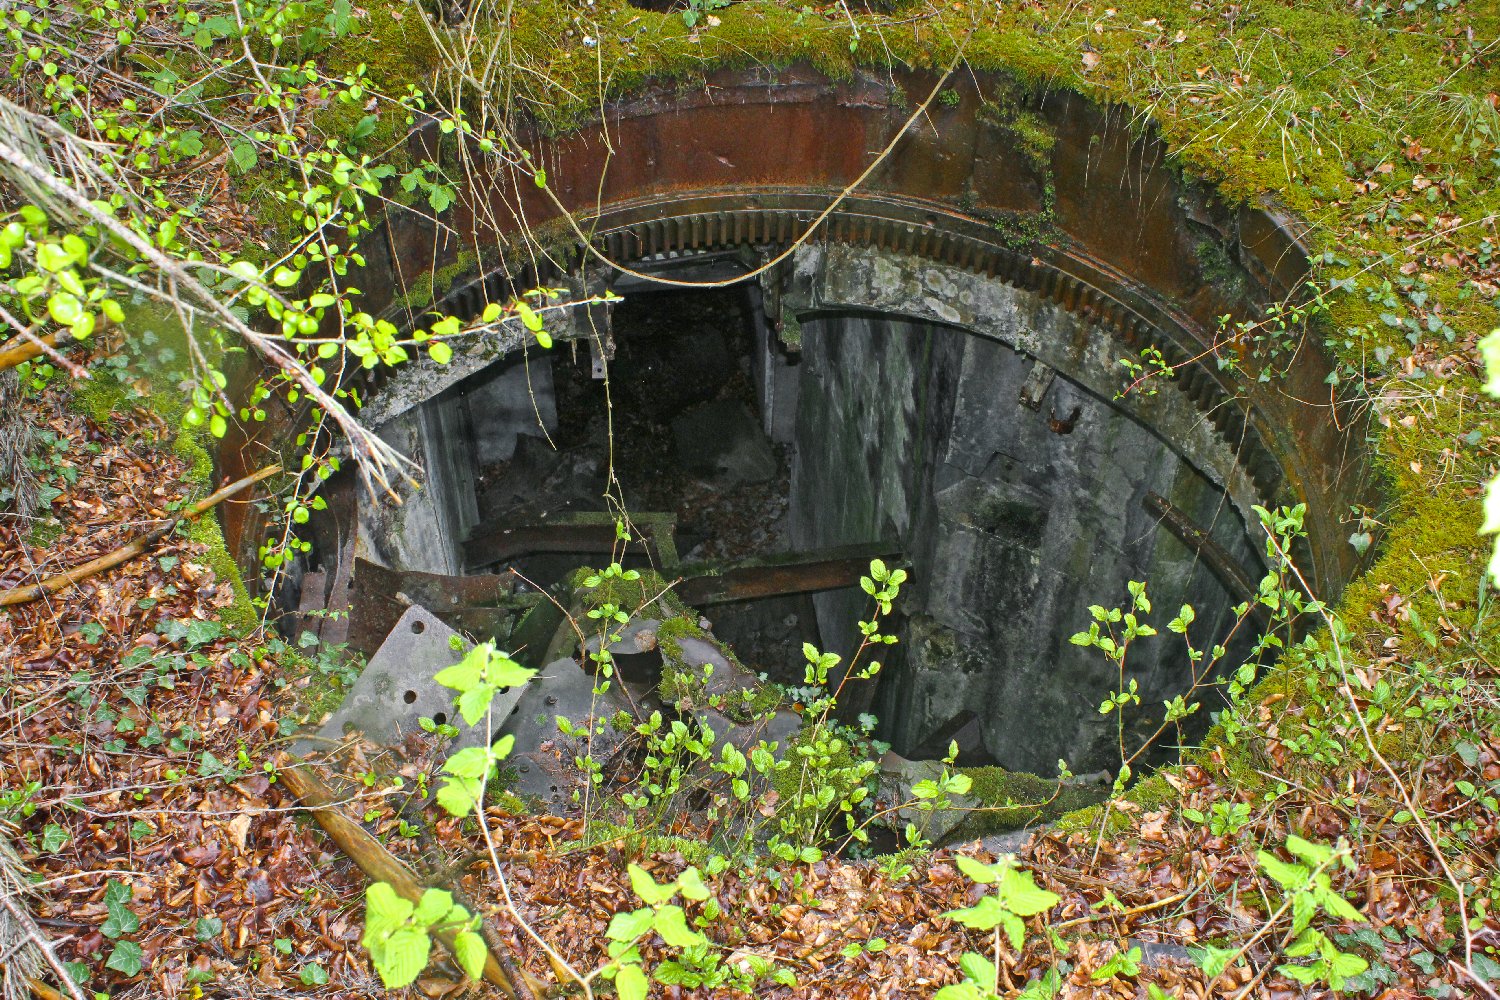
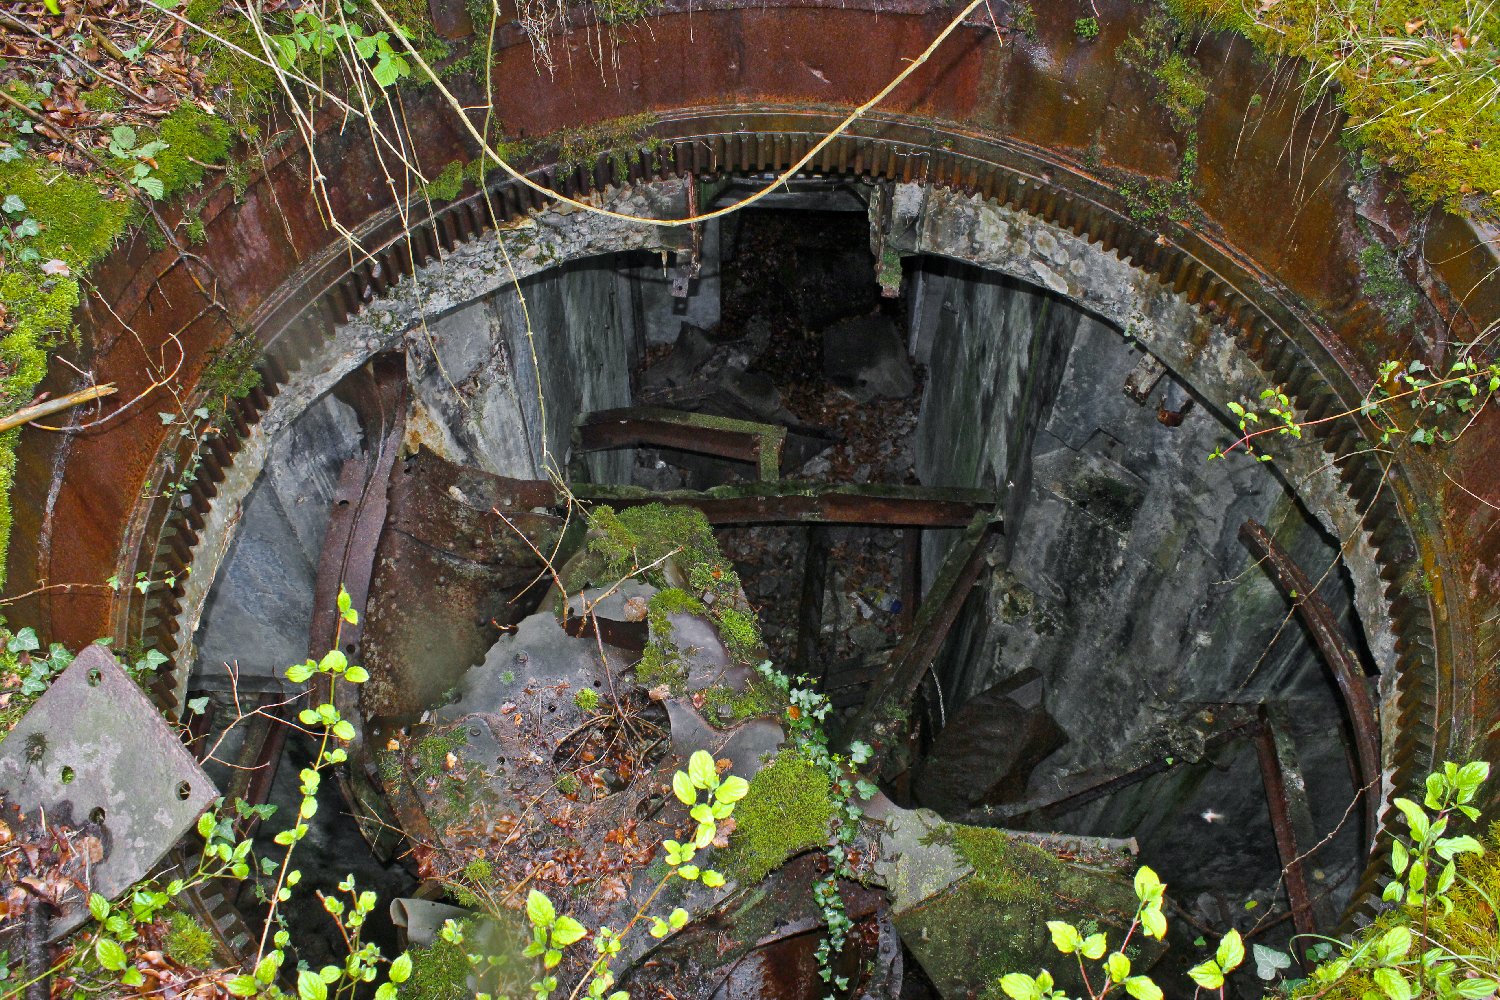
support of the lighter artillery pieces. All the turrets worked in
conjunction with a 7 inch thick armoured steel observation turret, each
connected to the corresponding fighting
turret by voice tube communication so that independent fire control
commands could be given by the observation officer even in the event of a
loss of power to the fort. At the same time the tendency to build fighting
galleries in the inner moat walls to protect the fort from attack along
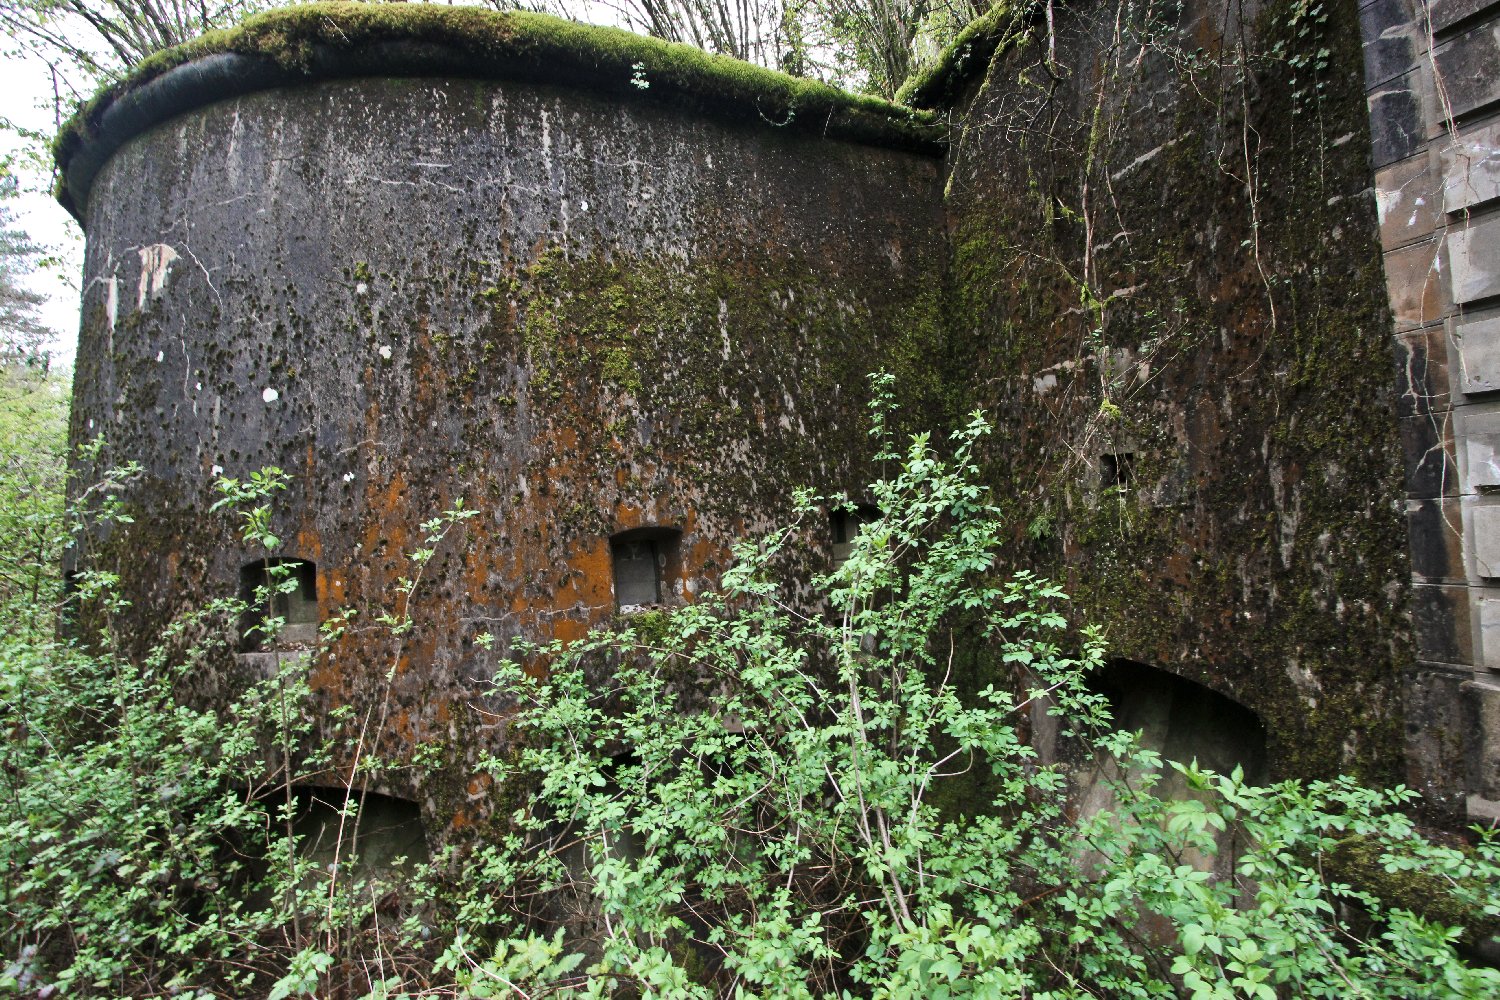
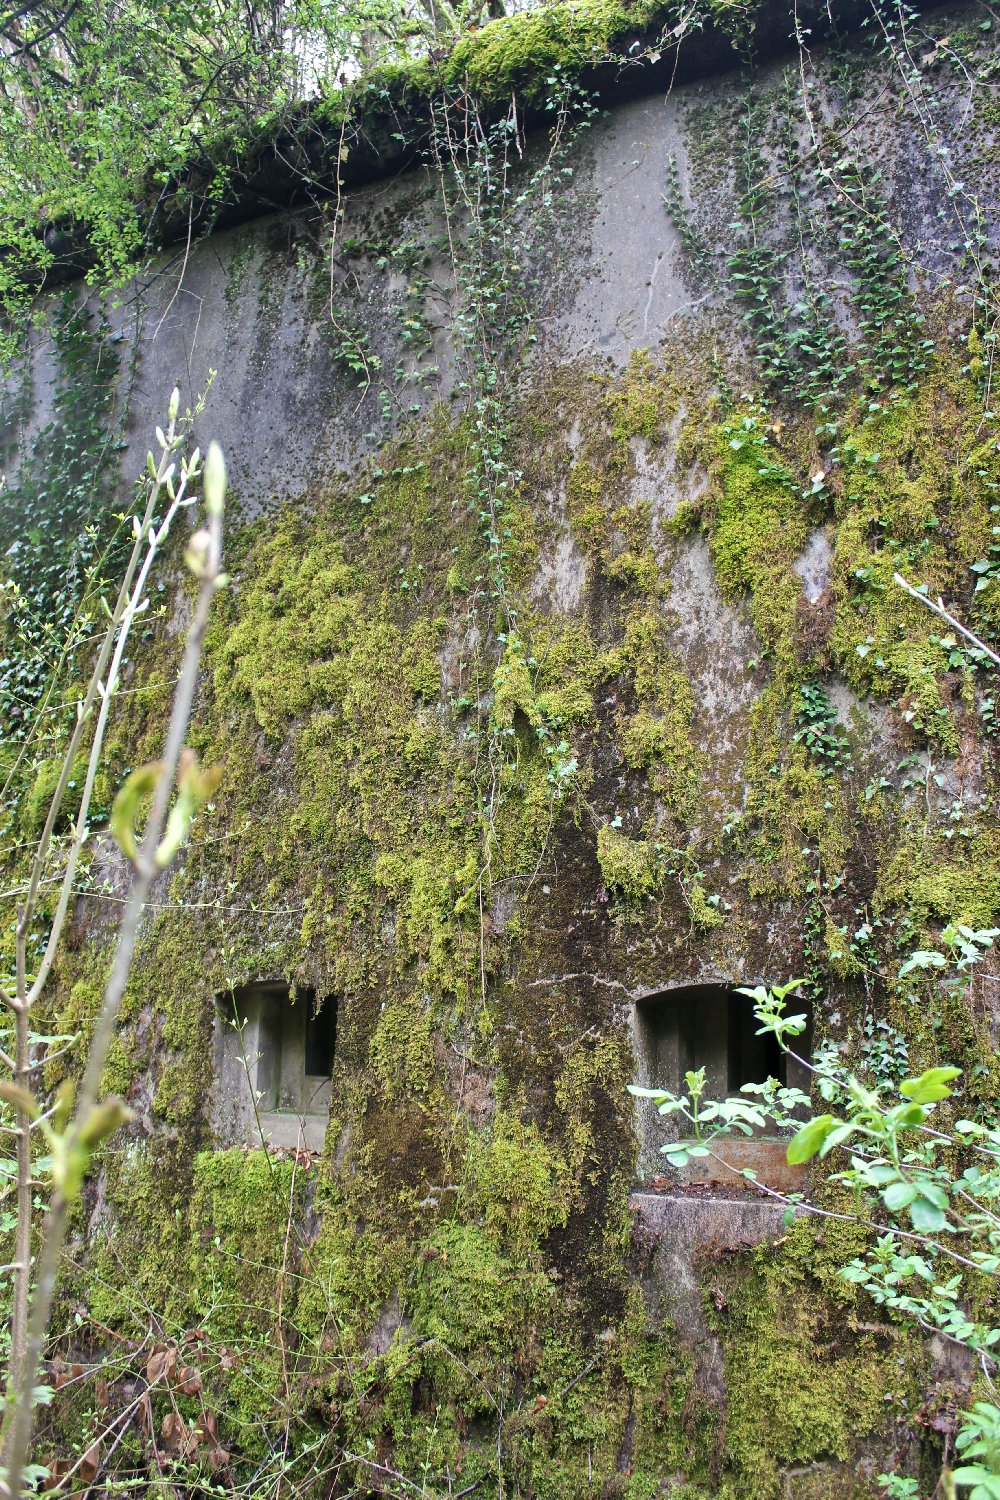
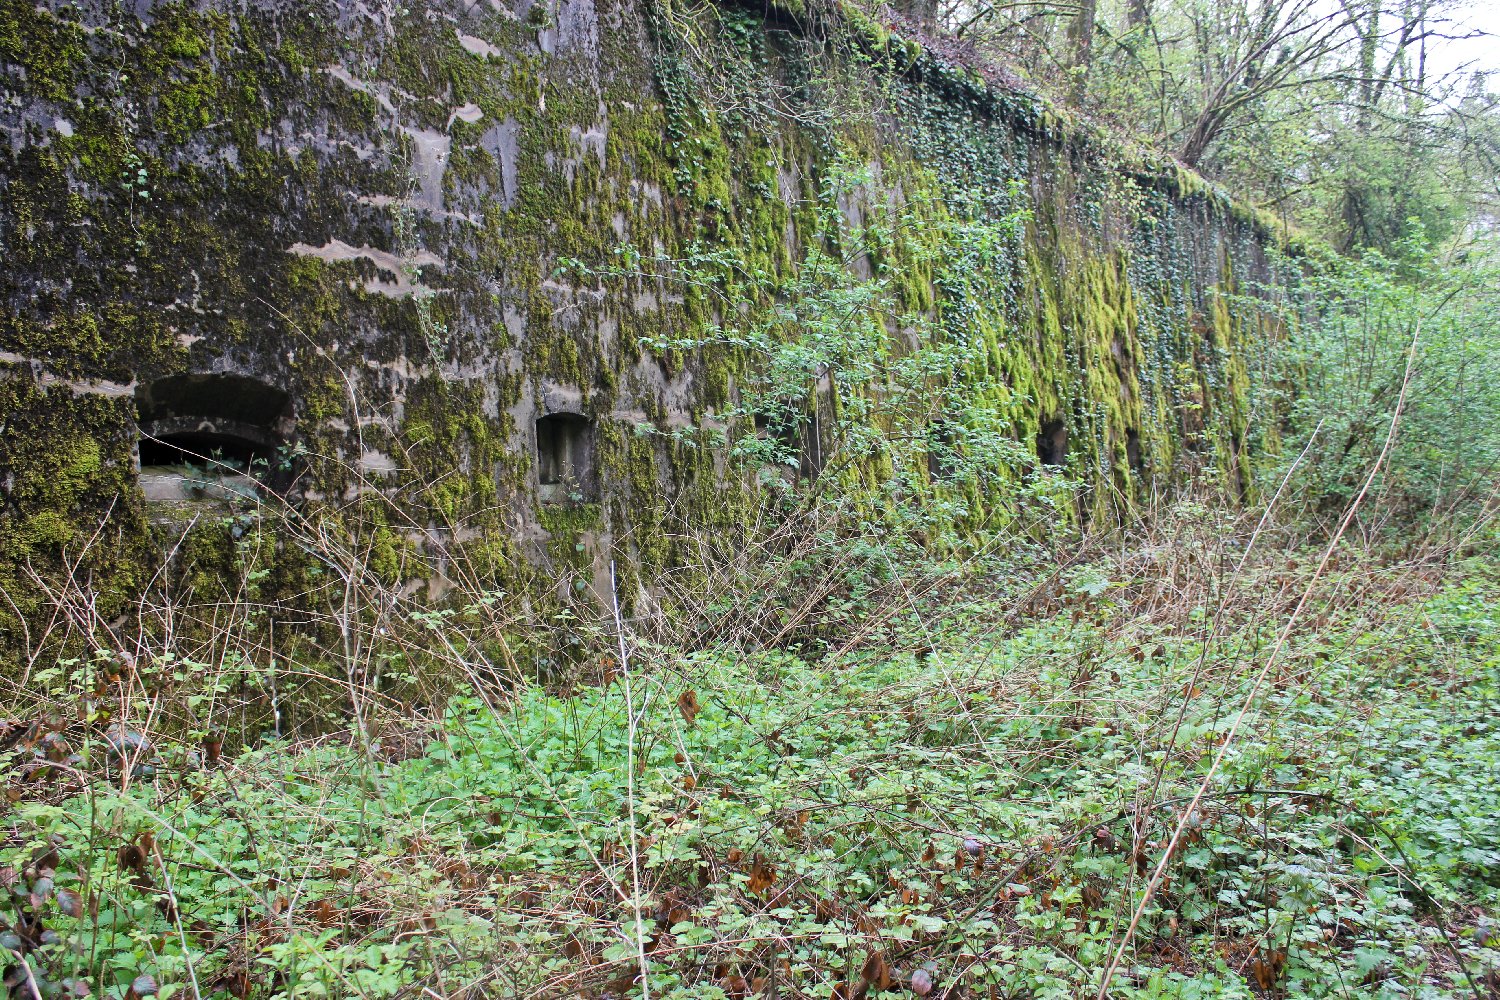
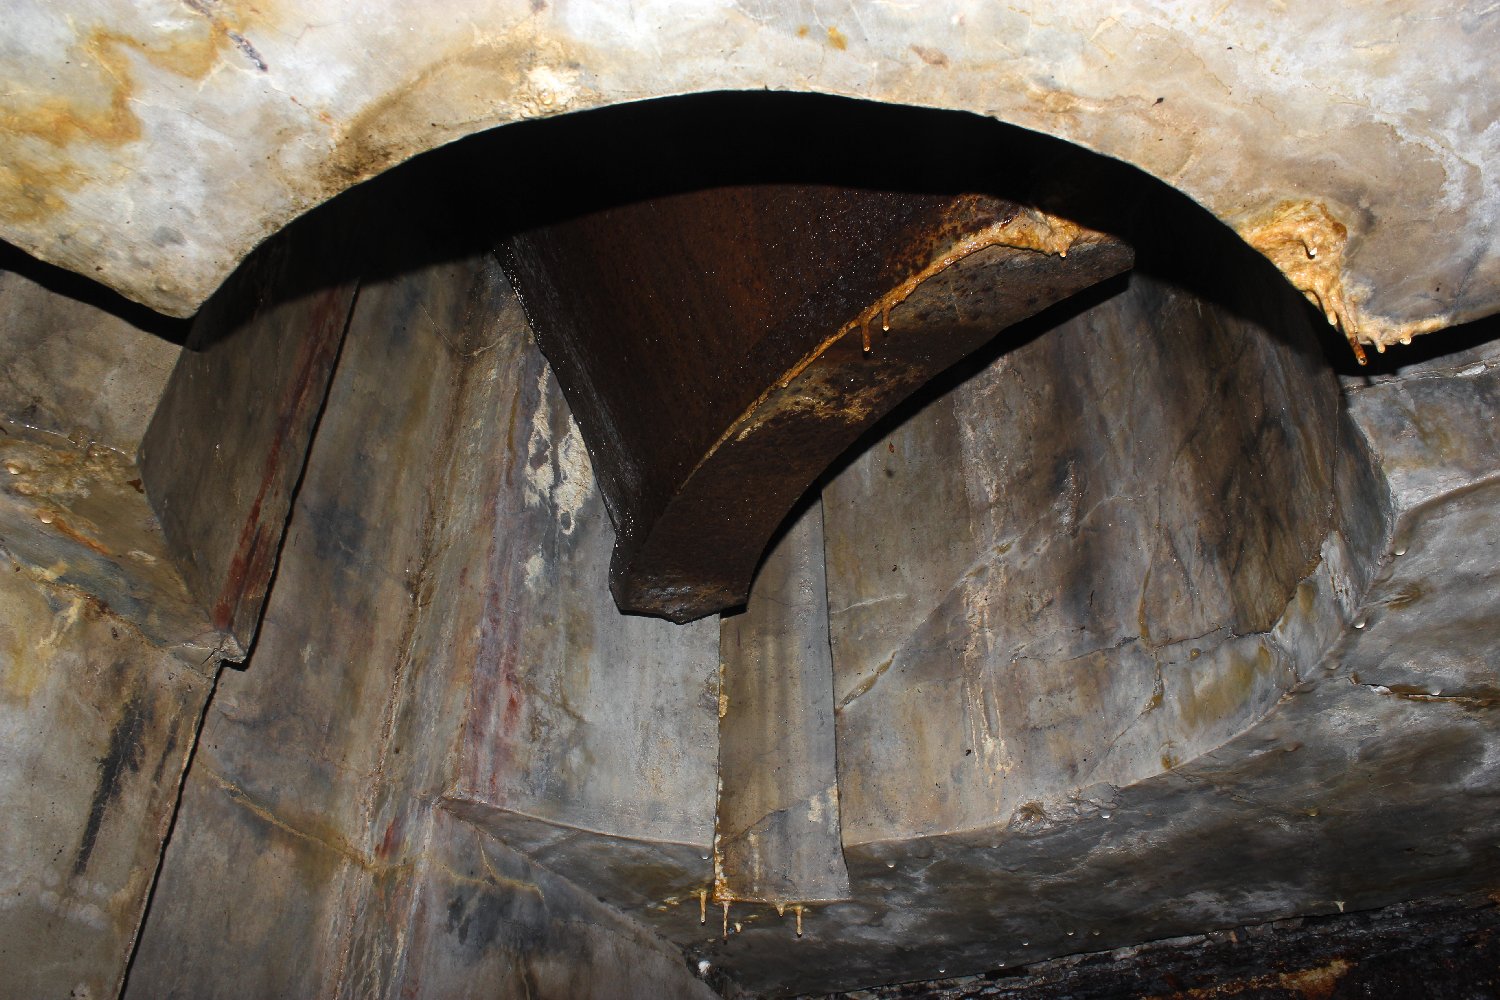
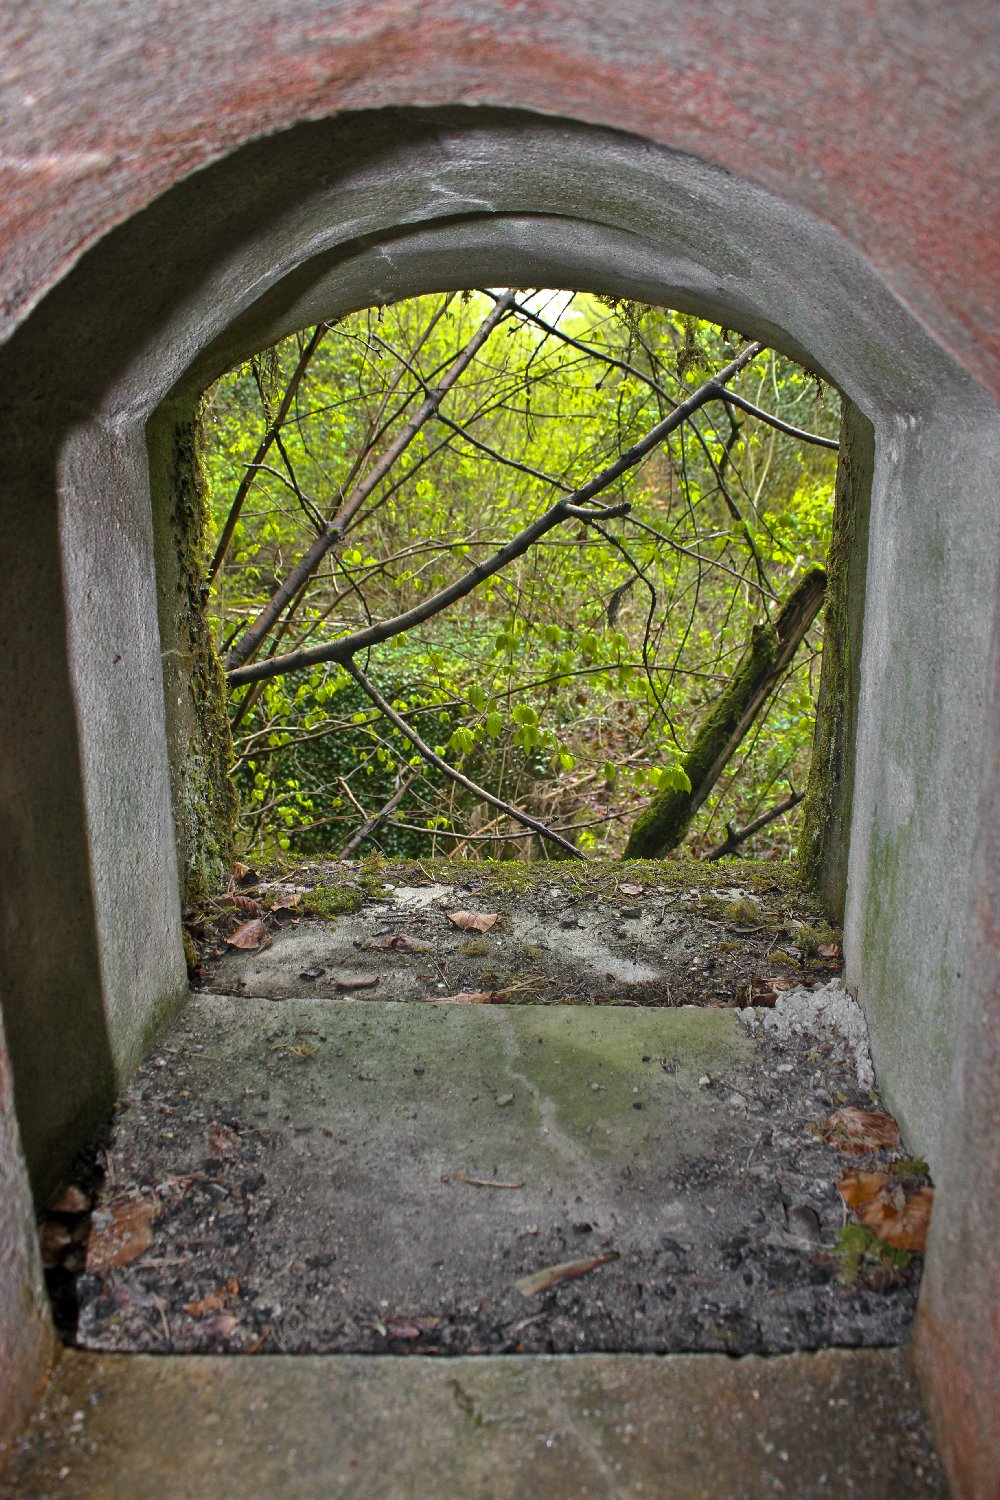
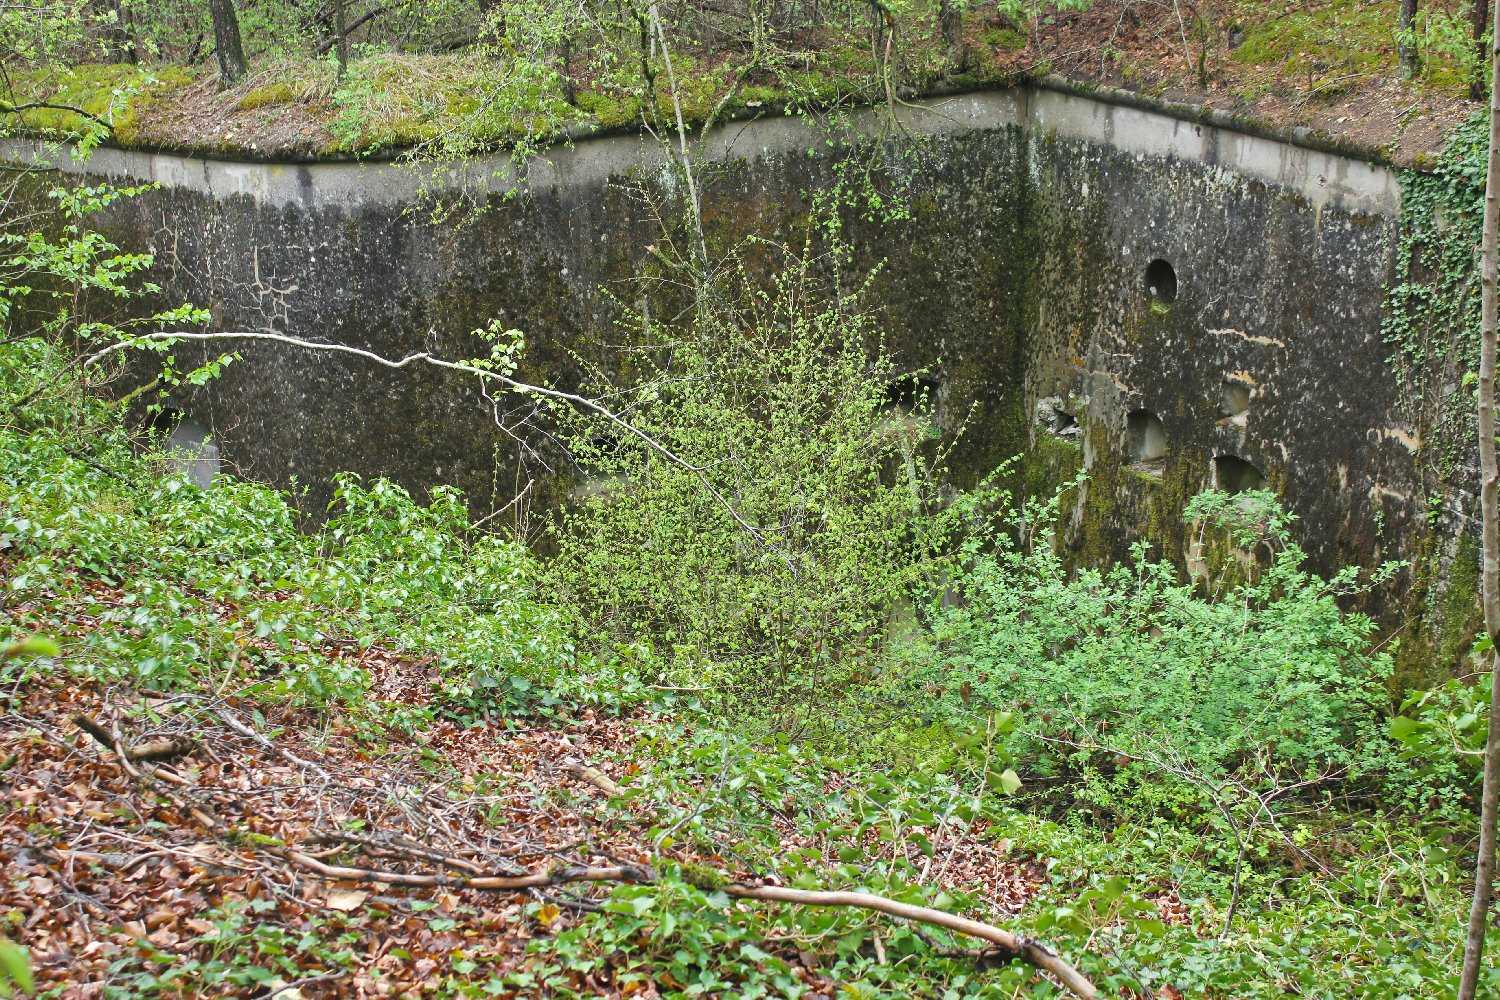
the moat was abandoned in favour of the construction of caponnieres. These
are hardened concrete emplacements jutting out into the moat in such a way
that the defenders could pour enfilade fire into their enemy along the
moat bottom. The caponnieres were also sited in such a way as to afford
mutual support to adjacent caponnieres. The problem though with
caponnieres is that despite their heavily armoured walls they are still
very vulnerable to plunging artillery fire such as that from howitzers and
mortars, so as a result their roofs had to be built ever thicker in order
to withstand the likes of the 420mm
Krupp siege gun. Increasingly the construction of caponnieres was
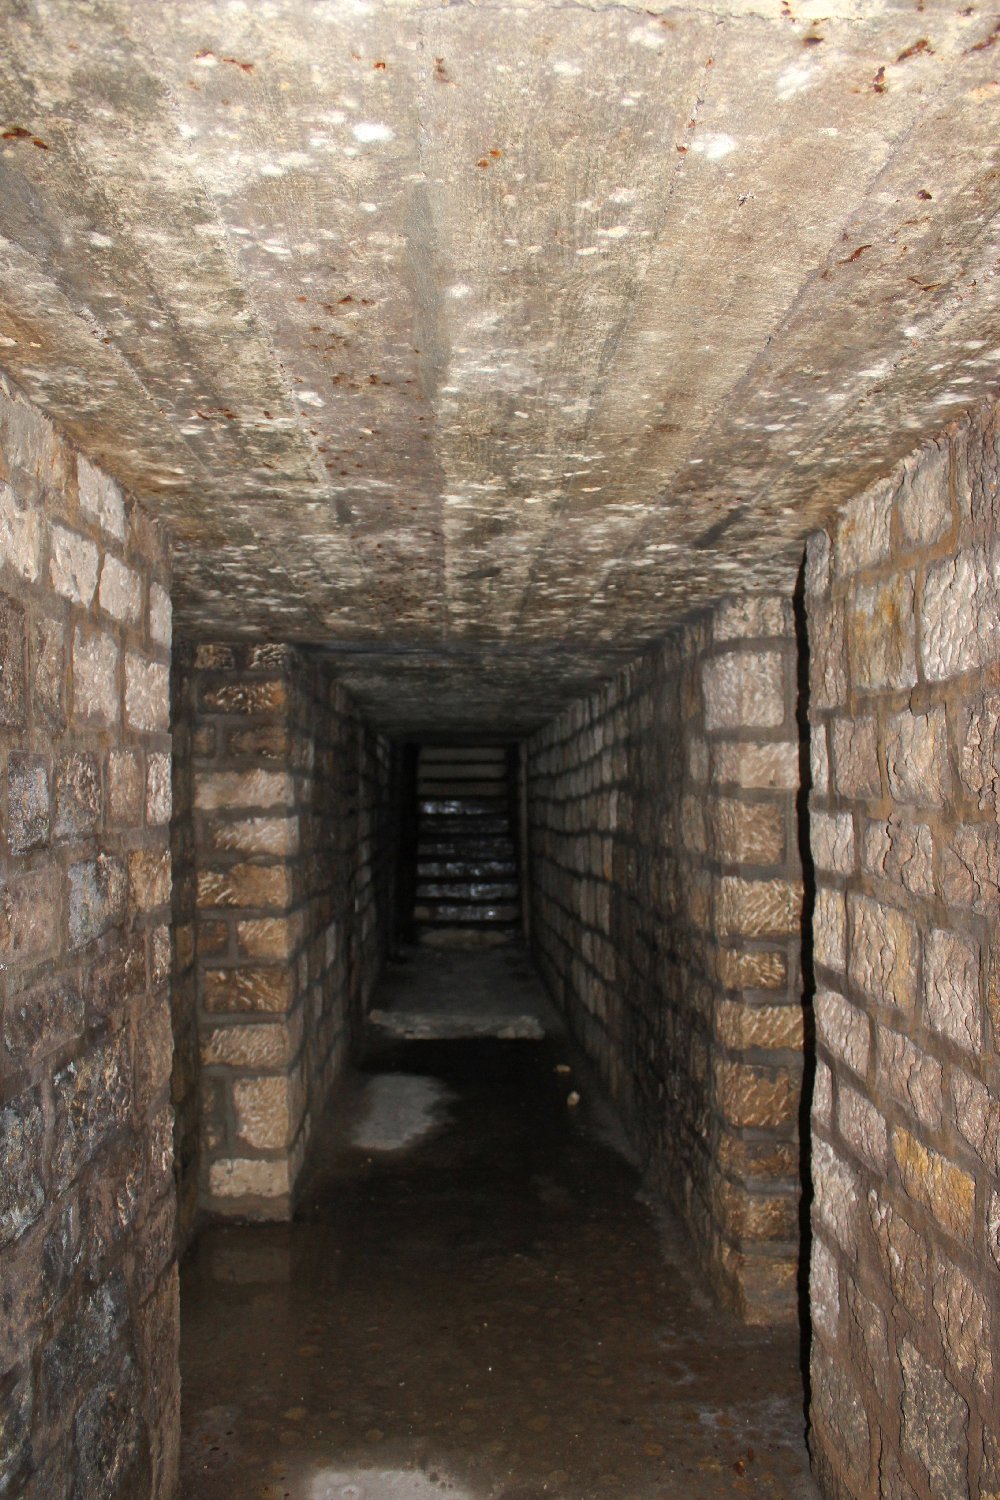
abandoned in favour of the construction of counterscarp galleries instead
which are built into the outer wall of the moat and accessed by tunnels
travelling beneath the moat bottom from within the fort proper. This meant
that instead of a roof made with 3 or 4 feet of concrete the soldiers defending
the moat could now rely upon several feet of earth over their heads as
well. Despite the efficacy of counterscarp galleries the forts were still
built with, or retained during periods of modification, a double caponniere on the entrance elevation of the fort to protect the drawbridge
entrance.
Their
answer was to begin a second wave of fort construction employing several
radically new design concepts. The main feature of the newer forts was the
addition of self contained, heavily armoured gun emplacements in the form
of retractable turrets carrying a variety of different calibre weapons.
This design got rid of the reliance upon mobile artillery deployed within the
confines of the fort such as was conceived with the "Panic Forts" in the
first wave of construction after the peace of 1872. By far the most
commonly encountered emplacements from this period are the double
Hotchkiss machine gun turret and the twin 75mm fast firing artillery
turret, but there are also several twin 155mm artillery turrets dotted
amongst the forts providing a much heavier bombardment capability in
support of the lighter artillery pieces. All the turrets worked in
conjunction with a 7 inch thick armoured steel observation turret, each
connected to the corresponding fighting
turret by voice tube communication so that independent fire control
commands could be given by the observation officer even in the event of a
loss of power to the fort. At the same time the tendency to build fighting
galleries in the inner moat walls to protect the fort from attack along
the moat was abandoned in favour of the construction of caponnieres. These
are hardened concrete emplacements jutting out into the moat in such a way
that the defenders could pour enfilade fire into their enemy along the
moat bottom. The caponnieres were also sited in such a way as to afford
mutual support to adjacent caponnieres. The problem though with
caponnieres is that despite their heavily armoured walls they are still
very vulnerable to plunging artillery fire such as that from howitzers and
mortars, so as a result their roofs had to be built ever thicker in order
to withstand the likes of the 420mm
Krupp siege gun. Increasingly the construction of caponnieres was
abandoned in favour of the construction of counterscarp galleries instead
which are built into the outer wall of the moat and accessed by tunnels
travelling beneath the moat bottom from within the fort proper. This meant
that instead of a roof made with 3 or 4 feet of concrete the soldiers defending
the moat could now rely upon several feet of earth over their heads as
well. Despite the efficacy of counterscarp galleries the forts were still
built with, or retained during periods of modification, a double caponniere on the entrance elevation of the fort to protect the drawbridge
entrance. Like forts
du
Like forts
du