|
|
|
Fort Rozelier... |
|
|
|
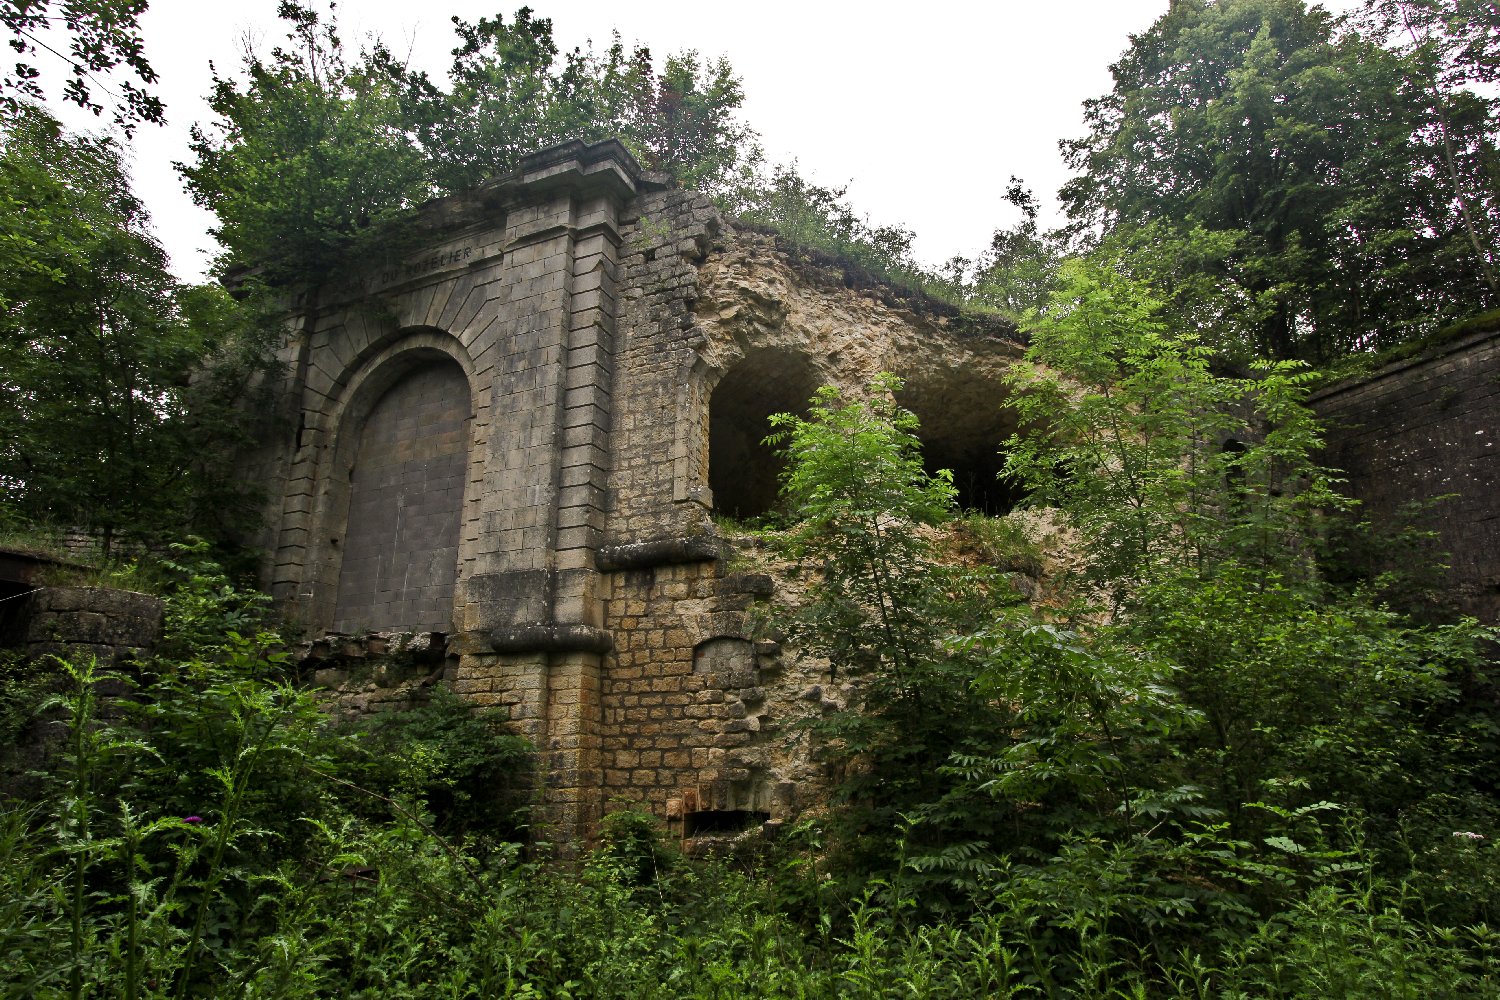
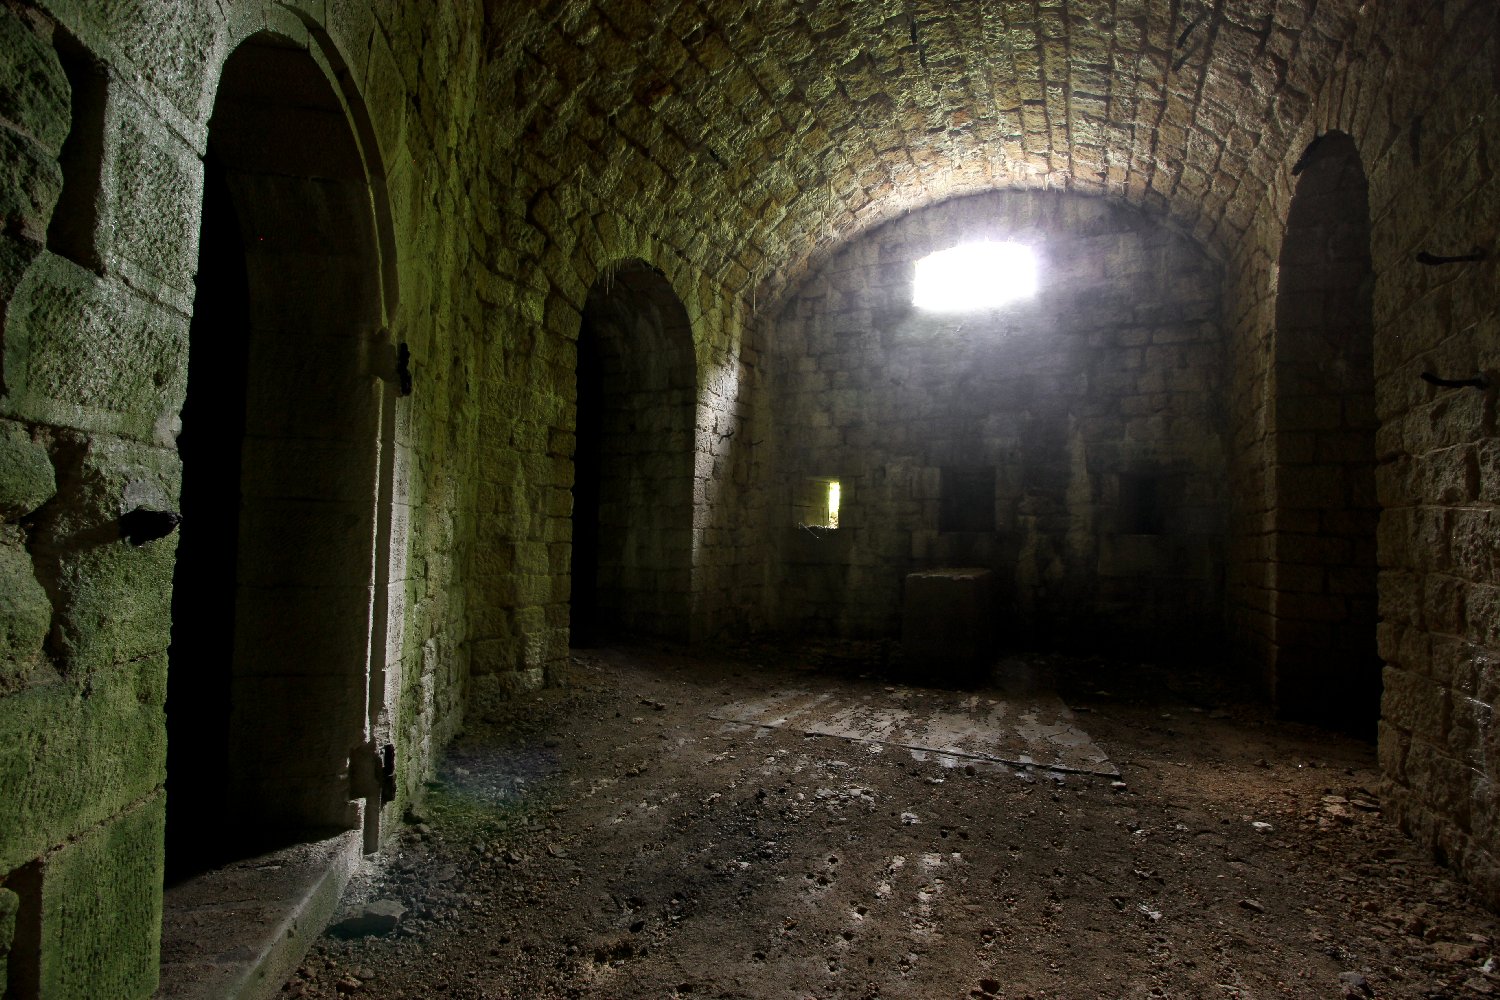
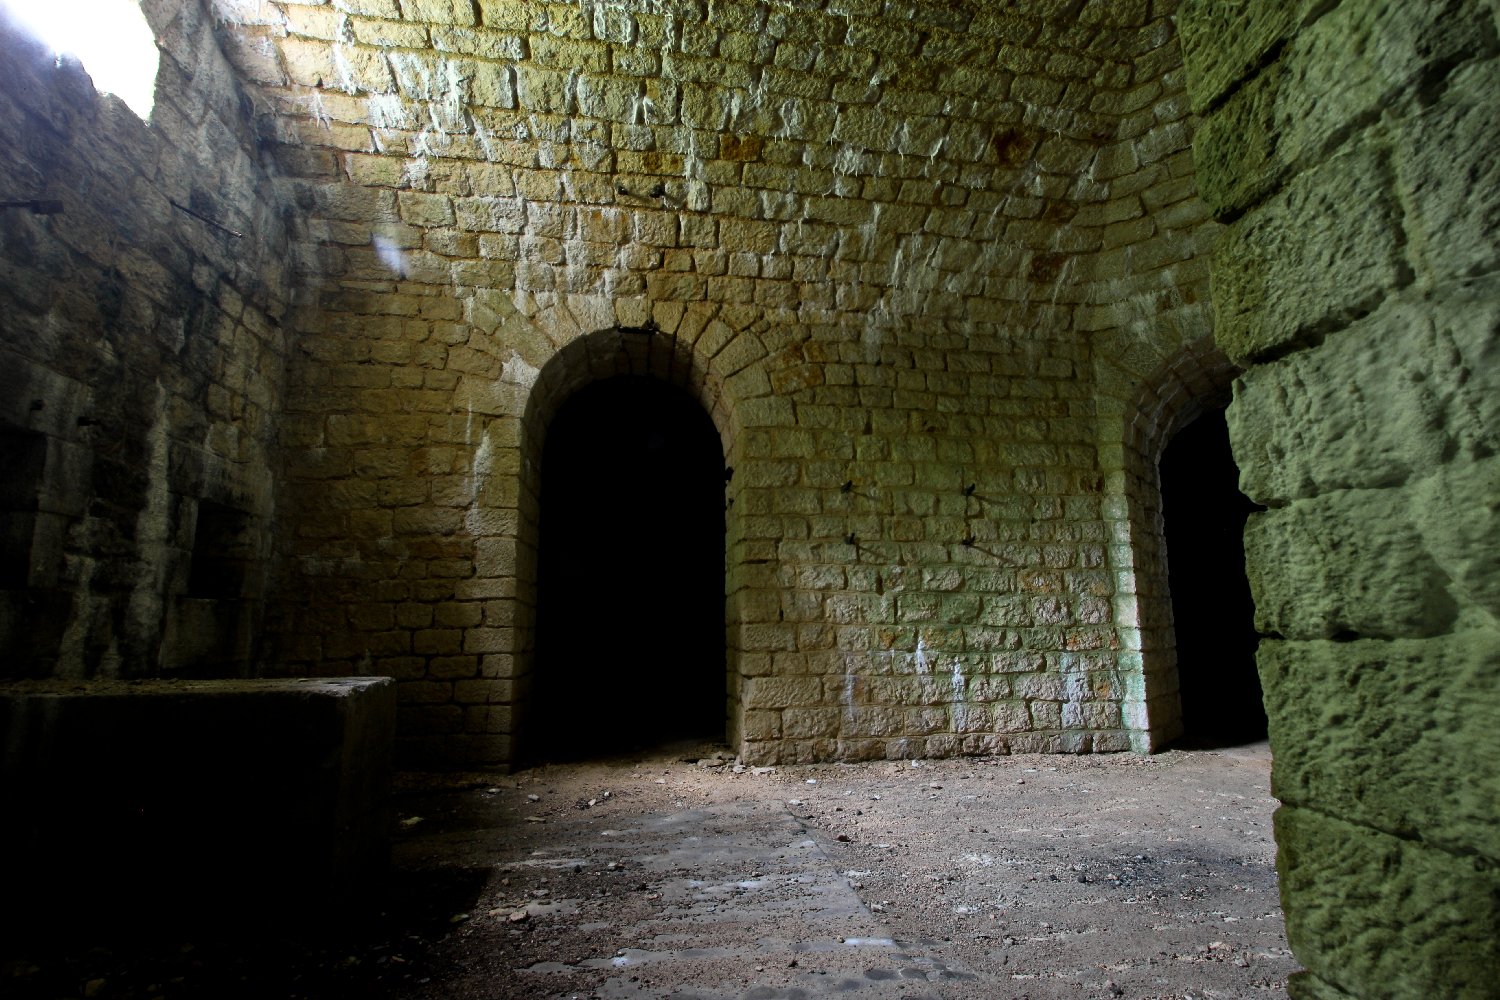
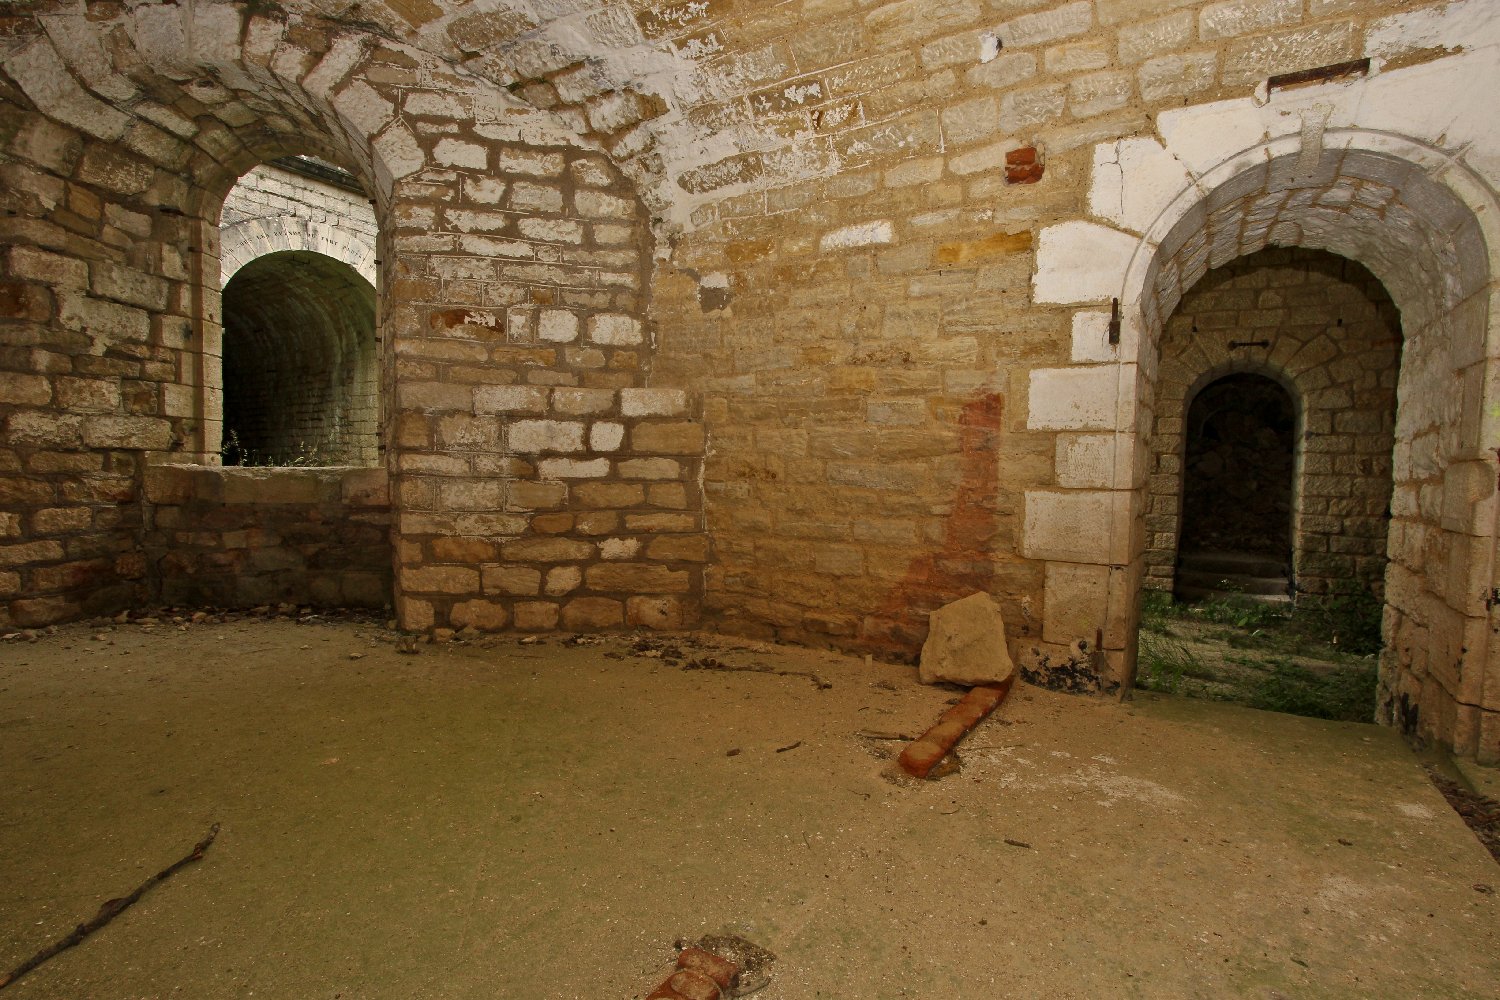
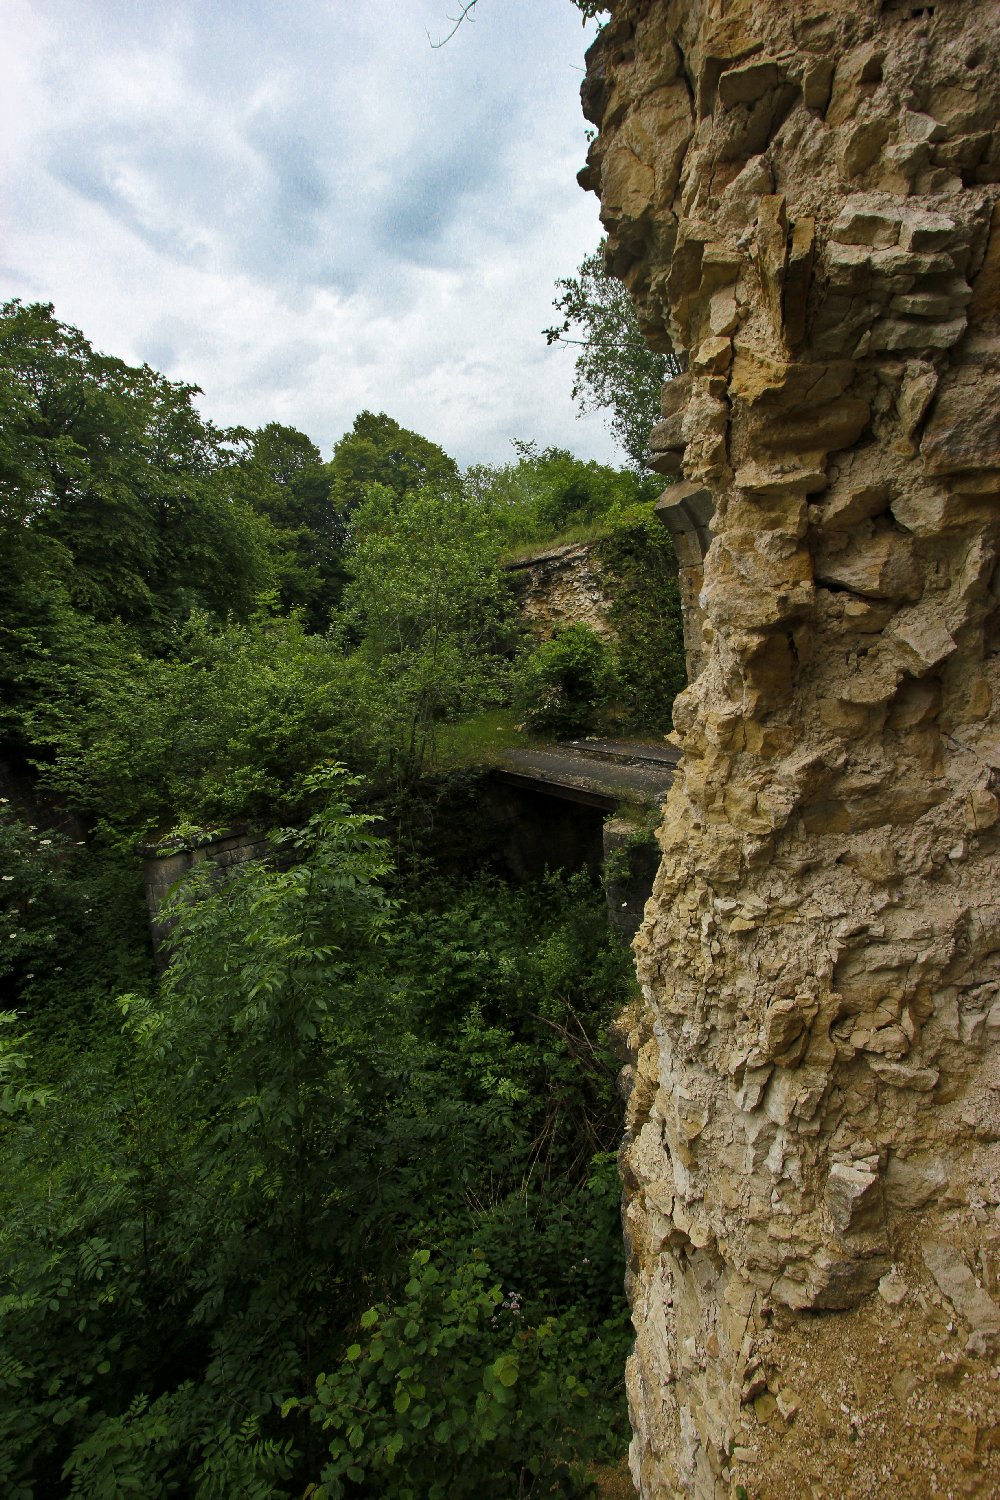
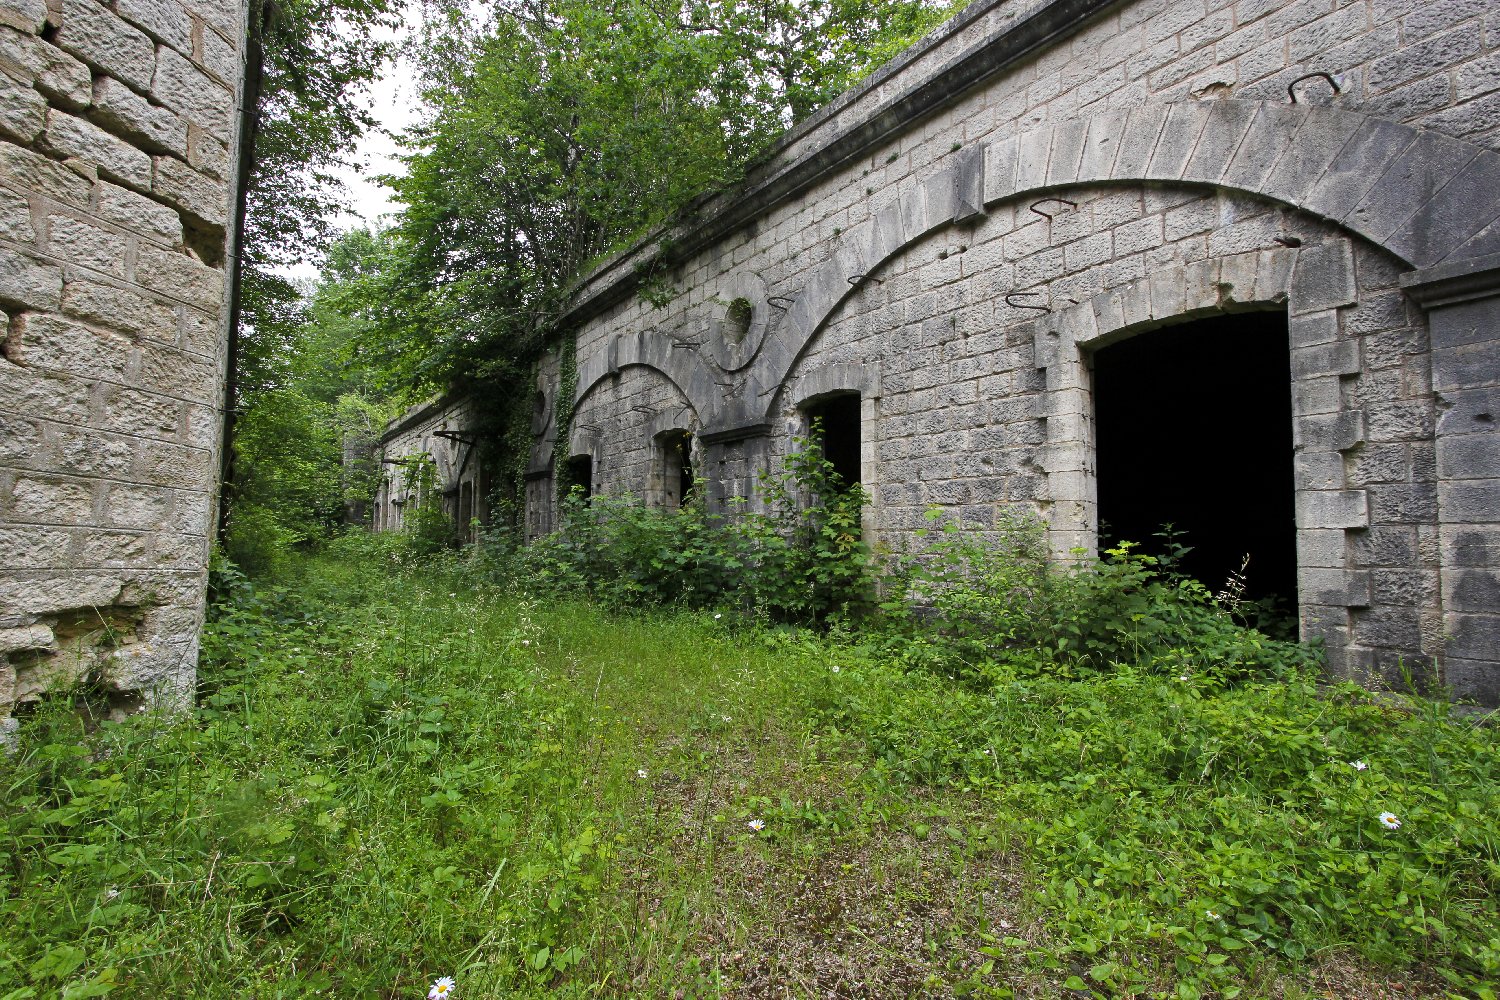
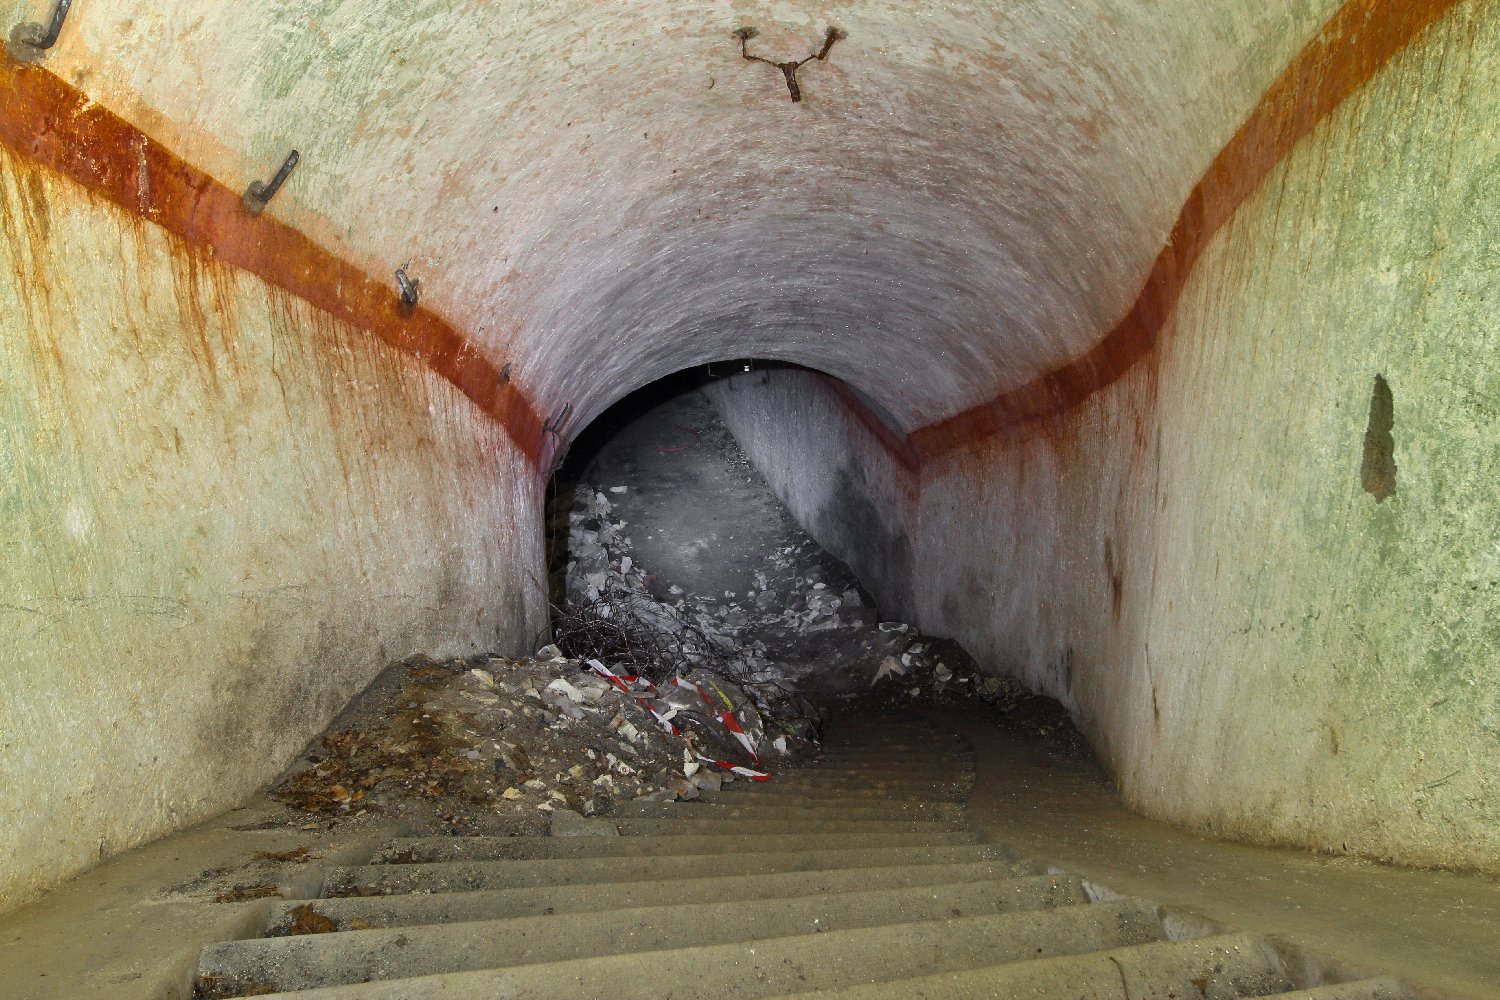
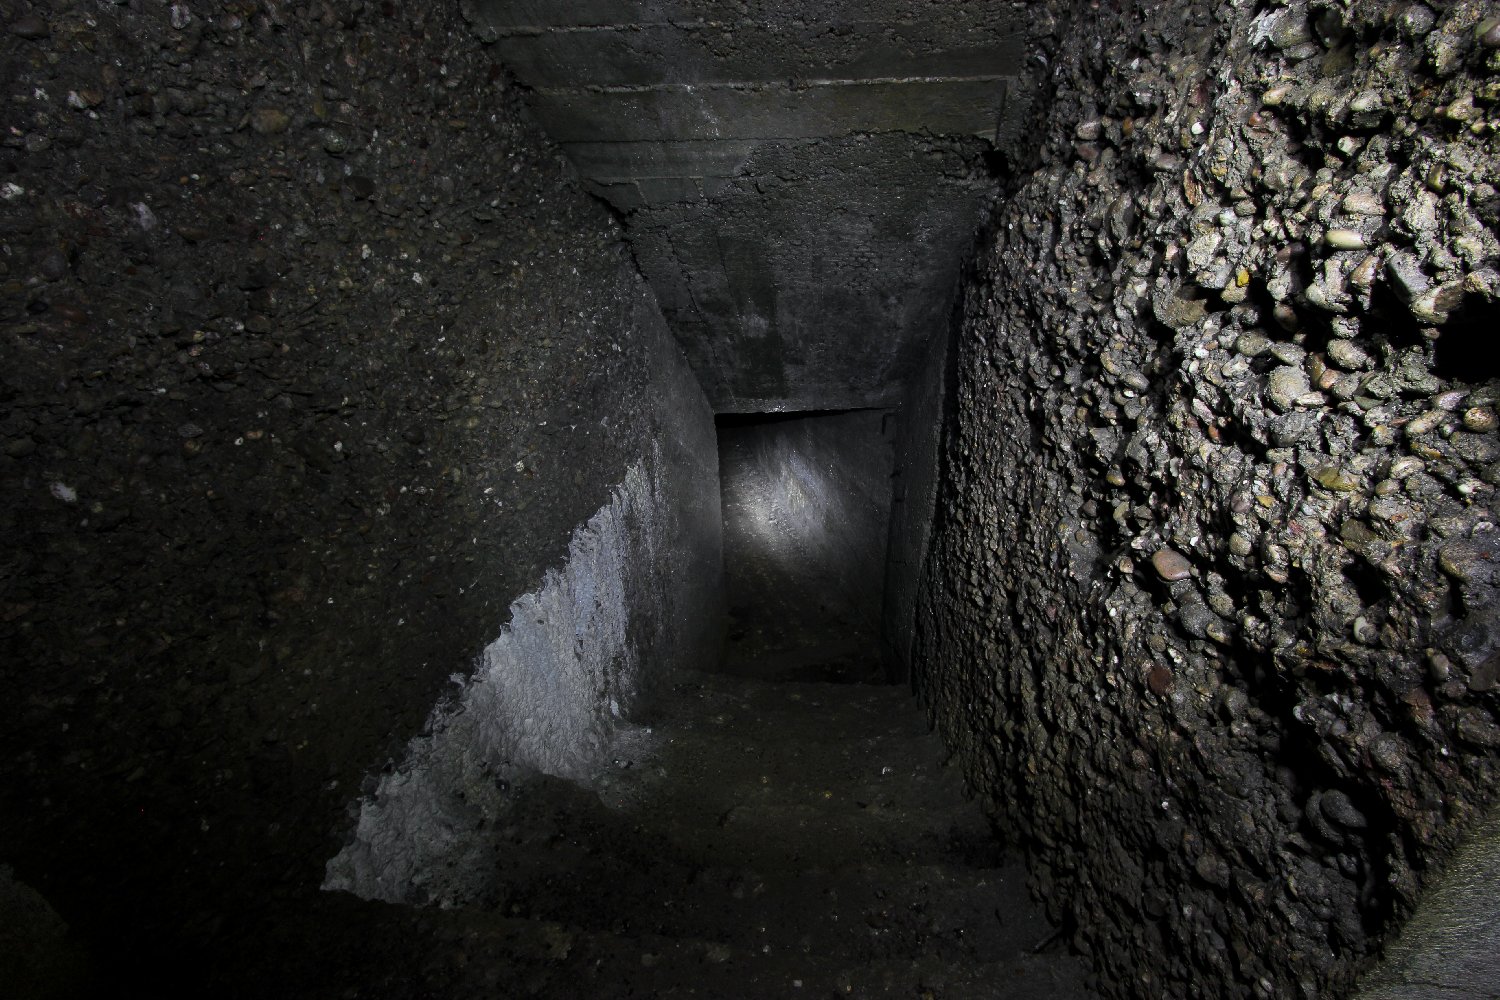
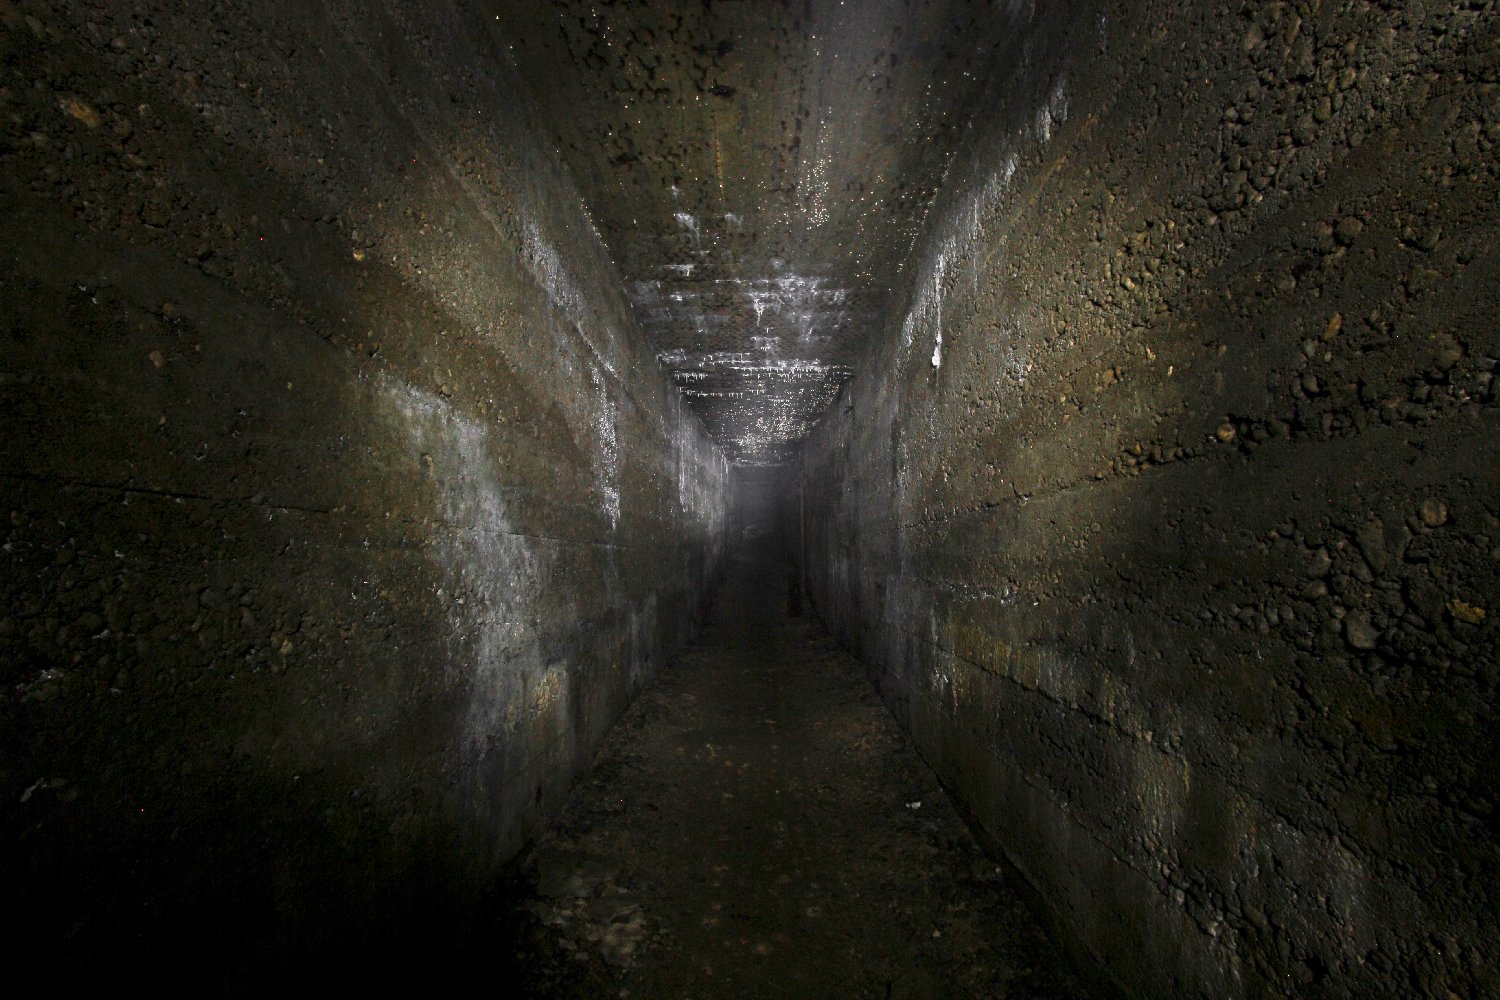
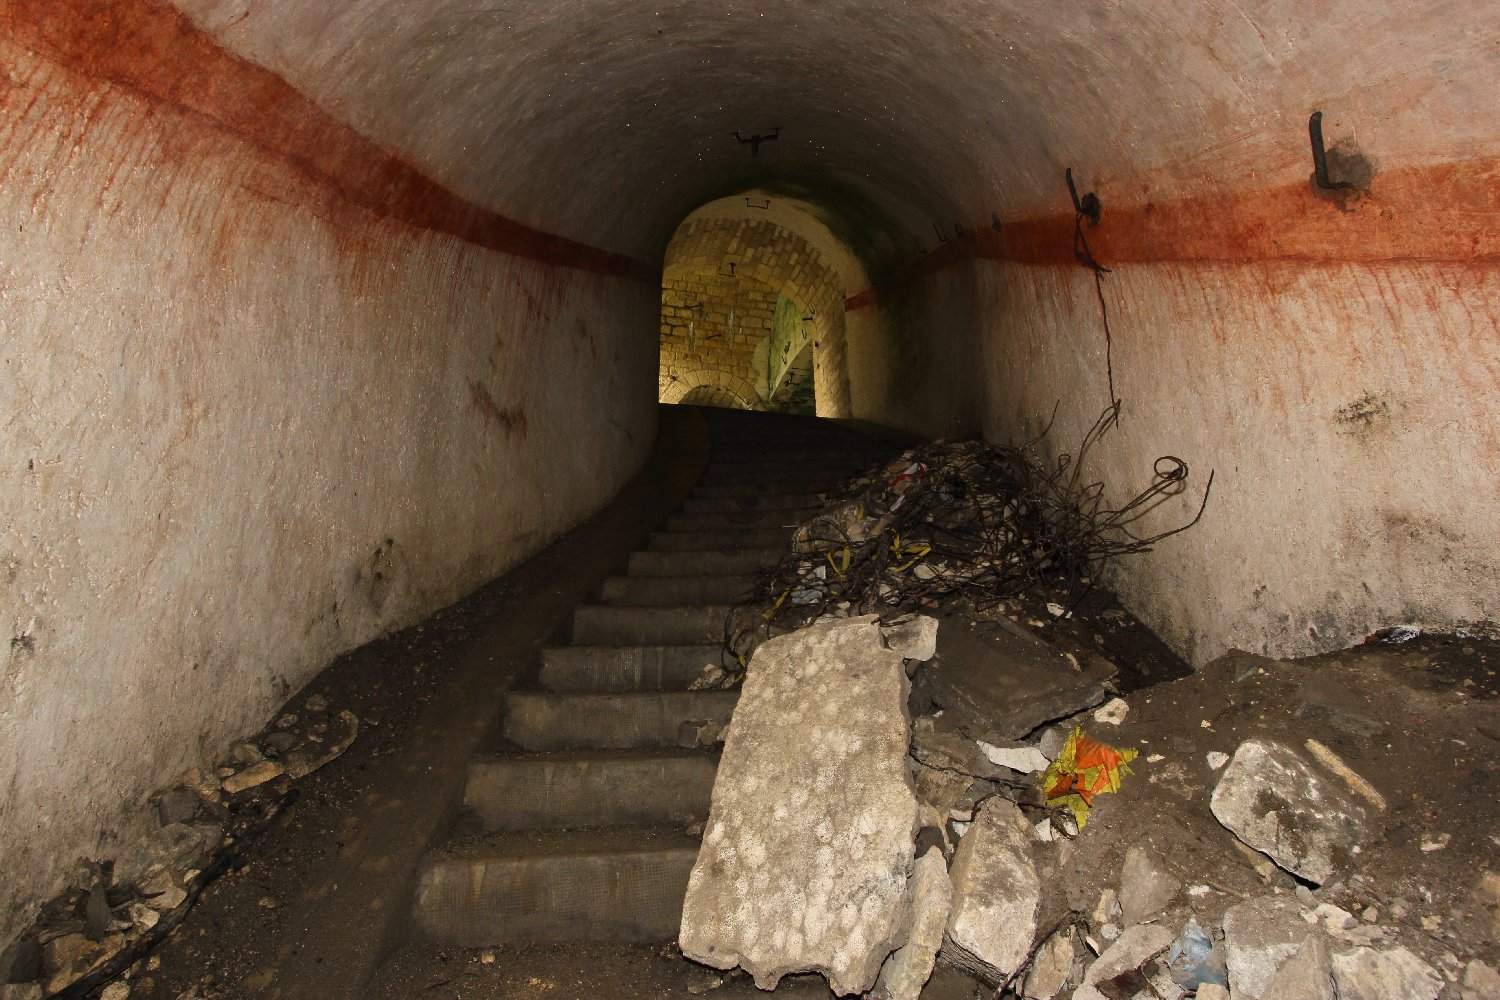
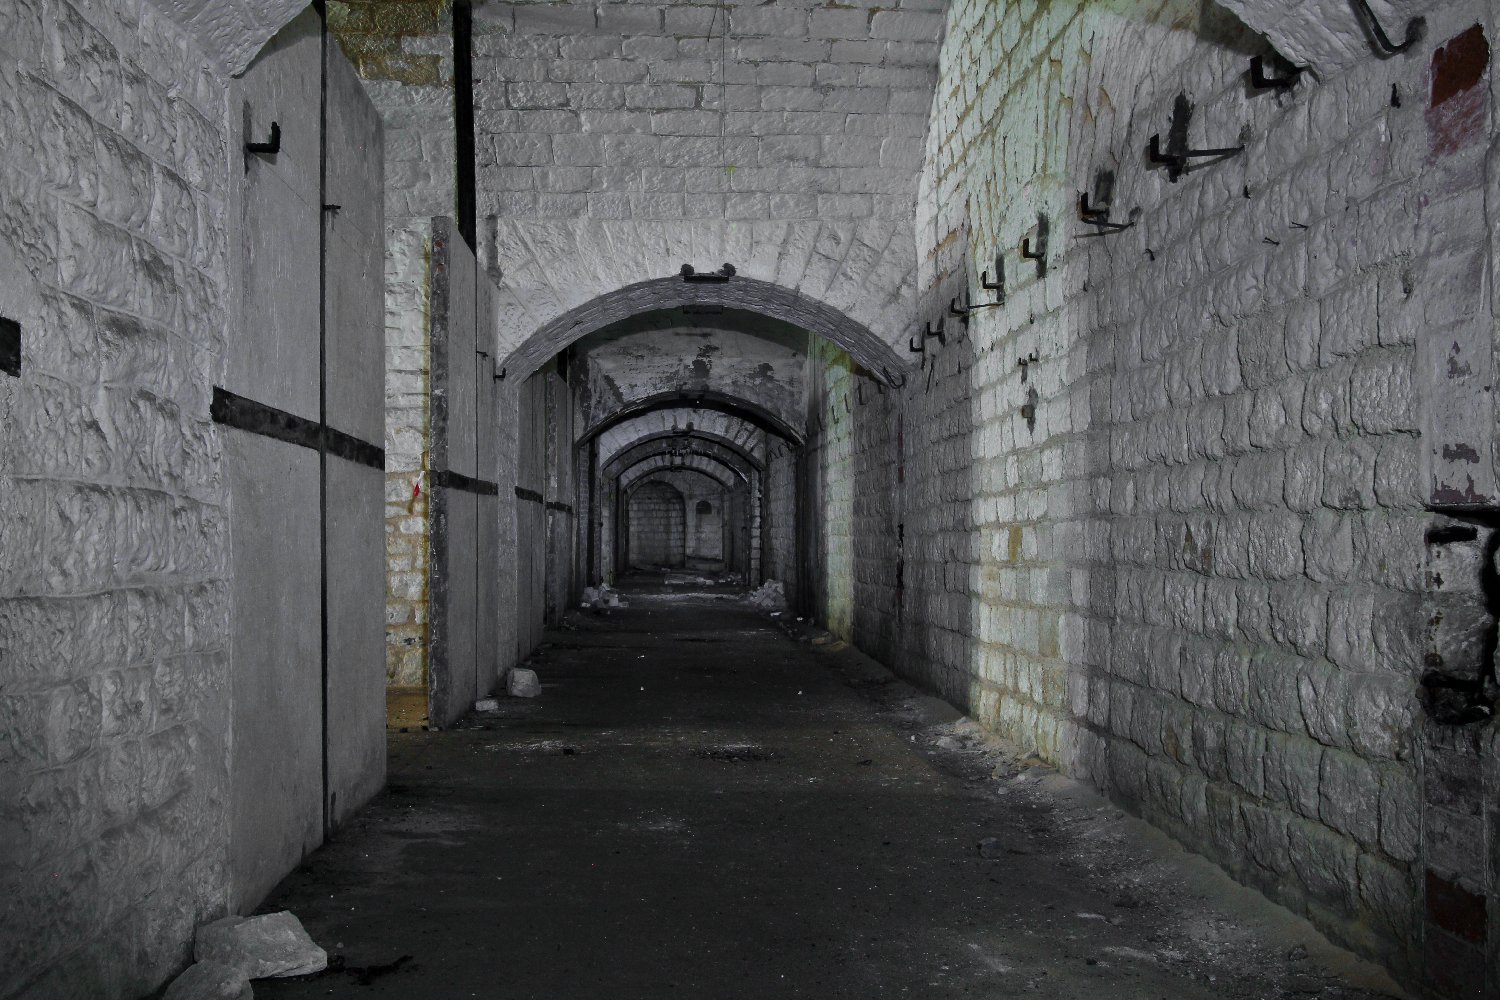
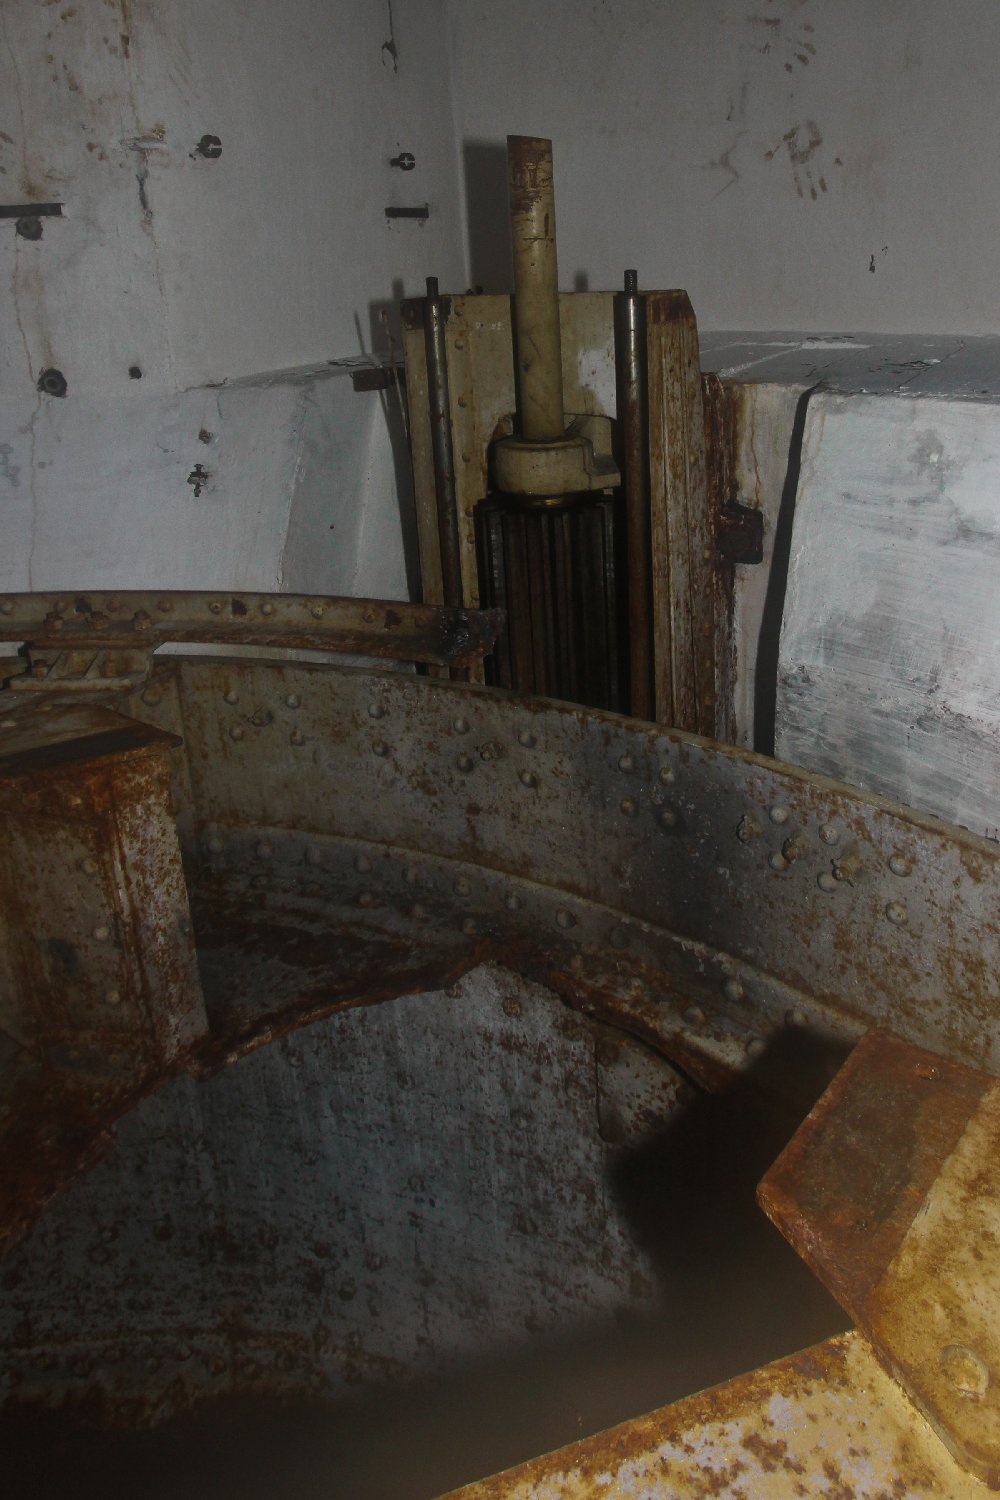
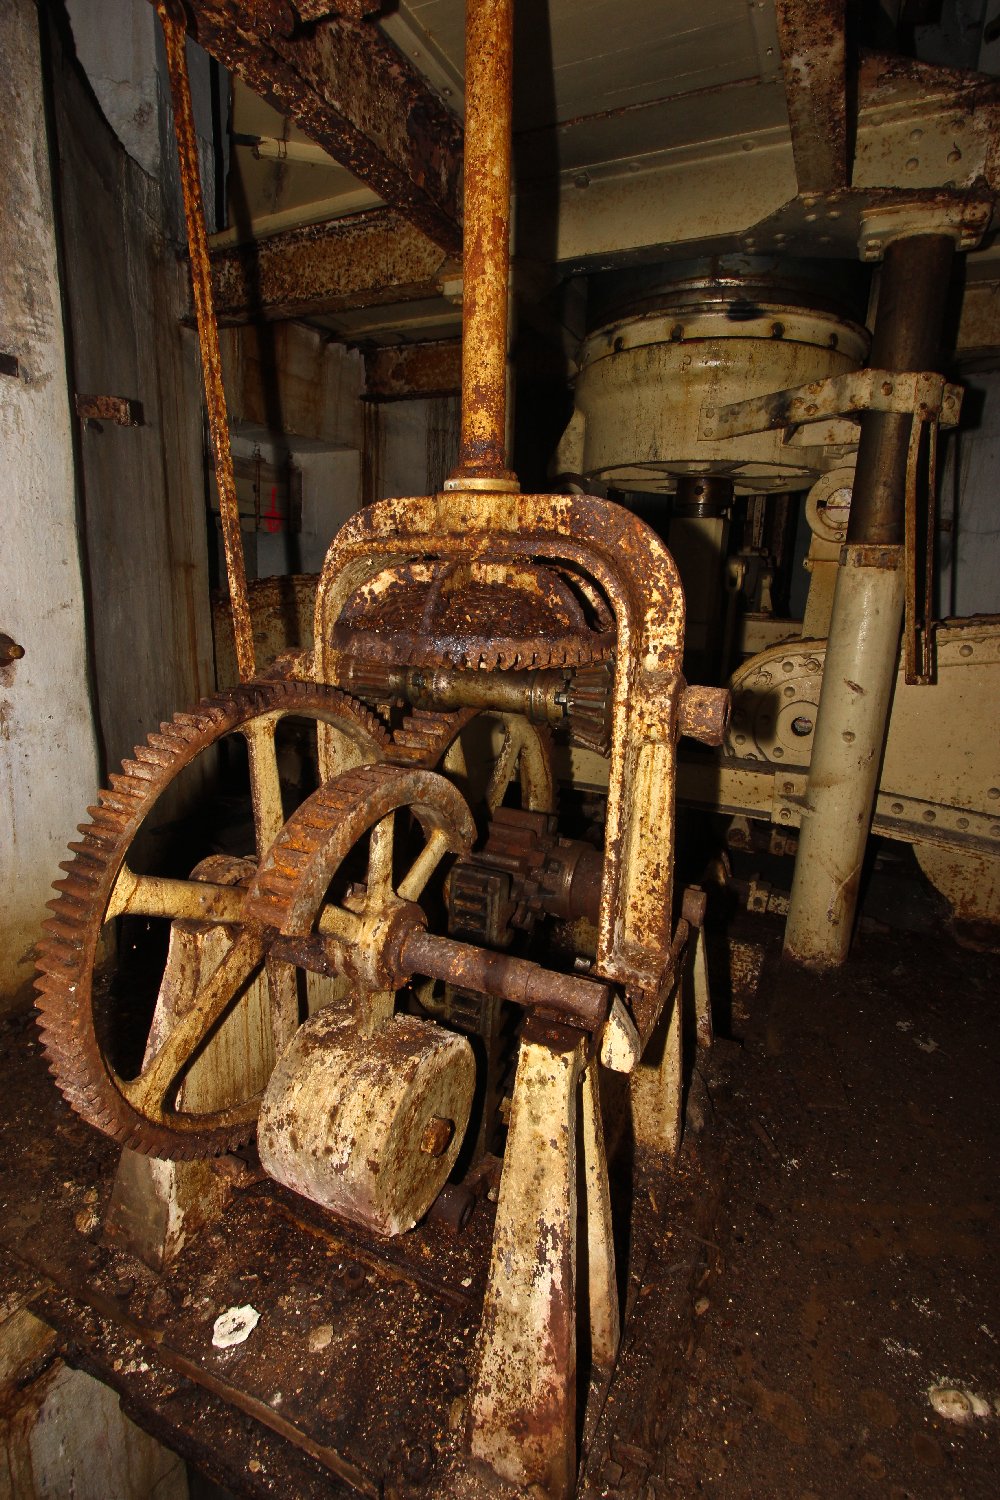
Fort Rozelier sits on the top of Hill 39 covering the road from Verdun to Metz running away directly to the east. As such it was a very important fort strategically and this fact can be seen clearly in many different aspects of the fort, not least the fact that it has quite the best Travaux 17 tunnel network we have found in any of the Verdun forts to date. The fort is very heavily armoured including one of the few Gallopin 155R heavy artillery turrets, installed in 1908, which are really quite rare around Verdun.
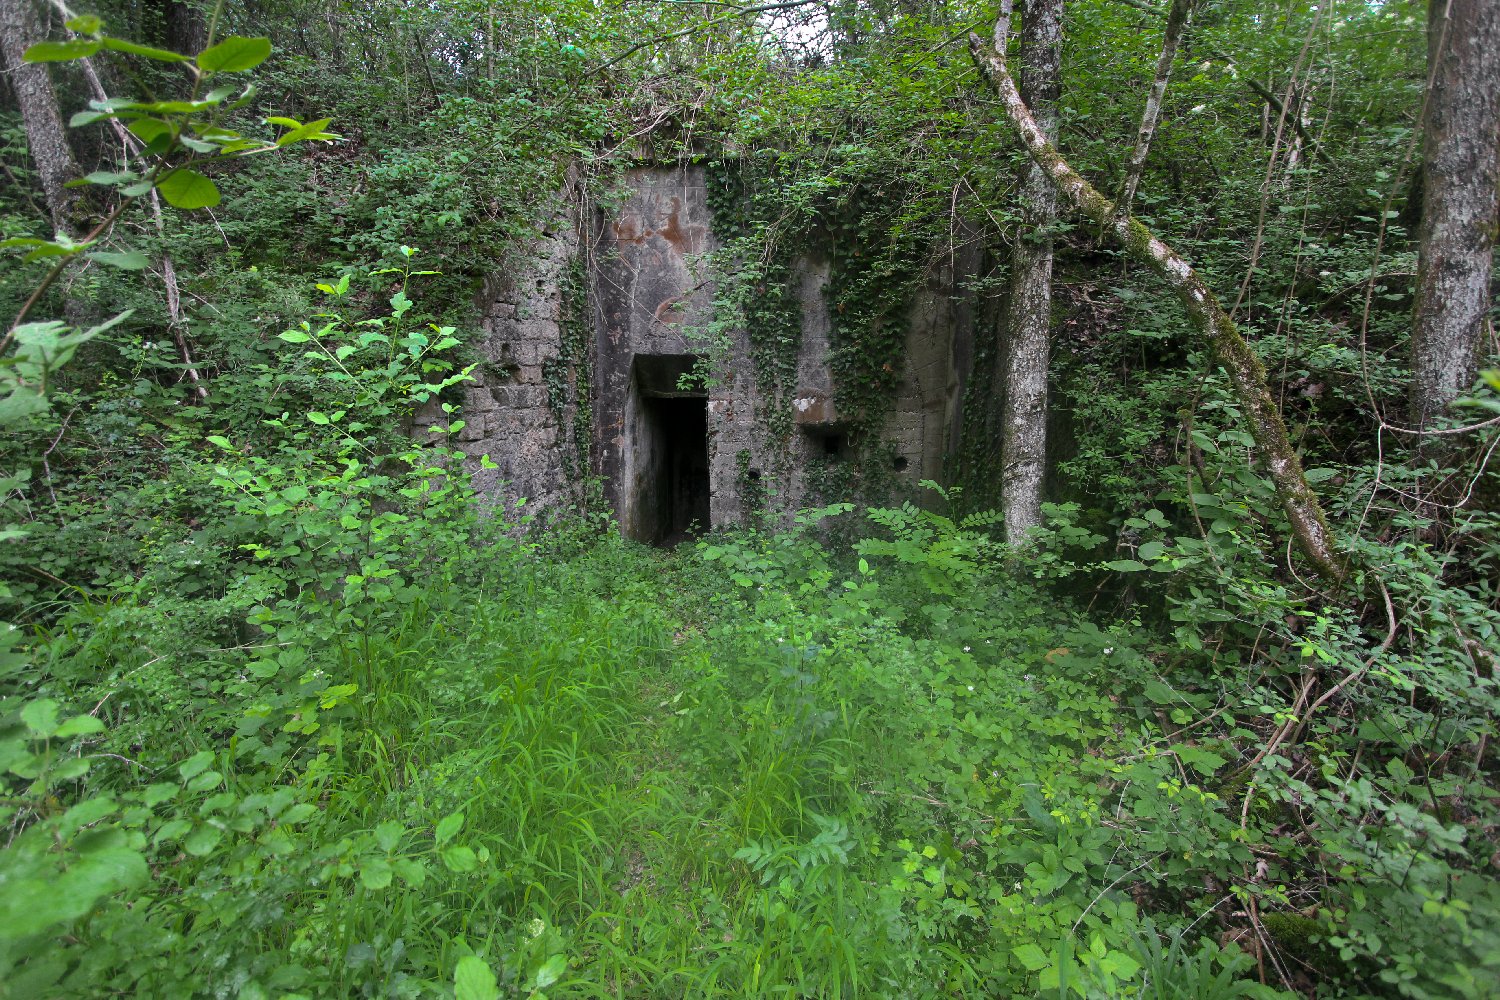
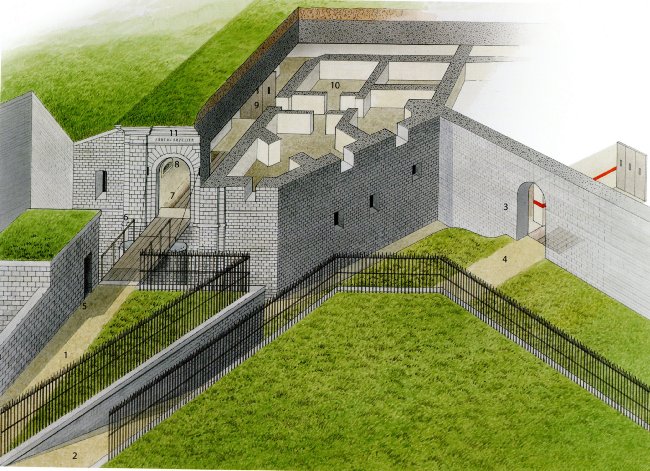
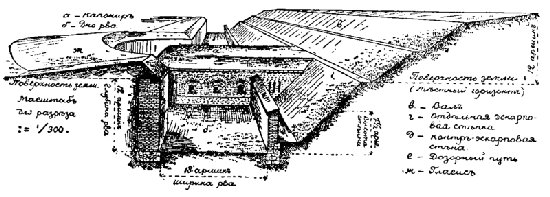
RIGHT - an artist's impression of the entrance block to Fort Rozeliers...
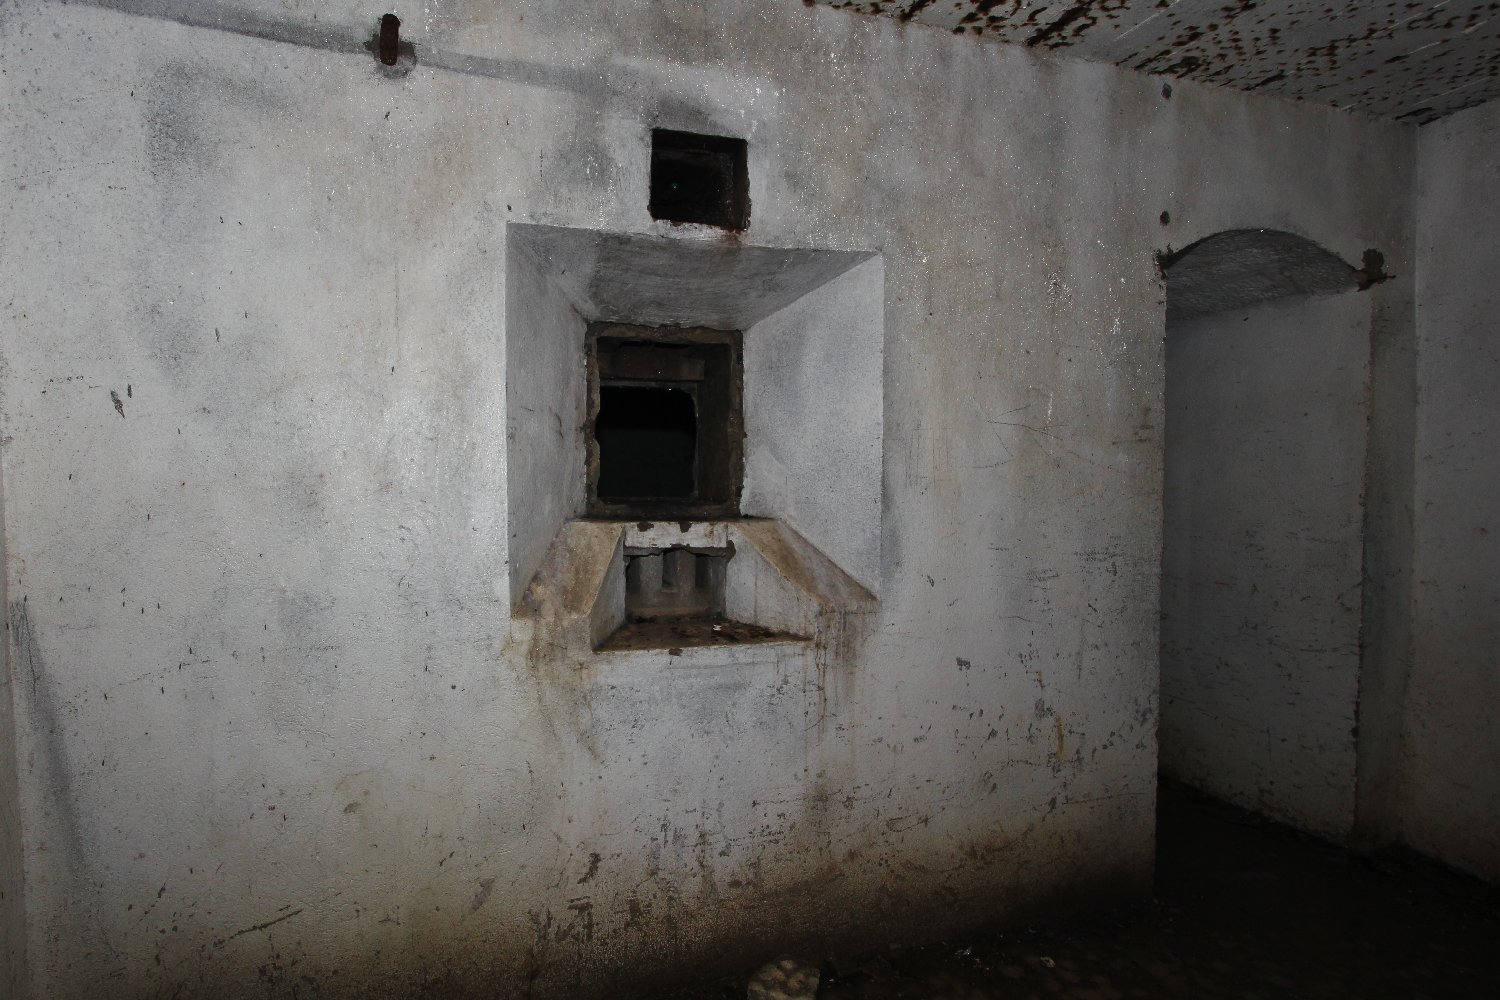
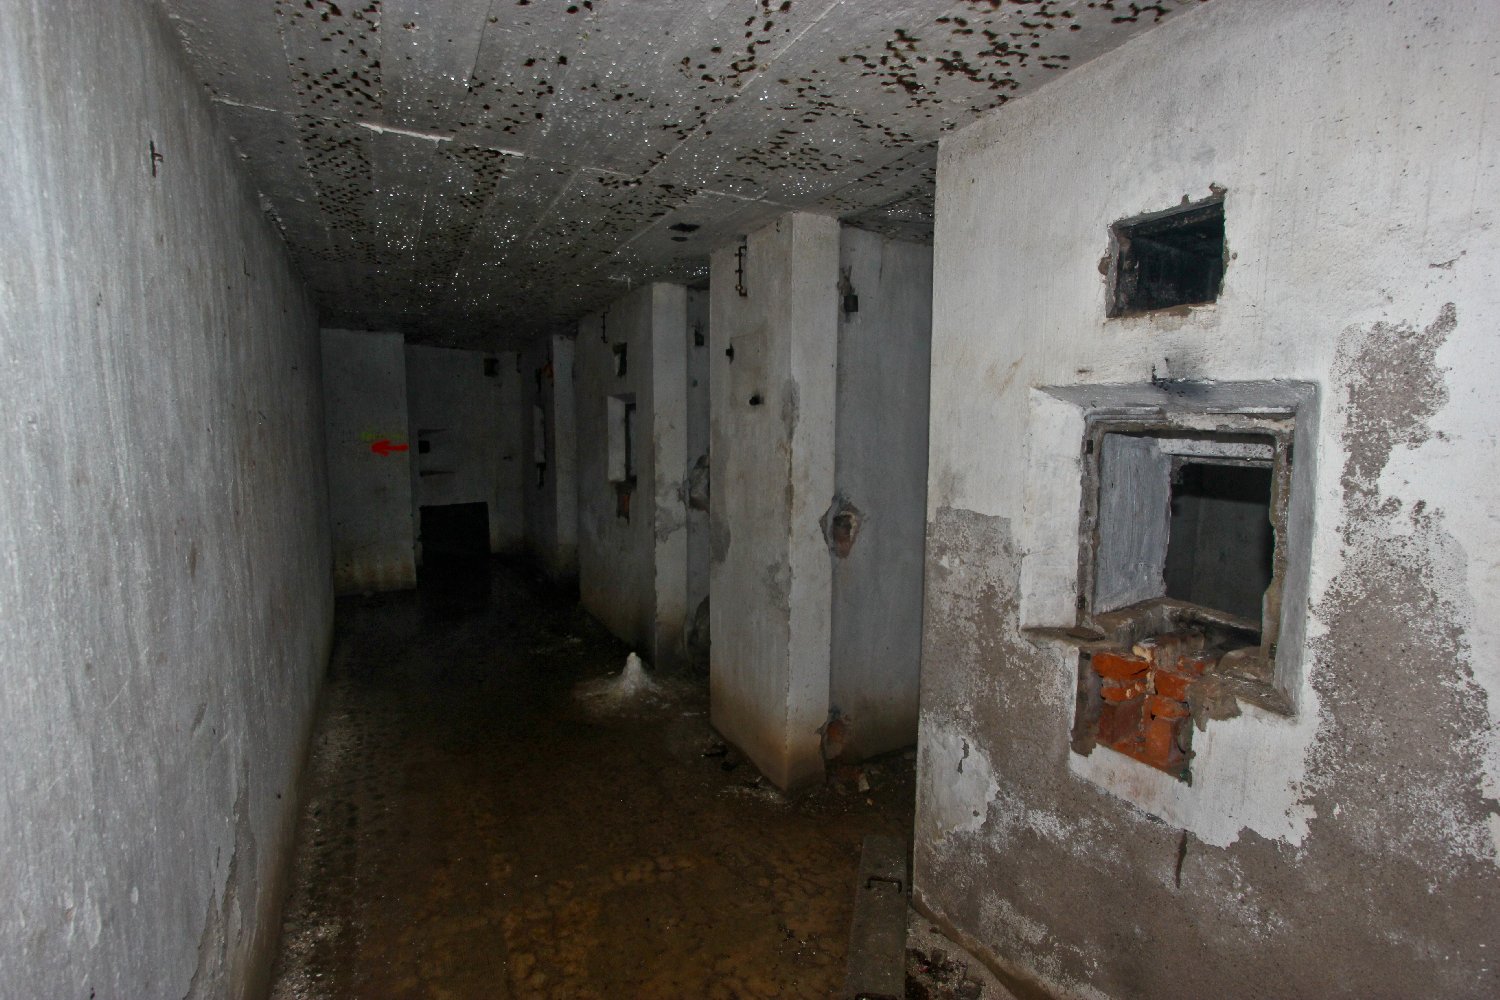
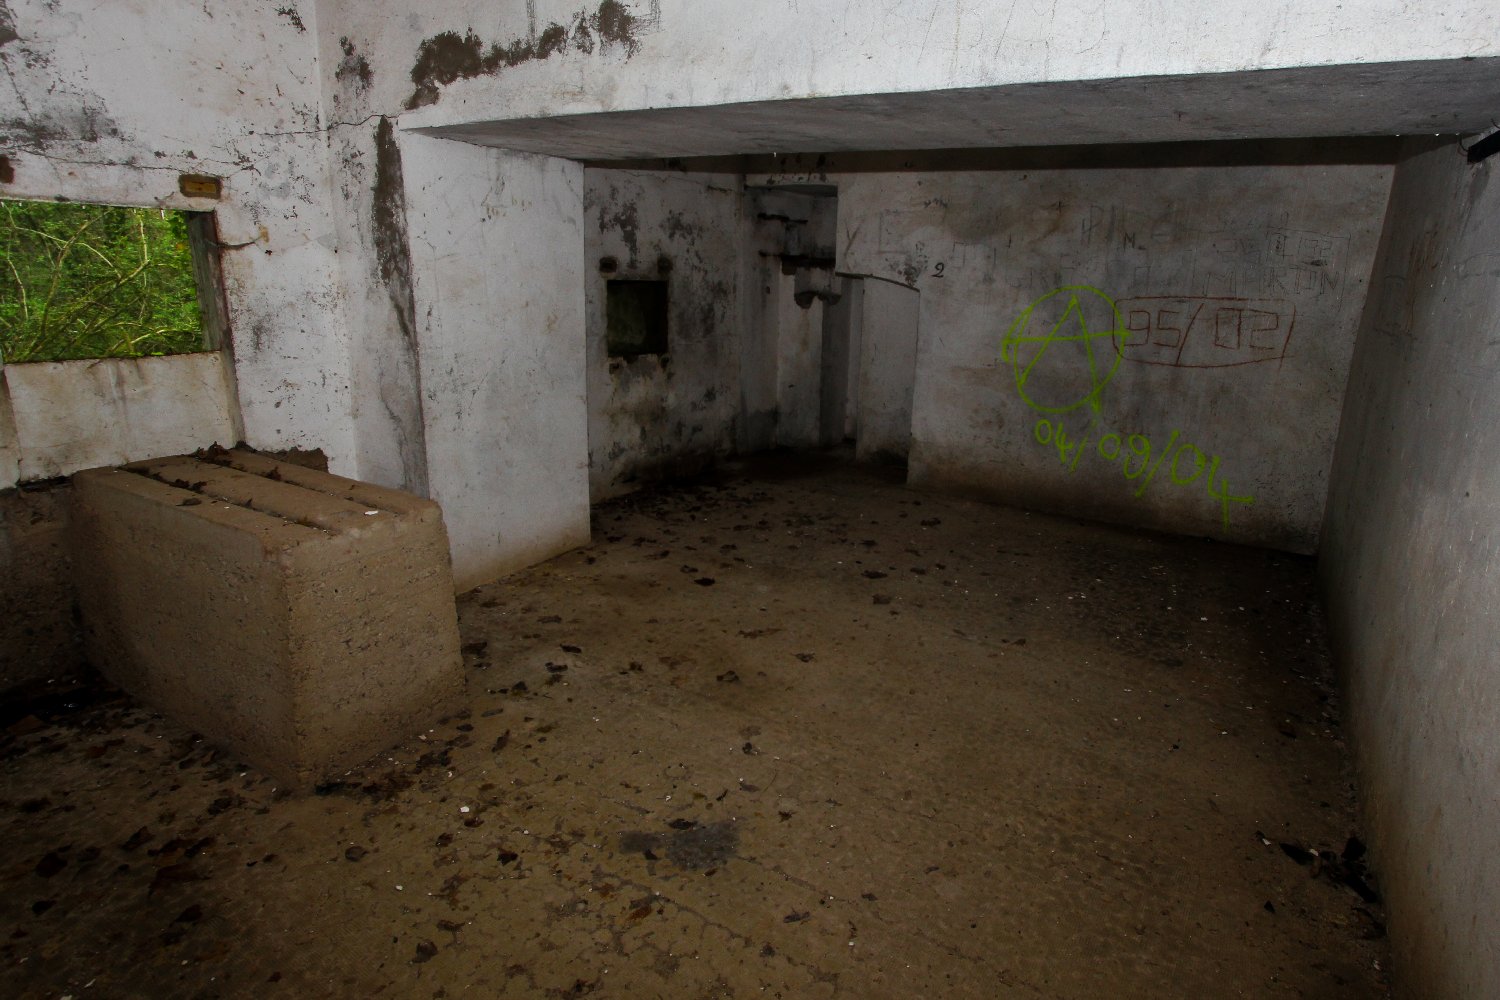
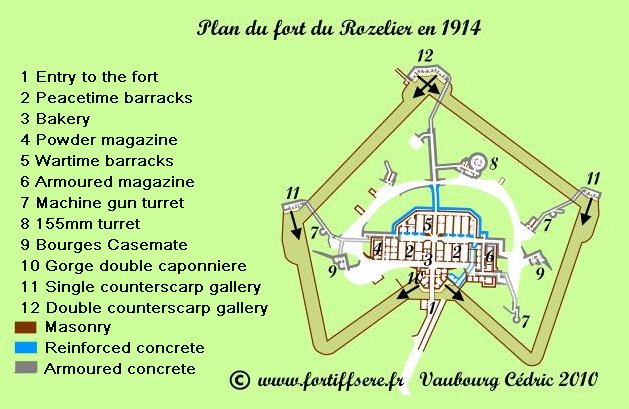
As can be seen clearly in the floor plan diagram there were three machine gun turrets built at the fort and then later TWO Bourges Casemates were added to up the firepower of the fort out to the flanks. These completely self-contained reinforced concrete gun emplacements were named after the French artillery proving site at Bourges where they had been developed and were a fast, cheap and highly cost effective emplacement, each carrying two fast firing 75mm canons on semi-circular rail tracks behind their embrasures.
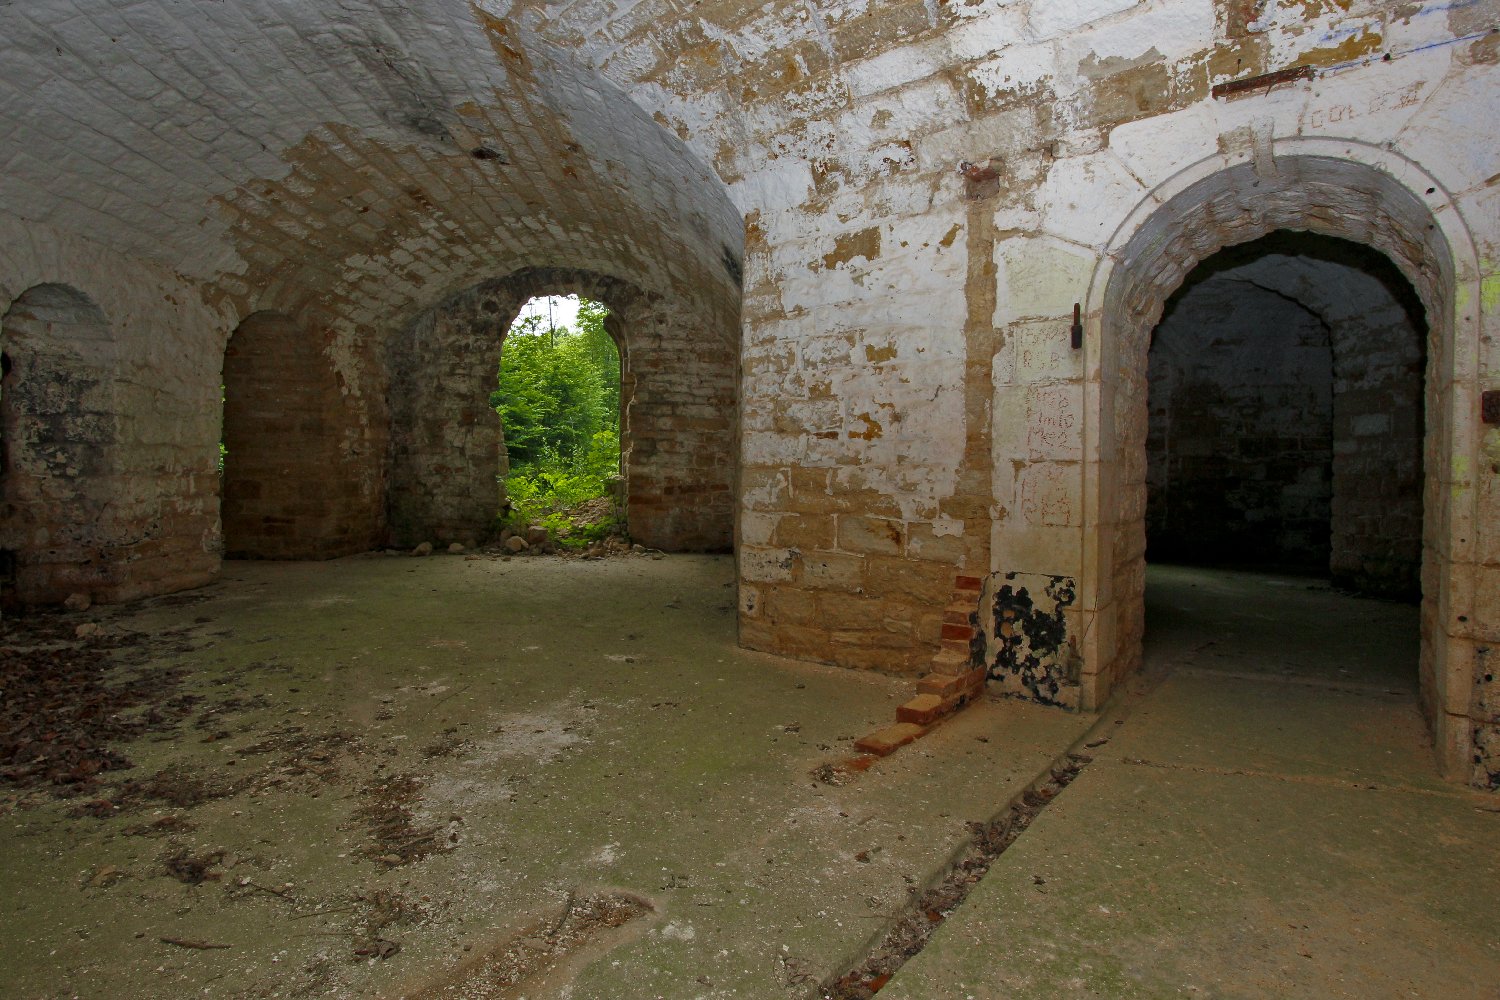
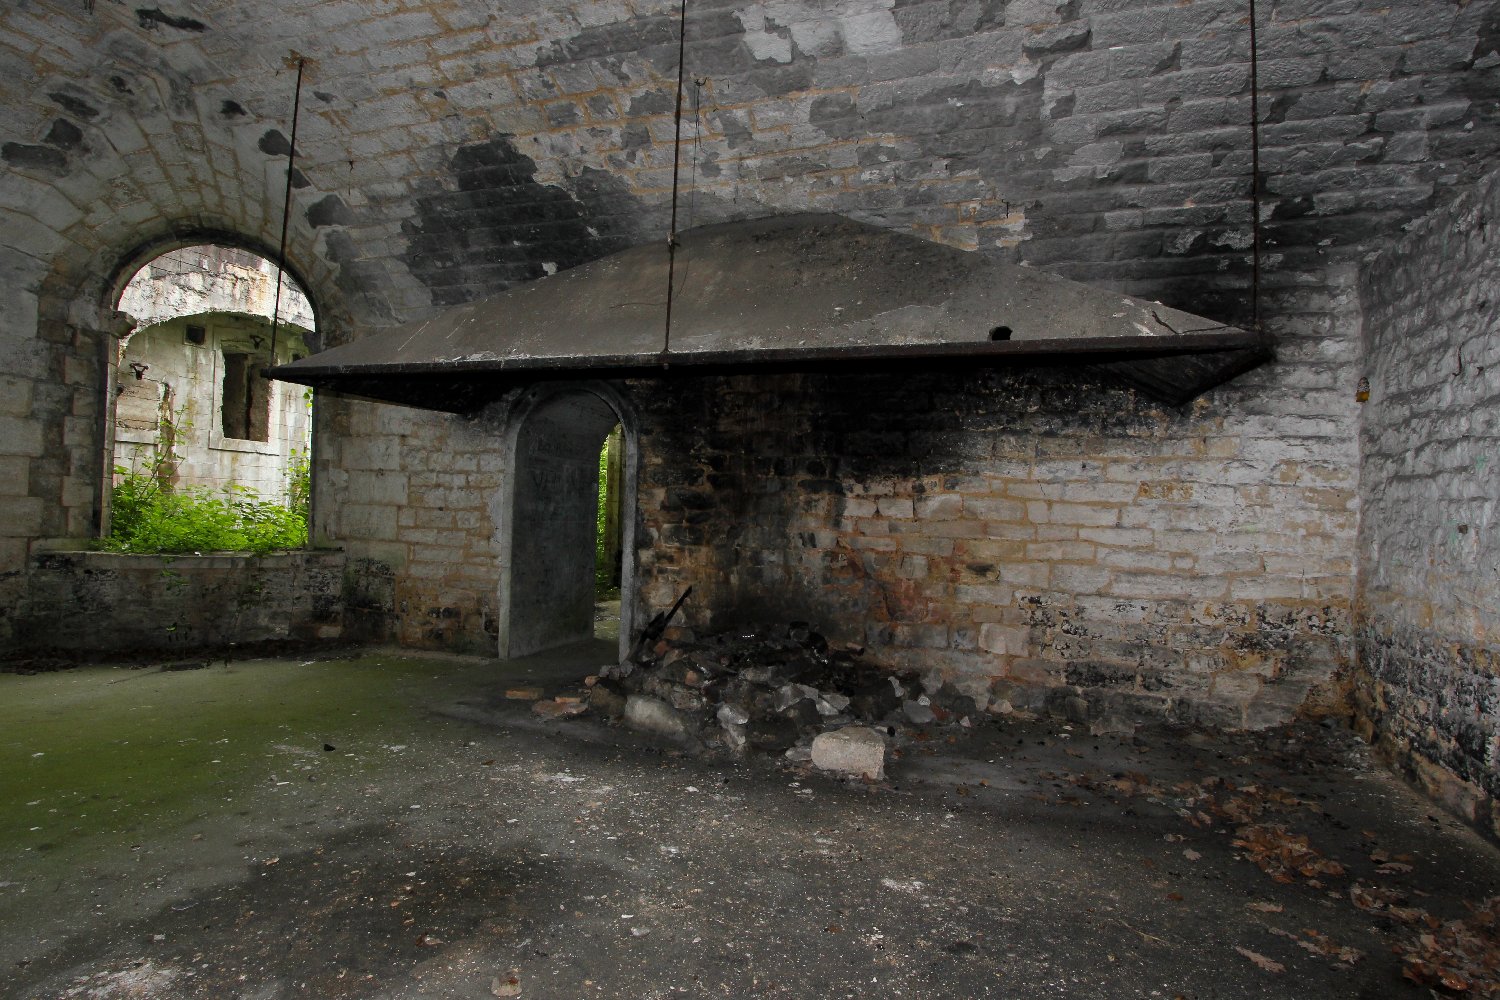
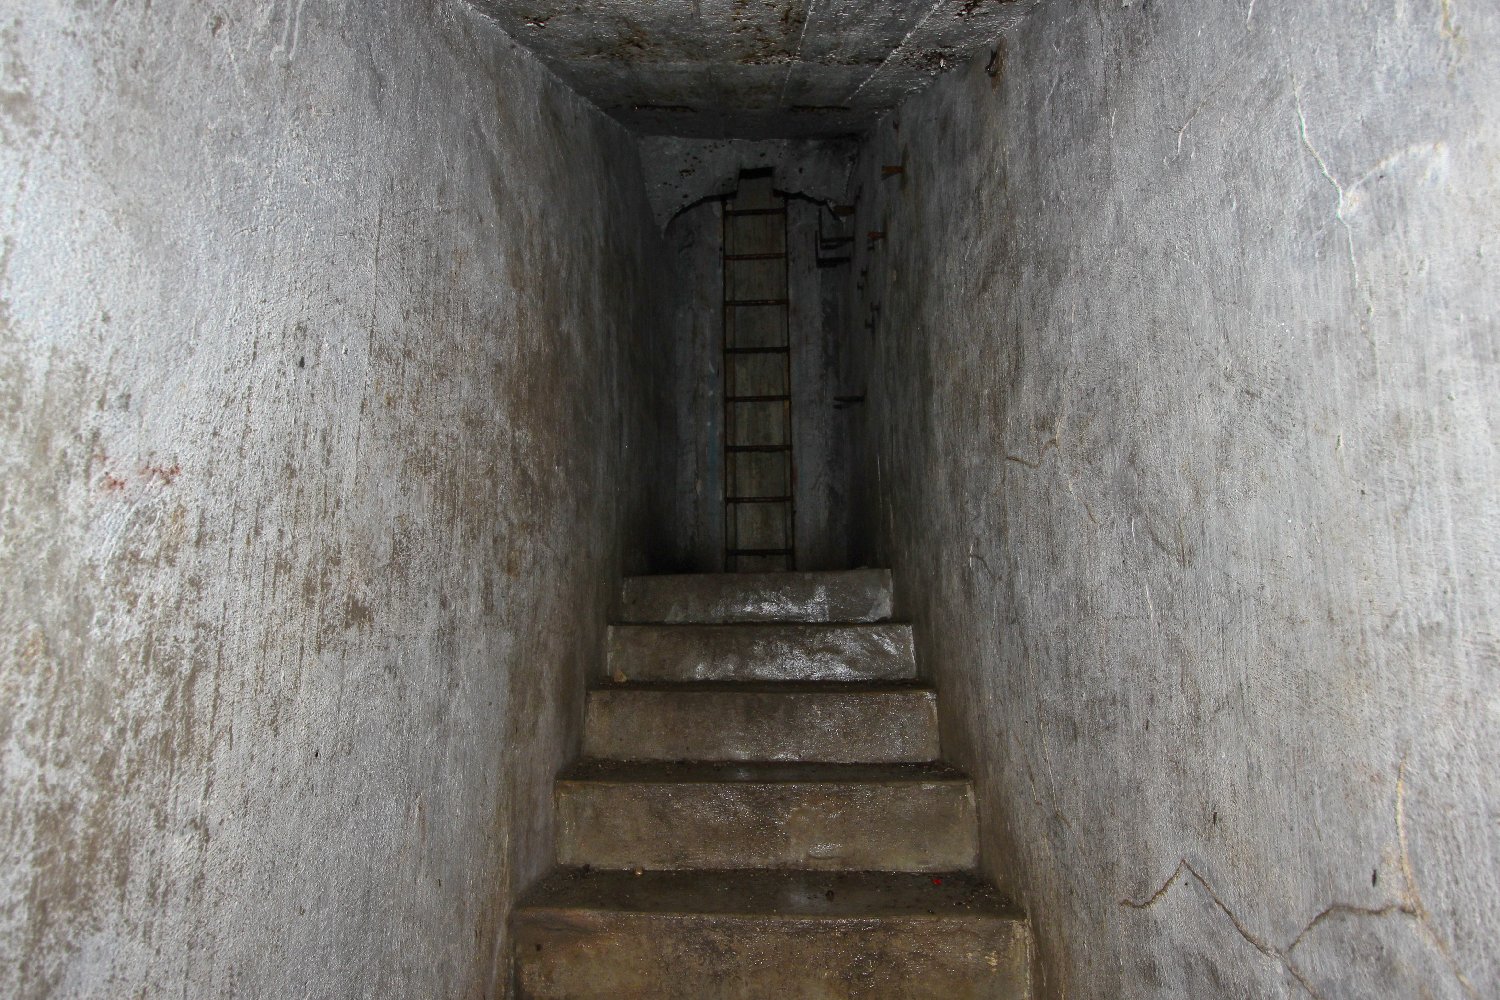
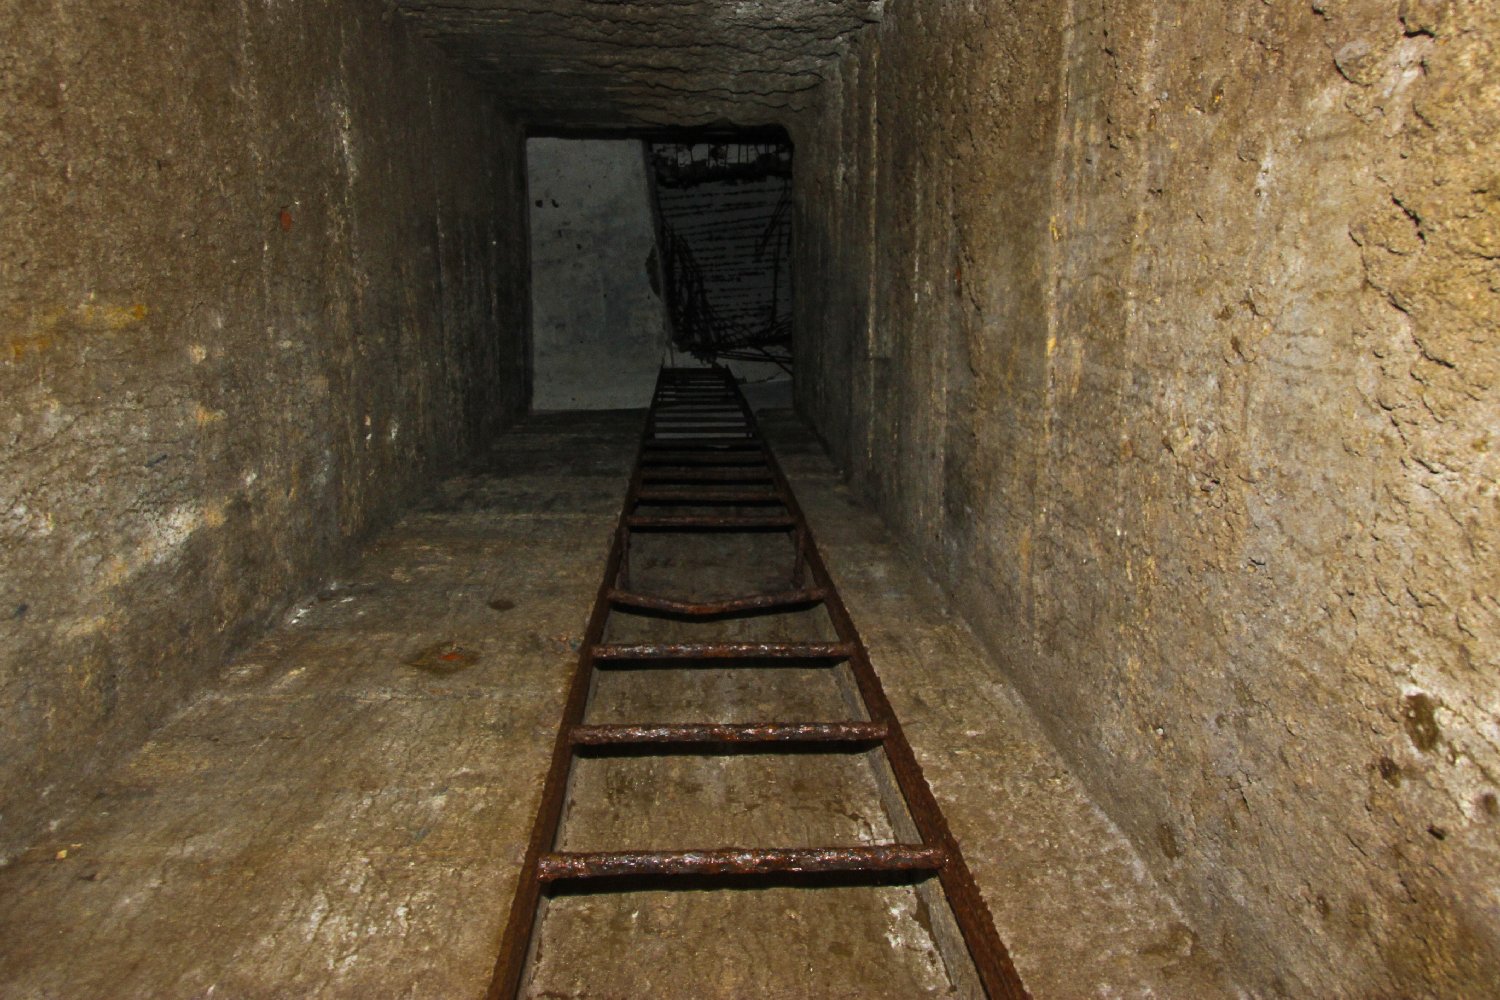
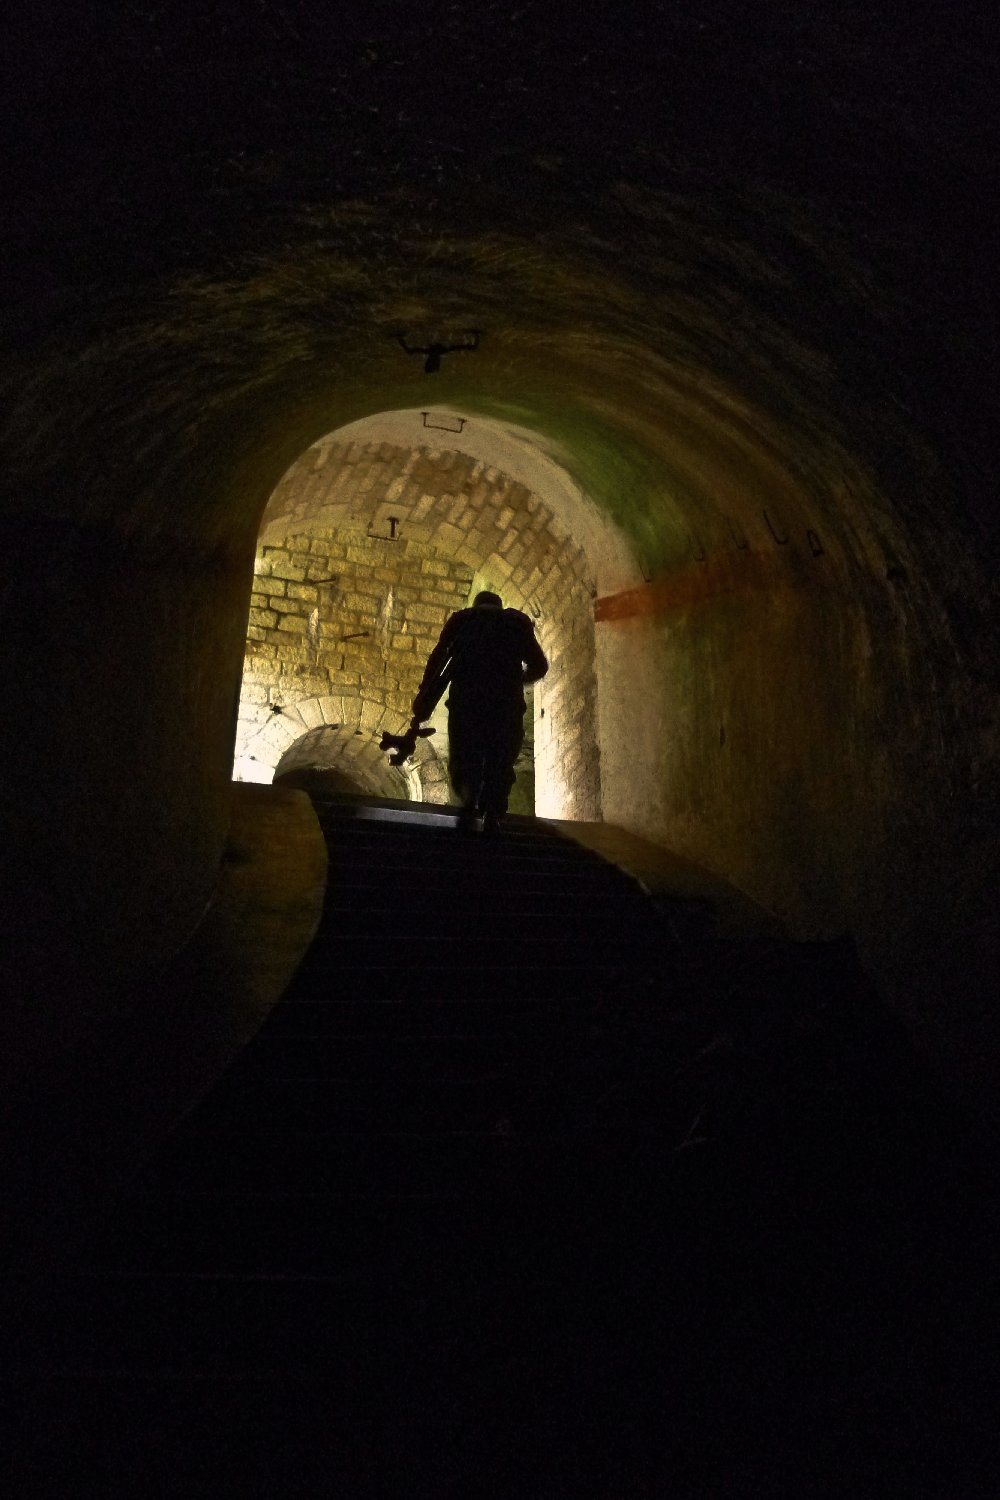
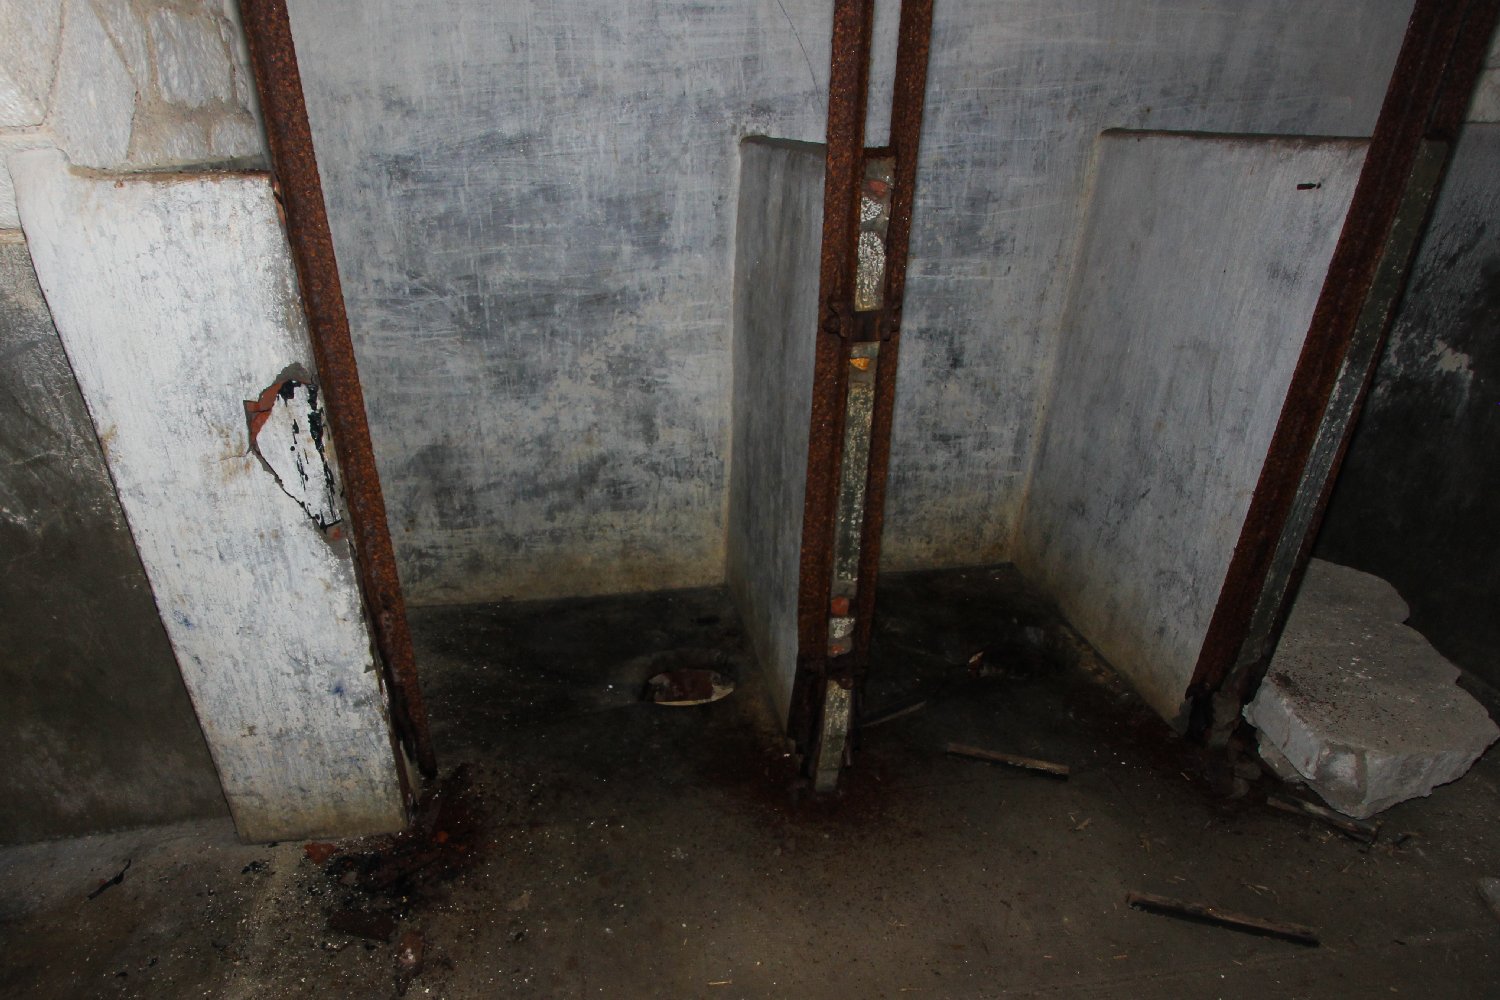
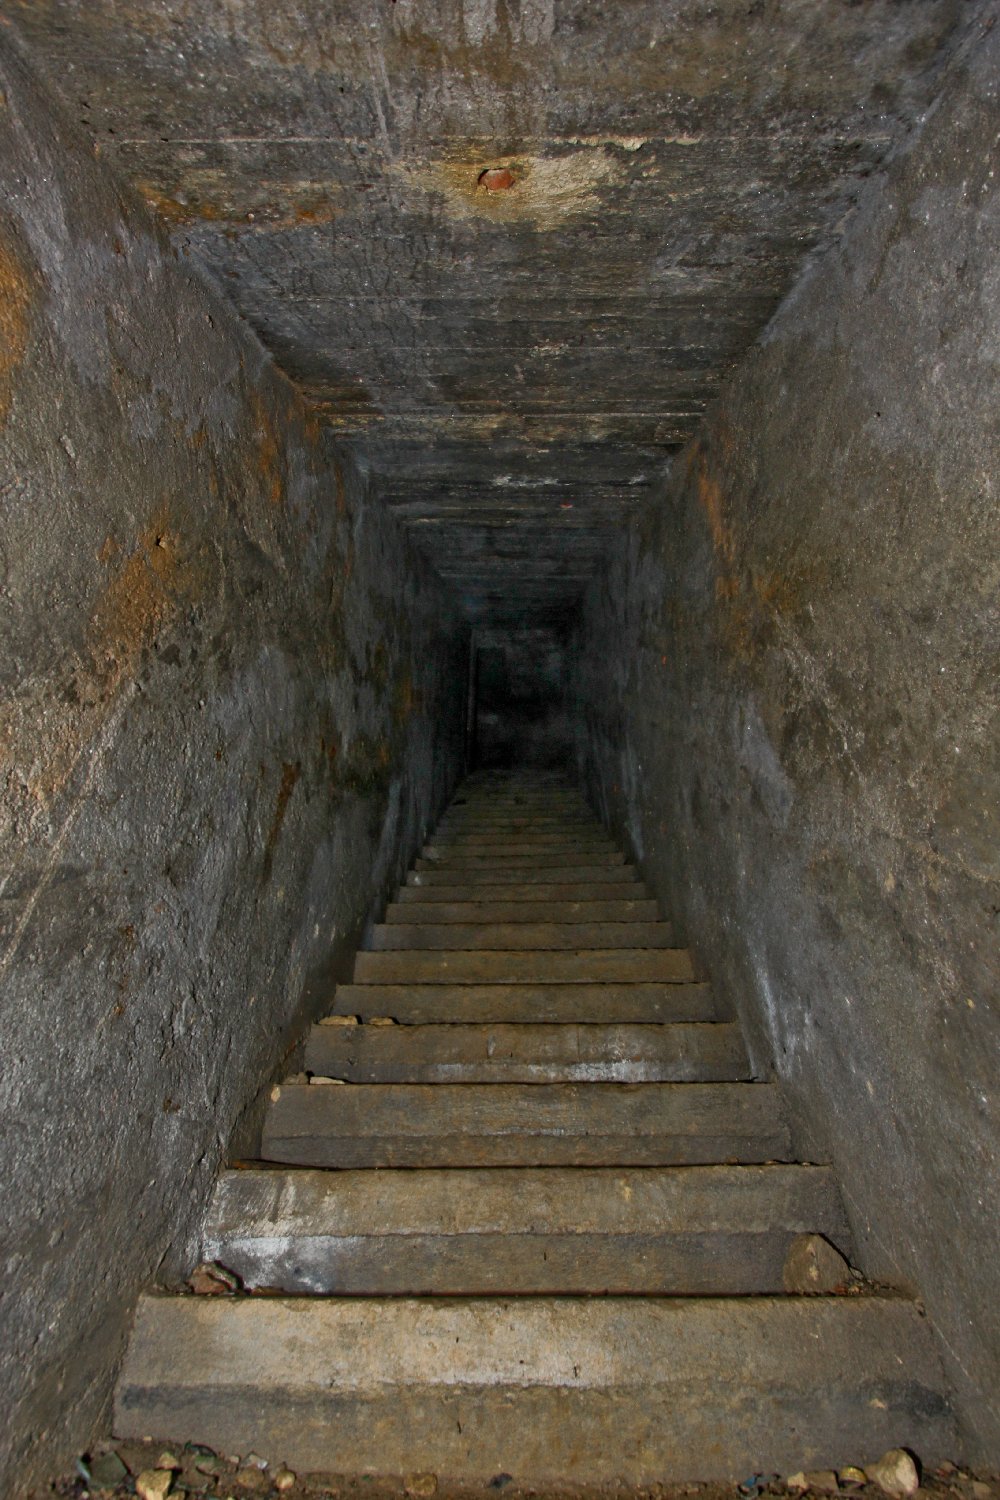
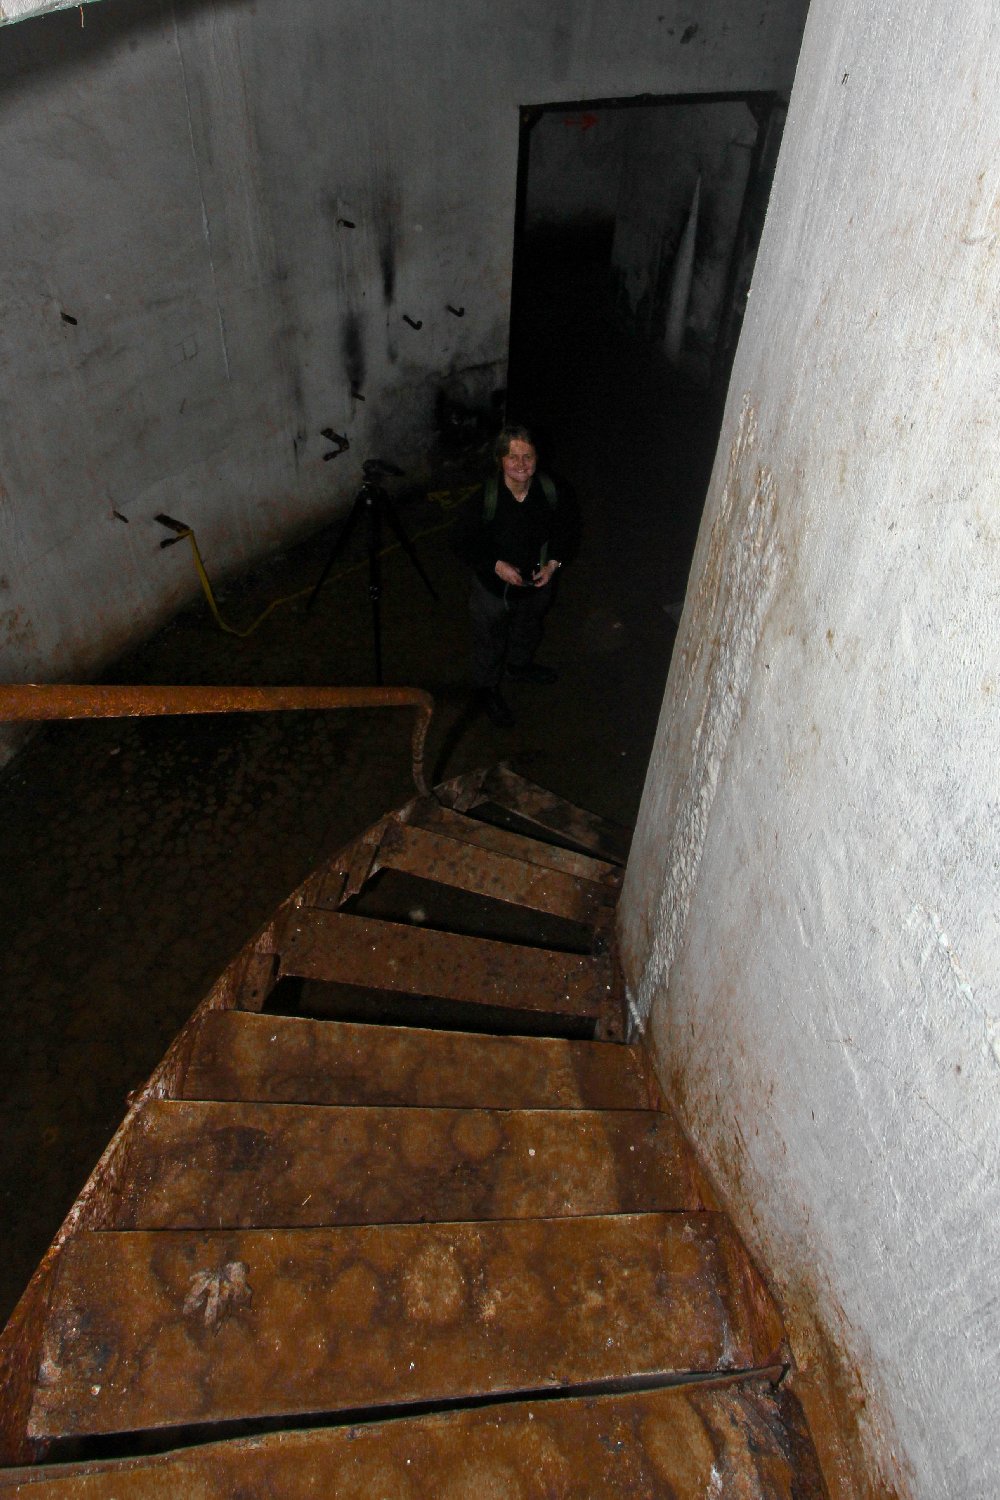
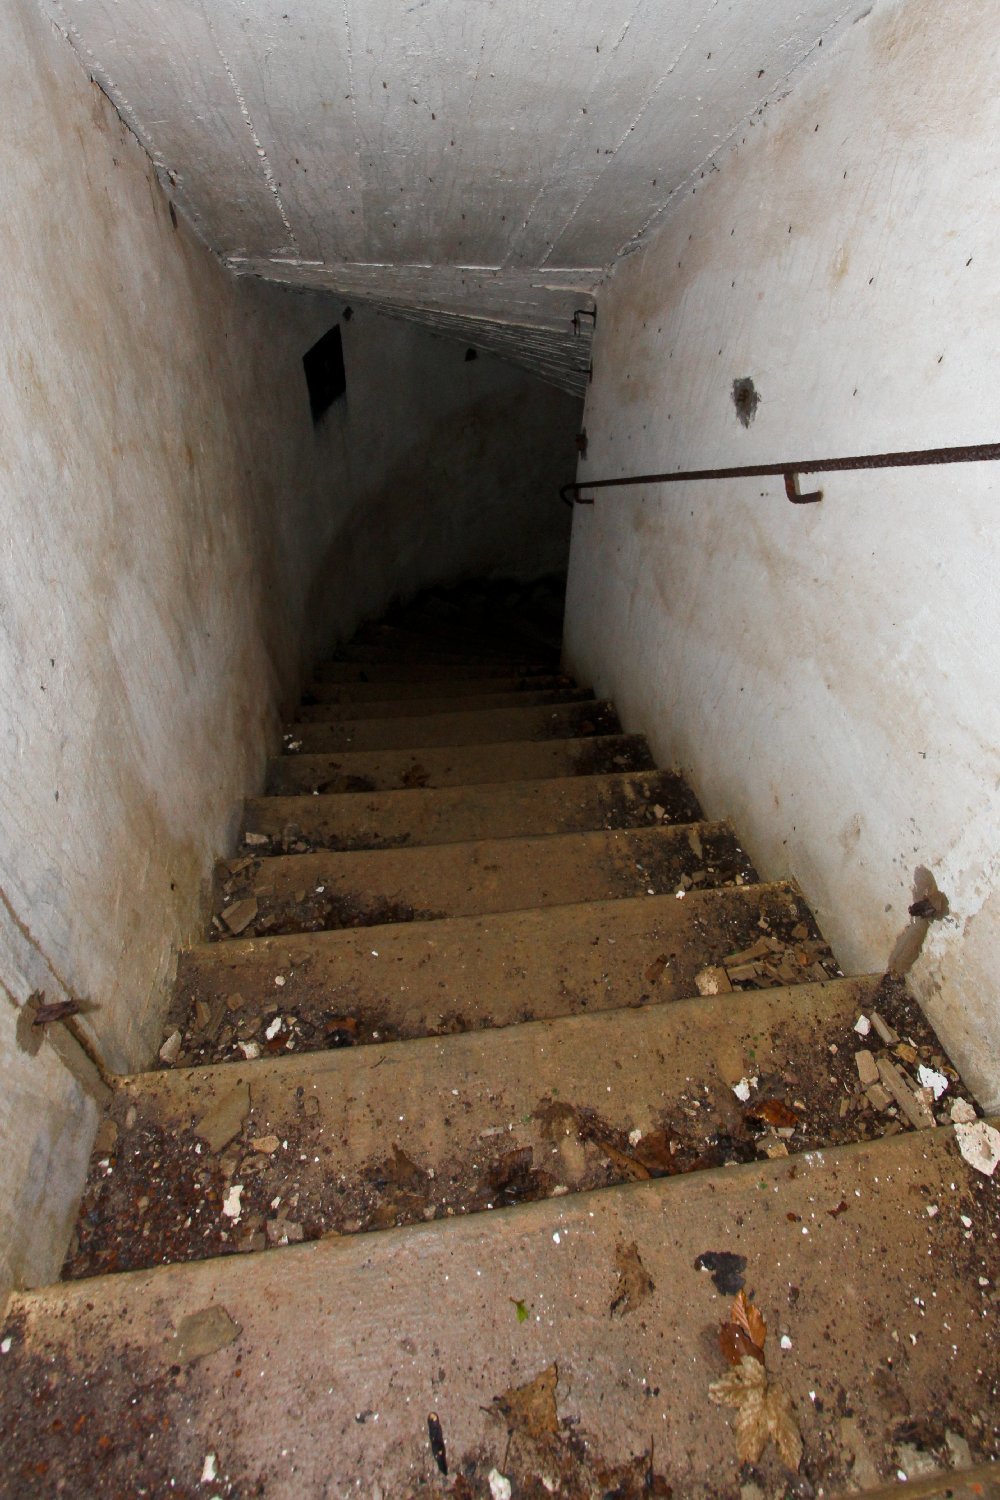
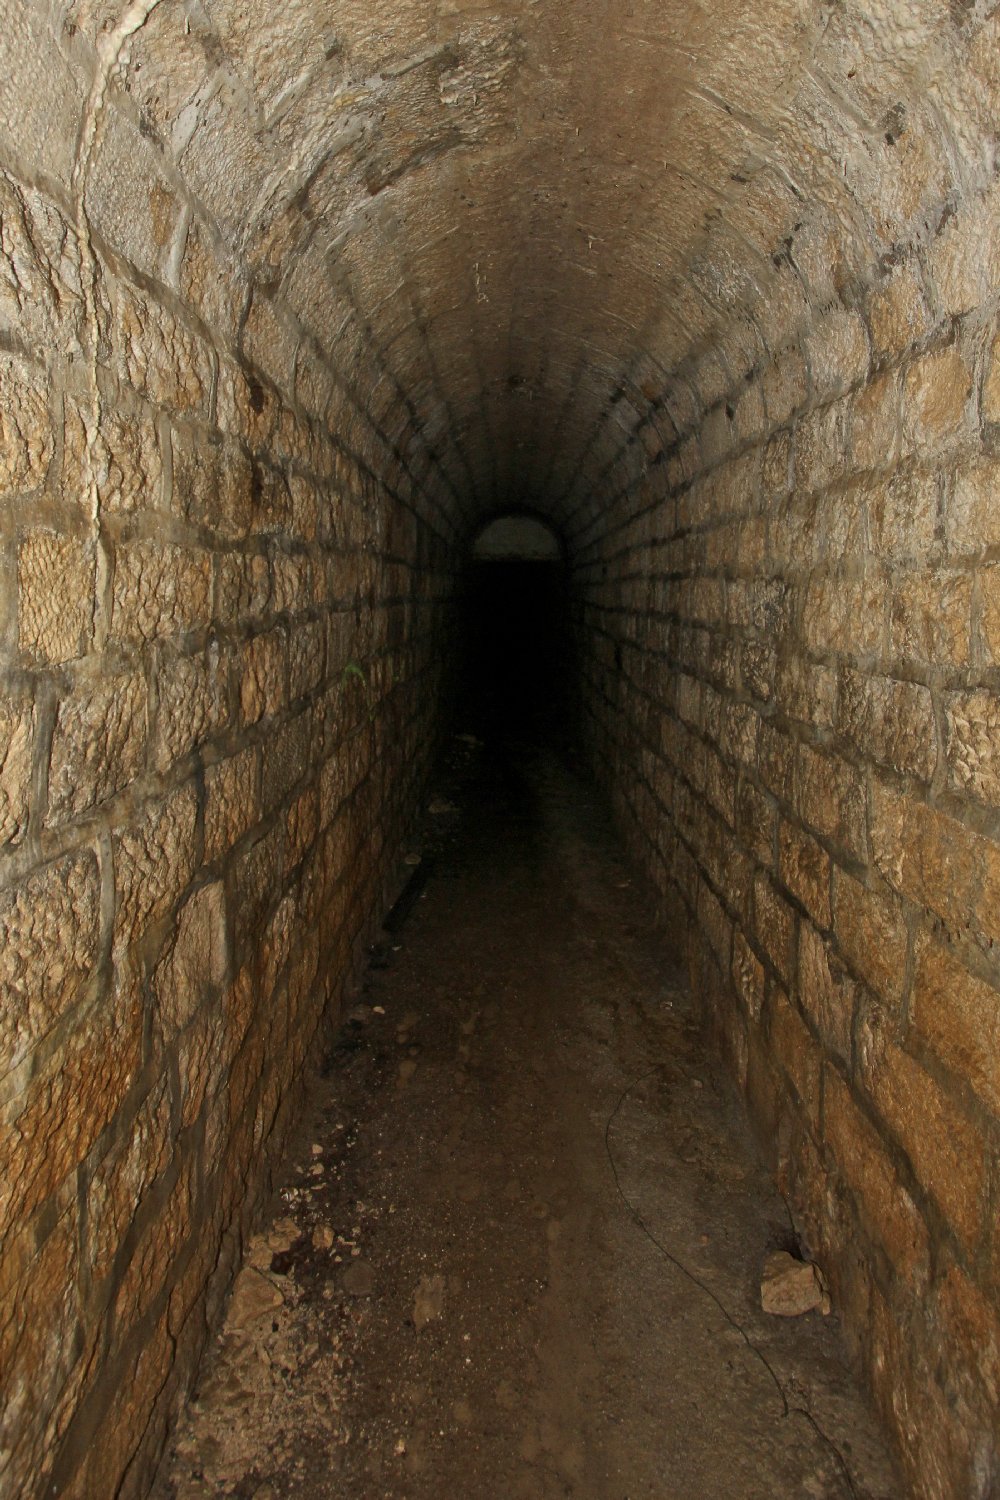
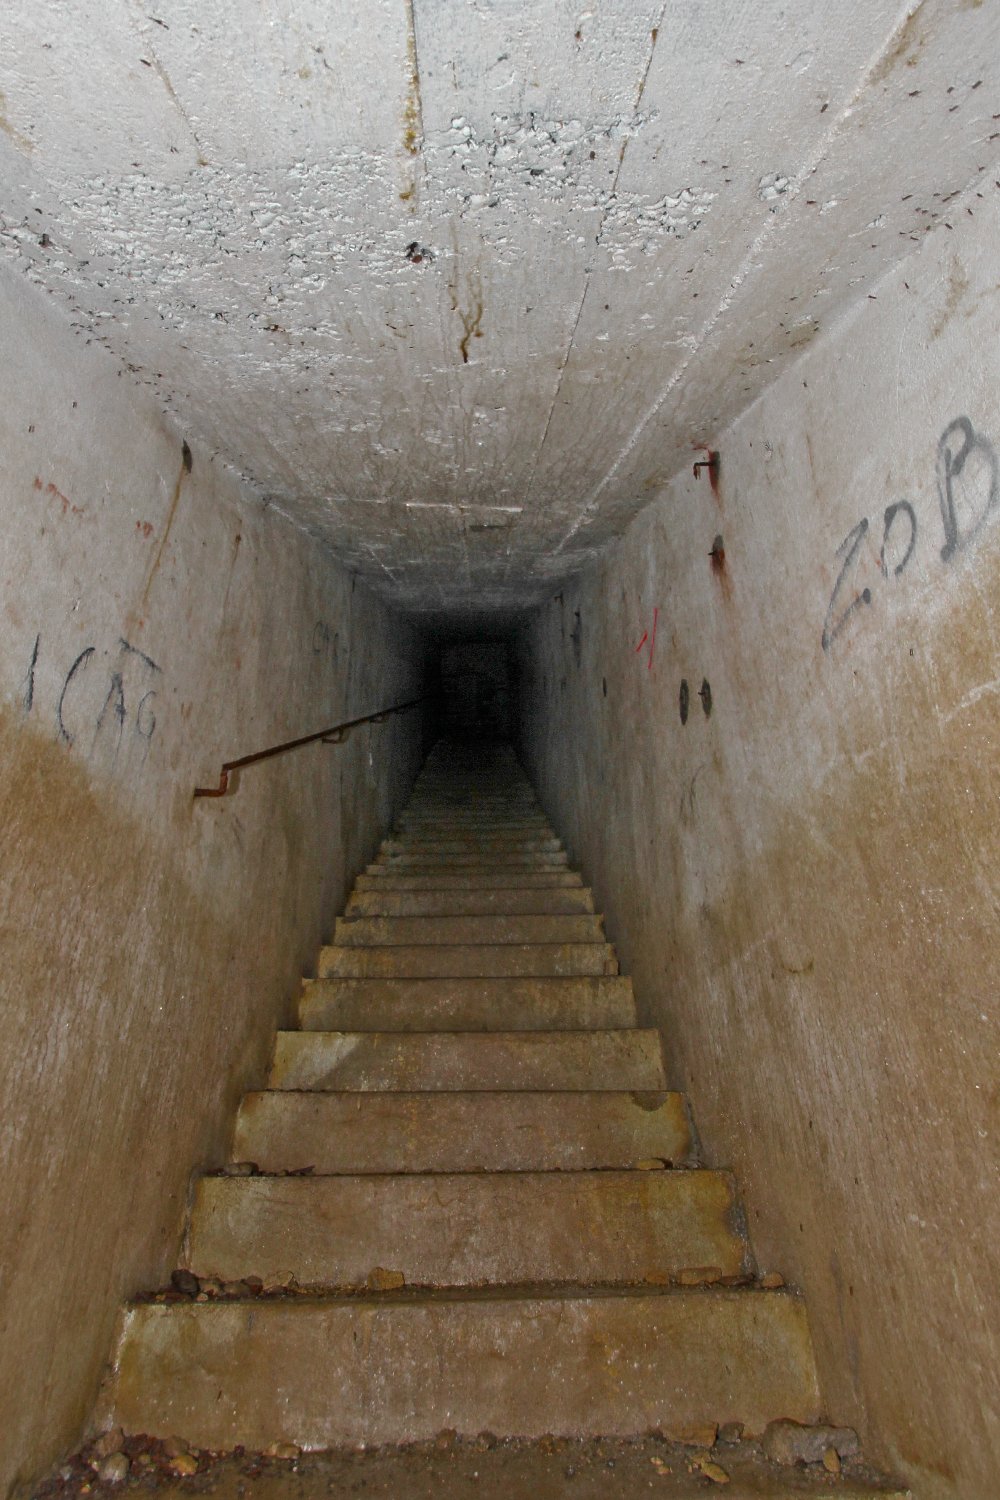
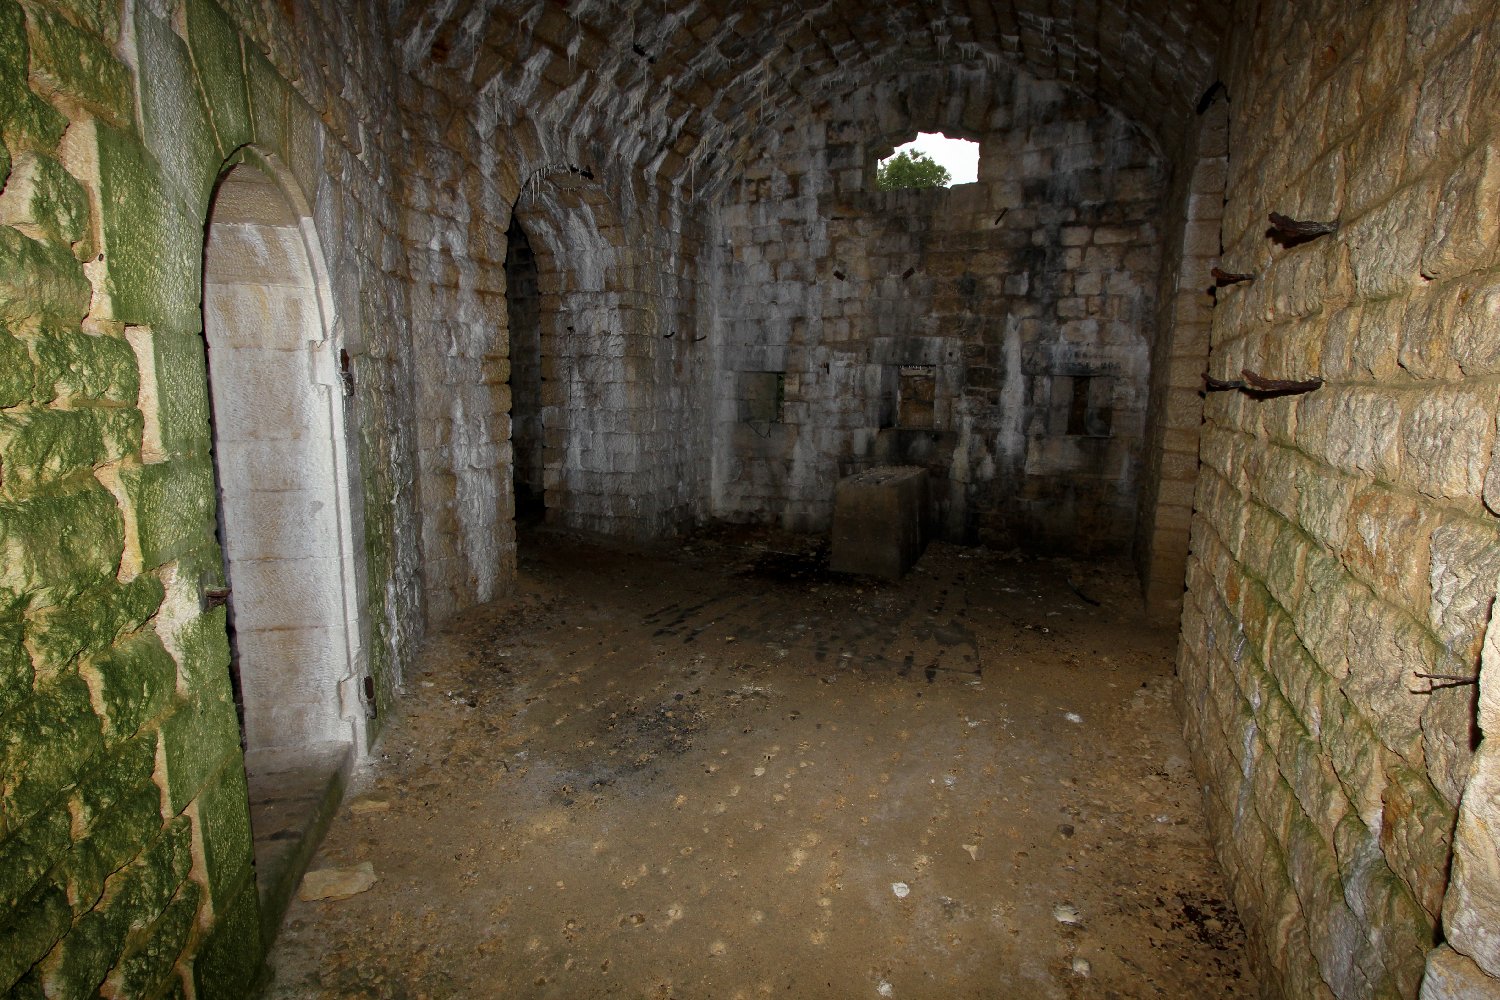
Following the battle of Verdun in 1916 a need was identified for the interconnection of all fighting compartments within all of the forts by the excavation of secondary communication tunnels running back into the heart of the fort, and for an emergency personnel exit to be provided in order to allow the garrison to evacuate secretly if needed. the same tunnels serving to re-supply under fire. The work commenced in 1917 and was named "Travaux 17" - literally "17 work". Many of the Travaux 17 tunnels in the forts we have visited are crude and very fragile indeed never having been fully completed. The roofs are held up with pit props which have rotted to leave little more than black, mouldy shadows - RIGHT ; indeed in many places the tunnel roofs are down comprehensively barring further progress. Not so in Fort Rozellier. So important was the fort's position judged to be, covering the approach from the east which might outflank Verdun, that the tunnels in Rozelier are the best made and most extensive we have ever seen in a Verdun fort, bar none.
|

 The
initial construction phase began on this fort in 1877 and took only
two years to complete at a cost 4.5 million Francs, however almost
continuous programs of improvement meant that some form of
construction work was continually on the go there right up until a
year before the outbreak of the Great War. The first fort at Verdun,
Tavannes, had been started just three years before Rozelier so you
would expect to find the forts to be broadly similar in style. That
is not the case, they differ dramatically. Shortly after the
construction of Tavannes began a dramatic political crisis occurred
and it looked like Germany and France might be at war again within
only a matter of months. As a result a series of six so called
"Panic Forts" was built in great haste in a ring some 2 and a half
kilometres out from the centre of Verdun. The panic forts were
little more than fortified artillery emplacements where field
artillery could be corralled and protected by infantry, themselves
protected with bombardment proof shelters. There were no fixed
defensive installations on these forts such as the turrets which
would begin to appear on the larger examples that were to follow
very soon. Eventually the political panic subsided into a grumbling
resumption of the fragile peace and work resumed on the original
plan which included forts Souville, Marre, Haudainville, Rozelier,
and Bois Reunis. By 1879 they had all been completed and armed. At
this point then there were a total of twelve forts protecting Verdun
with the much earlier citadel sitting in the centre of the city.
The
initial construction phase began on this fort in 1877 and took only
two years to complete at a cost 4.5 million Francs, however almost
continuous programs of improvement meant that some form of
construction work was continually on the go there right up until a
year before the outbreak of the Great War. The first fort at Verdun,
Tavannes, had been started just three years before Rozelier so you
would expect to find the forts to be broadly similar in style. That
is not the case, they differ dramatically. Shortly after the
construction of Tavannes began a dramatic political crisis occurred
and it looked like Germany and France might be at war again within
only a matter of months. As a result a series of six so called
"Panic Forts" was built in great haste in a ring some 2 and a half
kilometres out from the centre of Verdun. The panic forts were
little more than fortified artillery emplacements where field
artillery could be corralled and protected by infantry, themselves
protected with bombardment proof shelters. There were no fixed
defensive installations on these forts such as the turrets which
would begin to appear on the larger examples that were to follow
very soon. Eventually the political panic subsided into a grumbling
resumption of the fragile peace and work resumed on the original
plan which included forts Souville, Marre, Haudainville, Rozelier,
and Bois Reunis. By 1879 they had all been completed and armed. At
this point then there were a total of twelve forts protecting Verdun
with the much earlier citadel sitting in the centre of the city.

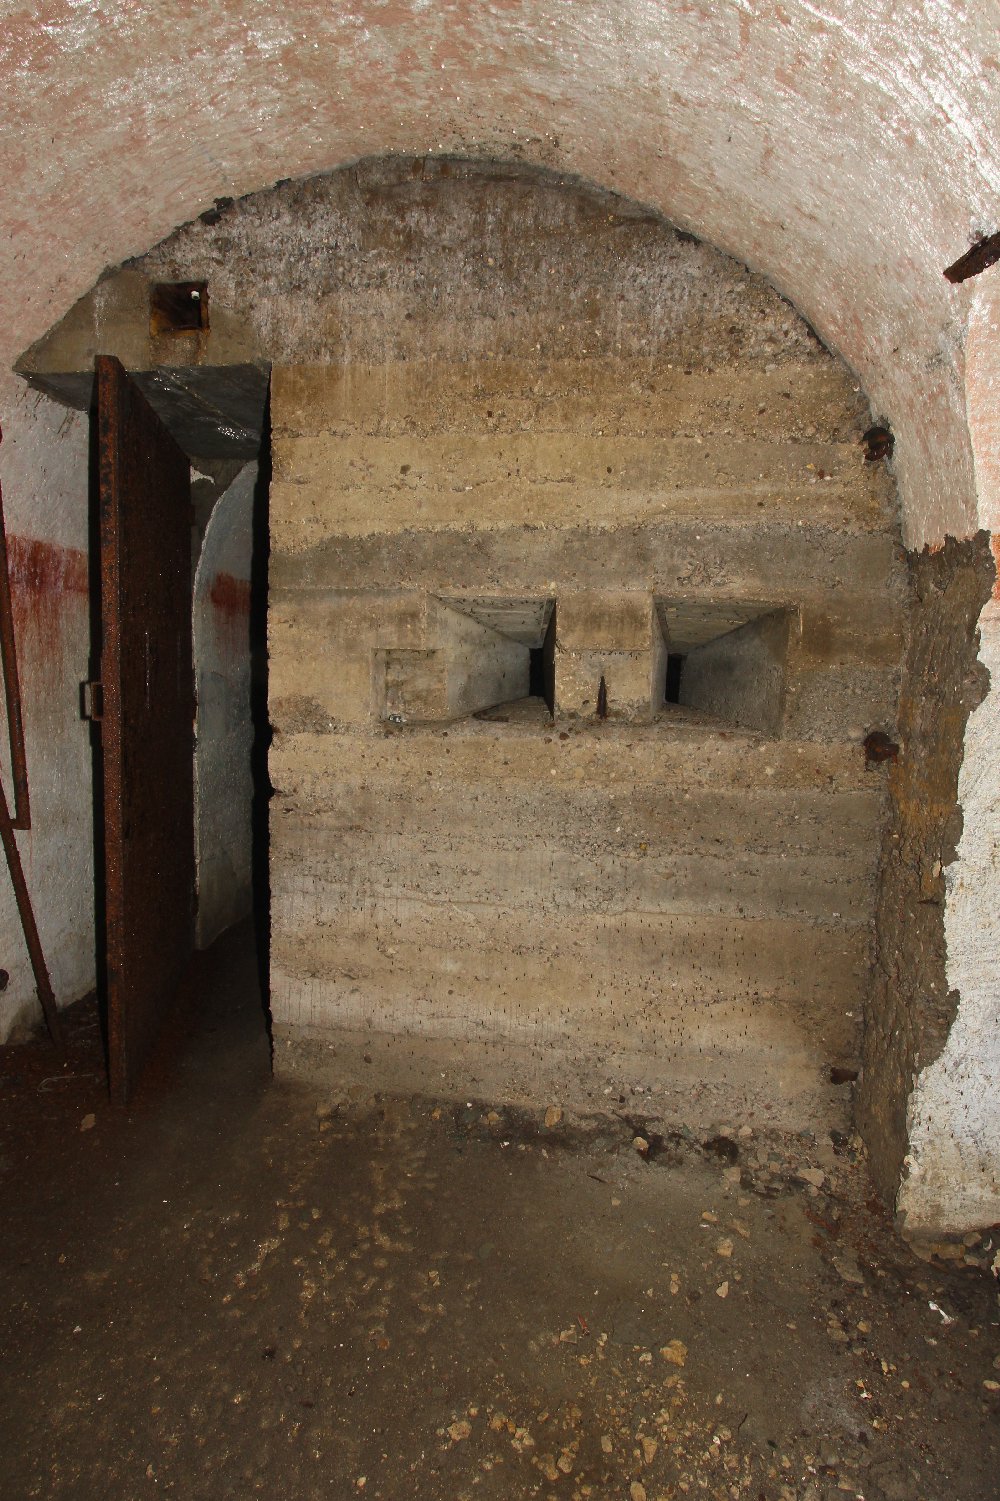
 Dramatic
improvements in German ordnance, both in the shape and calibre of
shells and the performance of the explosive filling them, resulted
in the need for far better armour on these forts and a program of
improvements was soon undertaken. Unlike the poorly armoured panic
forts which employed masonry built blocks covered by a second
masonry skin sandwiching an air gap to disperse blast from
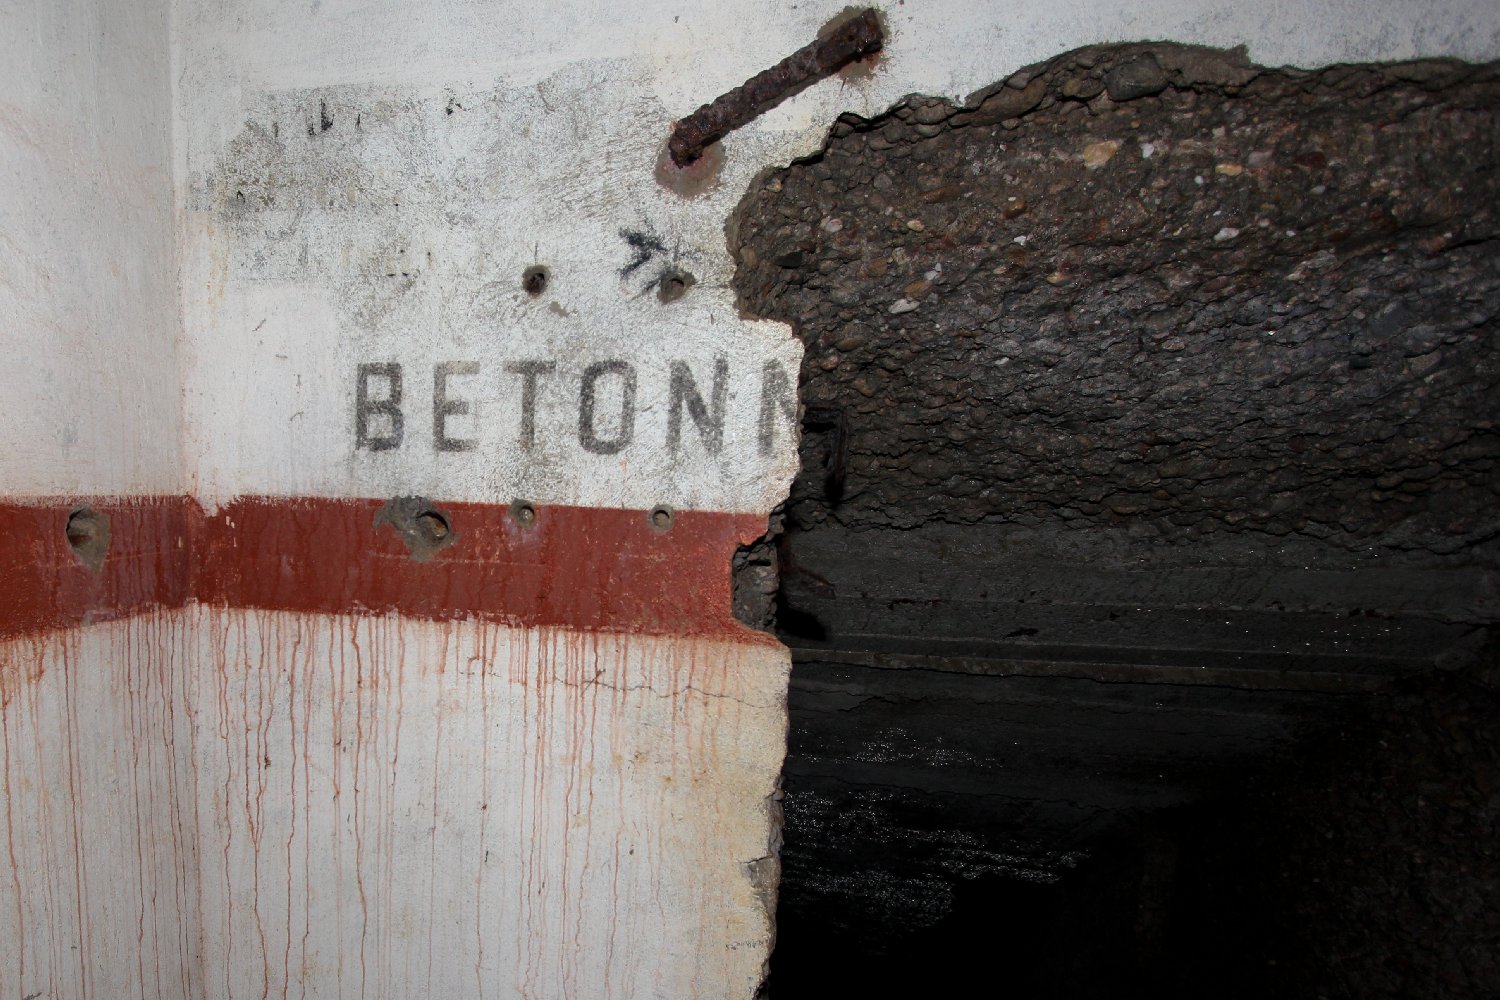
penetrating artillery shells, Rozelier appears to have embraced
instead the new build techniques employed on the later forts which
had been designed from the outset with a completely different
approach. It appears that reliance was placed instead upon special
reinforced concrete laid in a continuous pour to prevent
delaminating layers, over which were poured deep layers of sand to
absorb blast, and finally an earth shield several meters thick was
dug in over the top. This technique proved so successful at Fort
Douamont in 1916 that the first heavy shell to penetrate the fort
was fired literally months after an almost continual bombardment had
begun. In effect the entire shielding layer of the fort had been
progressively blasted away until with just sufficient penetration, a
high velocity French 320 mm shell broke through and decimated the by
now occupying German forces, the fort having fallen without a shot
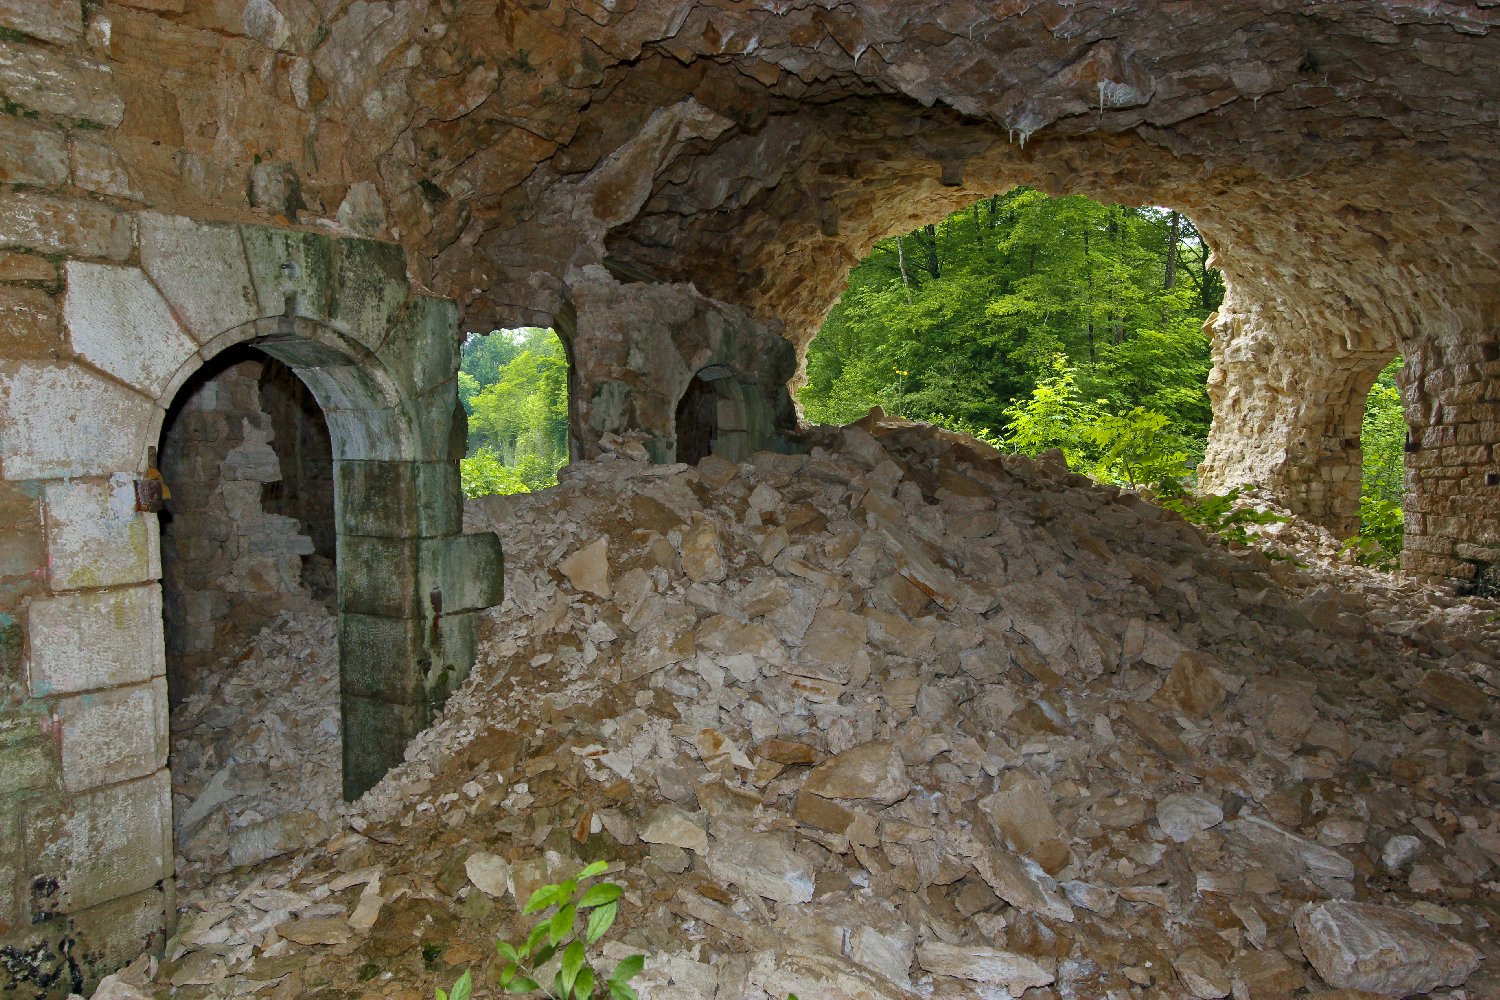
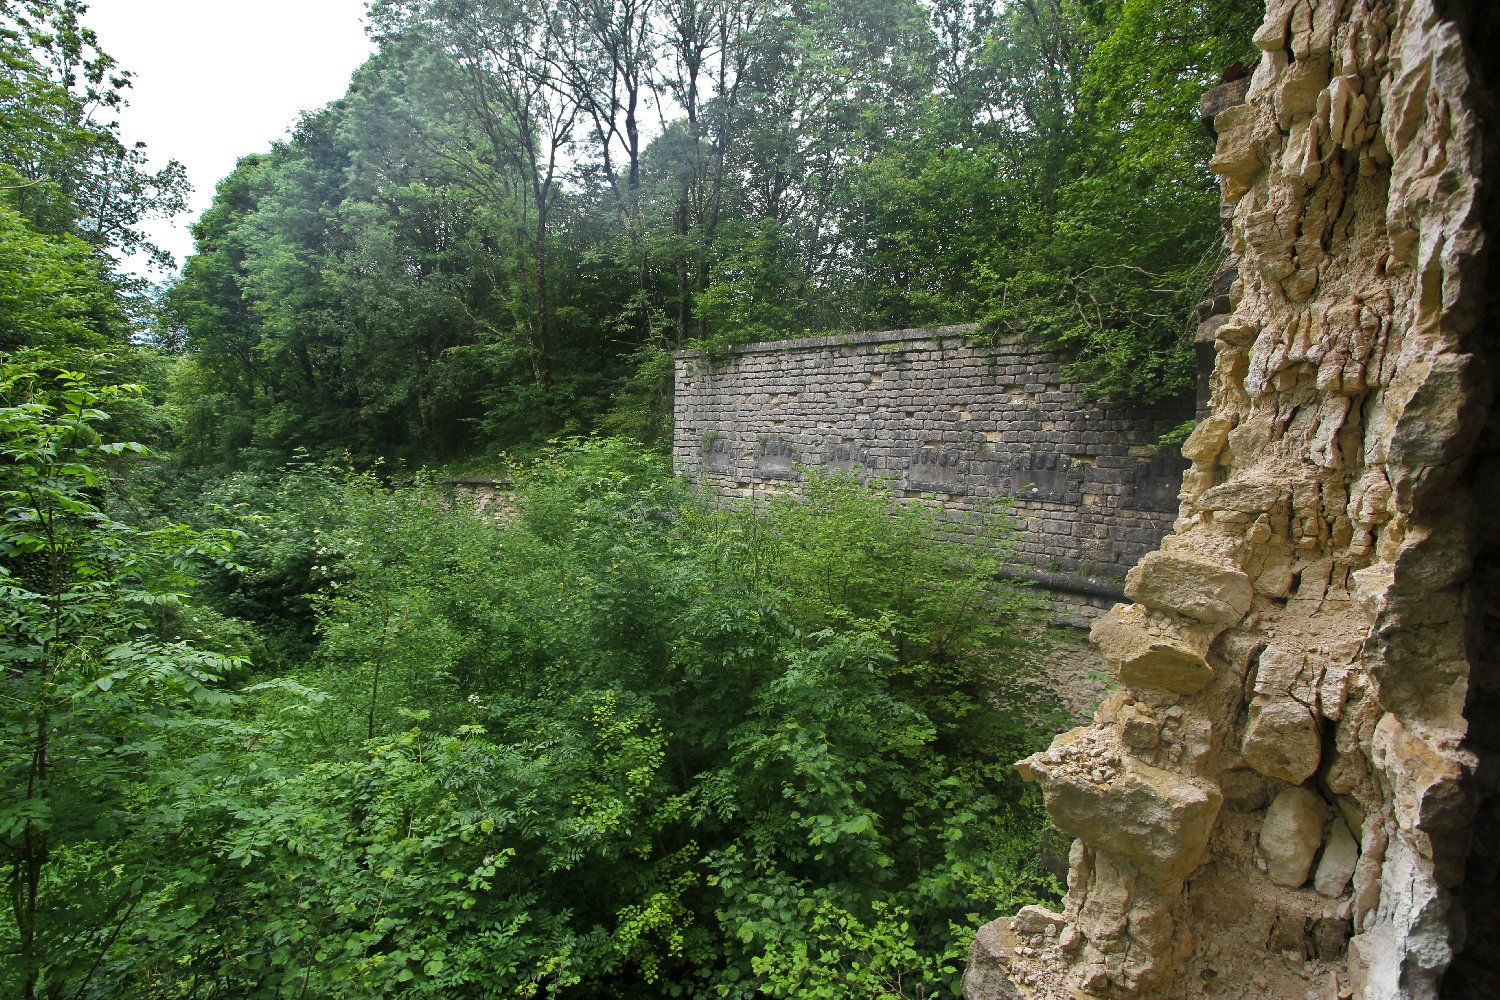
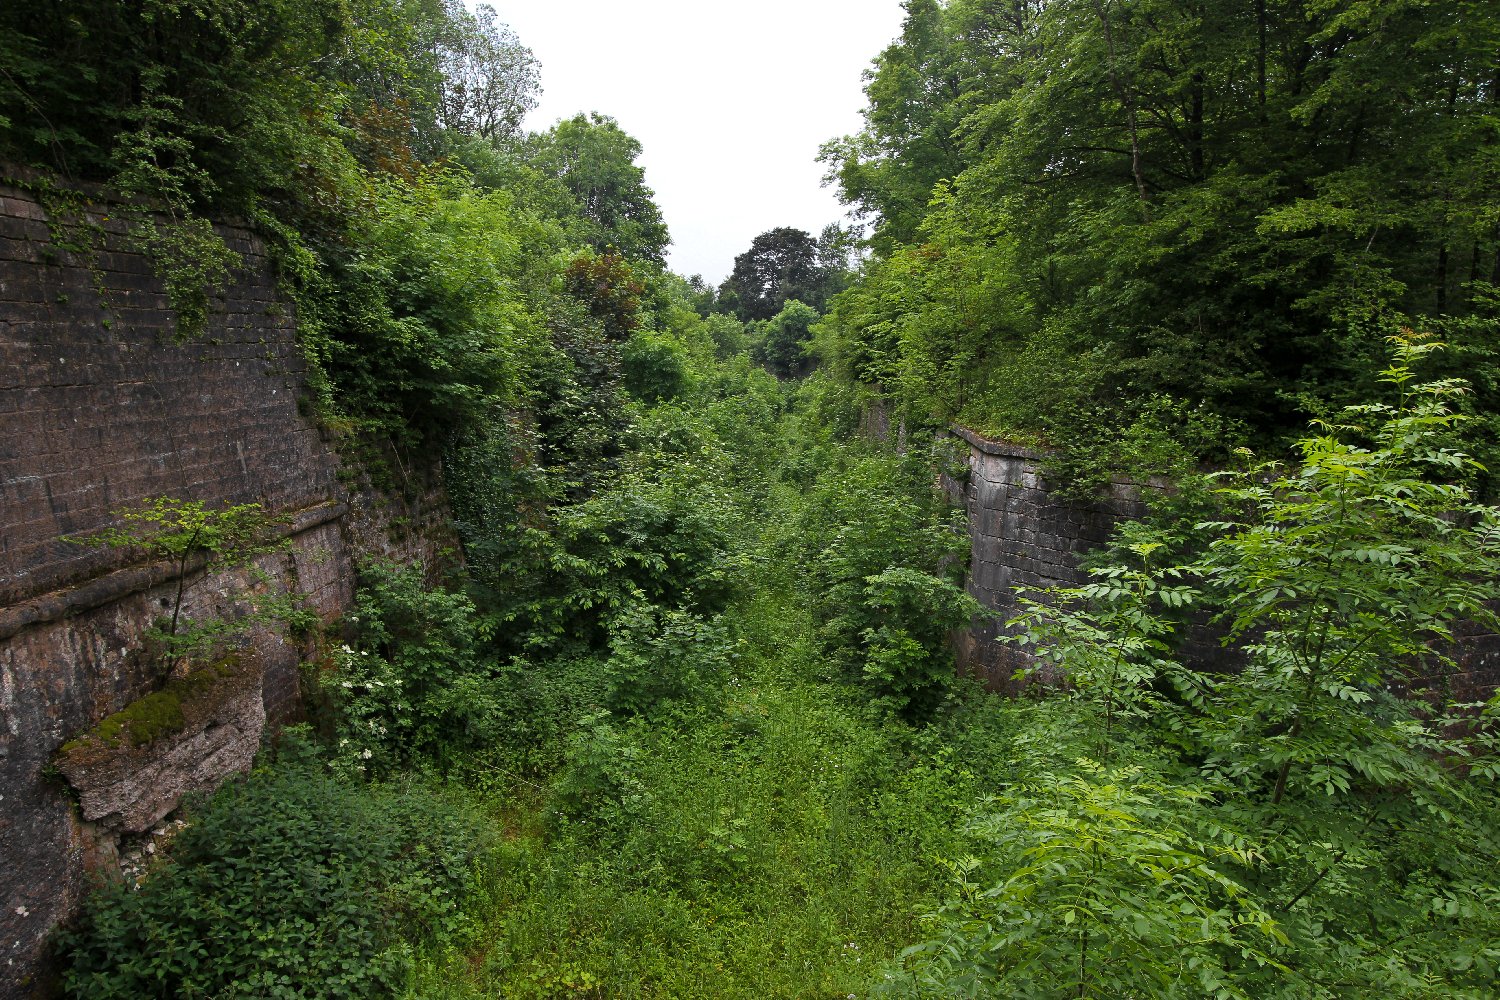
being fired several weeks earlier. We did not witness much damage
from German heavy artillery fire at all at Rozelier with the obvious
exception of the few large shell holes in the gate wall area, though
in truth we did not walk a great area of the fort's top side.
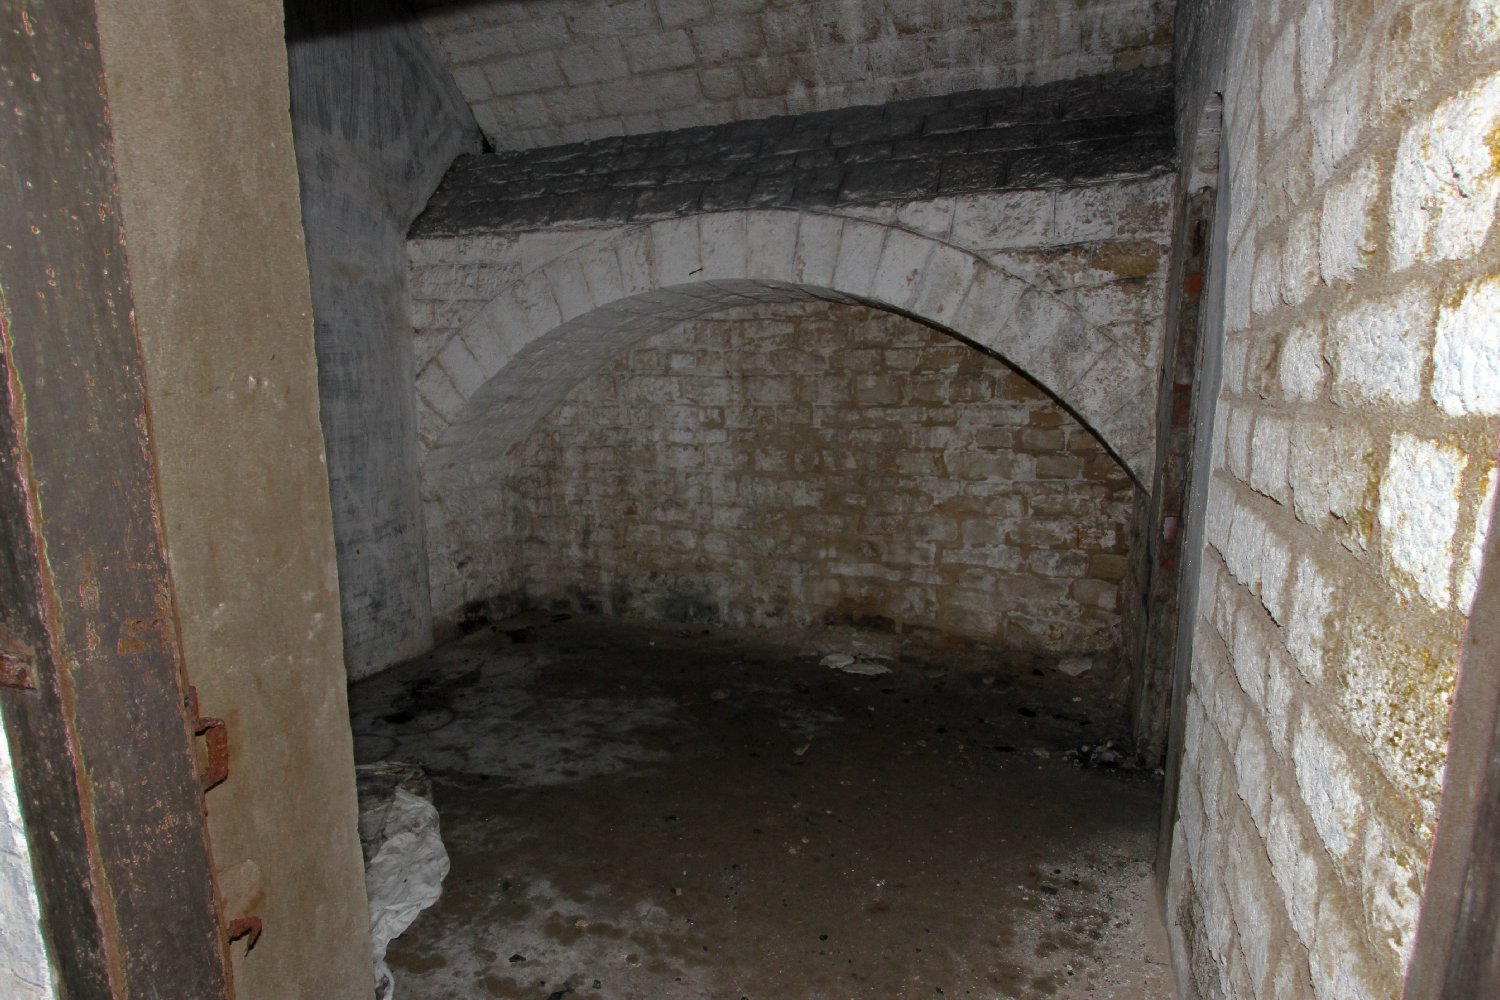
Internally we saw very little damage anywhere so what ever
protection Rozelier employed it was effective in the extreme.
Dramatic
improvements in German ordnance, both in the shape and calibre of
shells and the performance of the explosive filling them, resulted
in the need for far better armour on these forts and a program of
improvements was soon undertaken. Unlike the poorly armoured panic
forts which employed masonry built blocks covered by a second
masonry skin sandwiching an air gap to disperse blast from
penetrating artillery shells, Rozelier appears to have embraced
instead the new build techniques employed on the later forts which
had been designed from the outset with a completely different
approach. It appears that reliance was placed instead upon special
reinforced concrete laid in a continuous pour to prevent
delaminating layers, over which were poured deep layers of sand to
absorb blast, and finally an earth shield several meters thick was
dug in over the top. This technique proved so successful at Fort
Douamont in 1916 that the first heavy shell to penetrate the fort
was fired literally months after an almost continual bombardment had
begun. In effect the entire shielding layer of the fort had been
progressively blasted away until with just sufficient penetration, a
high velocity French 320 mm shell broke through and decimated the by
now occupying German forces, the fort having fallen without a shot
being fired several weeks earlier. We did not witness much damage
from German heavy artillery fire at all at Rozelier with the obvious
exception of the few large shell holes in the gate wall area, though
in truth we did not walk a great area of the fort's top side.
Internally we saw very little damage anywhere so what ever
protection Rozelier employed it was effective in the extreme.

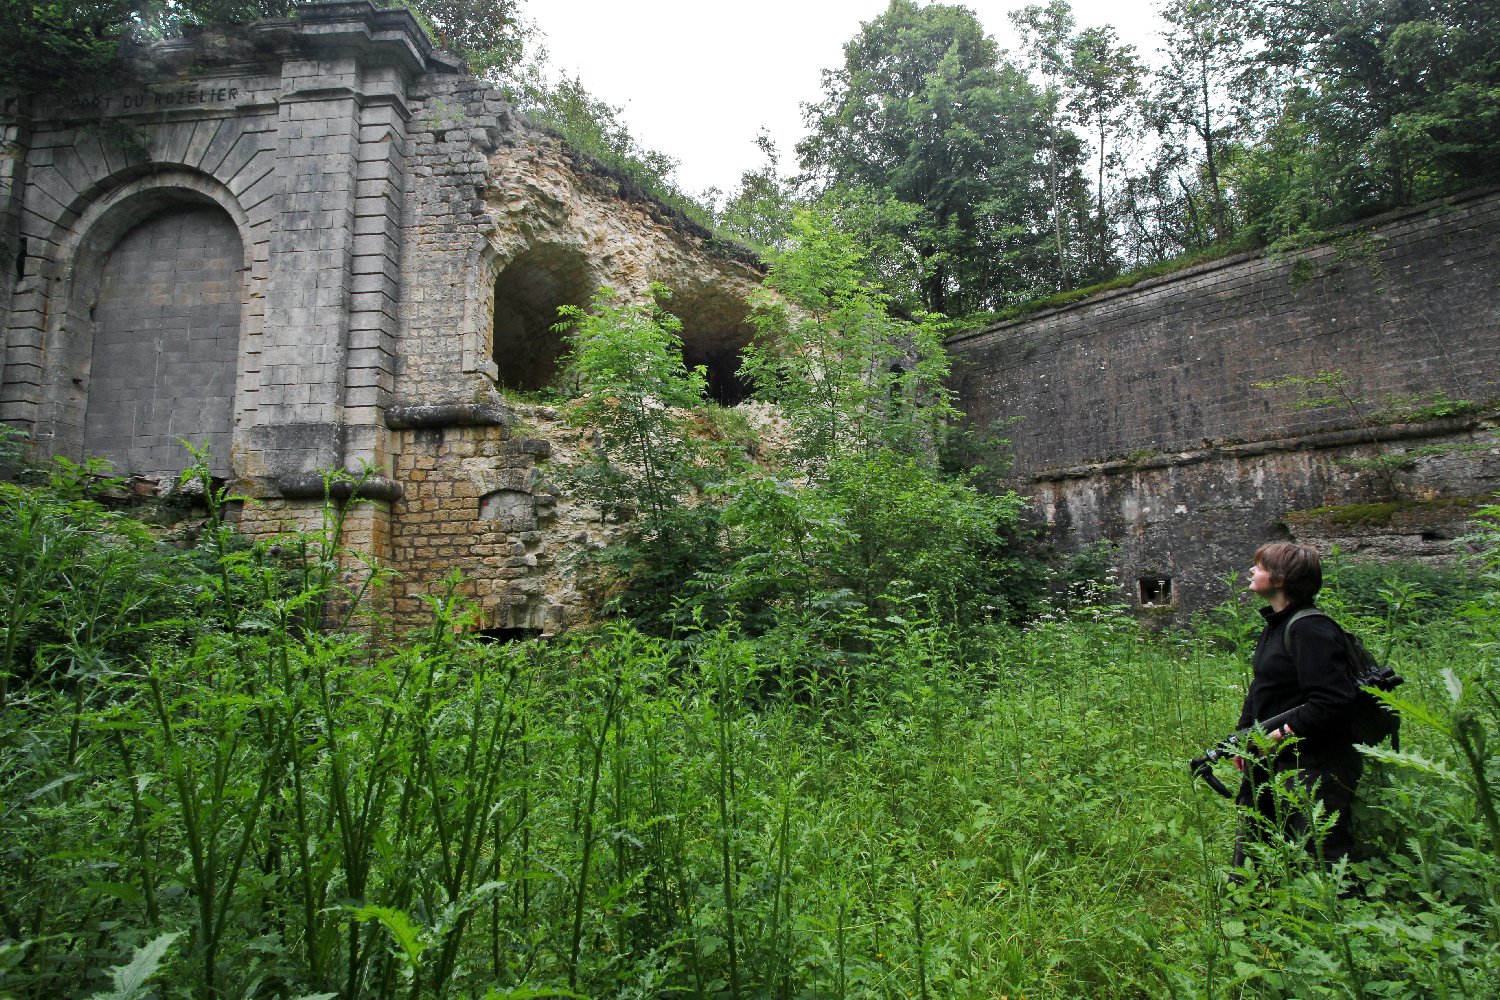
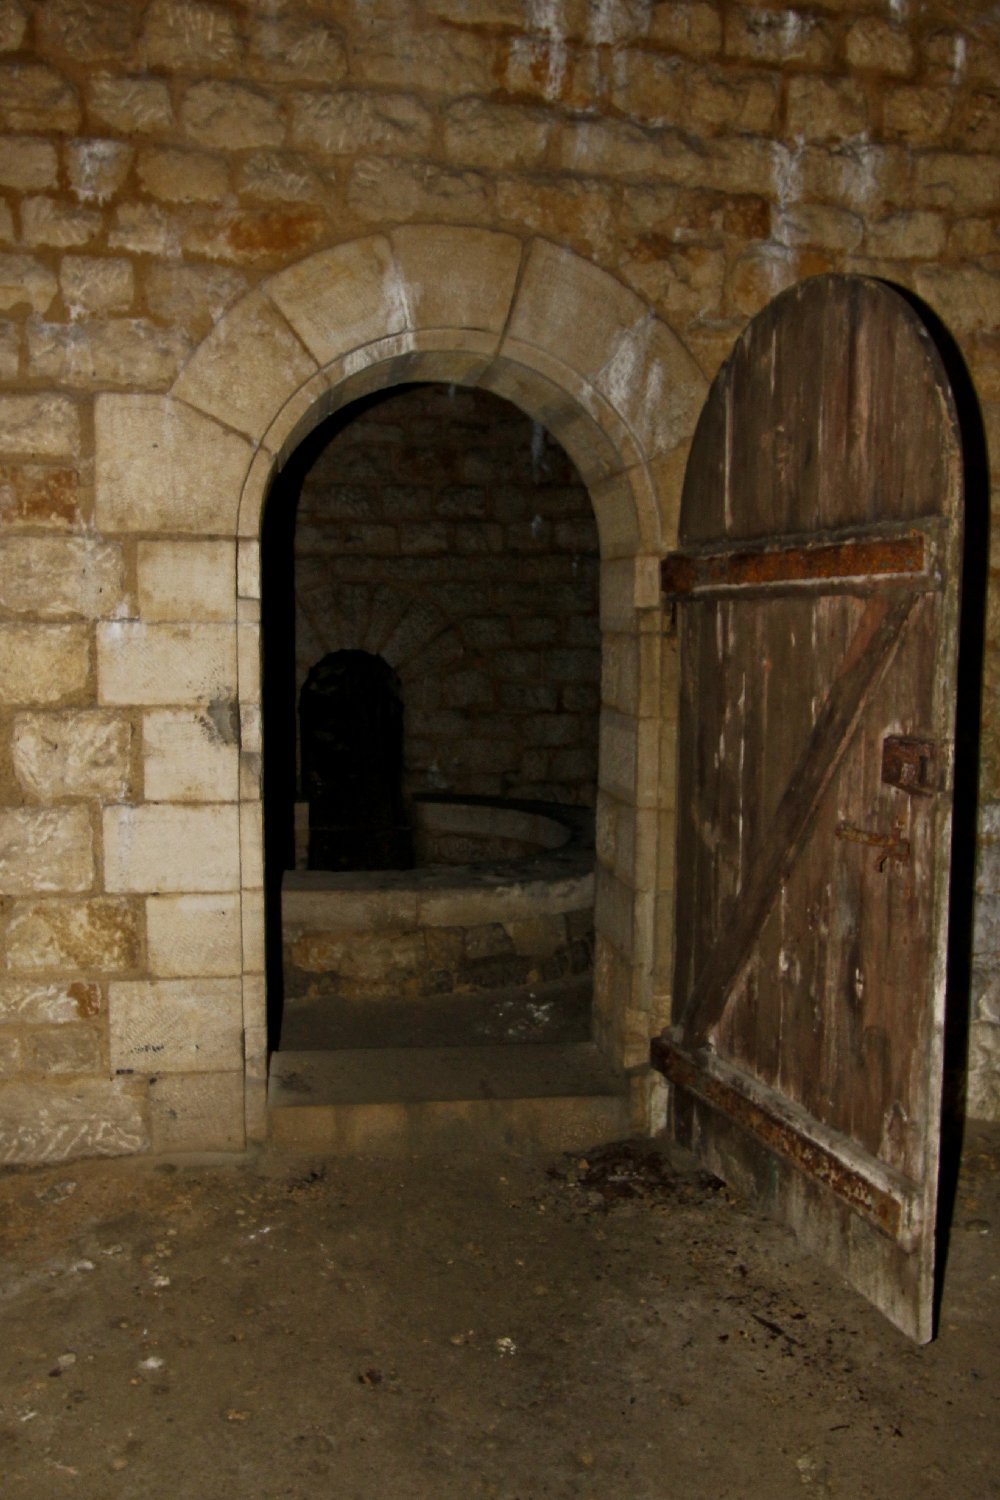
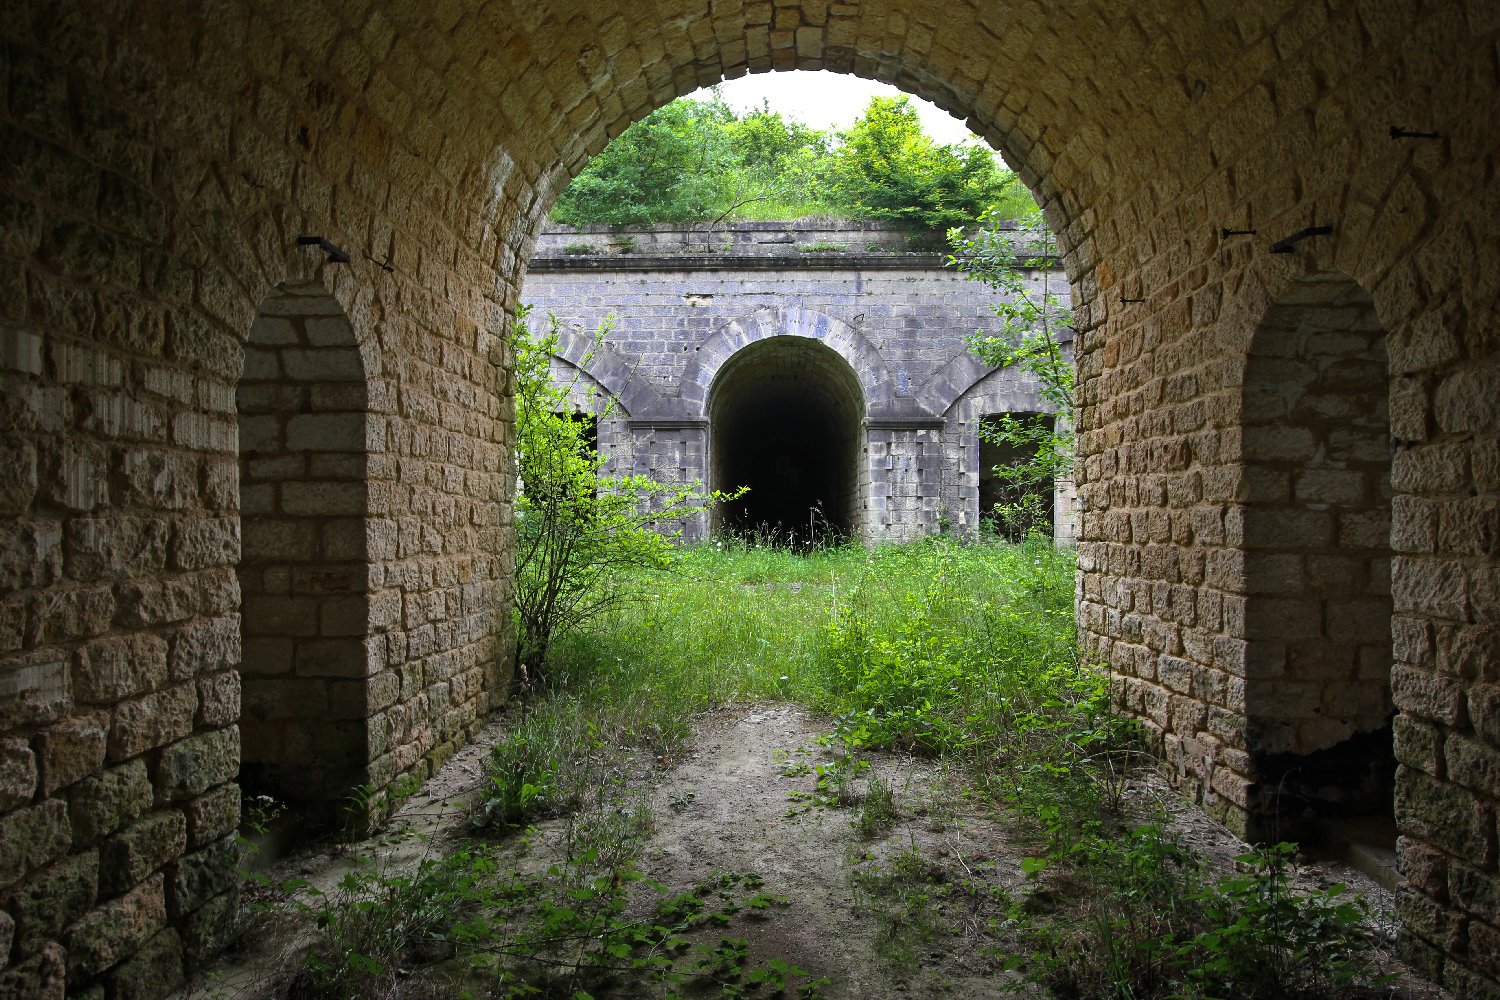
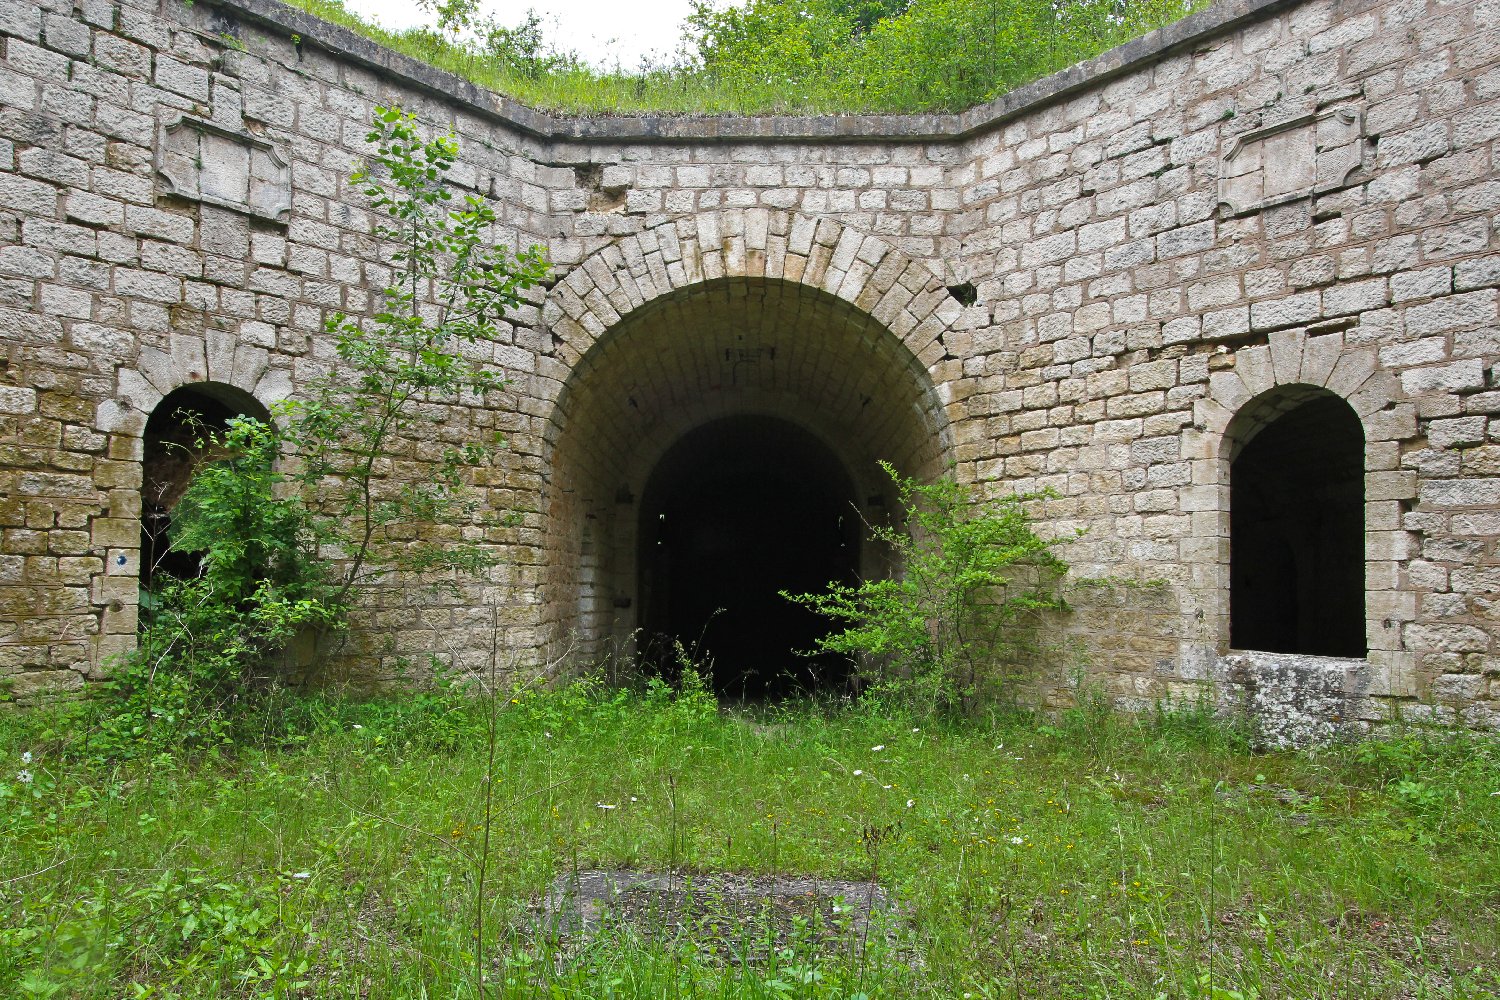
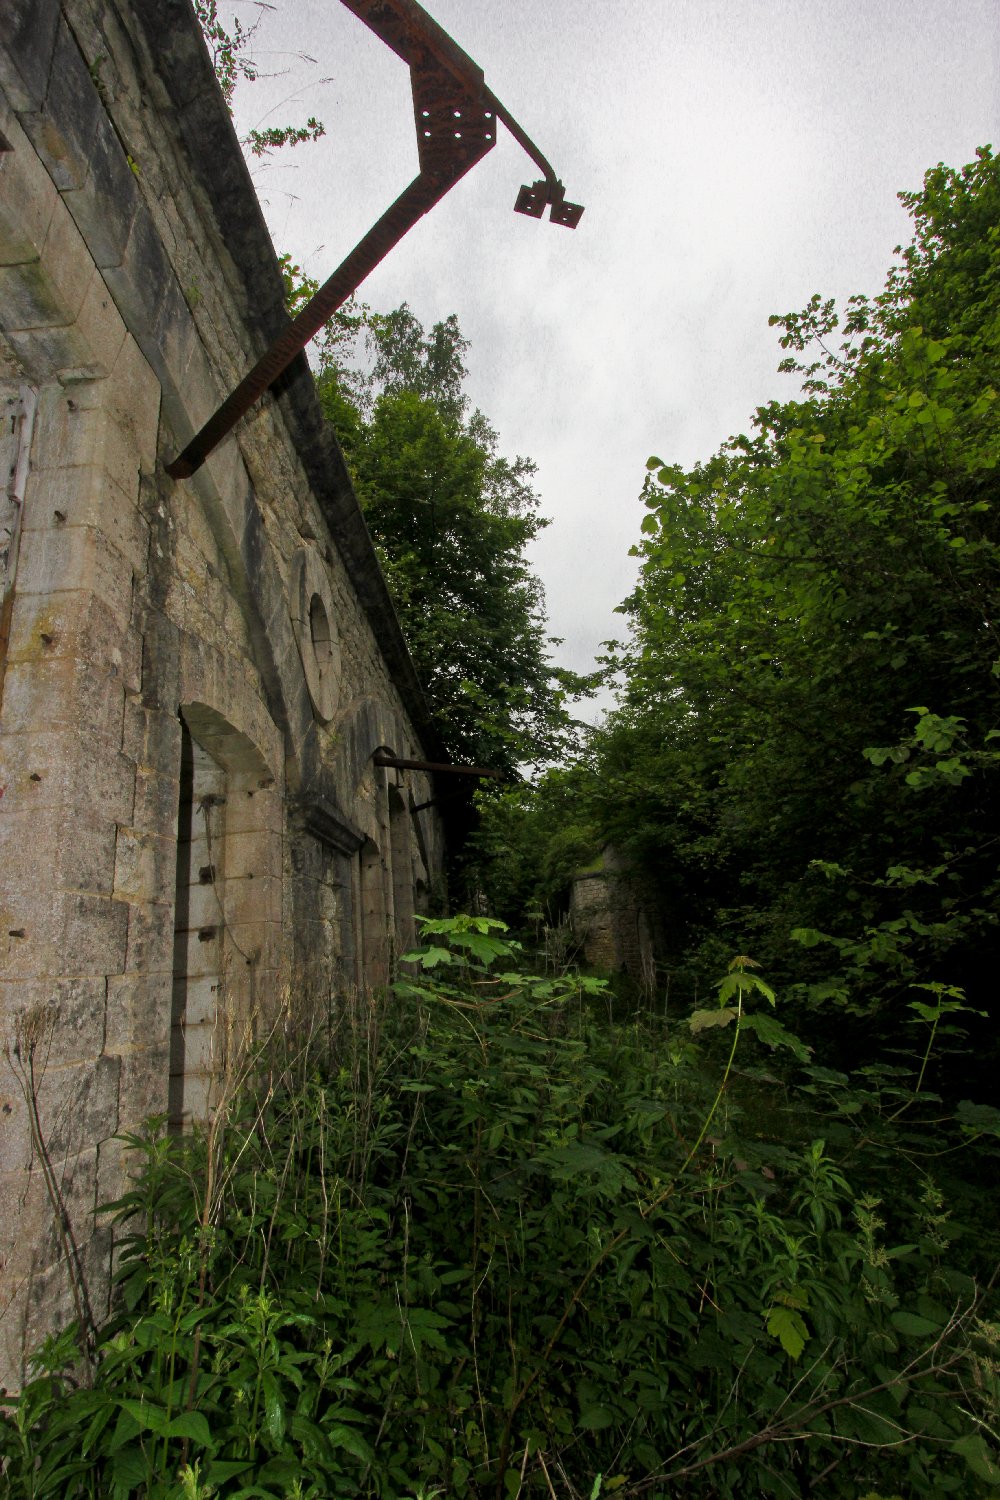
 The
entrance to the fort was protected by the ubiquitous gorge
caponniere
The
entrance to the fort was protected by the ubiquitous gorge
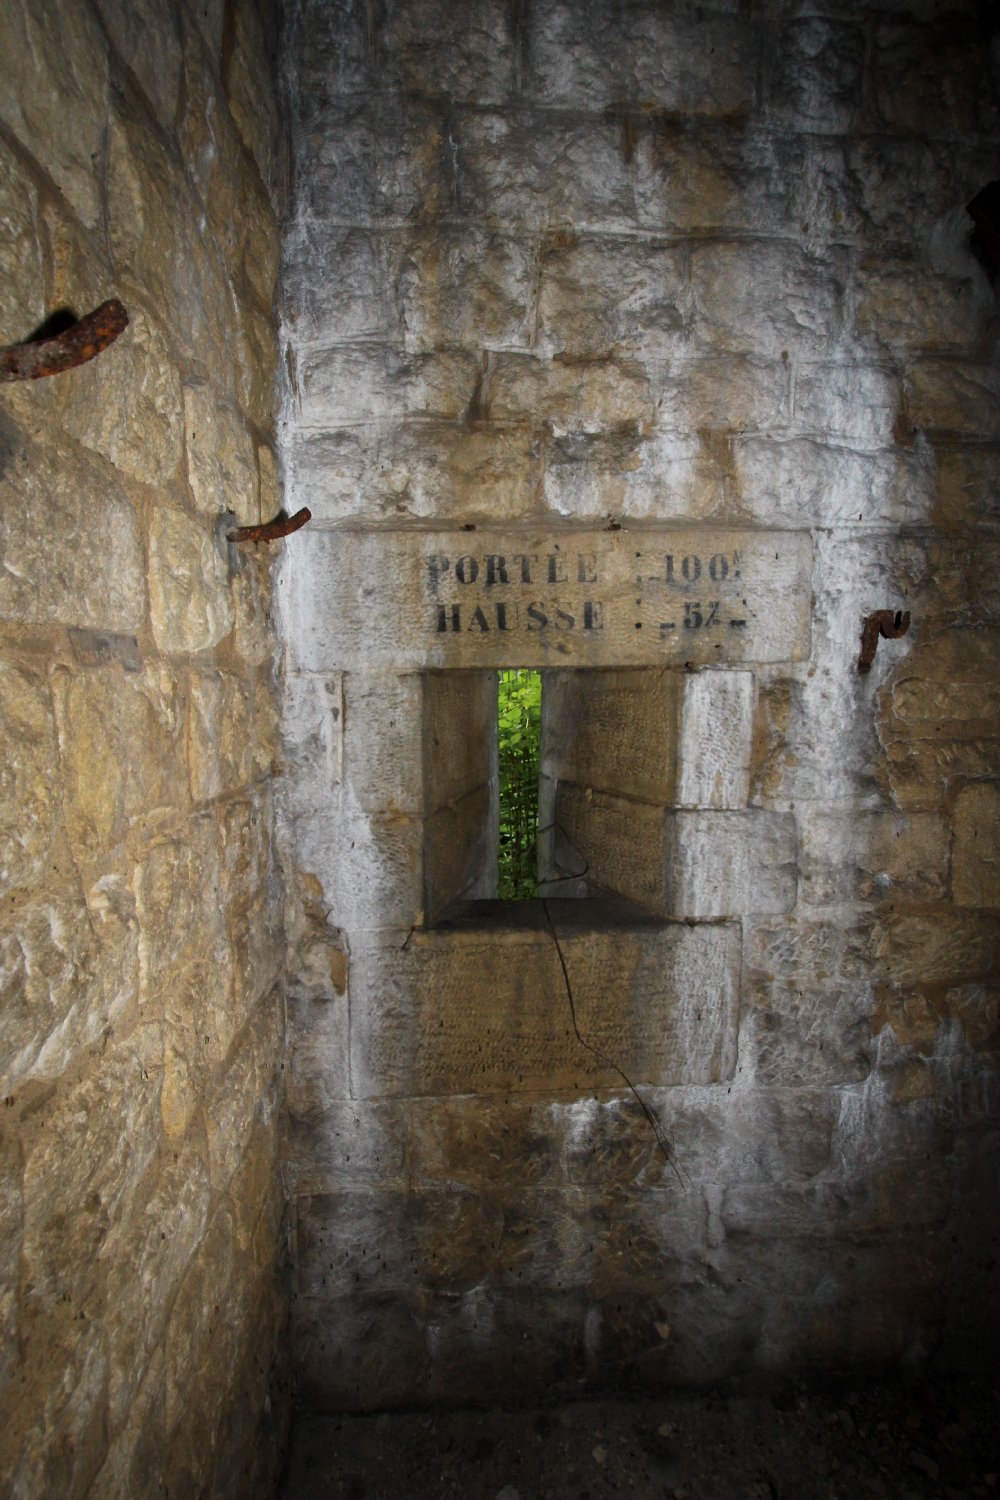
caponniere 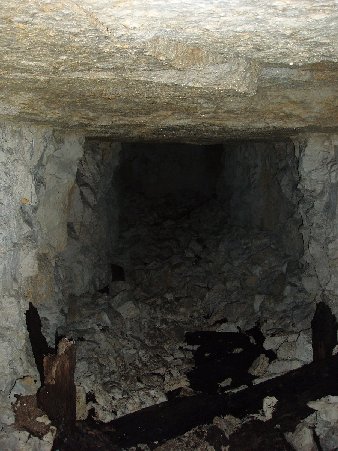 Around
the same period it appears from certain documentation that two 75mm
artillery turrets were installed either on the fort itself or just
outside, however what happened to these turrets is very unclear.
What IS
for certain is that there are no 75mm installations anywhere in the
fort now, so our best guess is that they were abandoned or possibly
built over, or that they never moved beyond the planning phase at
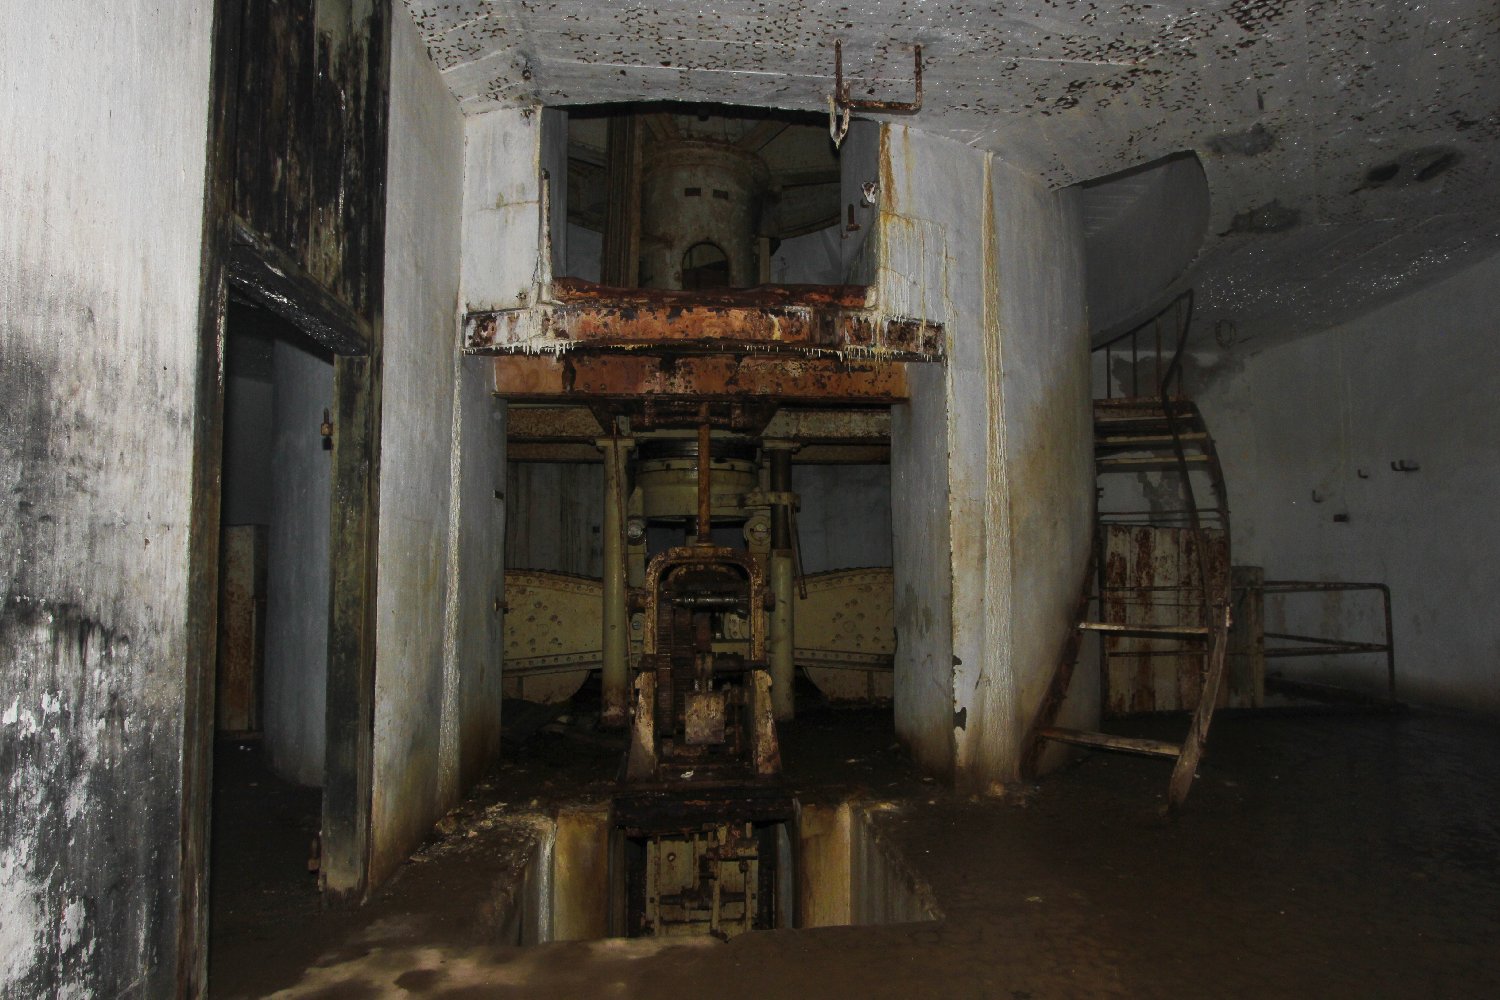
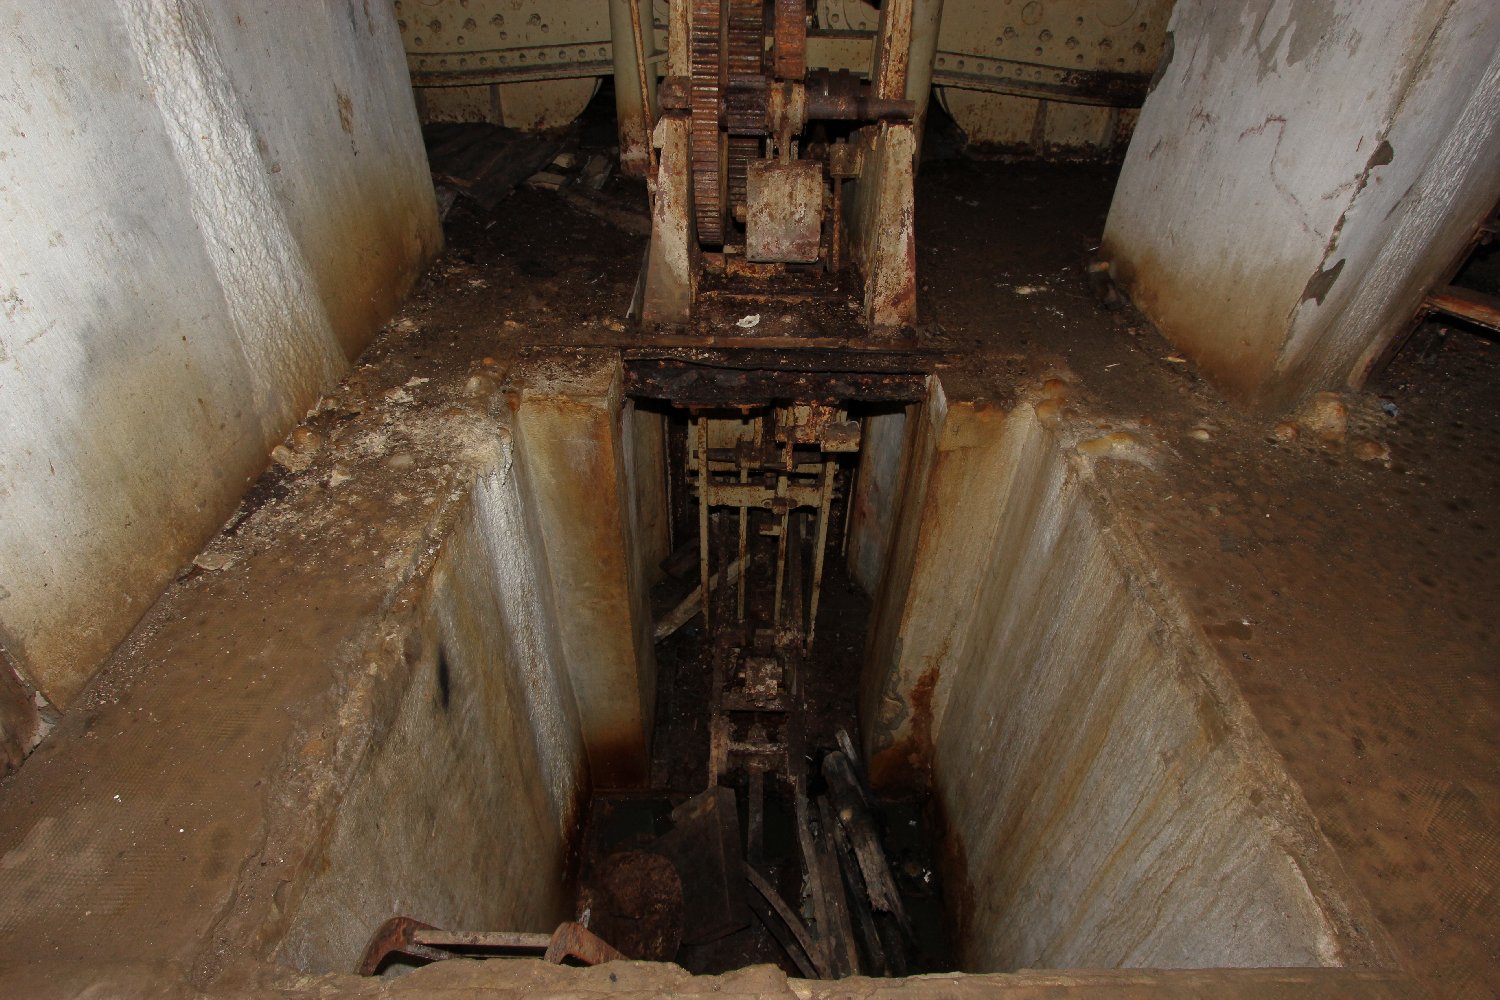
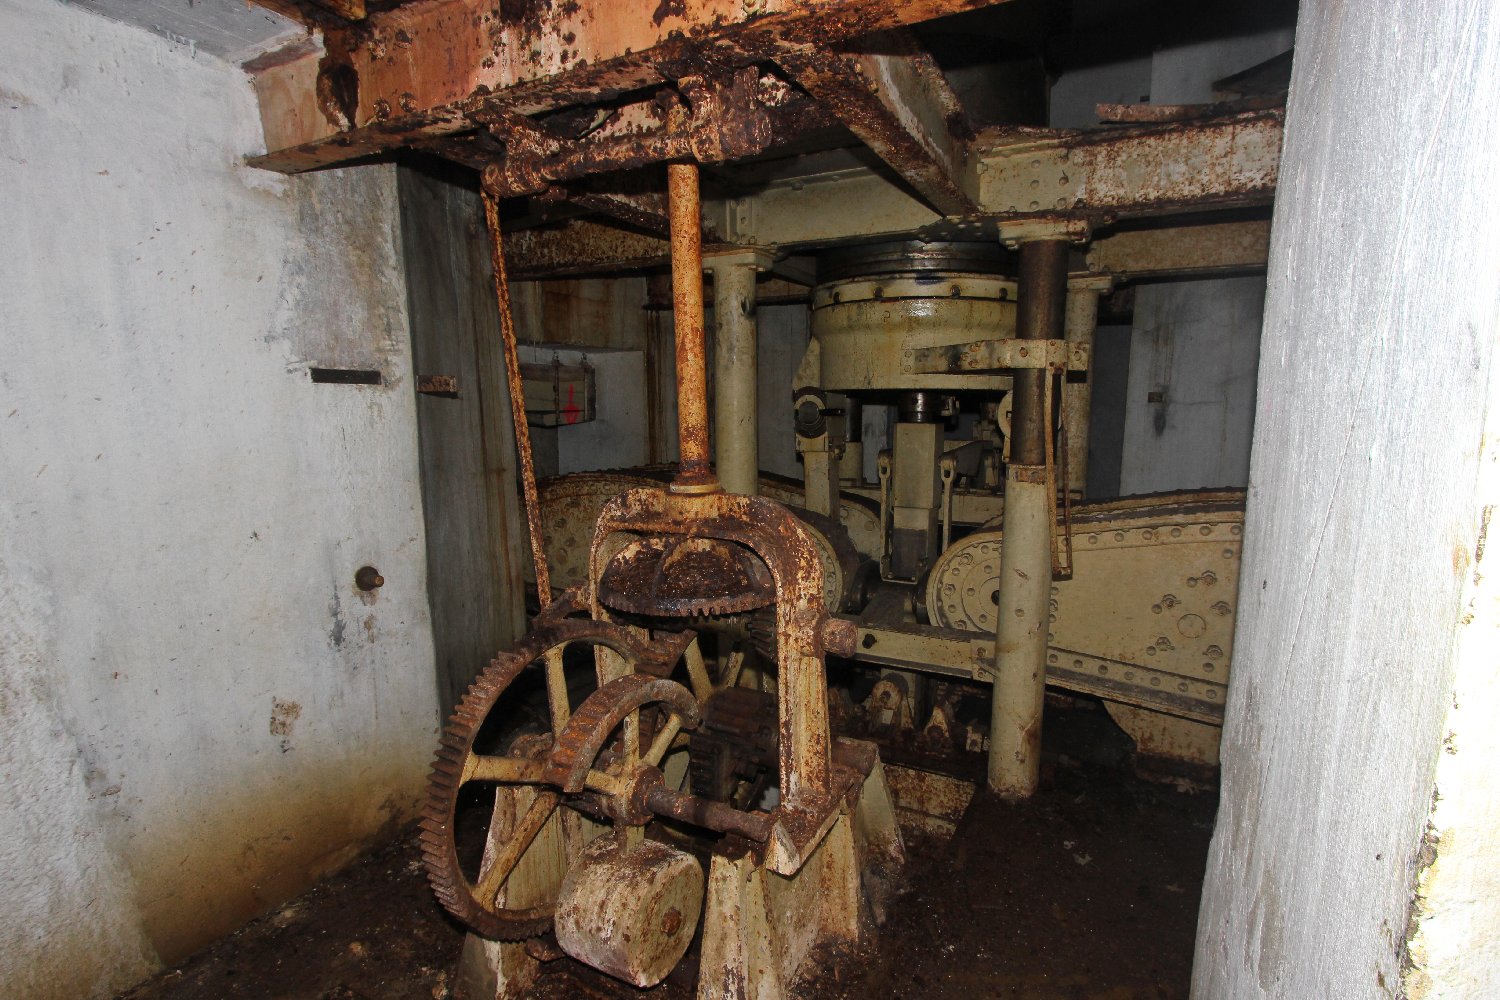
all. In 1903 the three double machine gun turrets shown on the plan
above were installed, and then finally in 1906 work began on the
installation of the 155mm artillery turret. It can be seen then that
this fort had truly formidable fire power in excess of that even of
"the mighty Douamont" construction of which begin in 1885.
Around
the same period it appears from certain documentation that two 75mm
artillery turrets were installed either on the fort itself or just
outside, however what happened to these turrets is very unclear.
What IS
for certain is that there are no 75mm installations anywhere in the
fort now, so our best guess is that they were abandoned or possibly
built over, or that they never moved beyond the planning phase at
all. In 1903 the three double machine gun turrets shown on the plan
above were installed, and then finally in 1906 work began on the
installation of the 155mm artillery turret. It can be seen then that
this fort had truly formidable fire power in excess of that even of
"the mighty Douamont" construction of which begin in 1885.