 |
 |
|
|
|
|
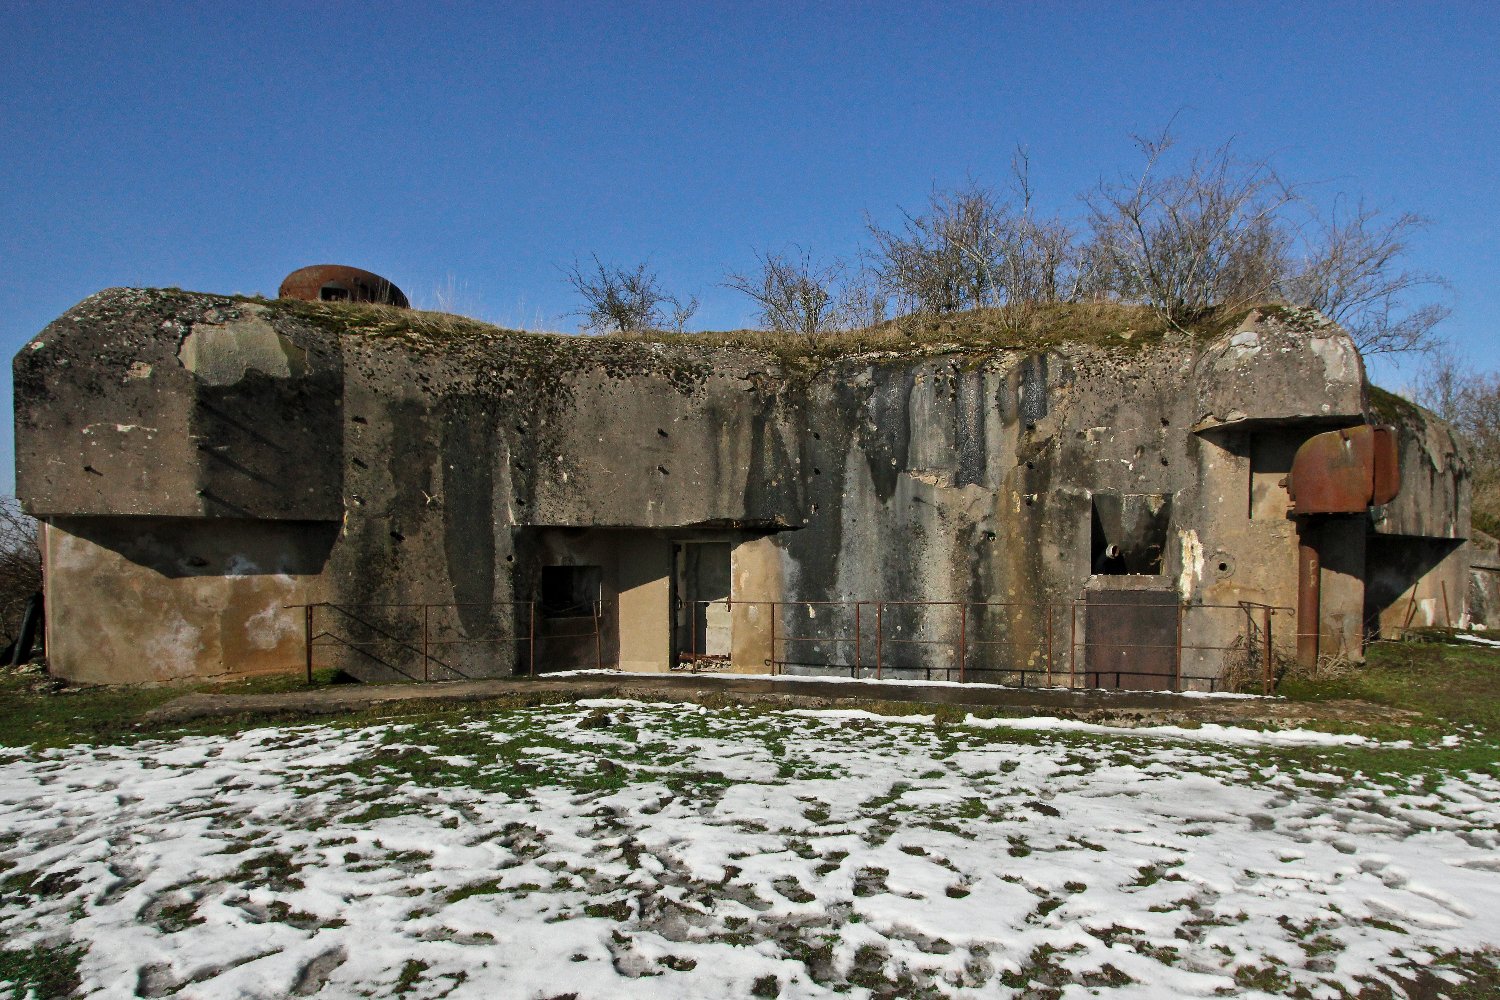
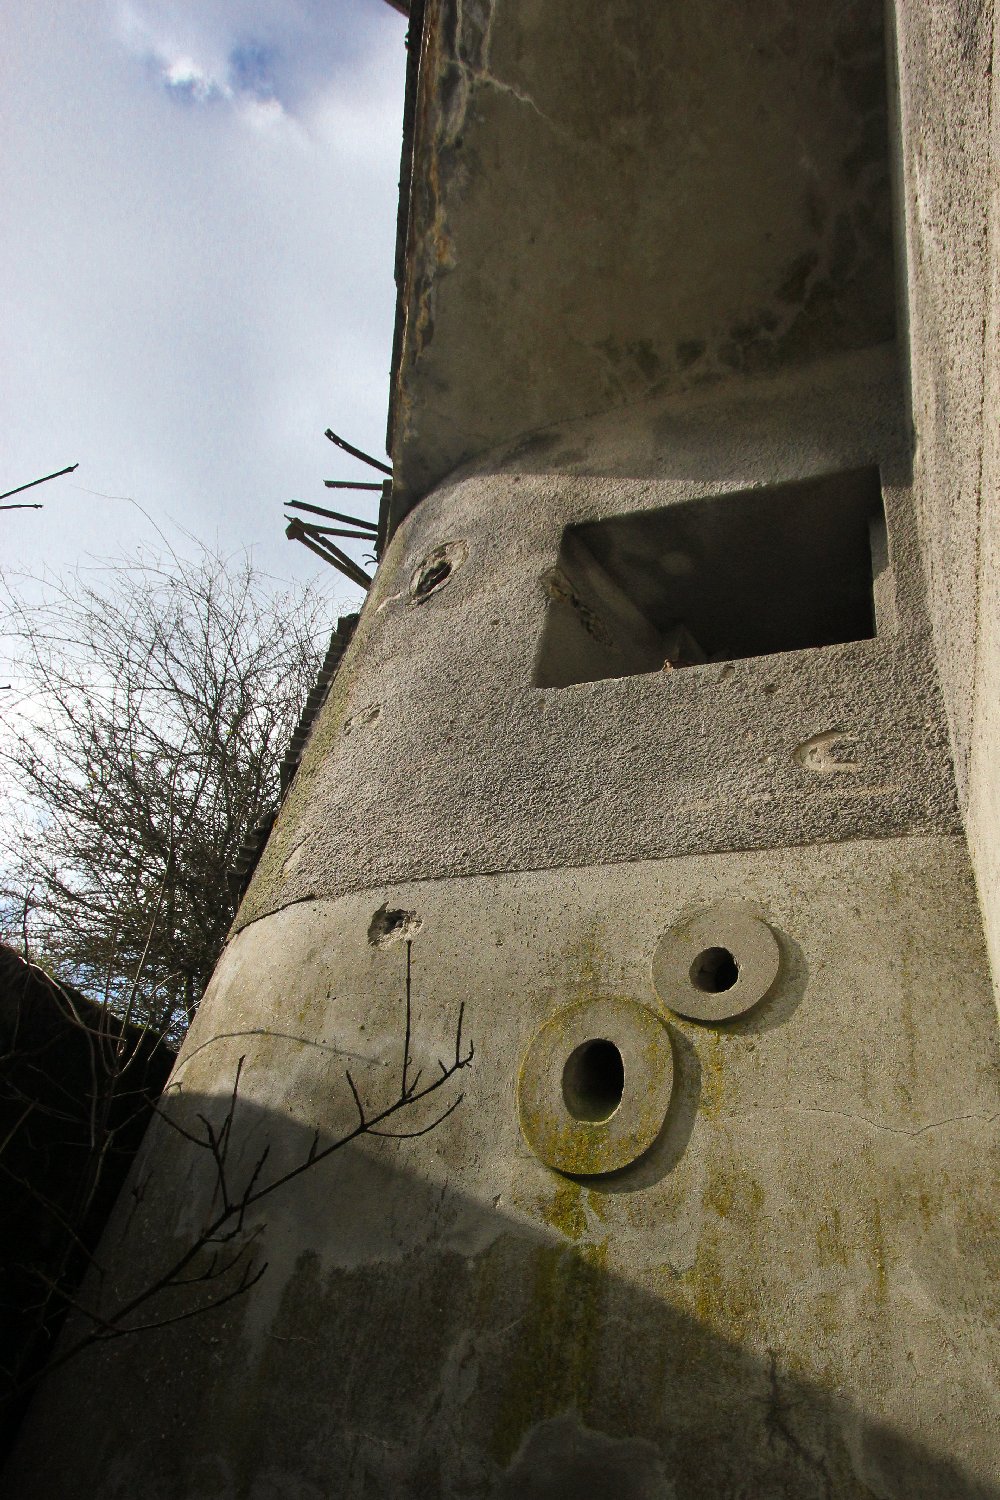
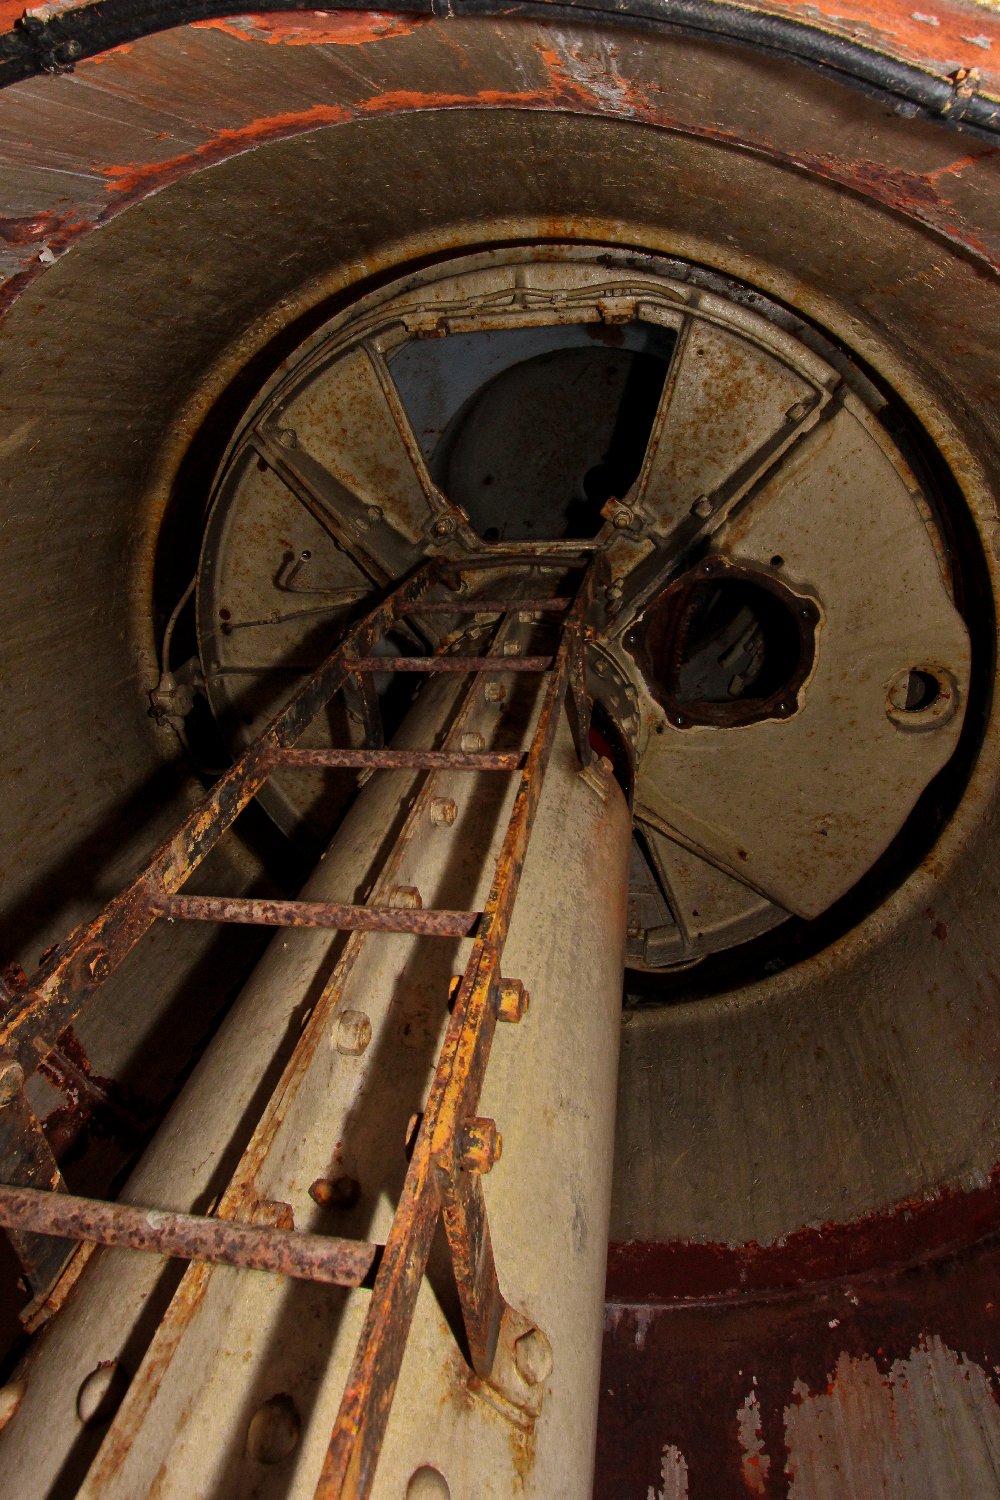
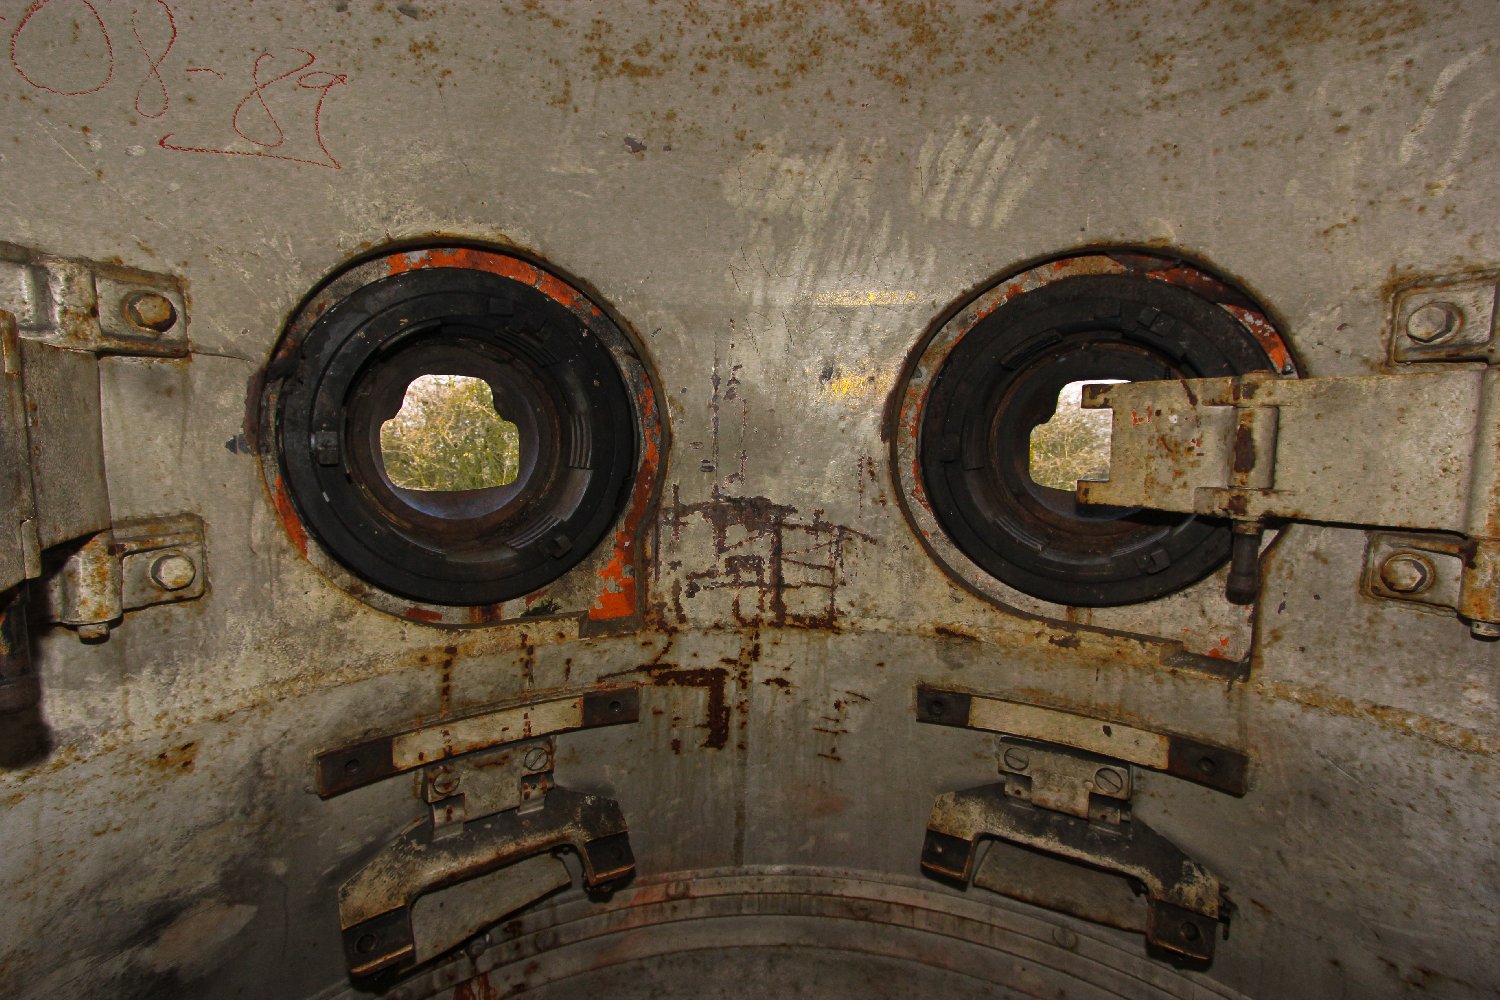
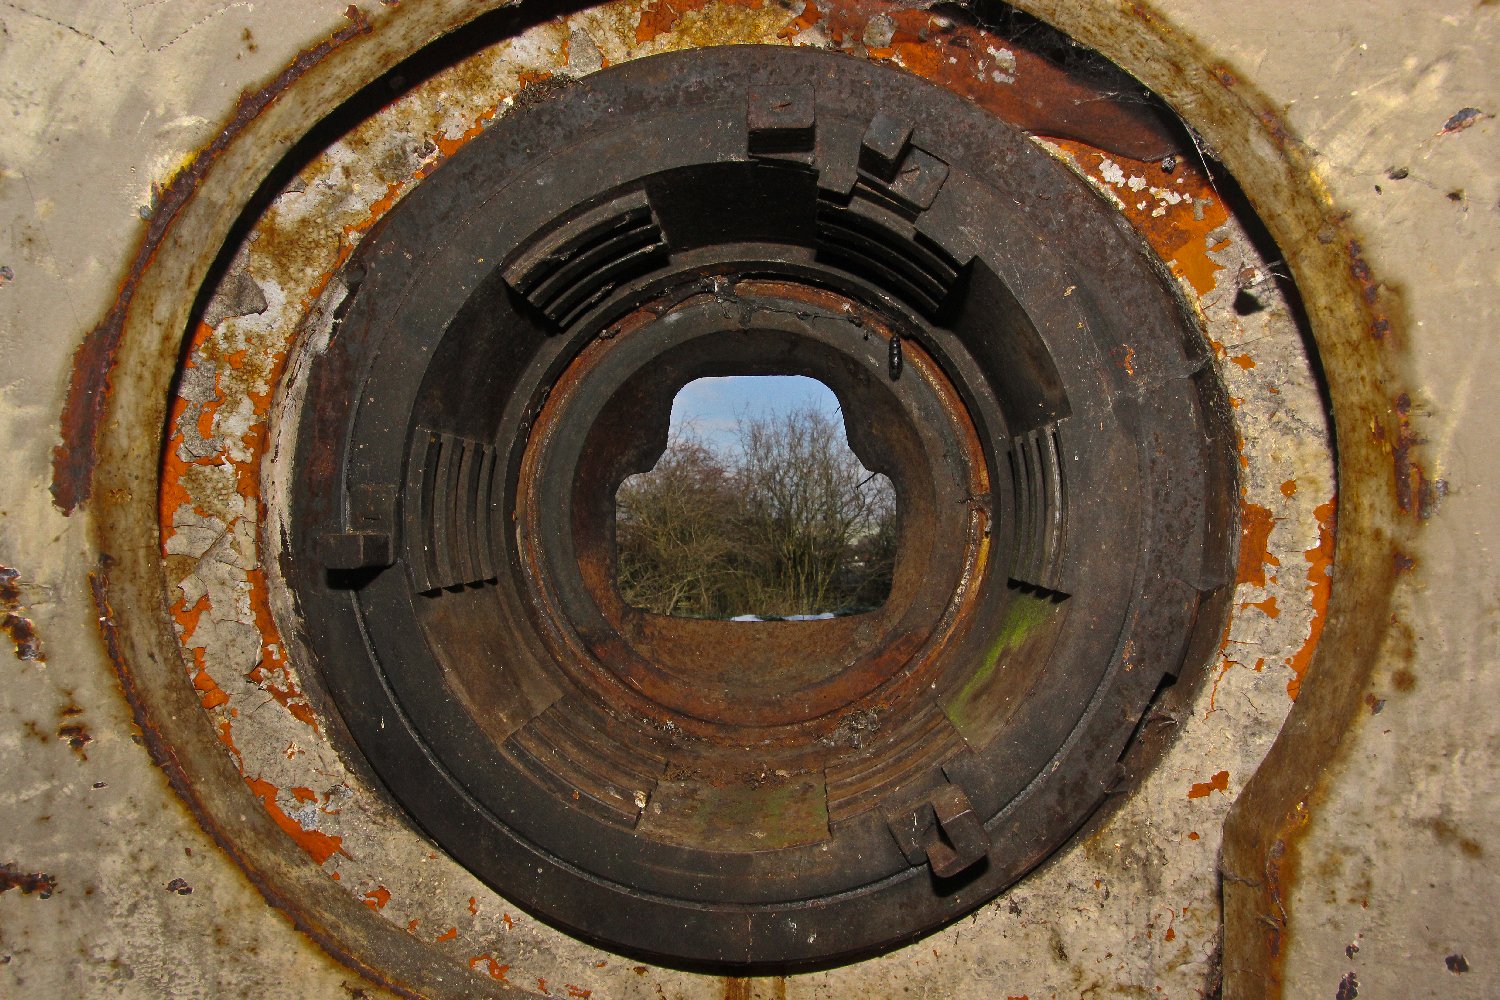
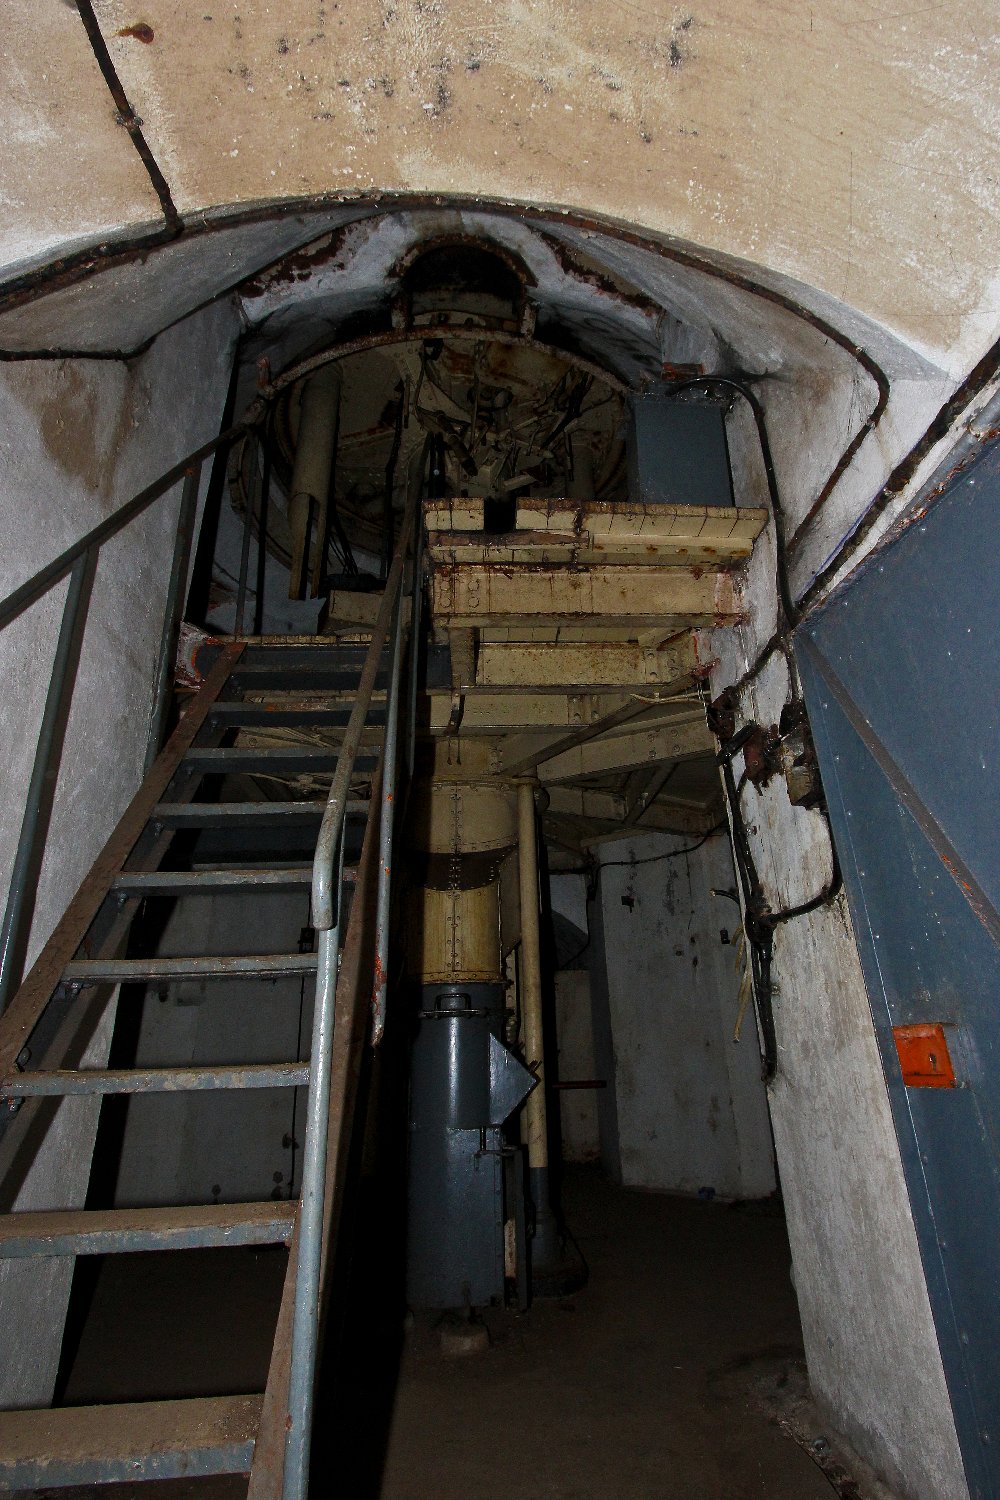
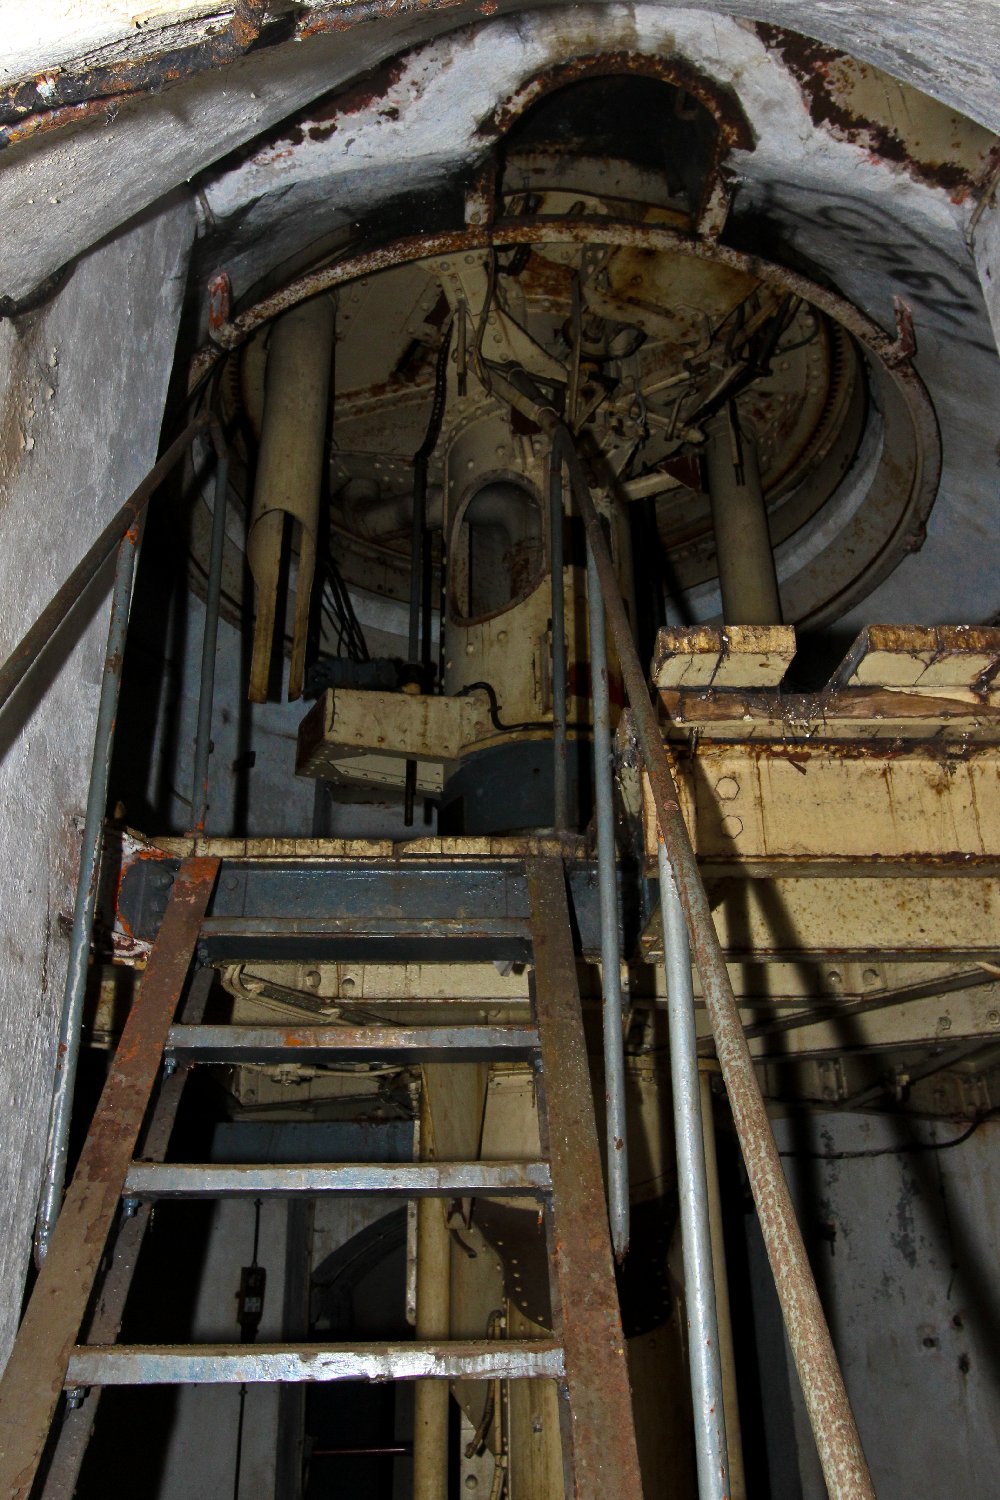
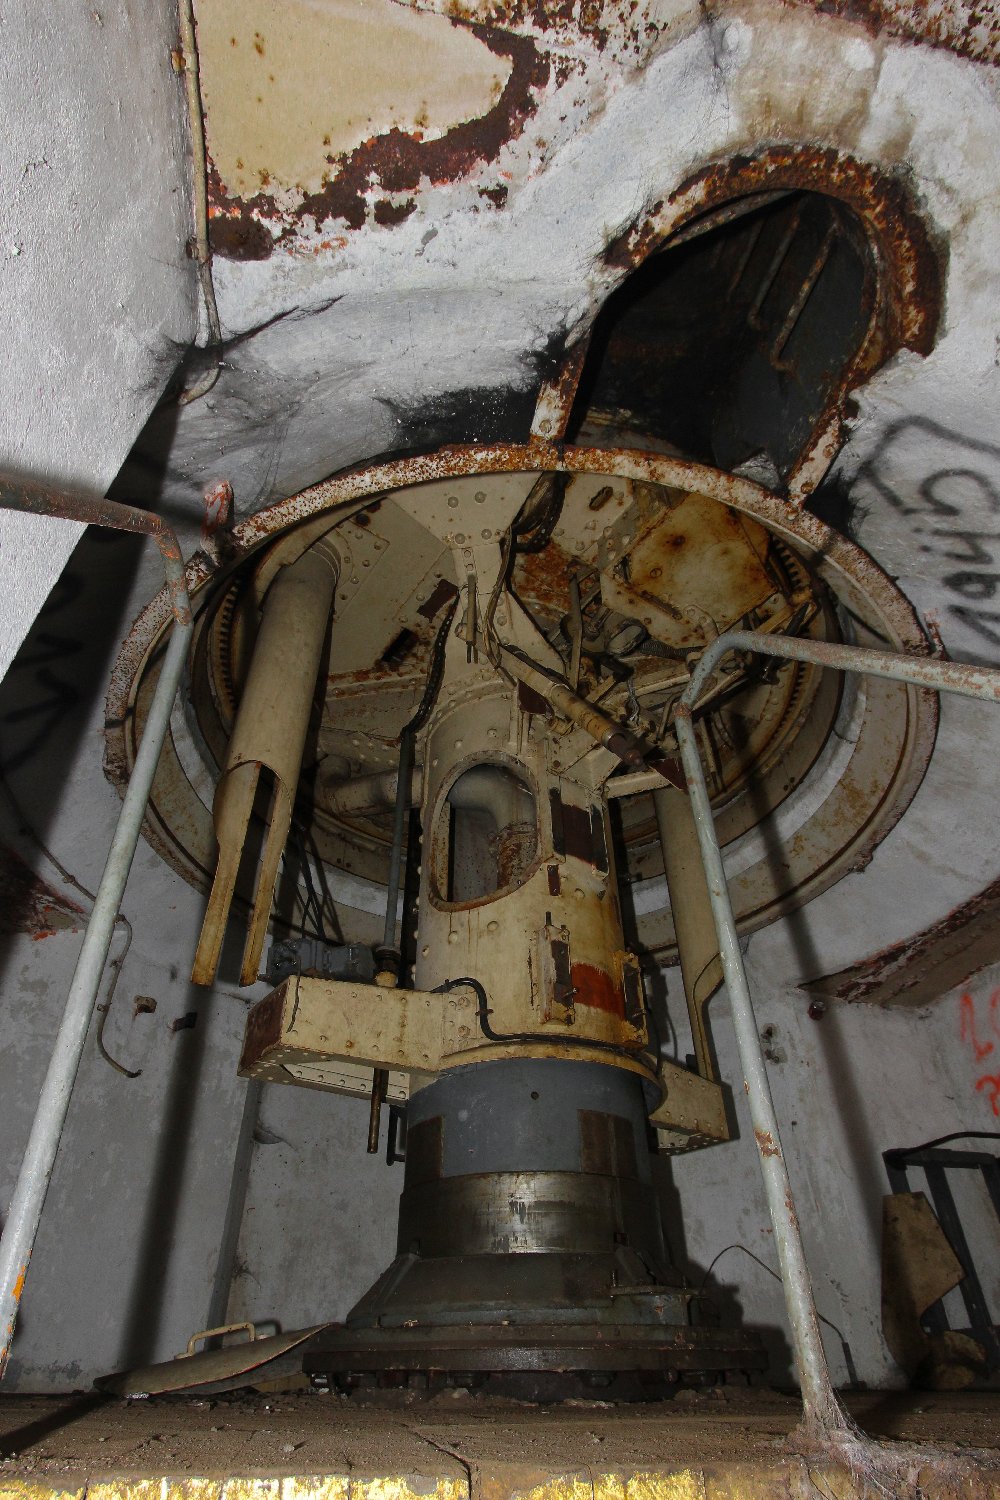
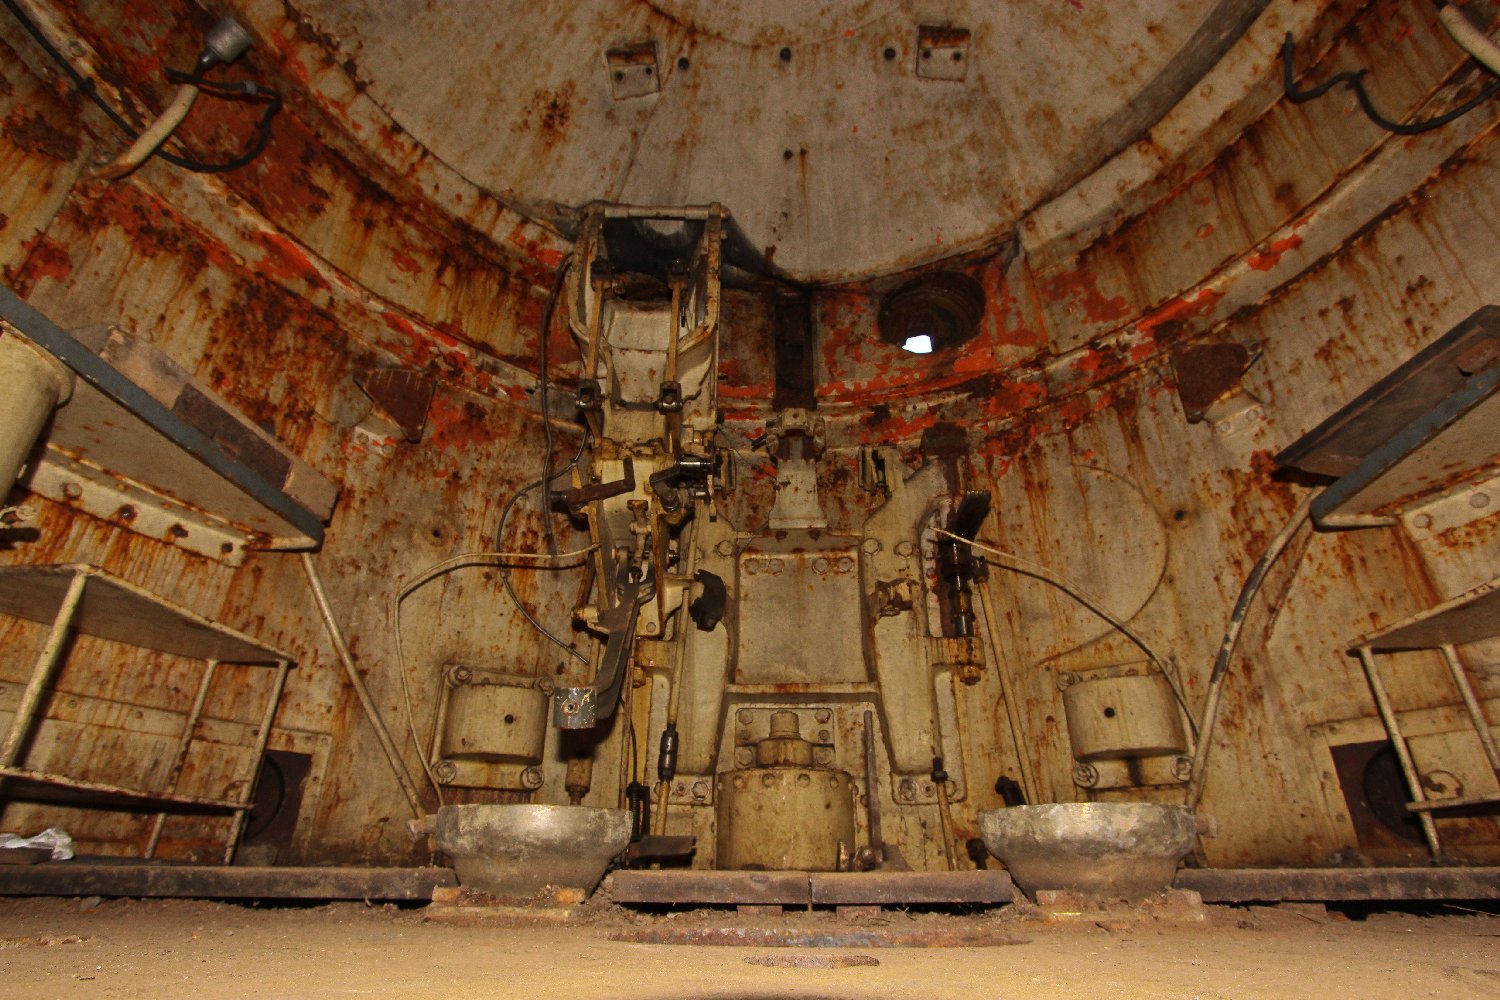
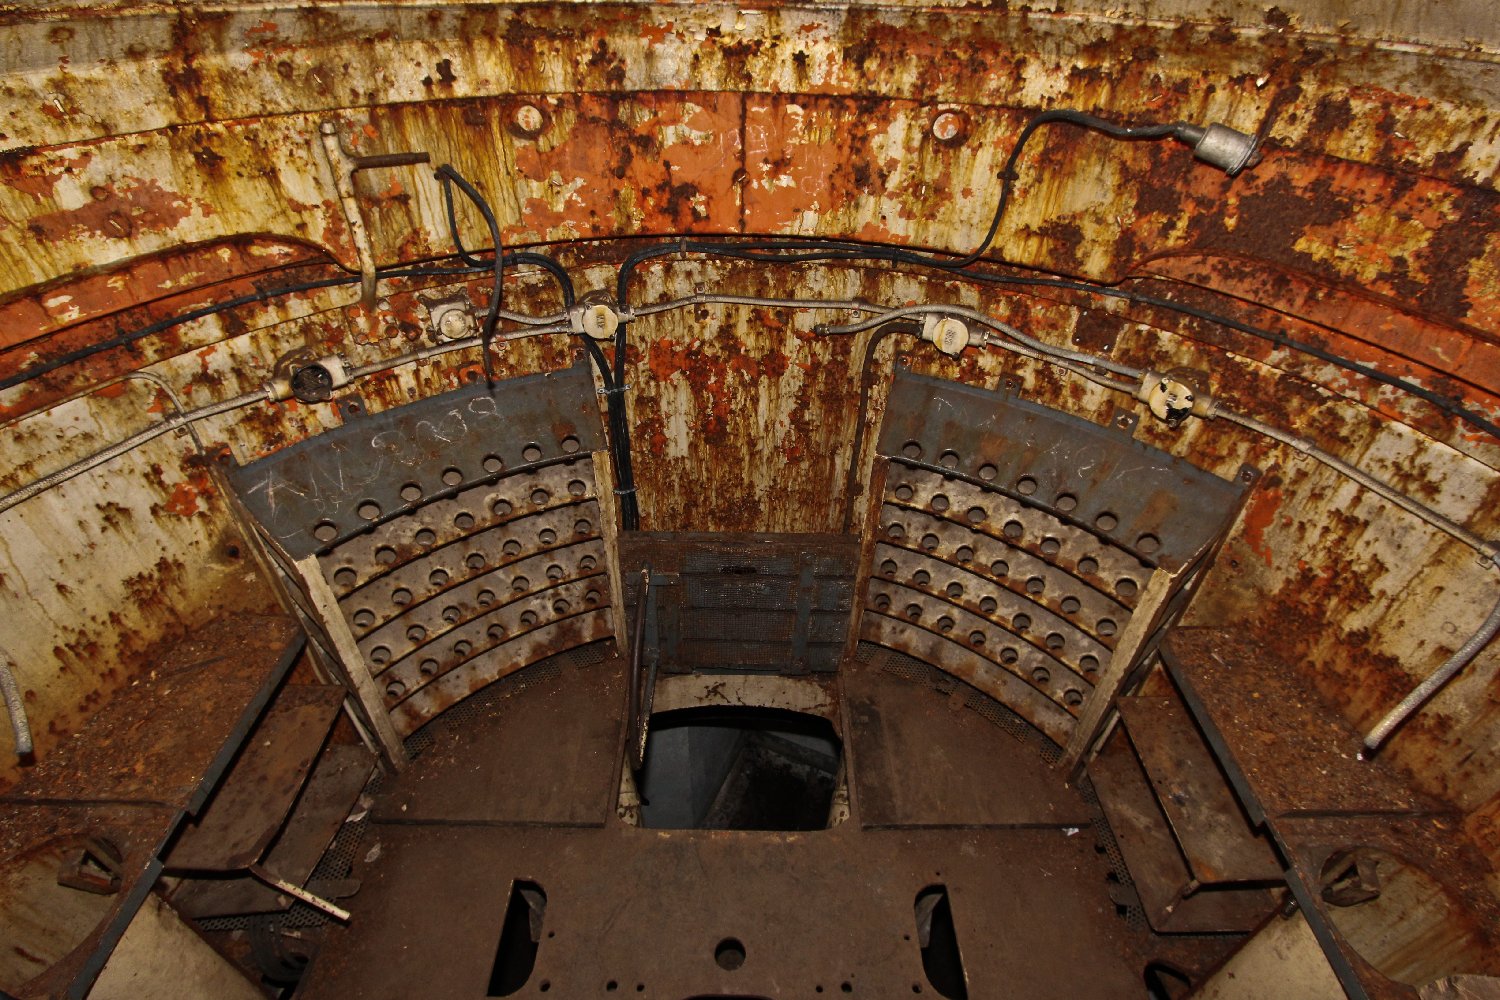
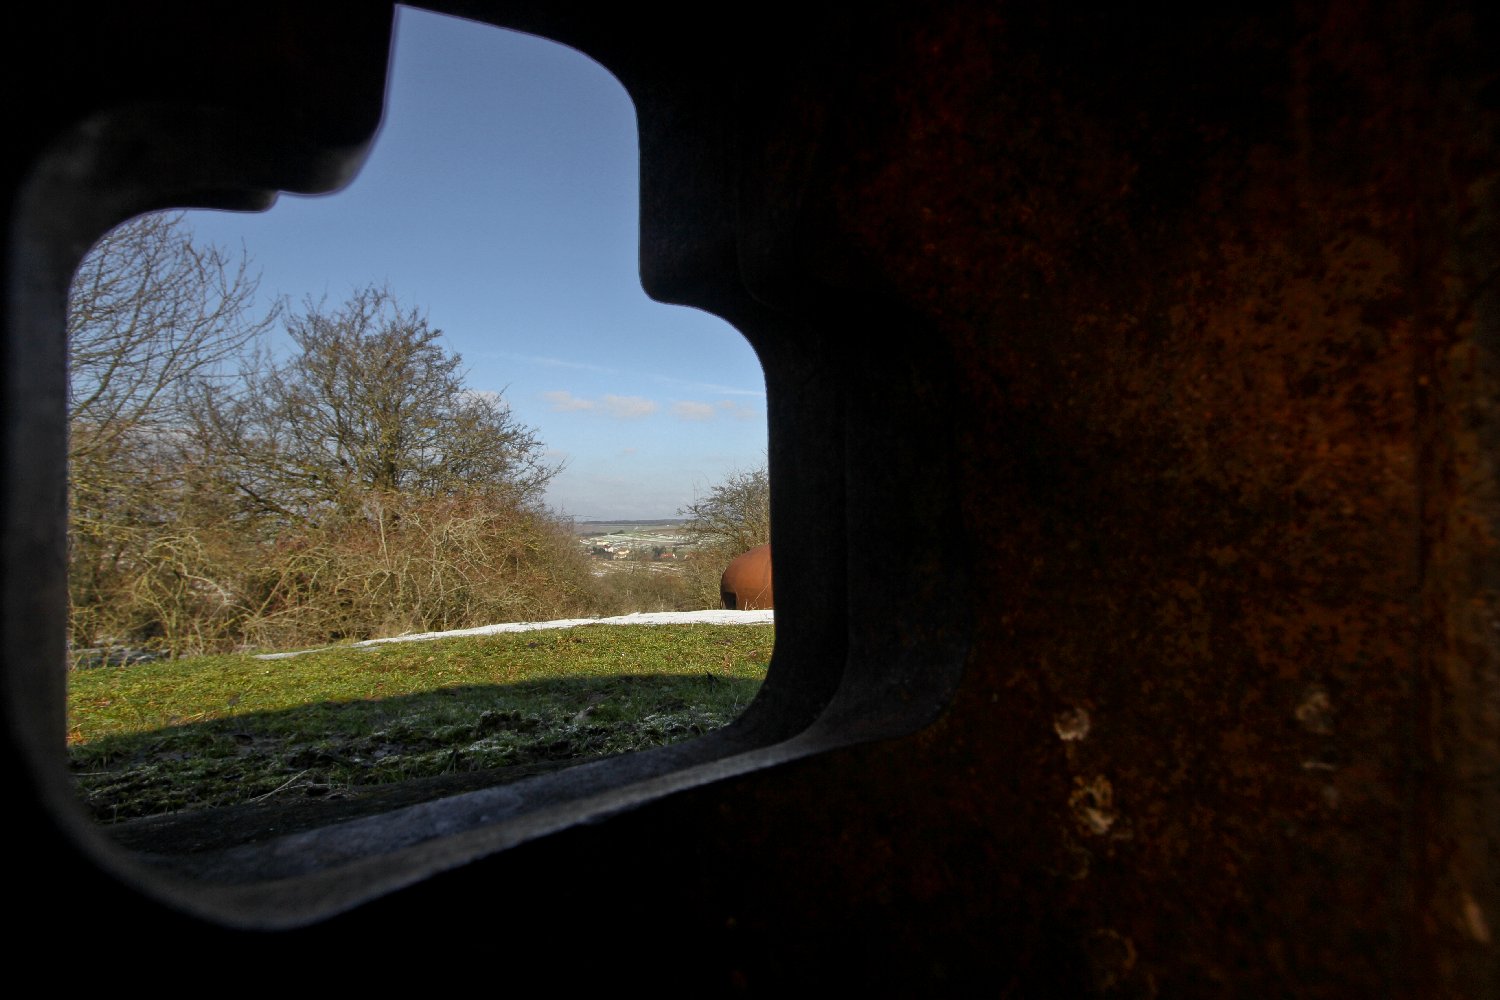
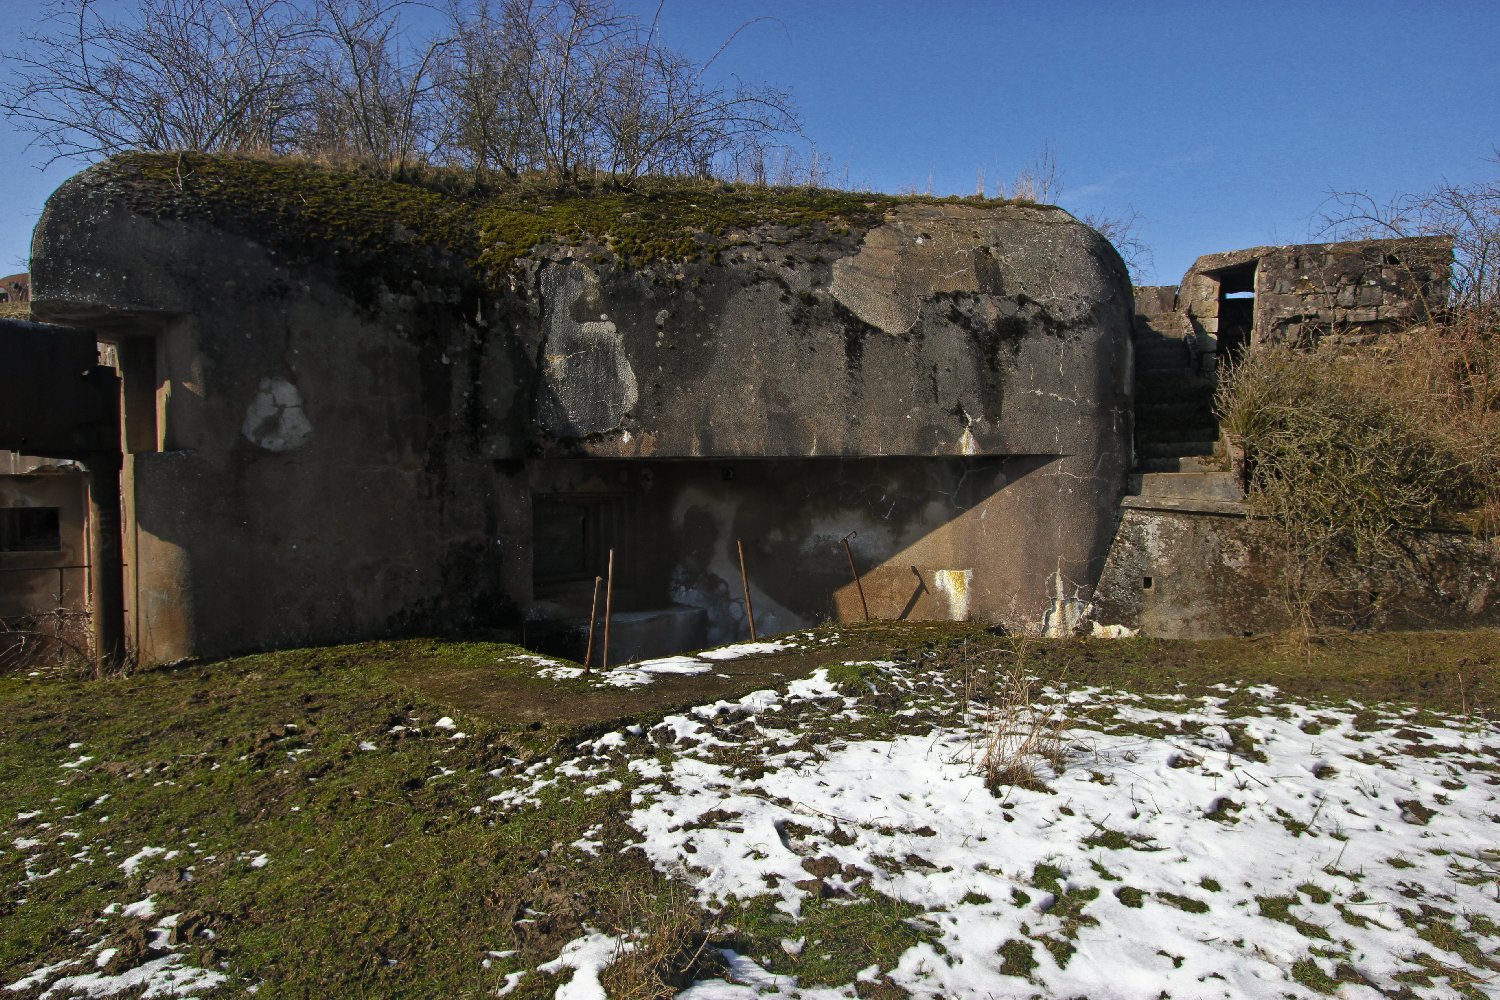
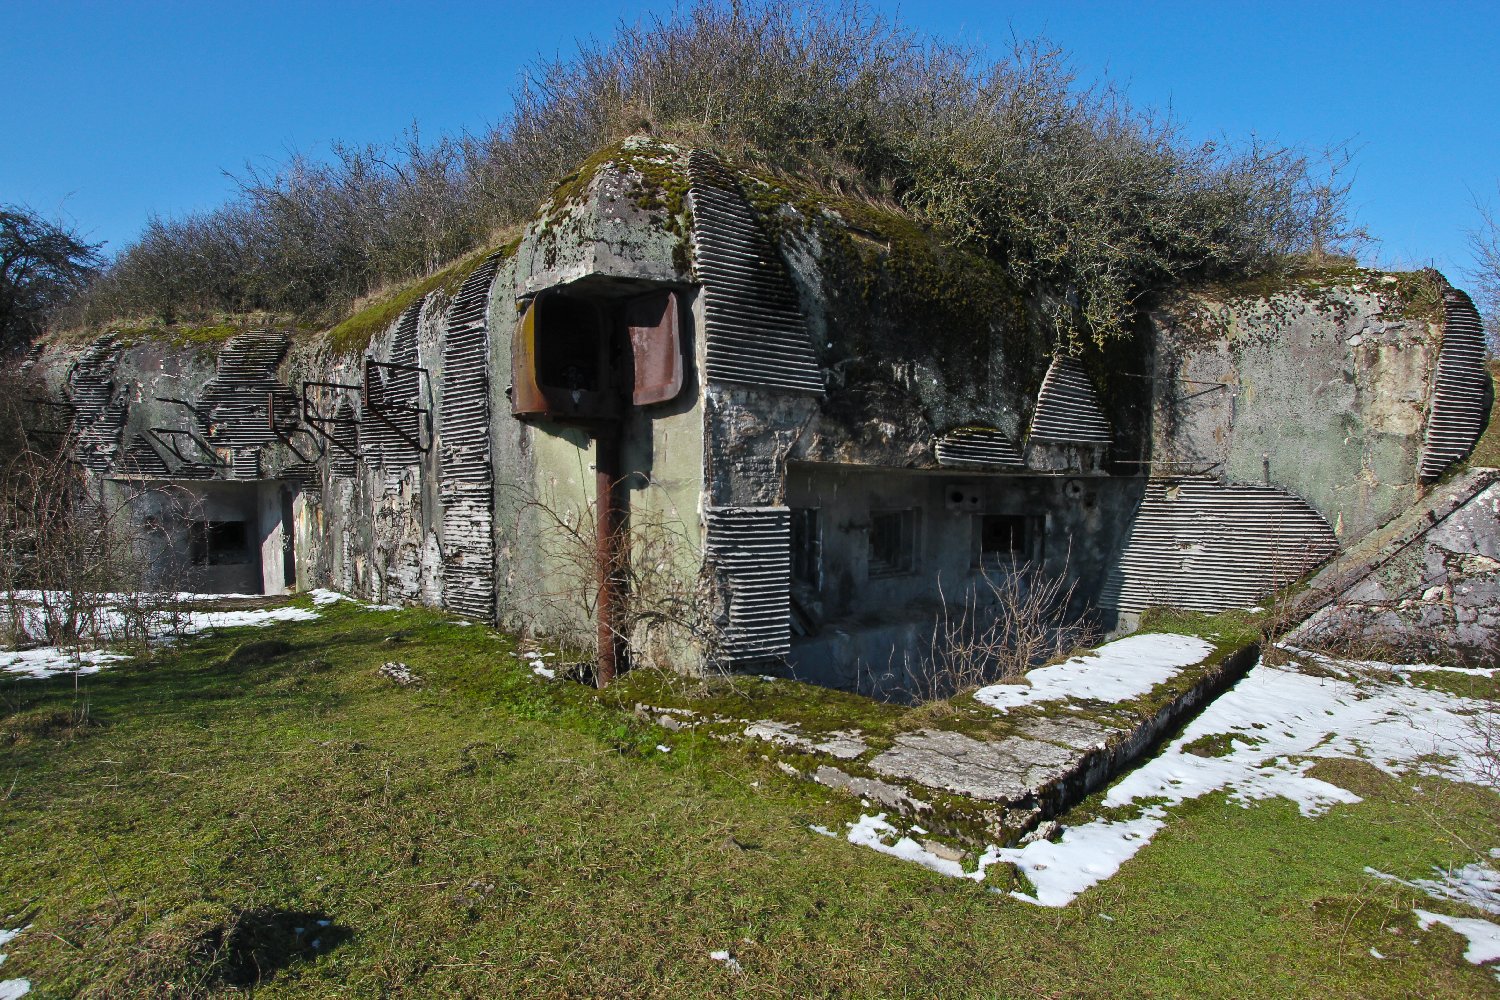
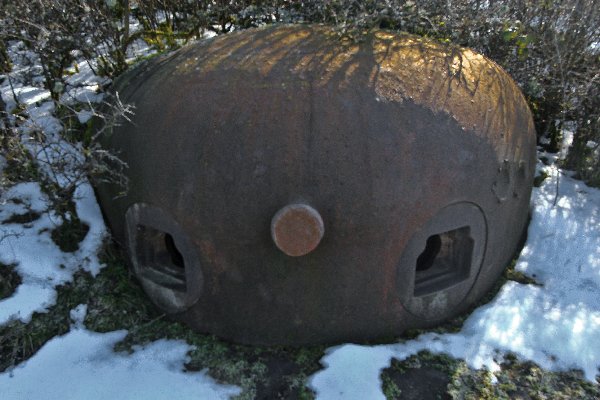
In brief, the theory behind the construction of the Maginot Line fortifications was to give France time to mobilise its army whilst funnelling the invading German forces into open land, the better to be engaged there in a war of movement. For a rather more in depth discussion of the line's raison d'etre please refer to our Gros Ouvrage Latiremont page linked here - RIGHT . As history records, sadly things did not go to plan because the Germans invaded France through the Ardenne Forest, an area the French high command considered to be impassable to the armoured forces of the day. ABOVE - a machine gun cloche at PO Welschof.
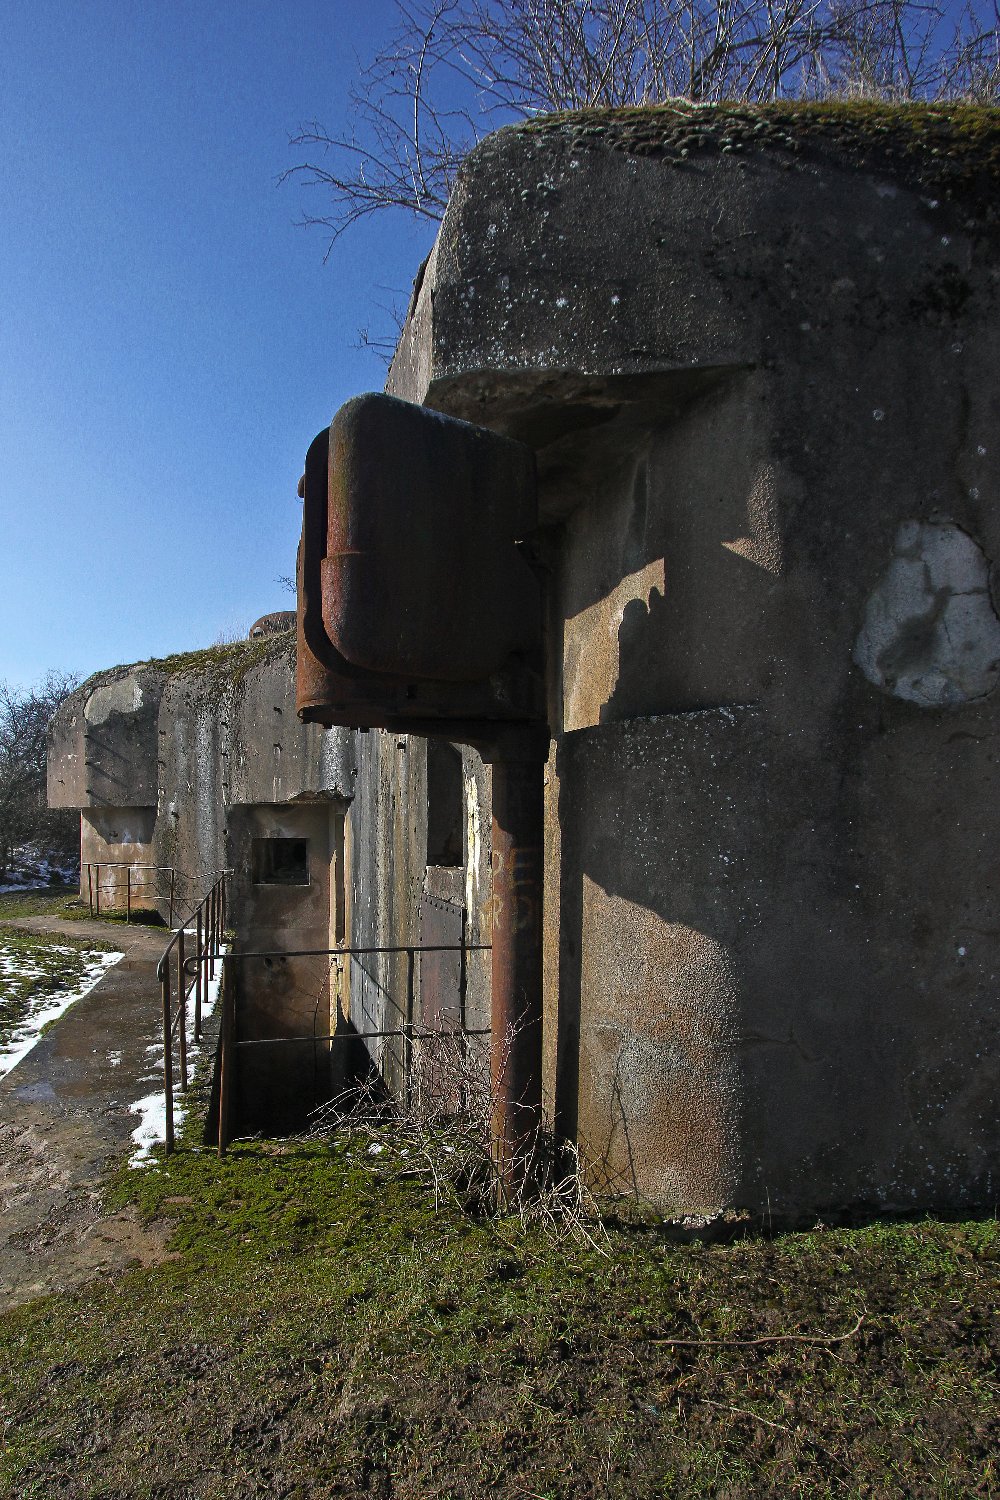
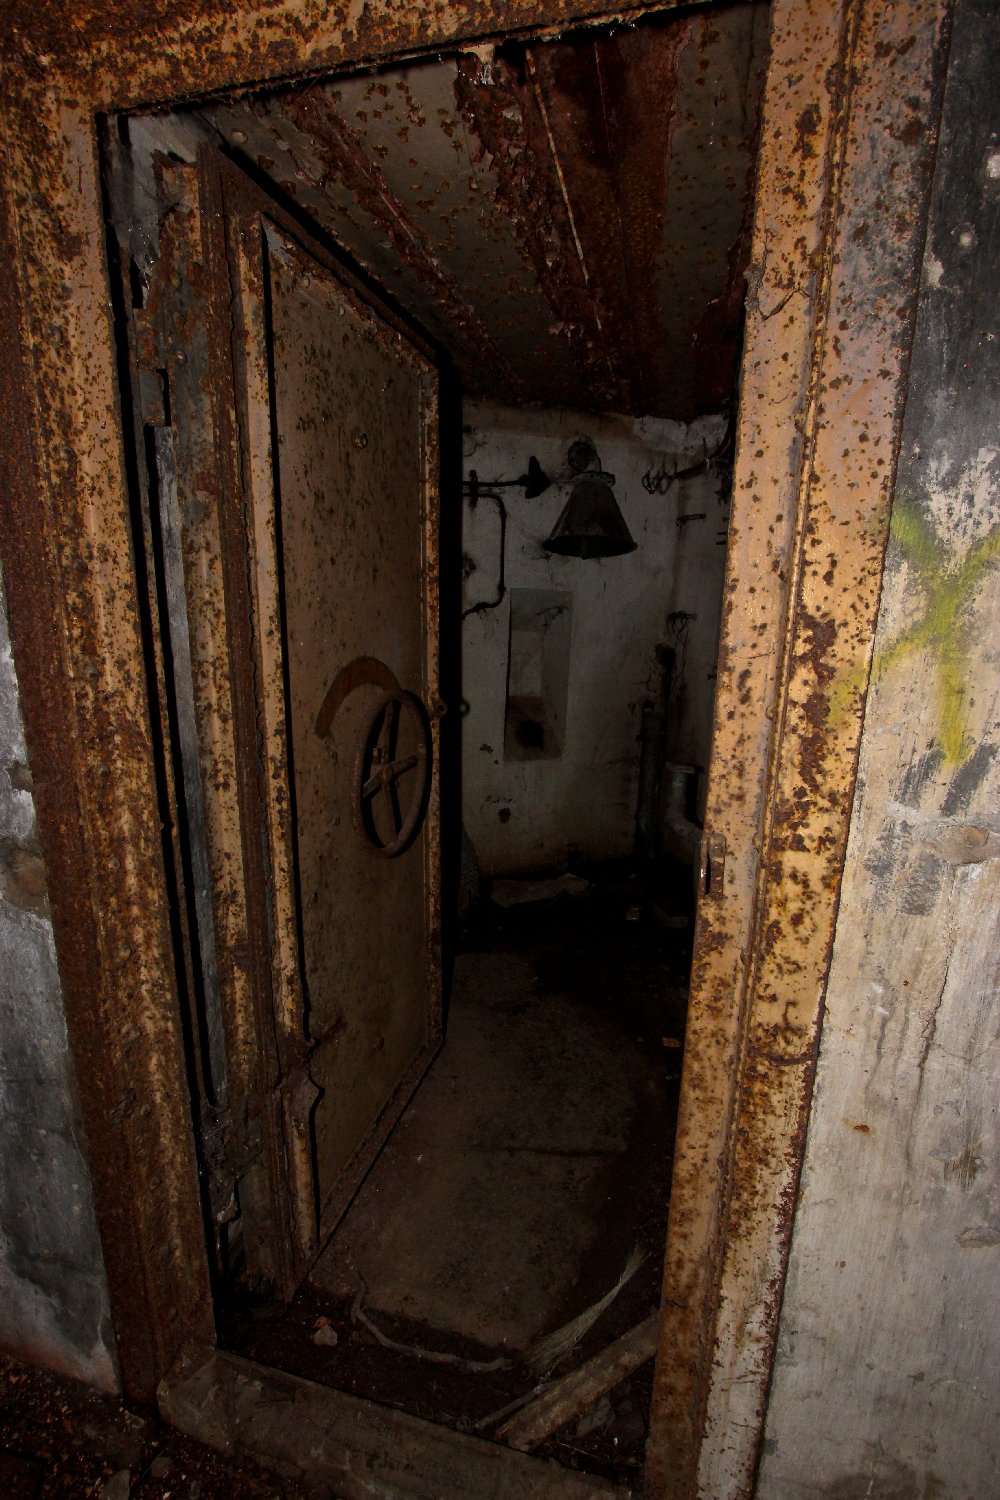
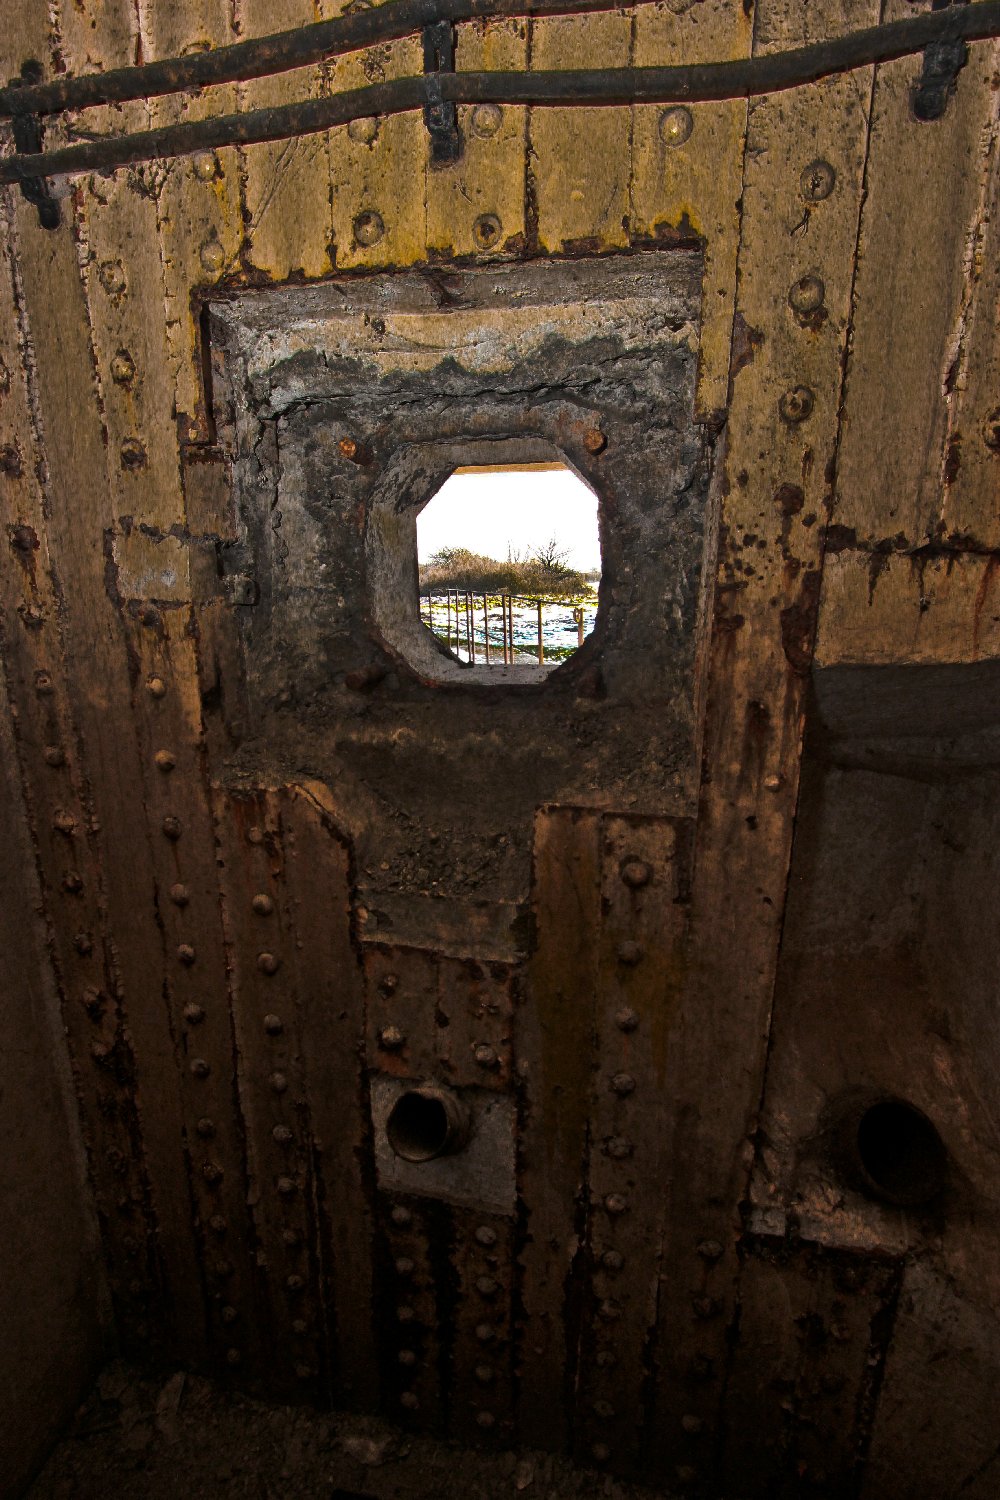
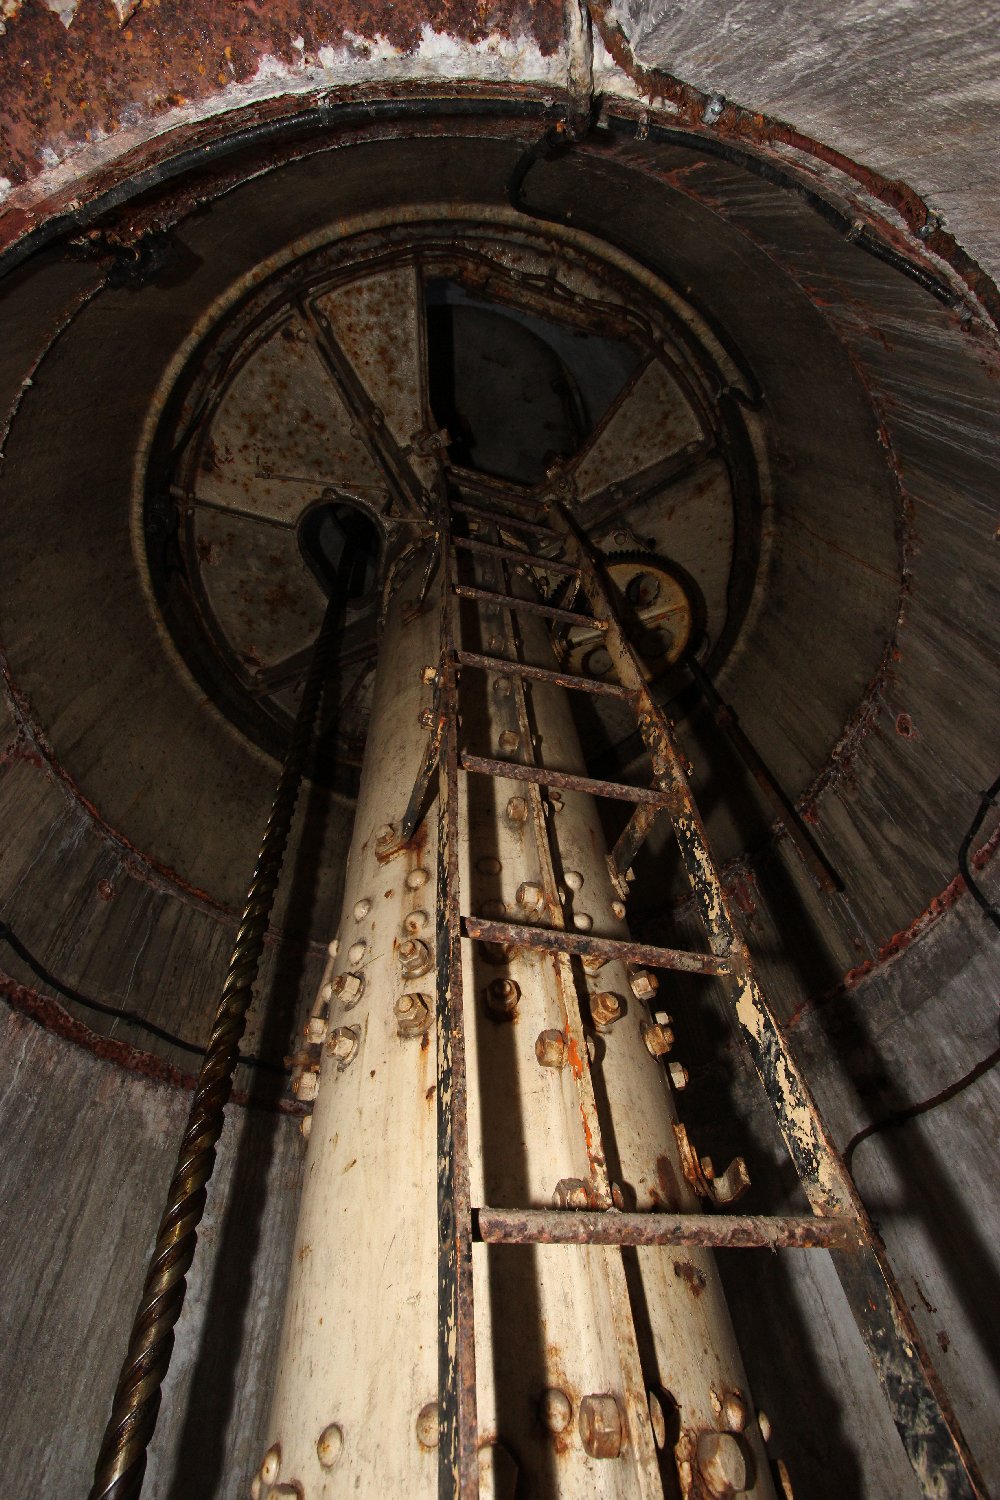
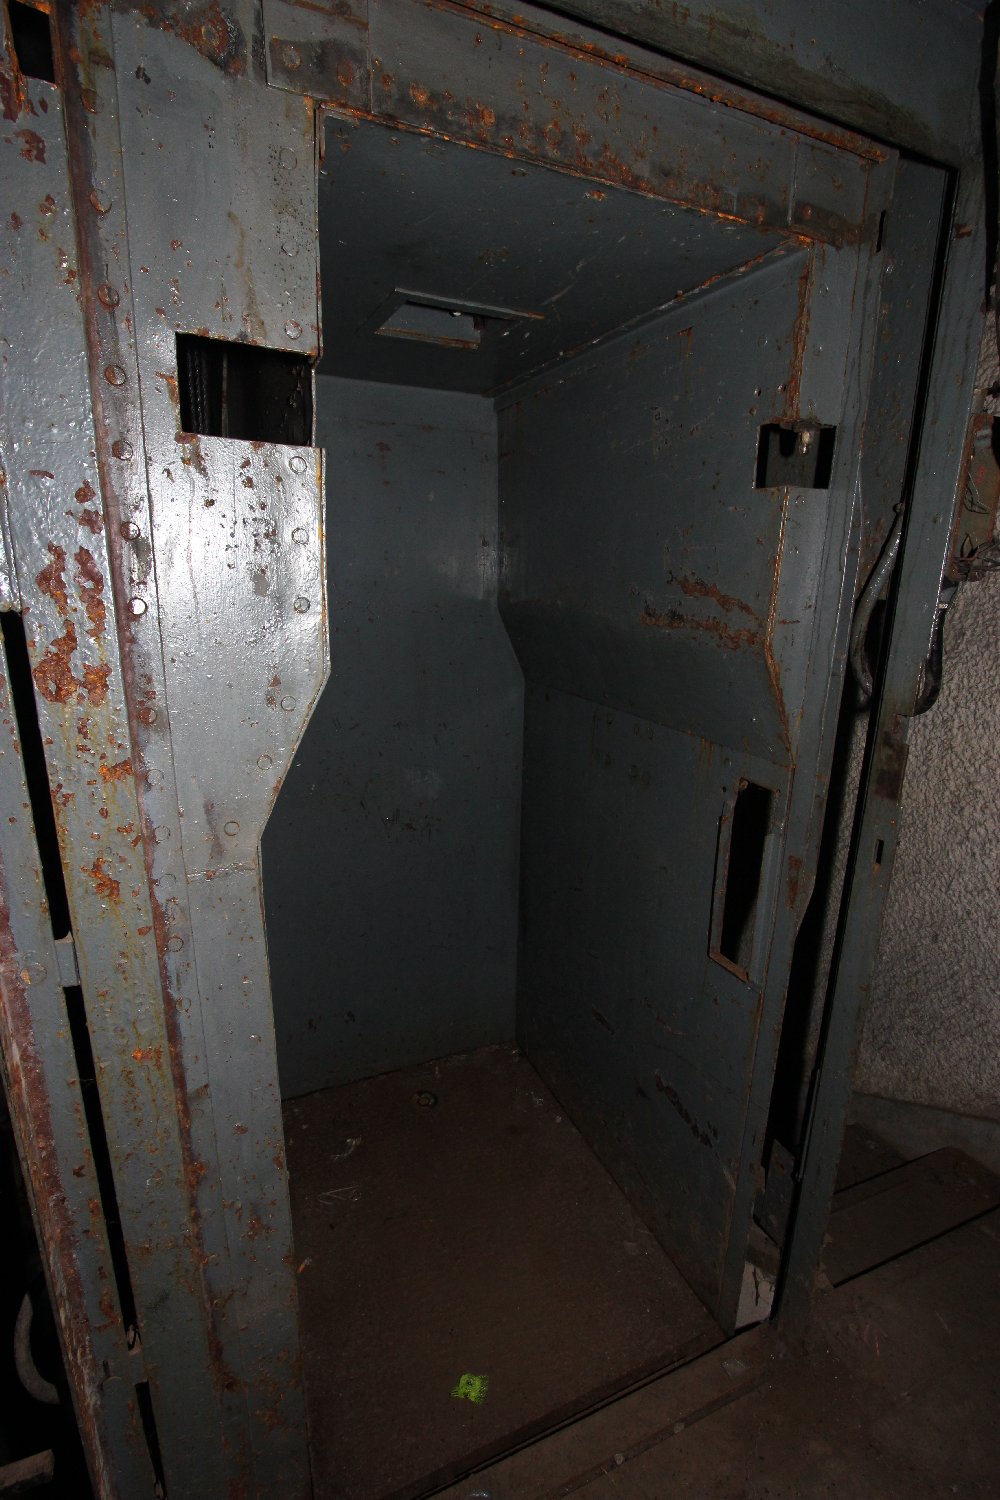
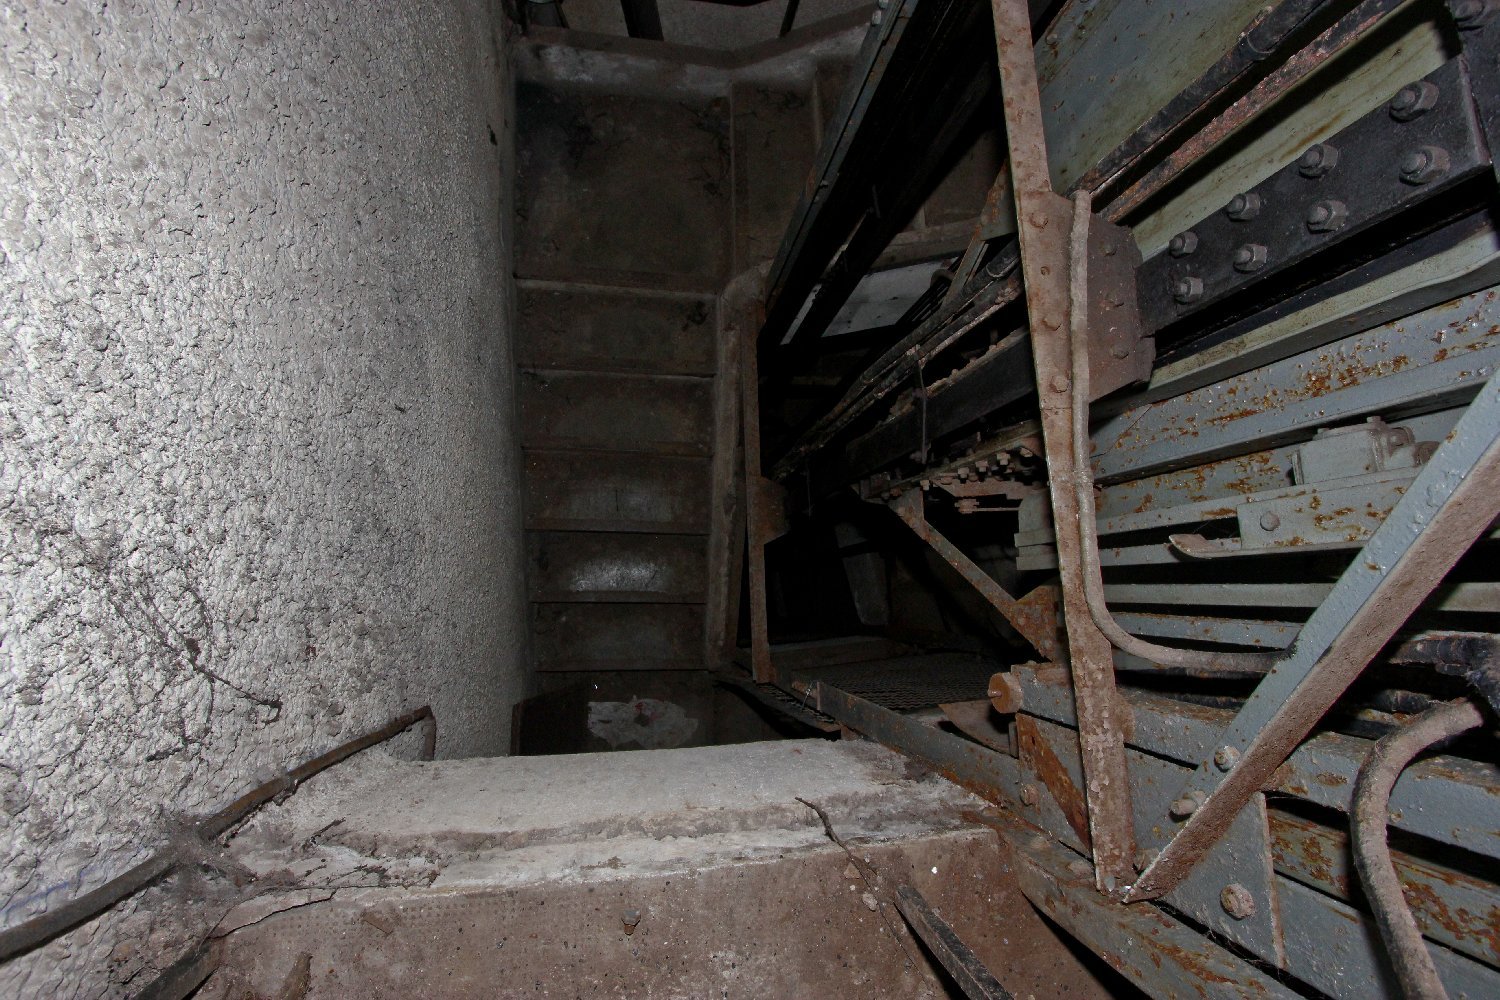
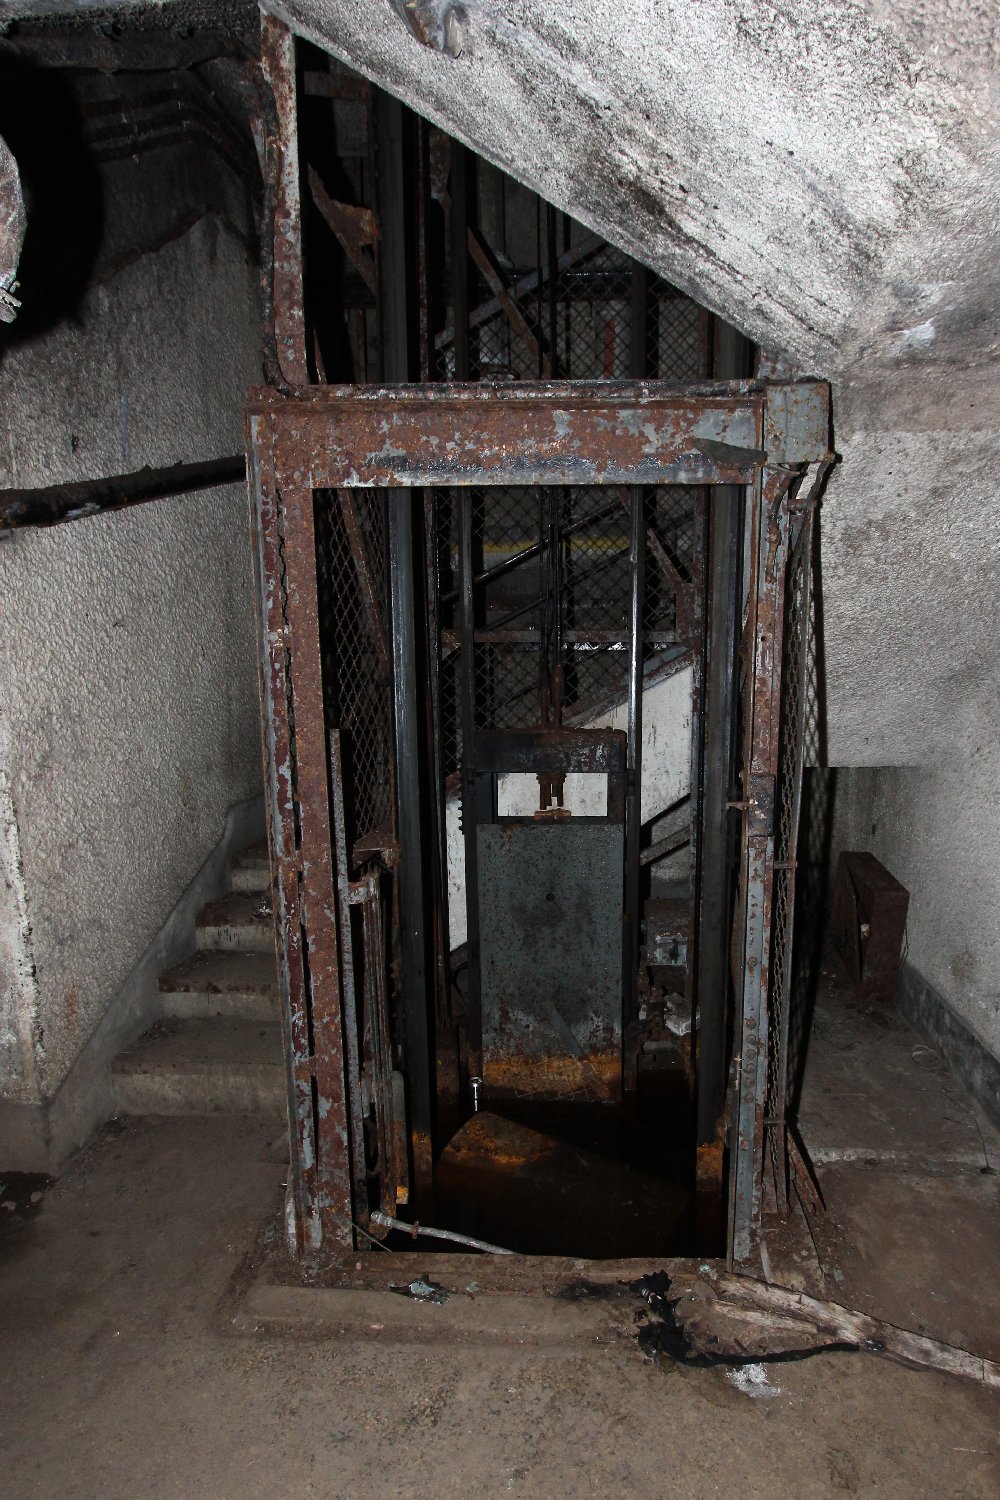
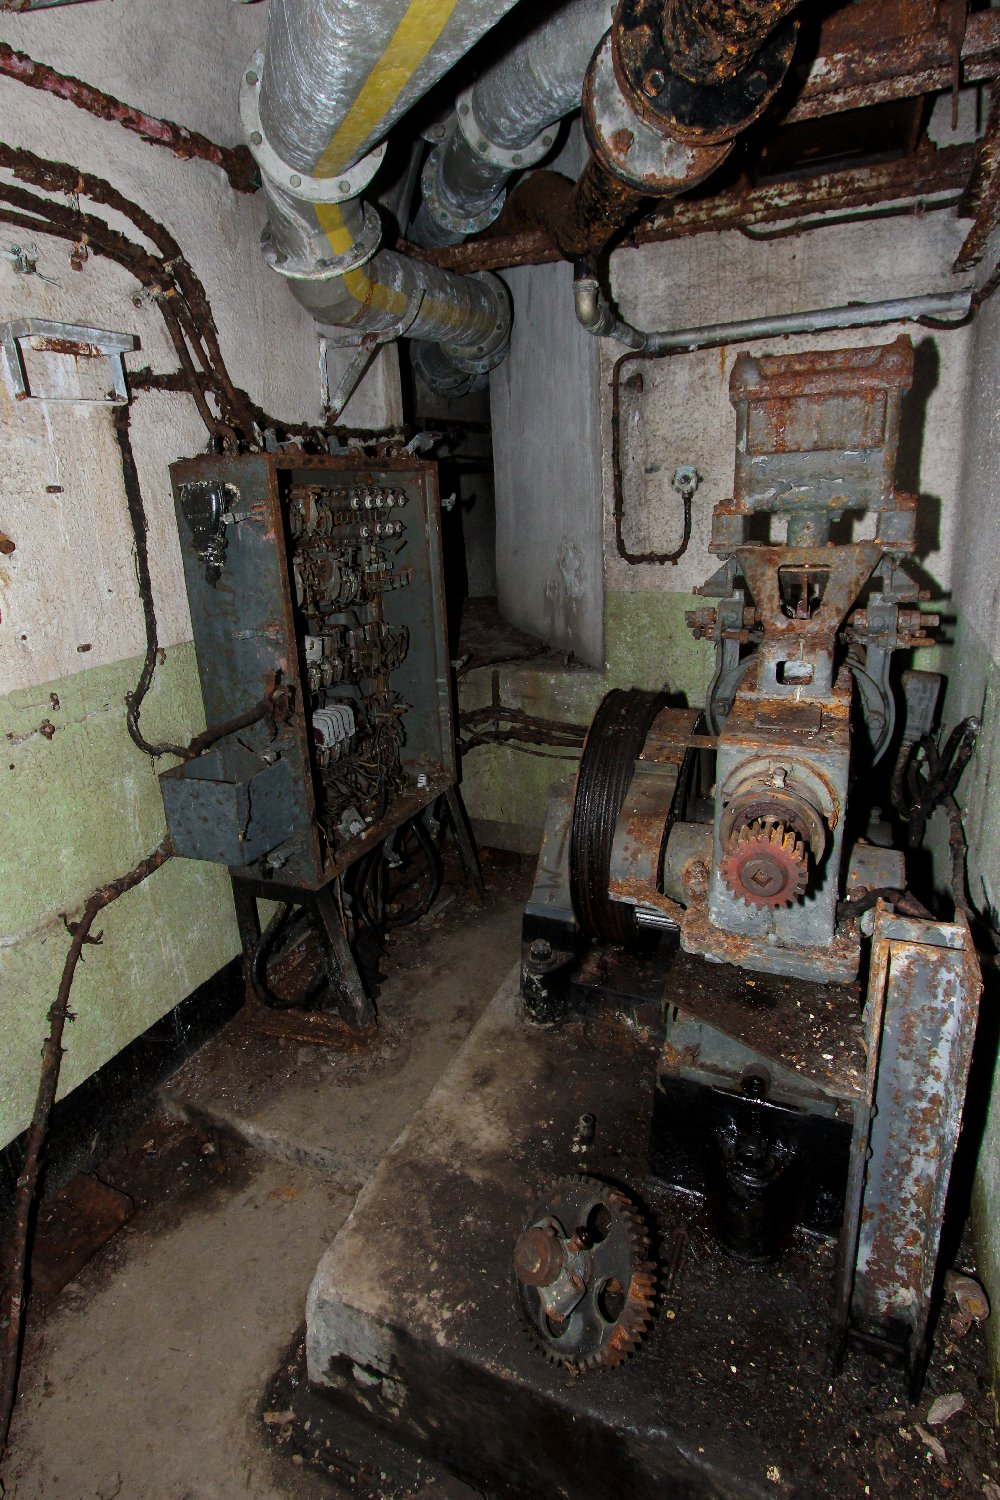
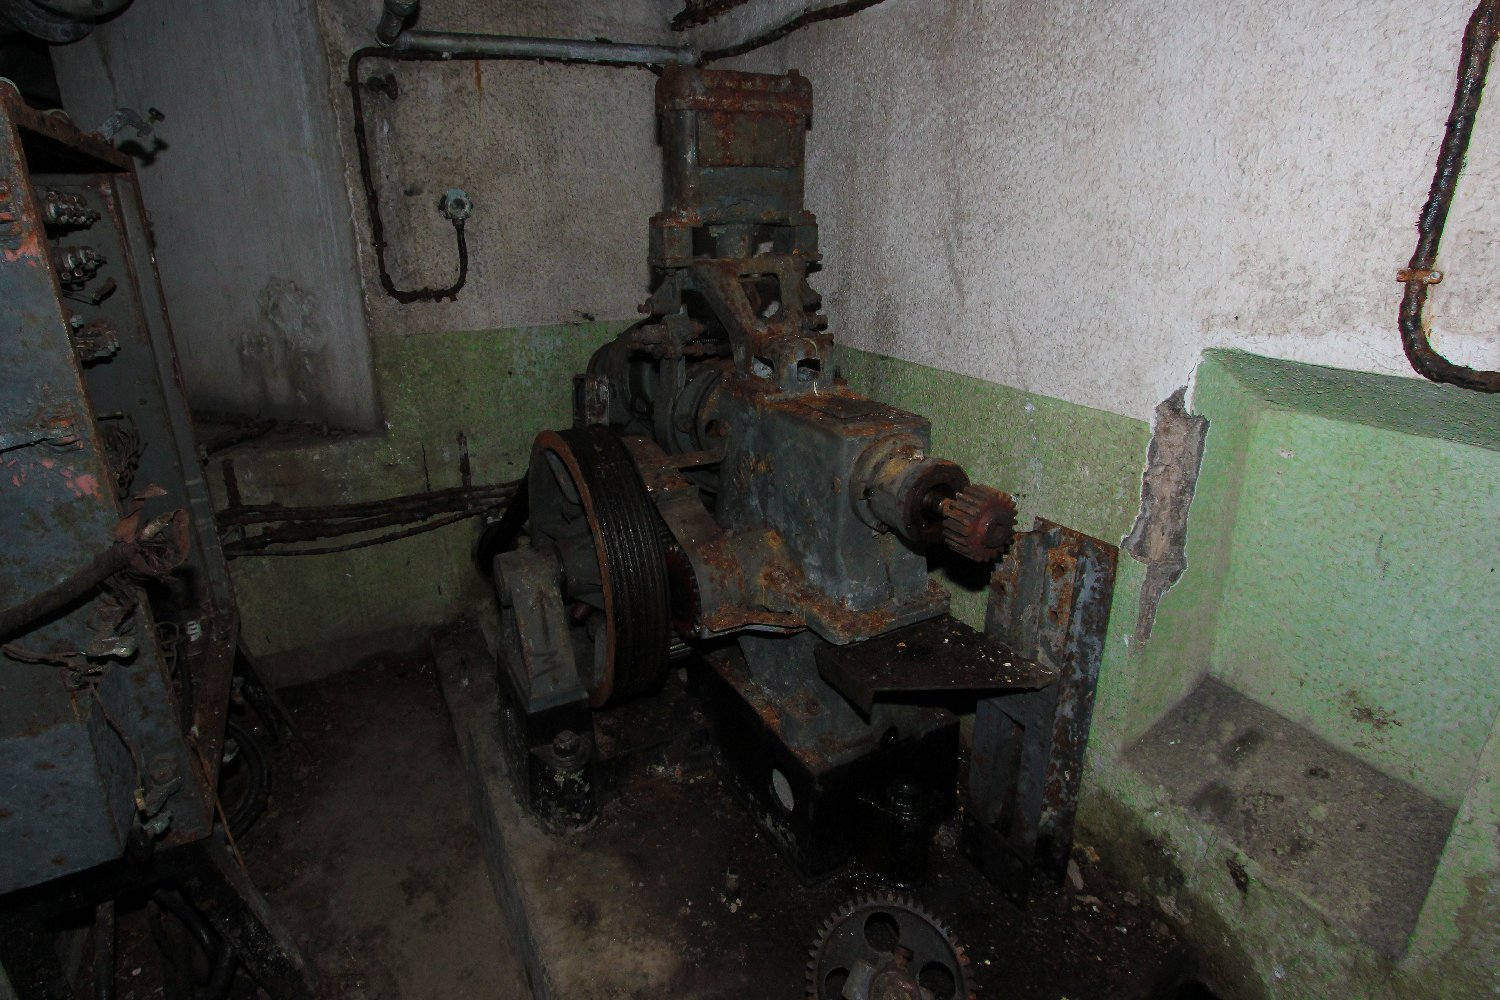
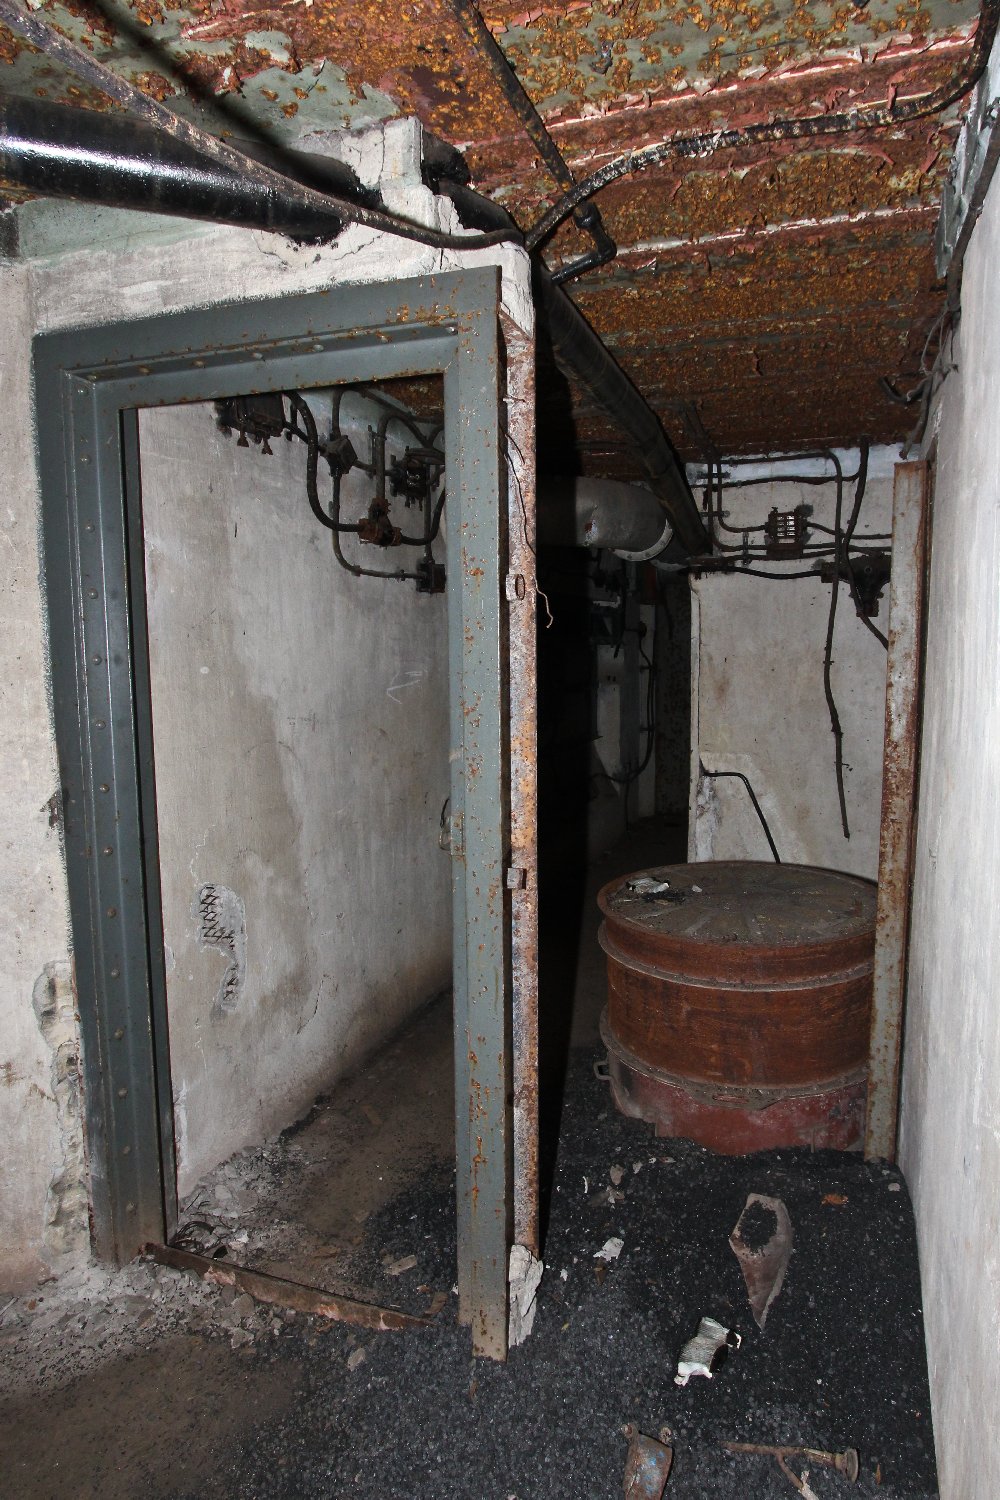
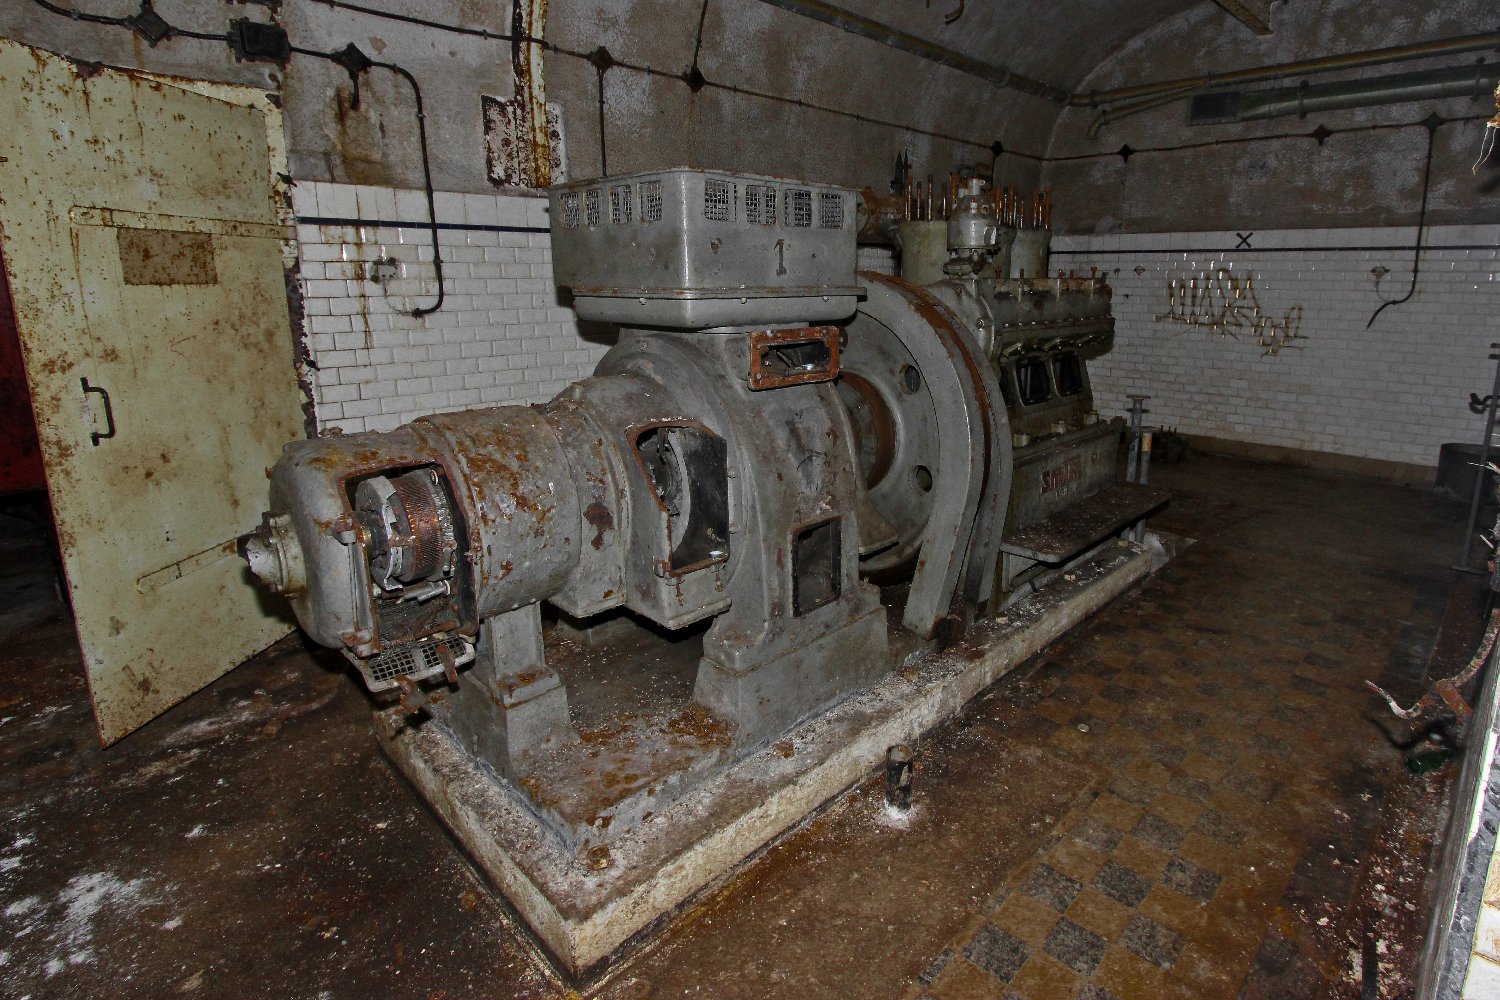
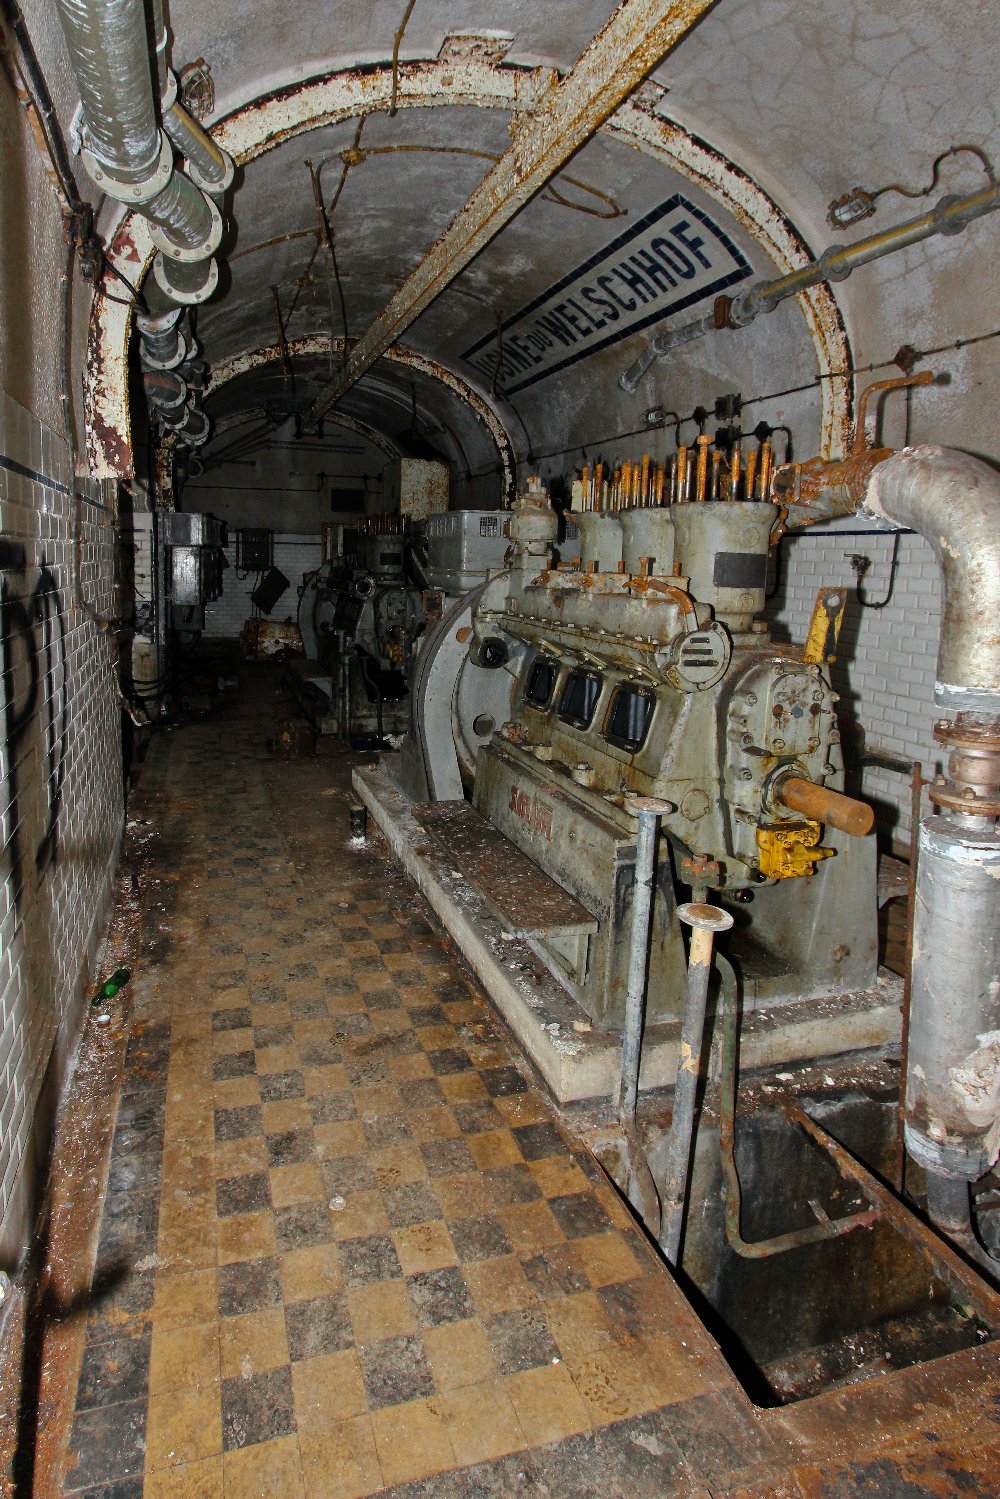
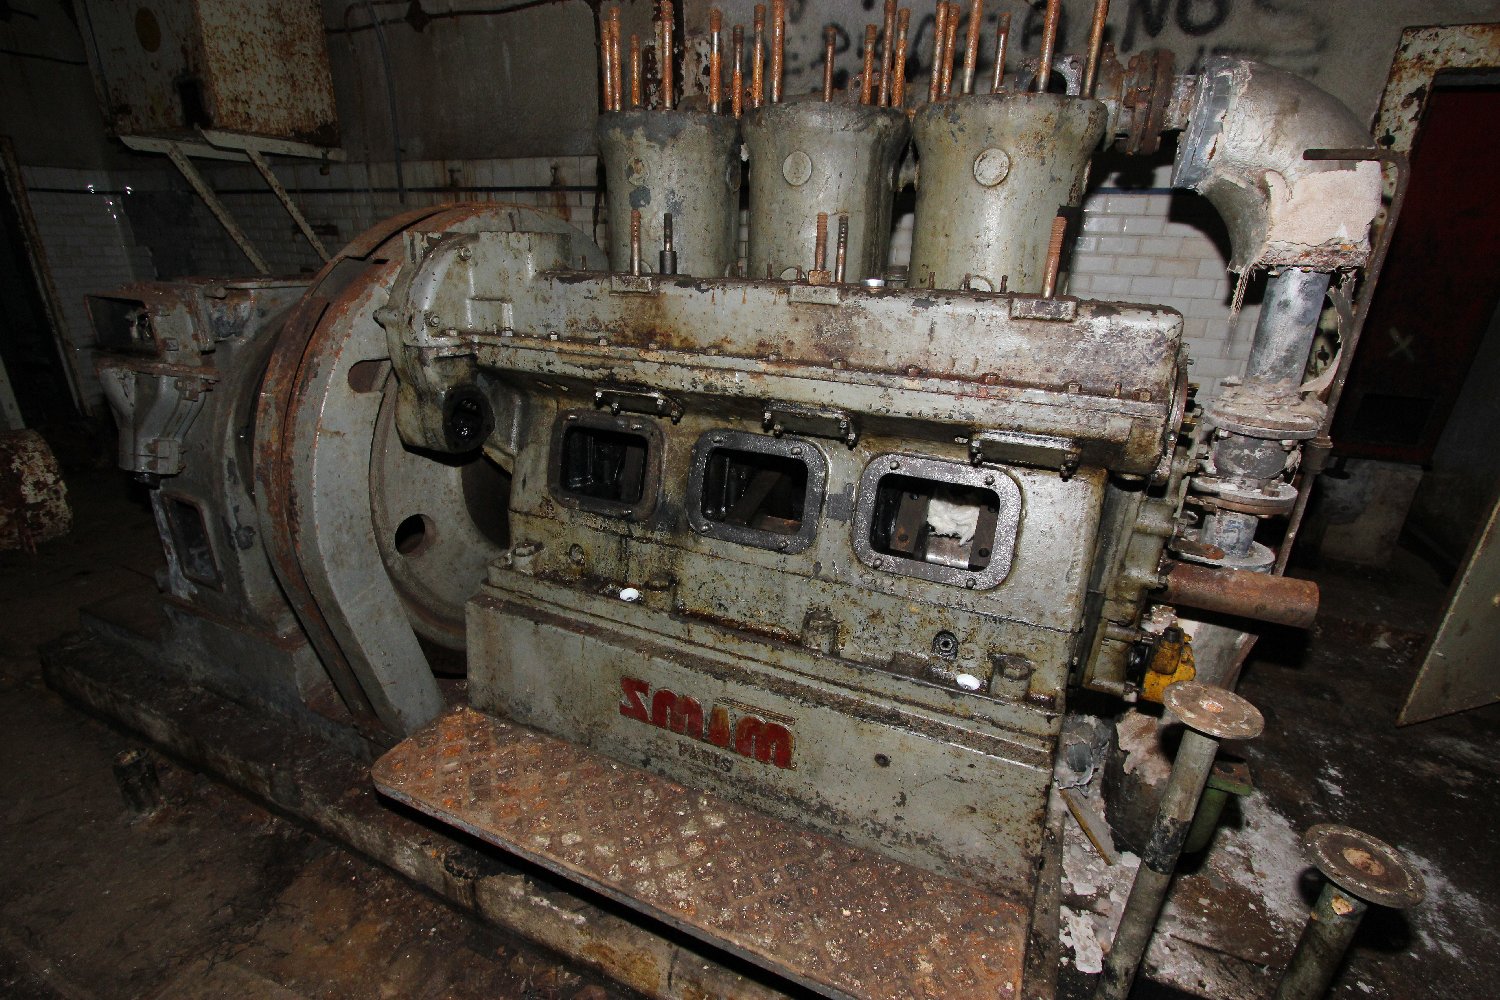
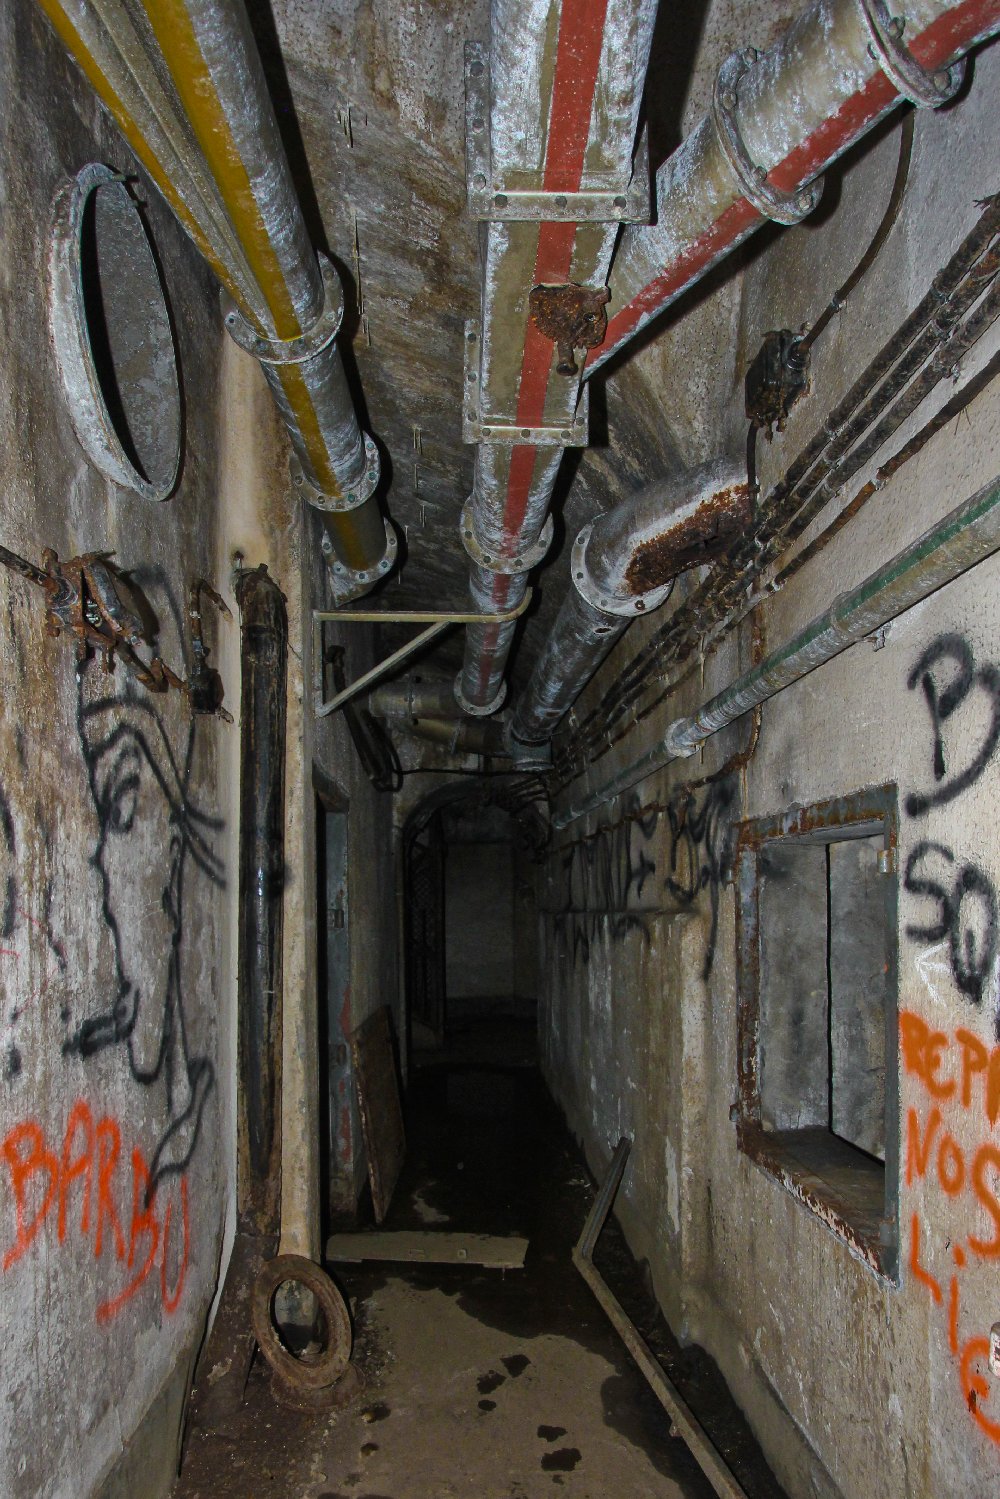
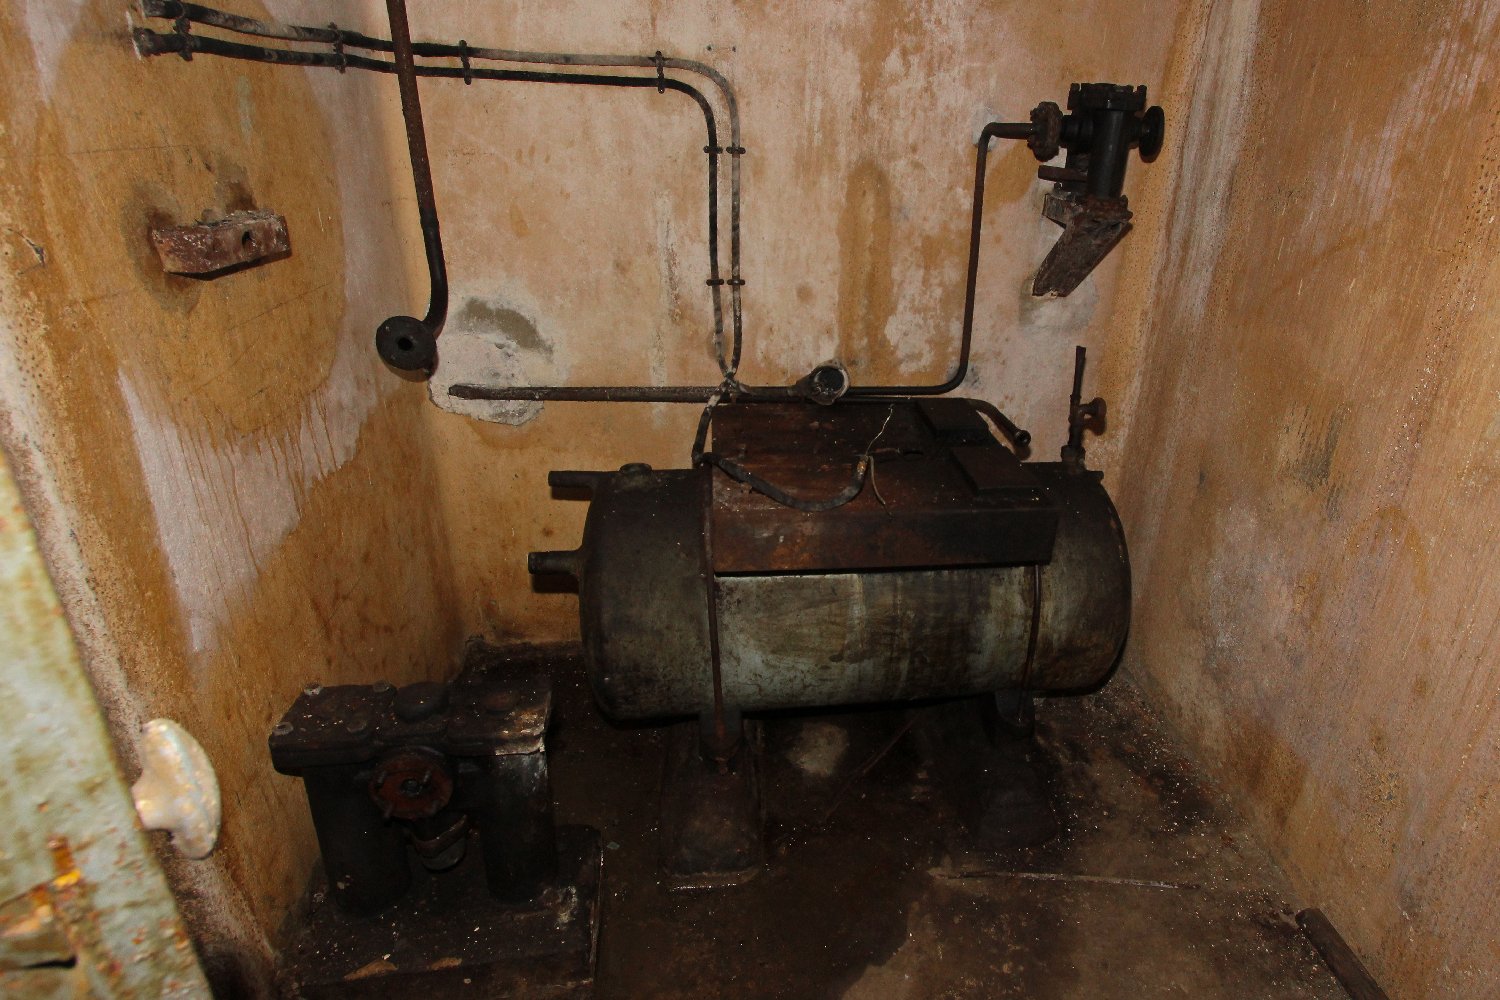
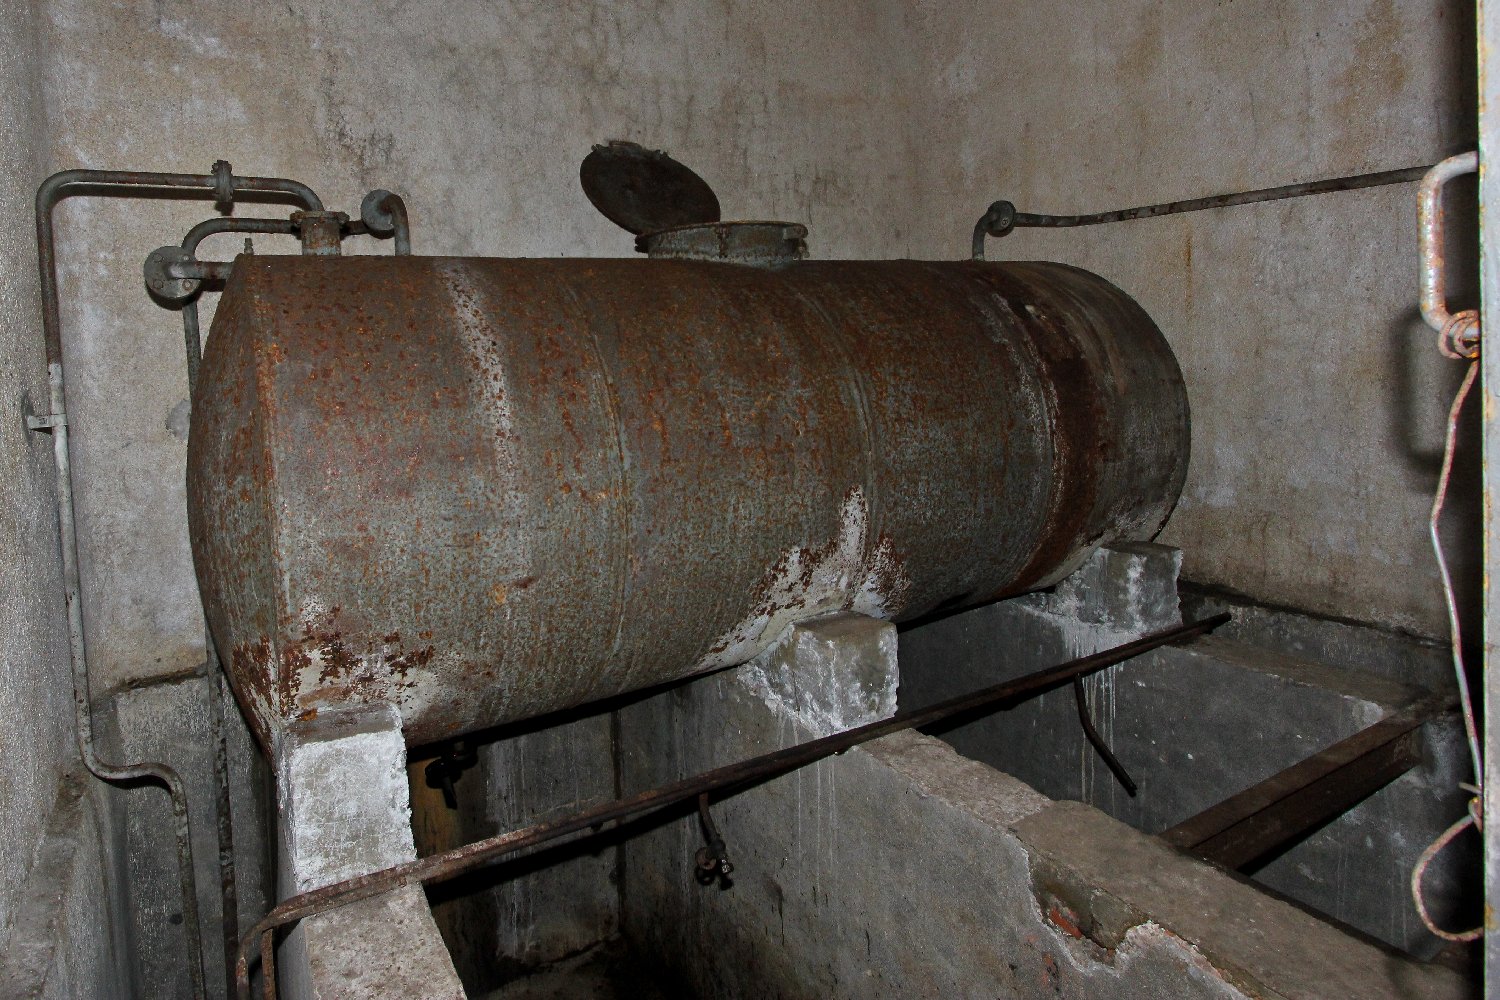
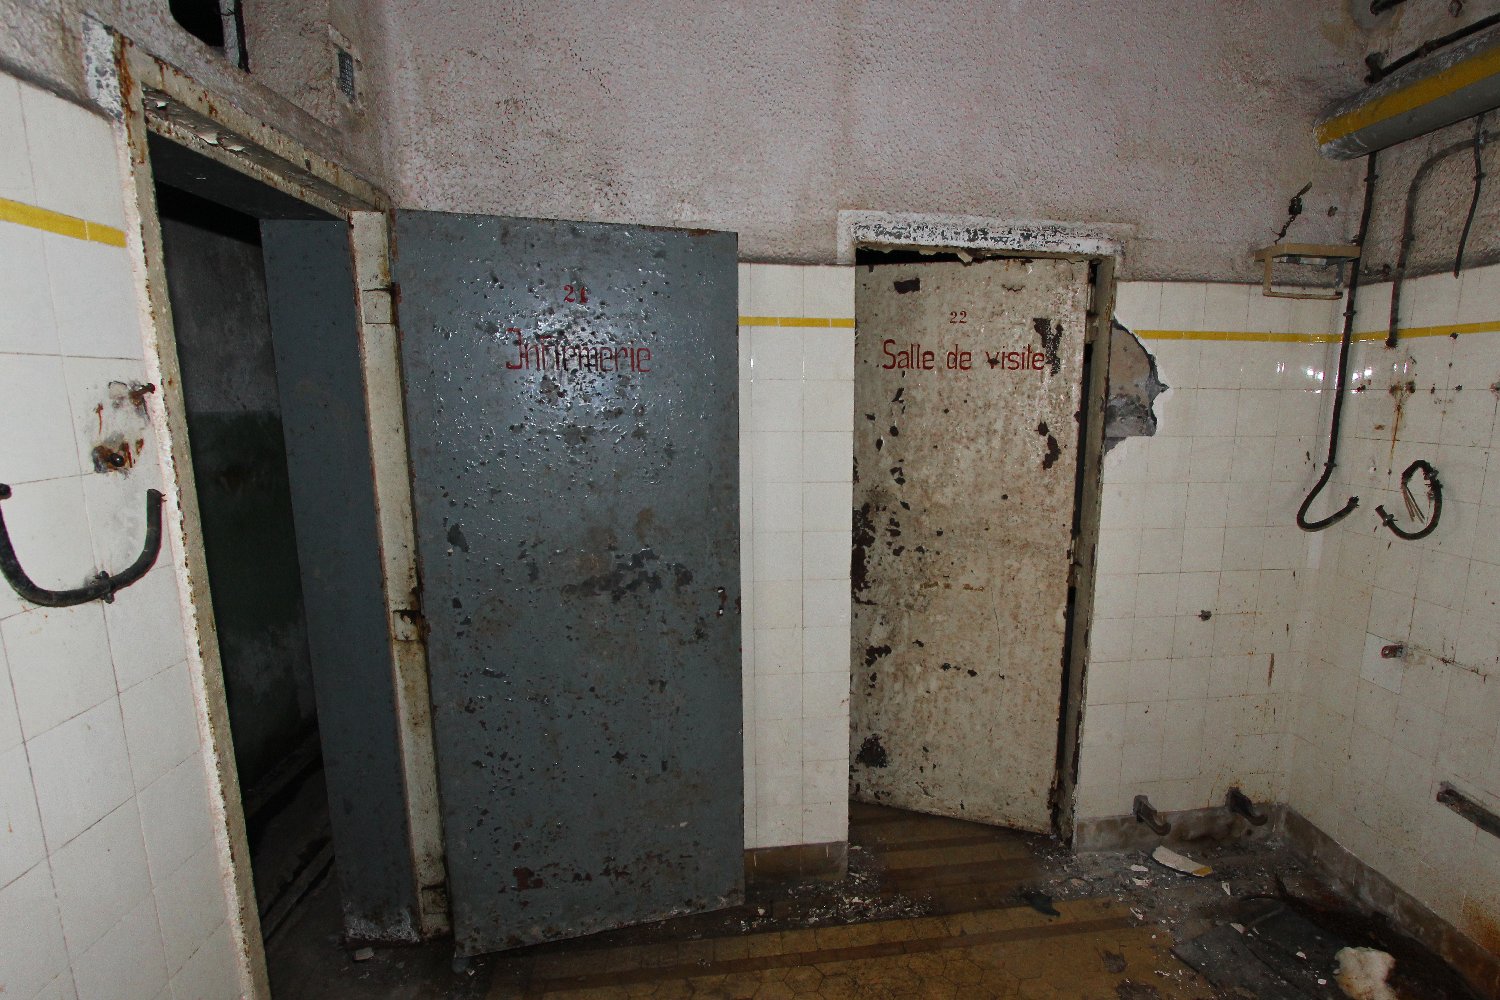
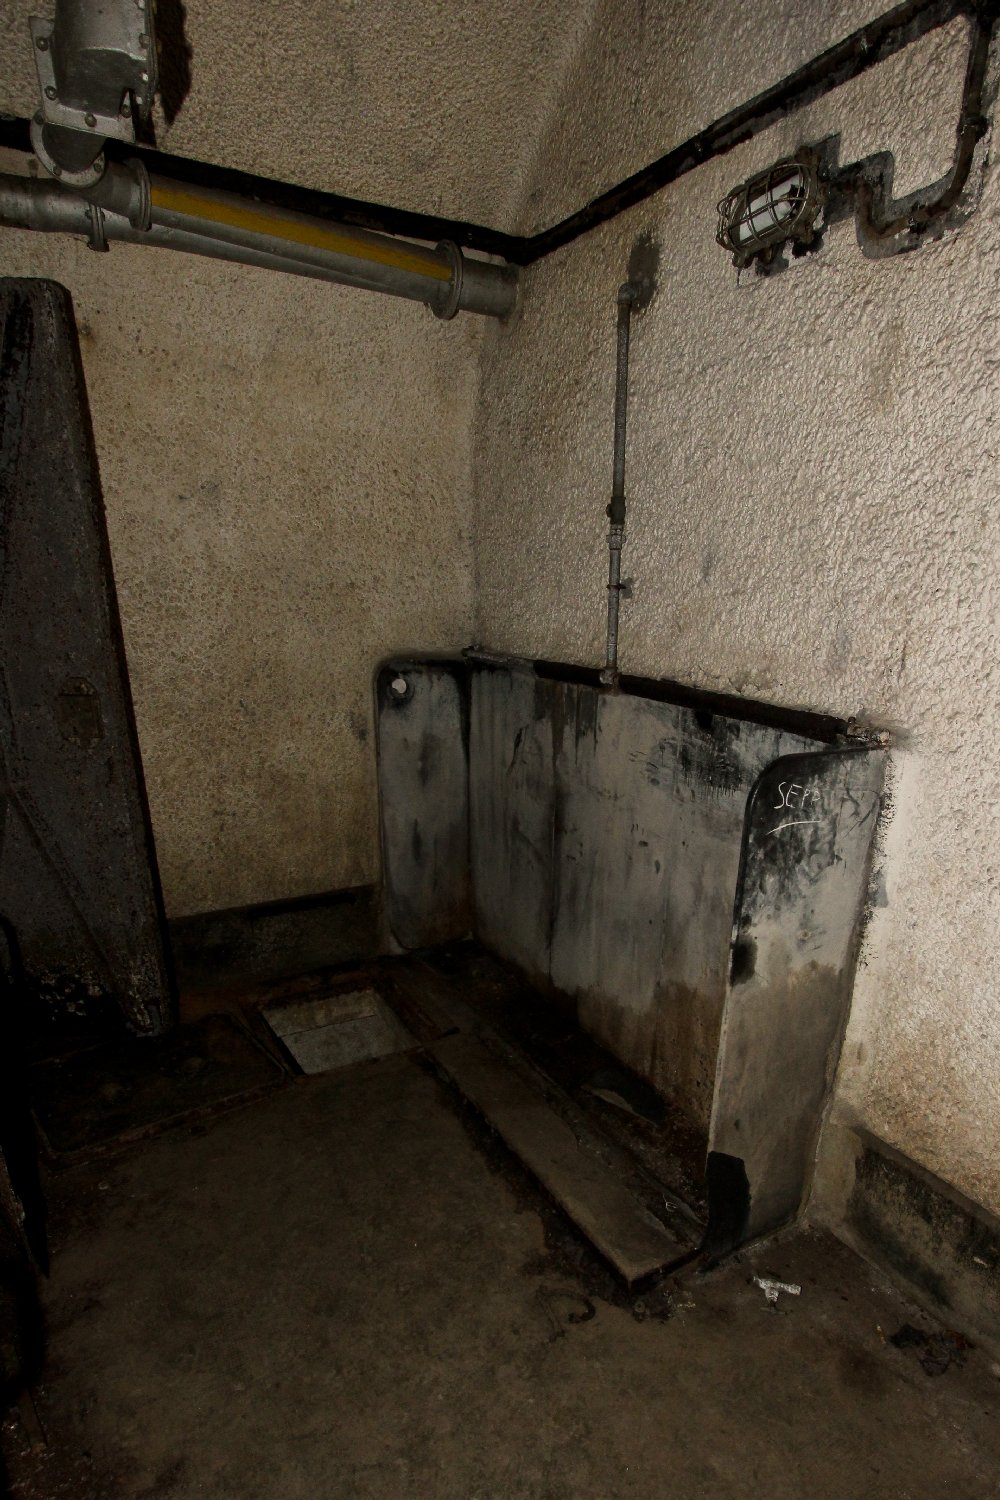
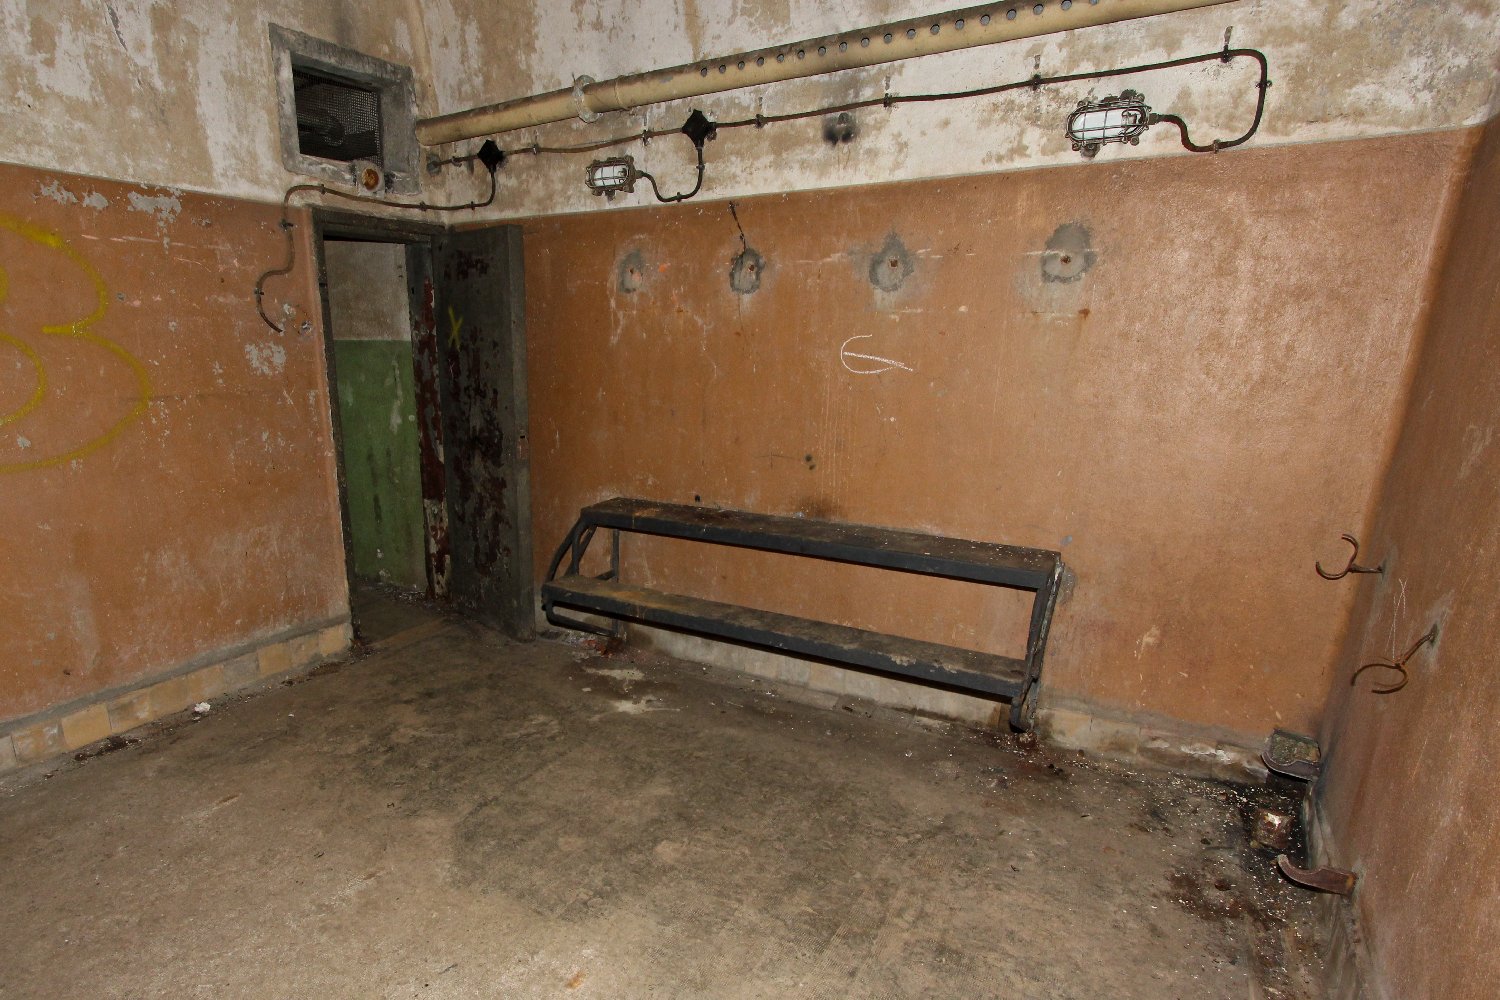
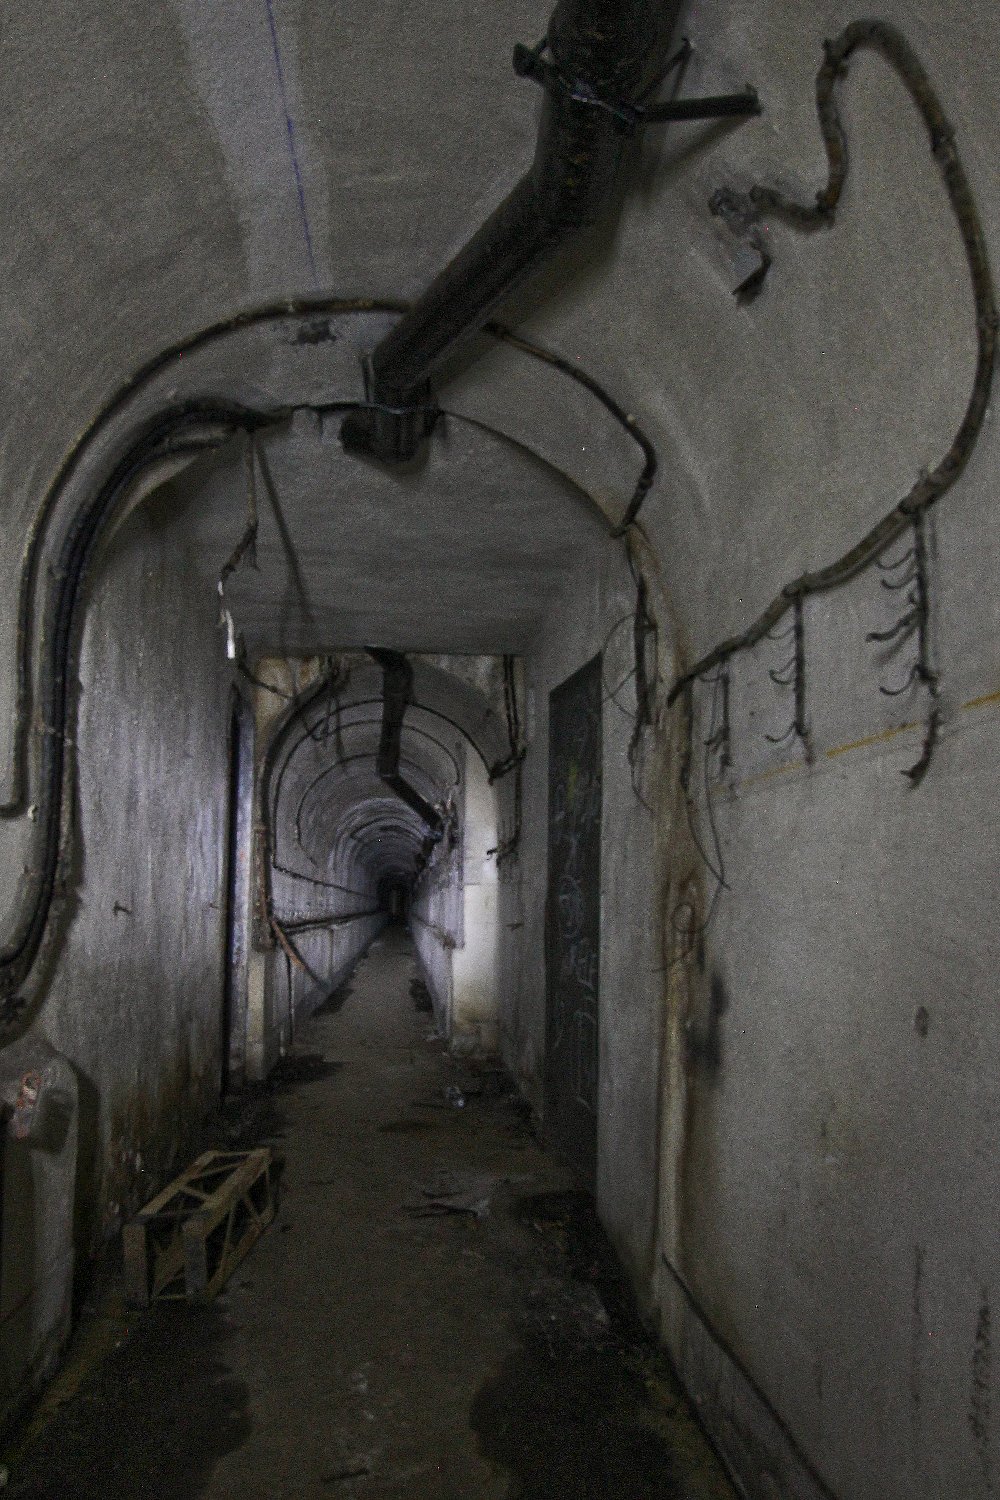
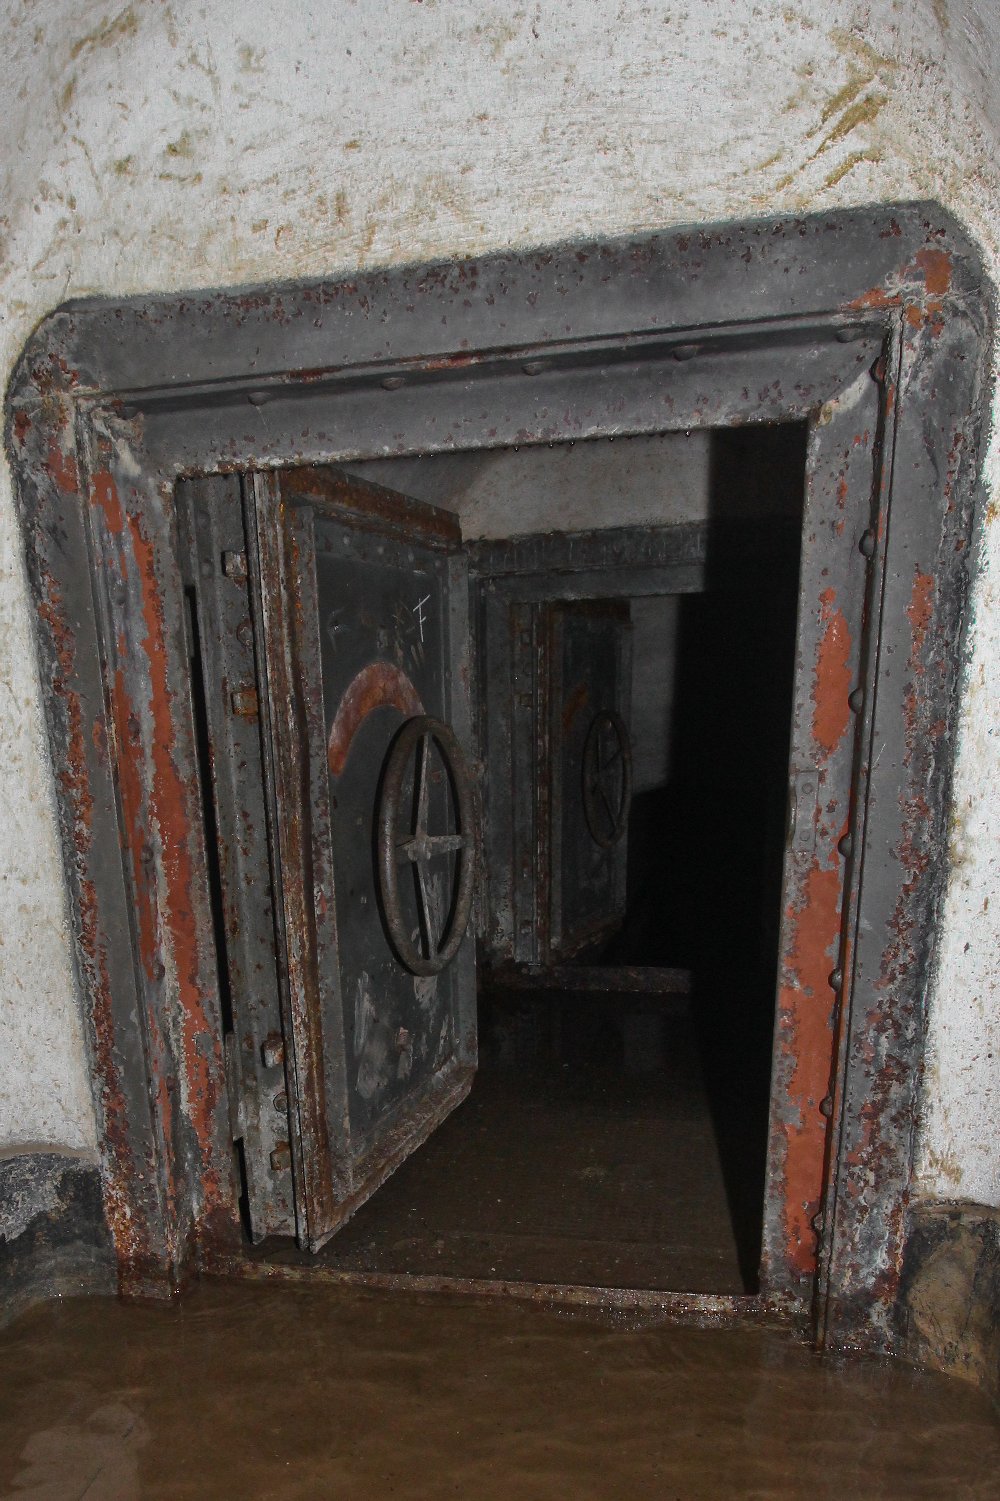
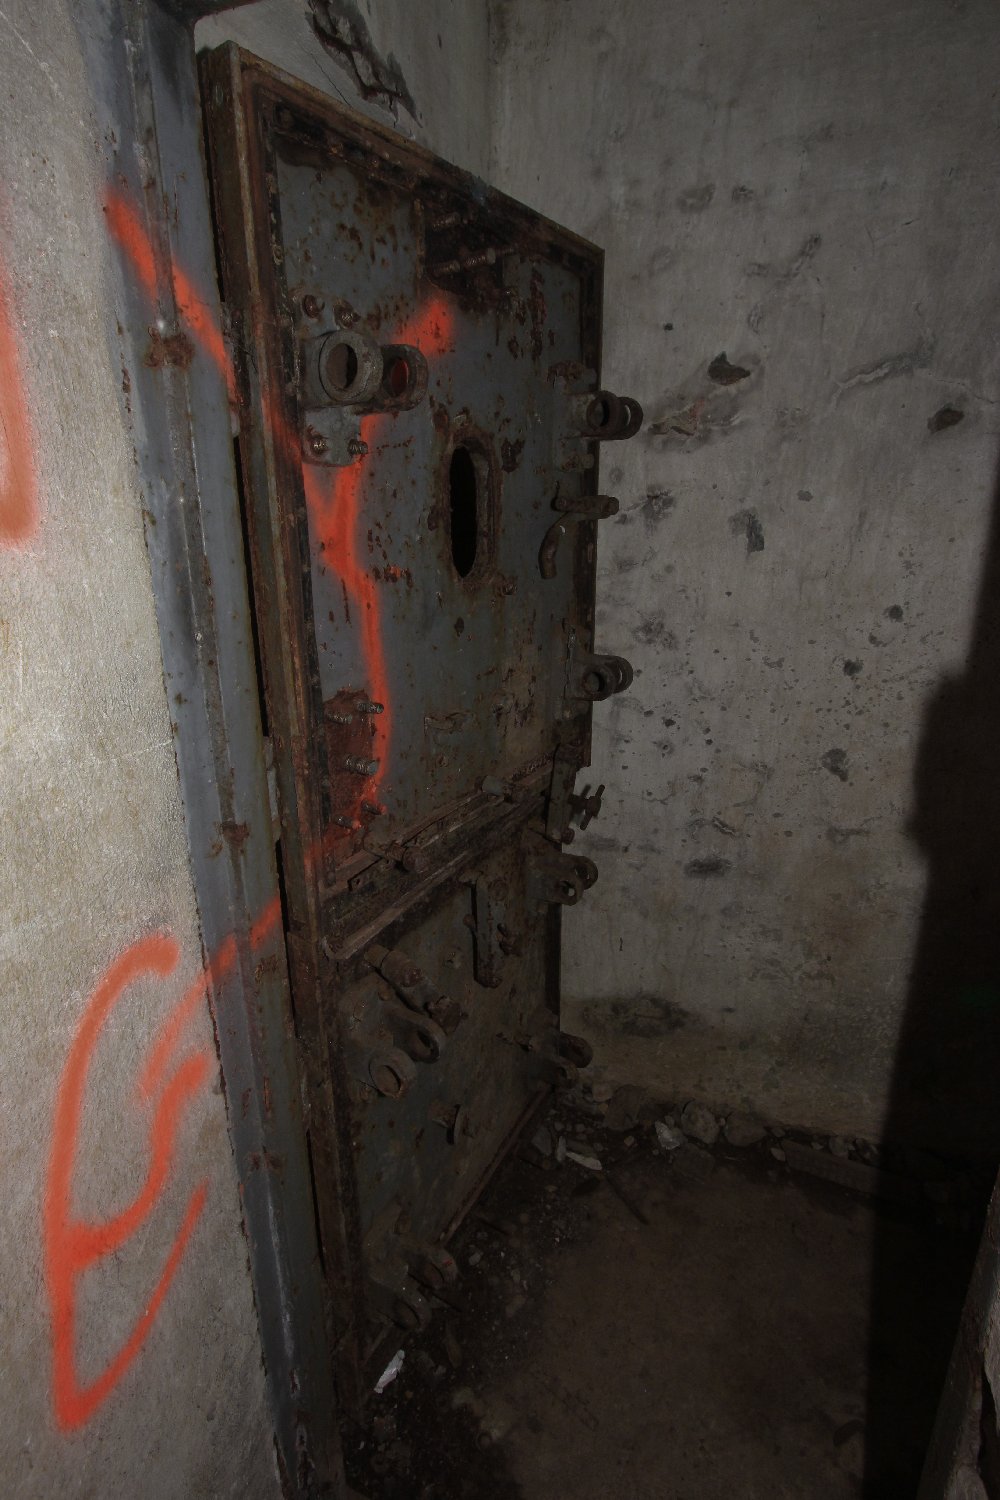
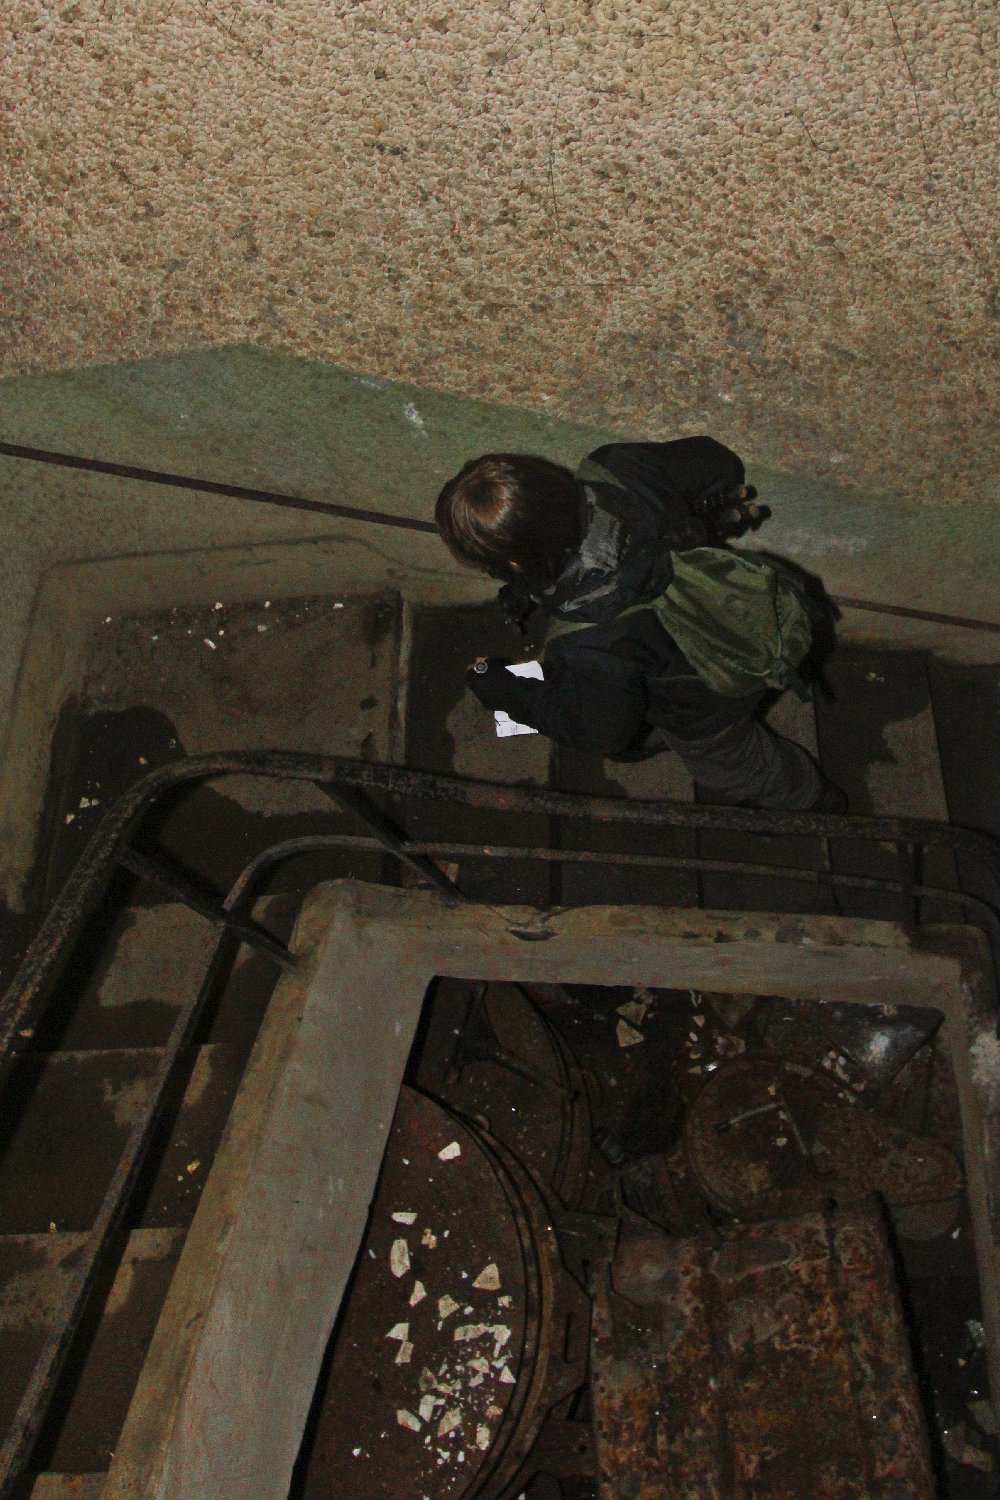
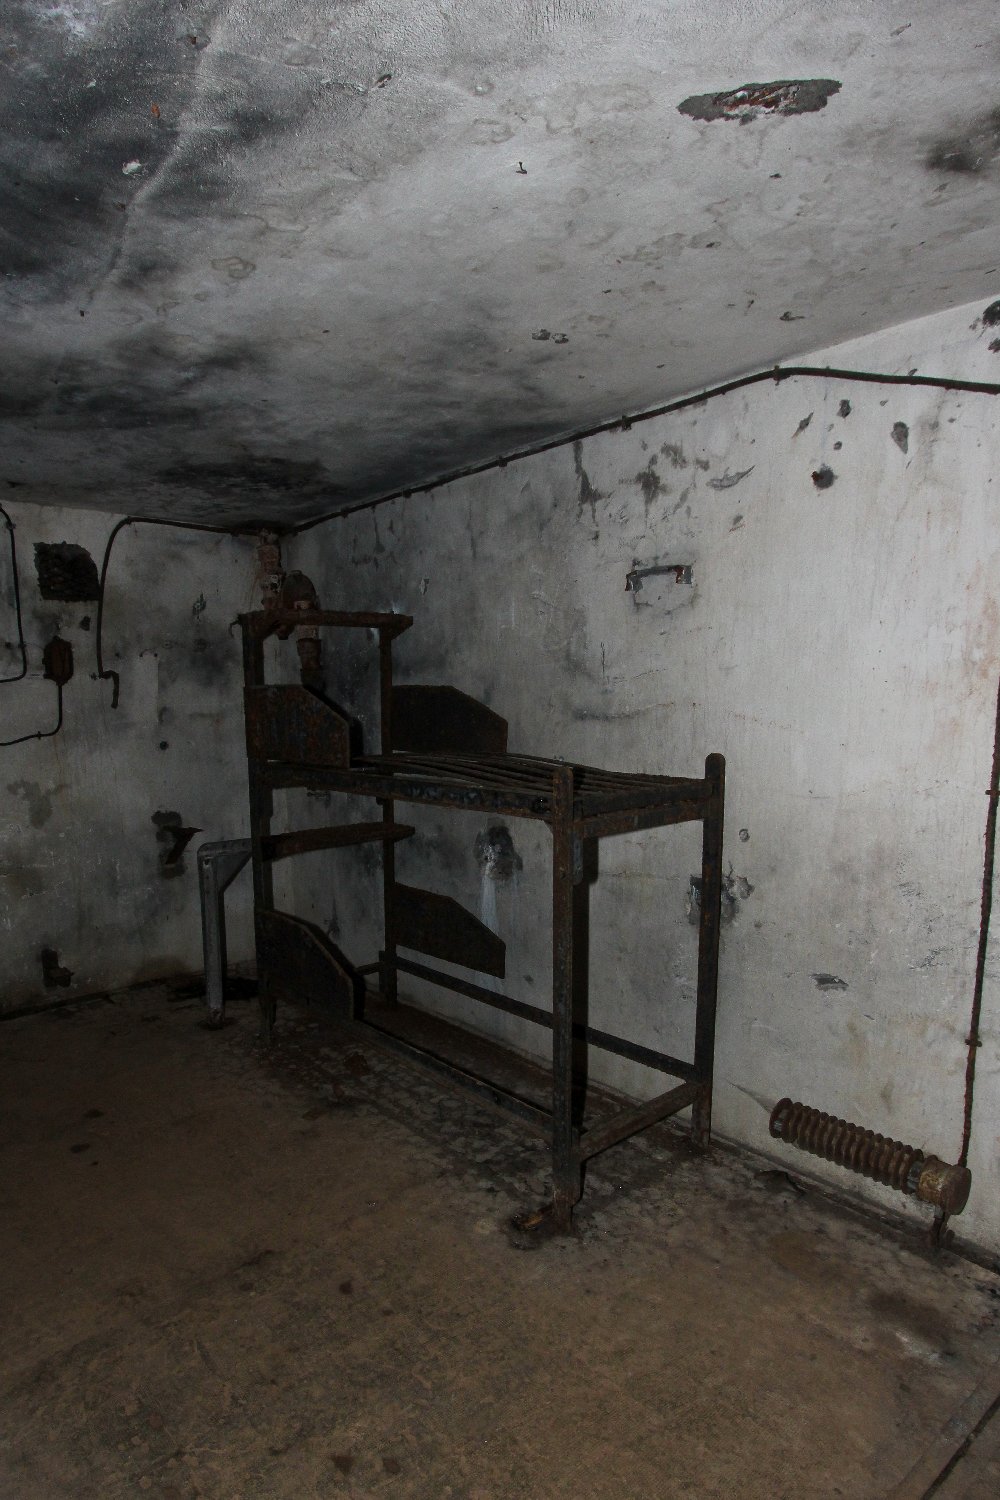
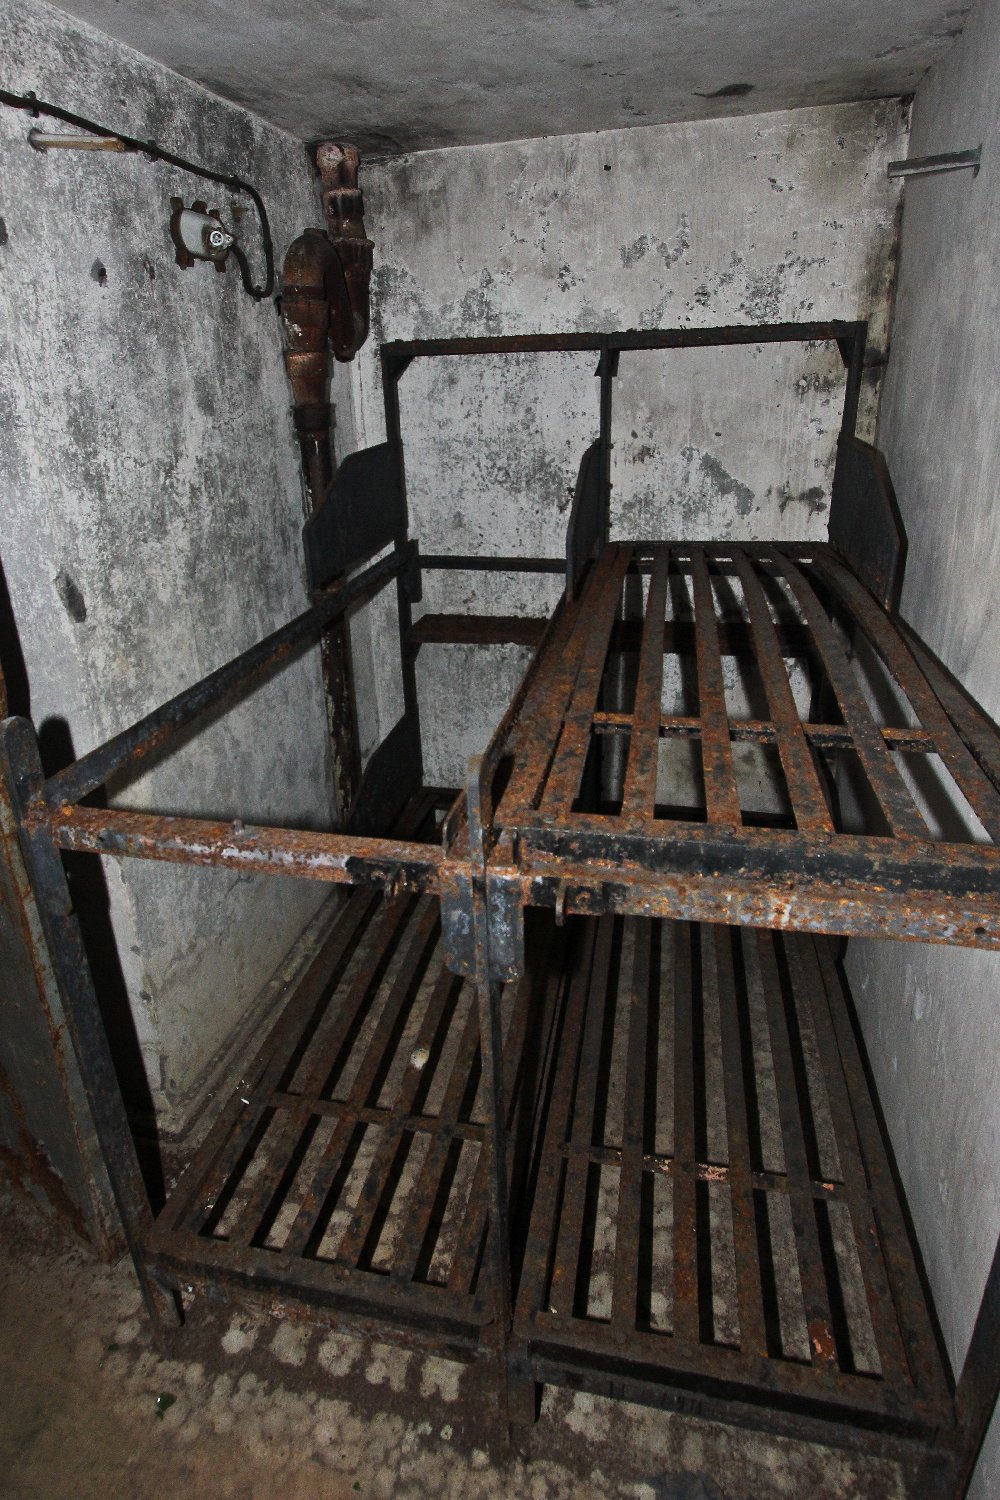
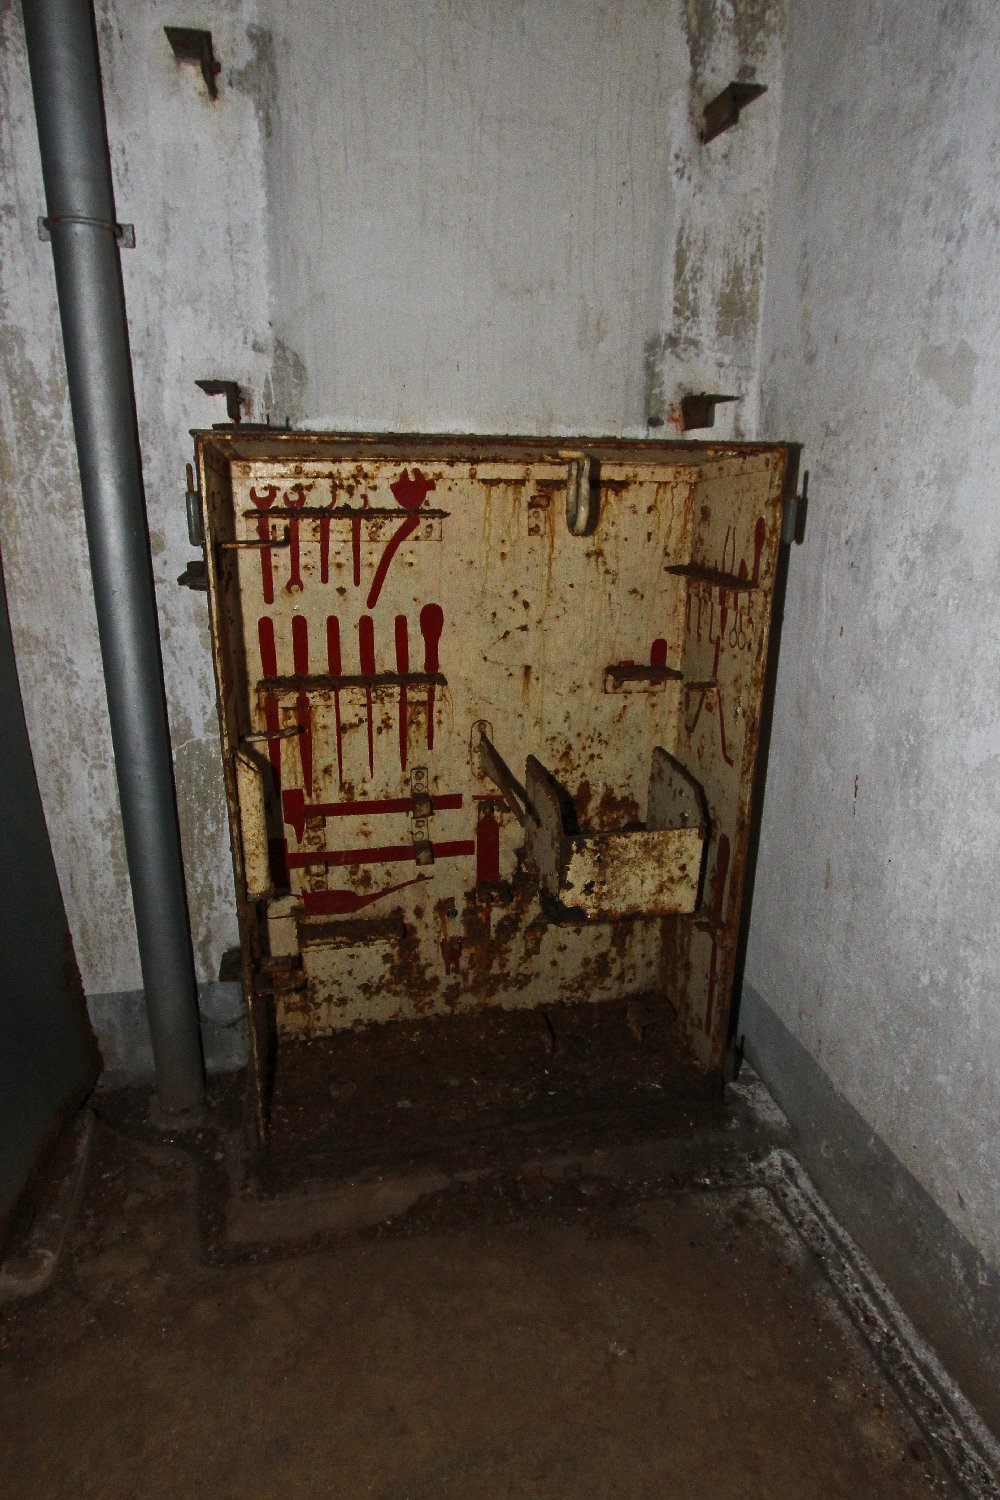
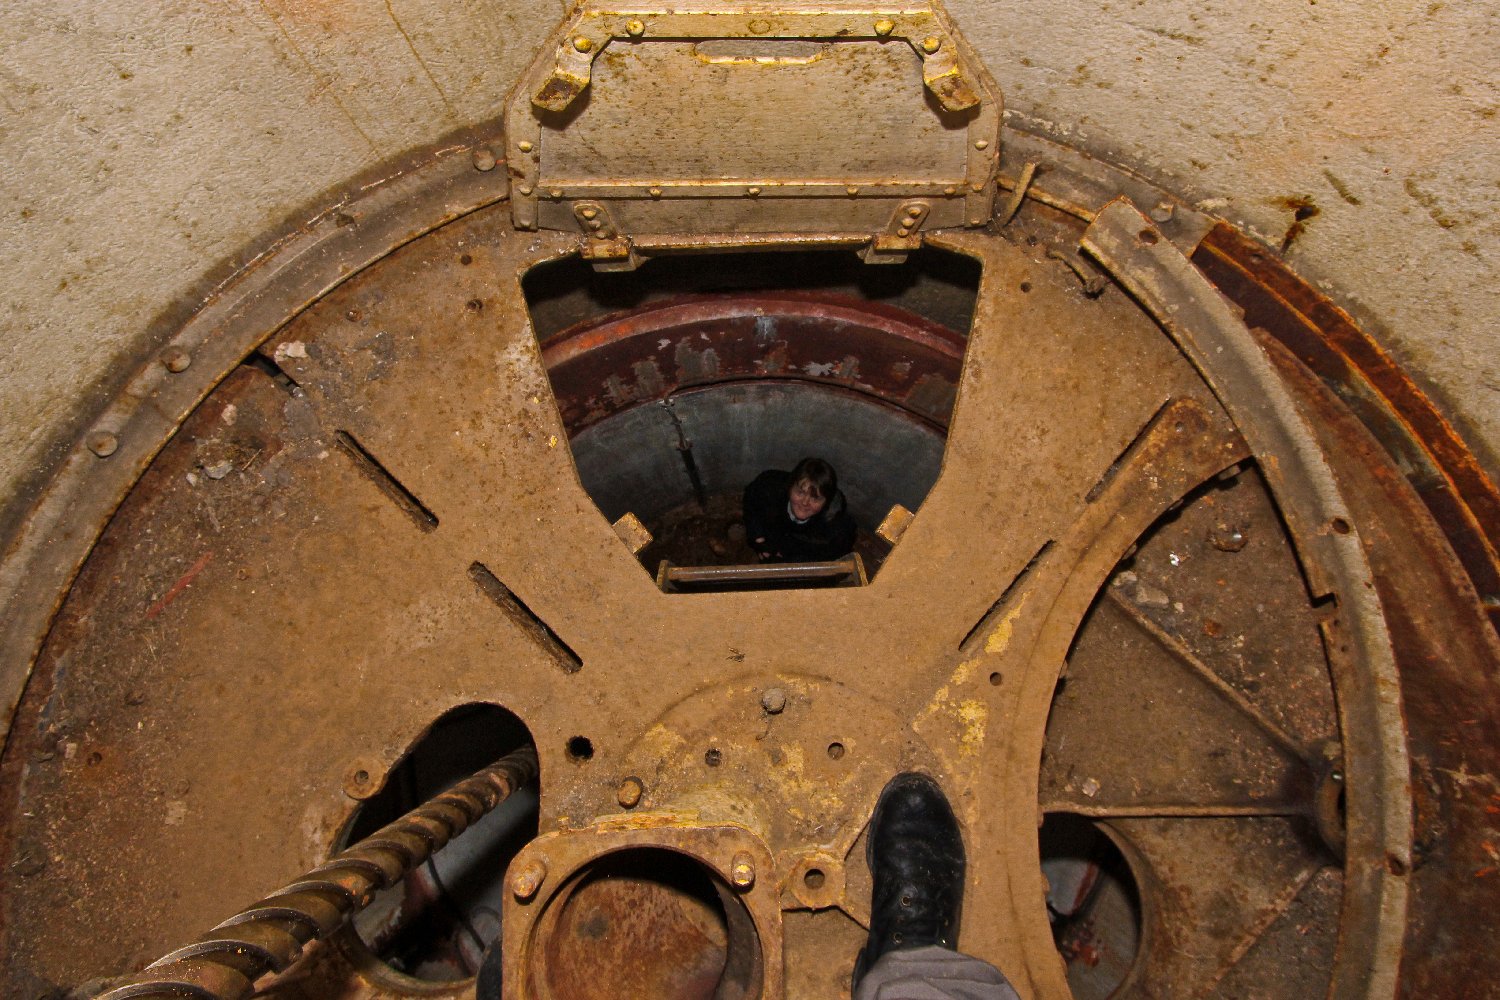
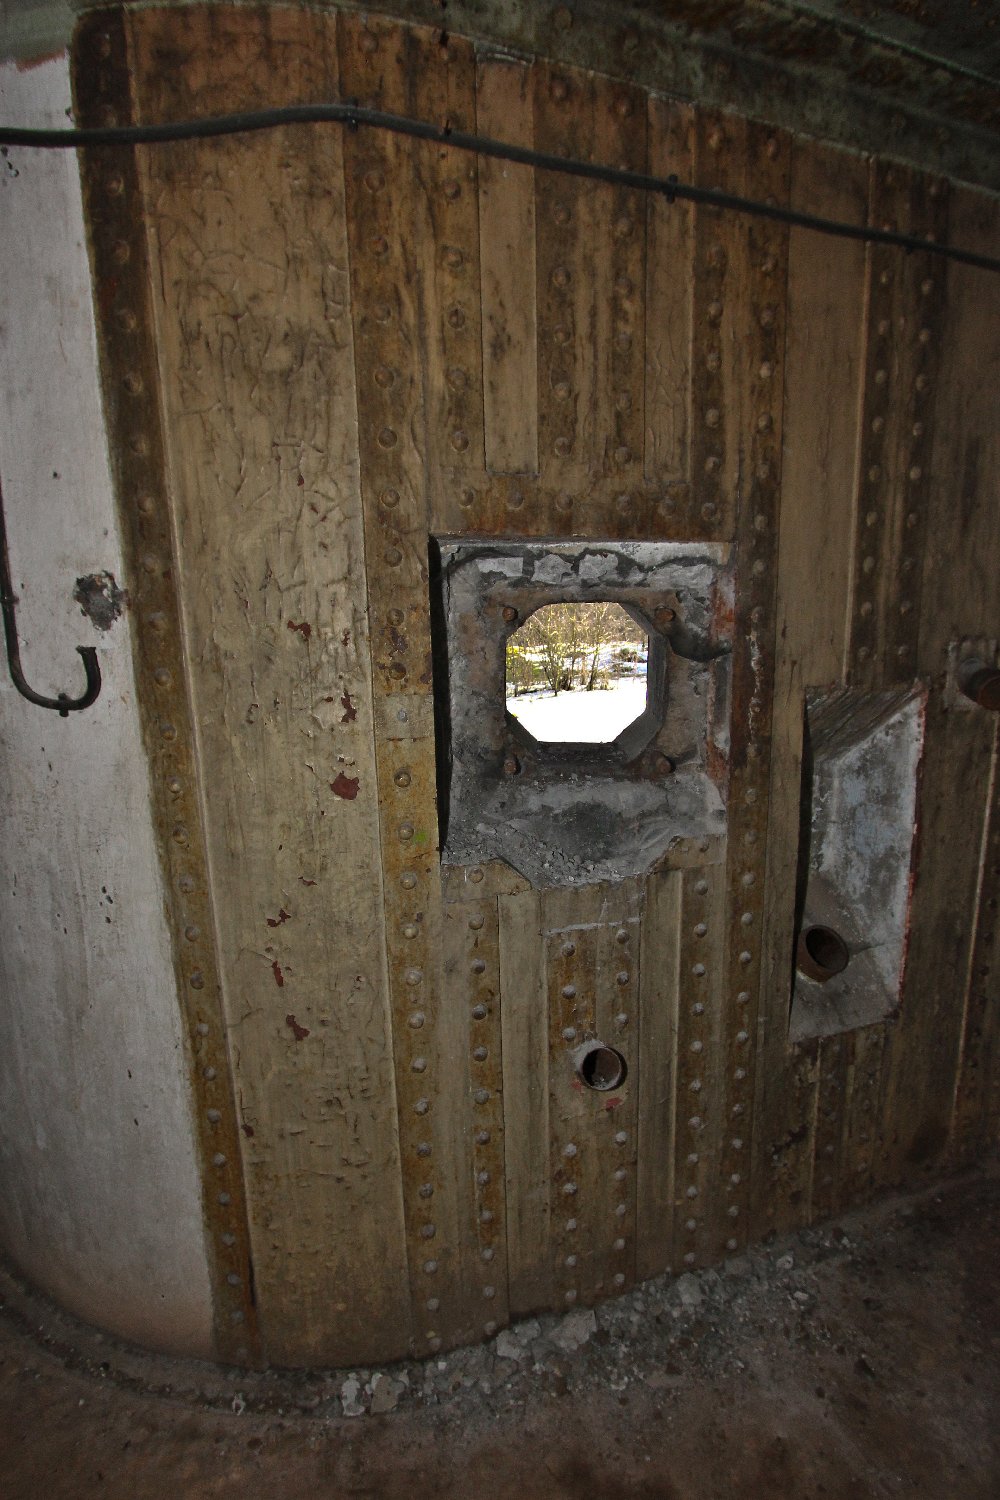
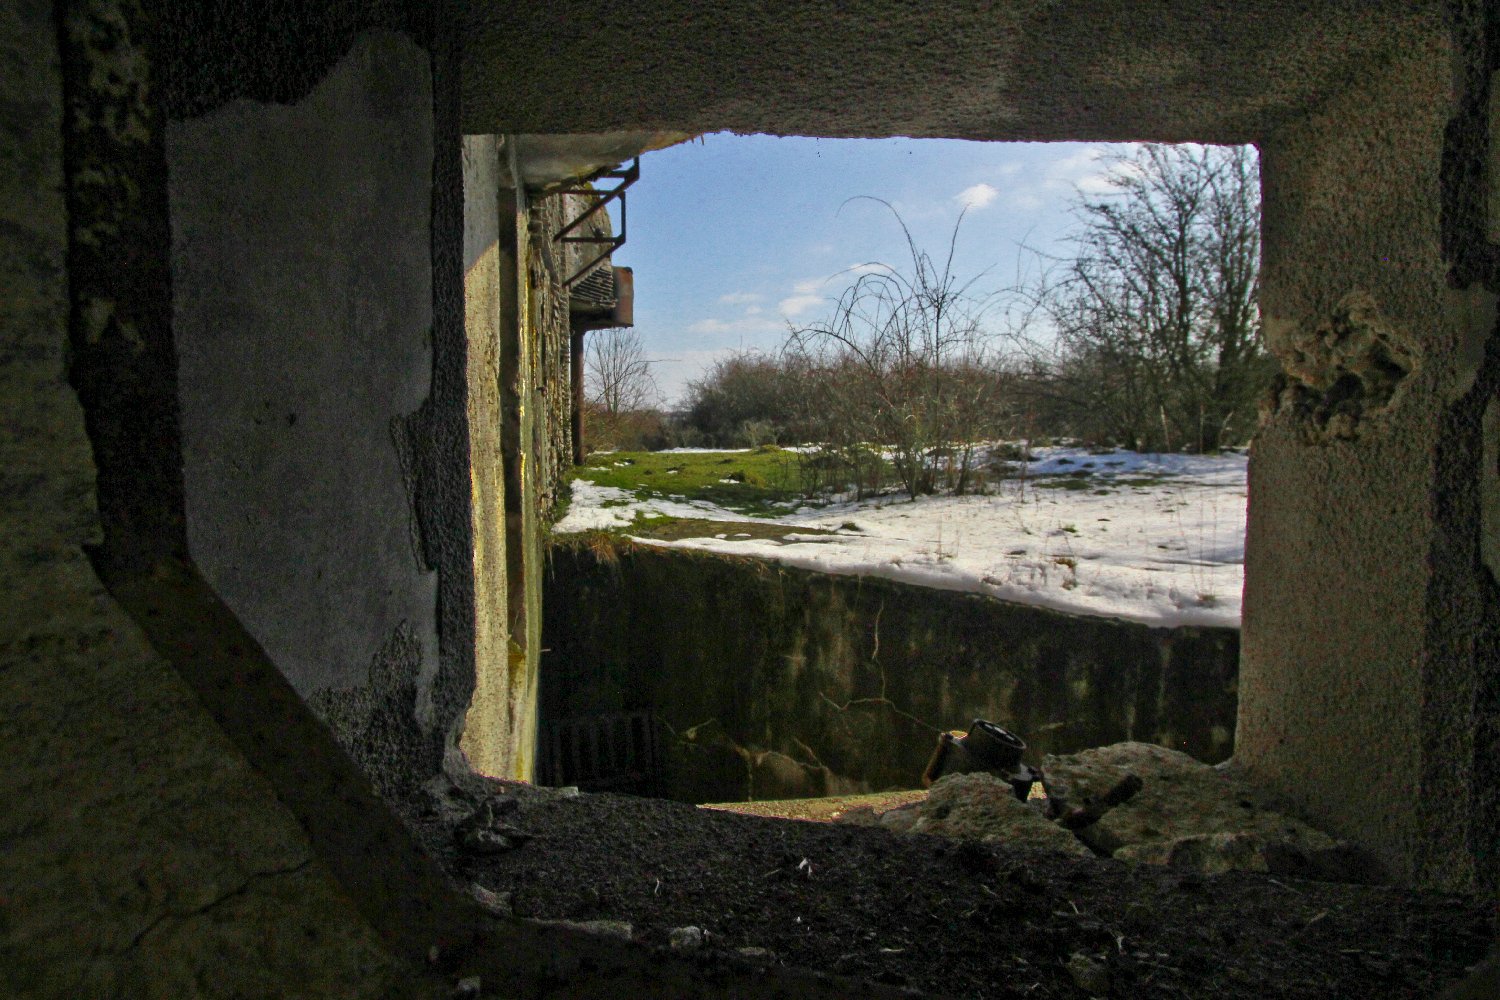
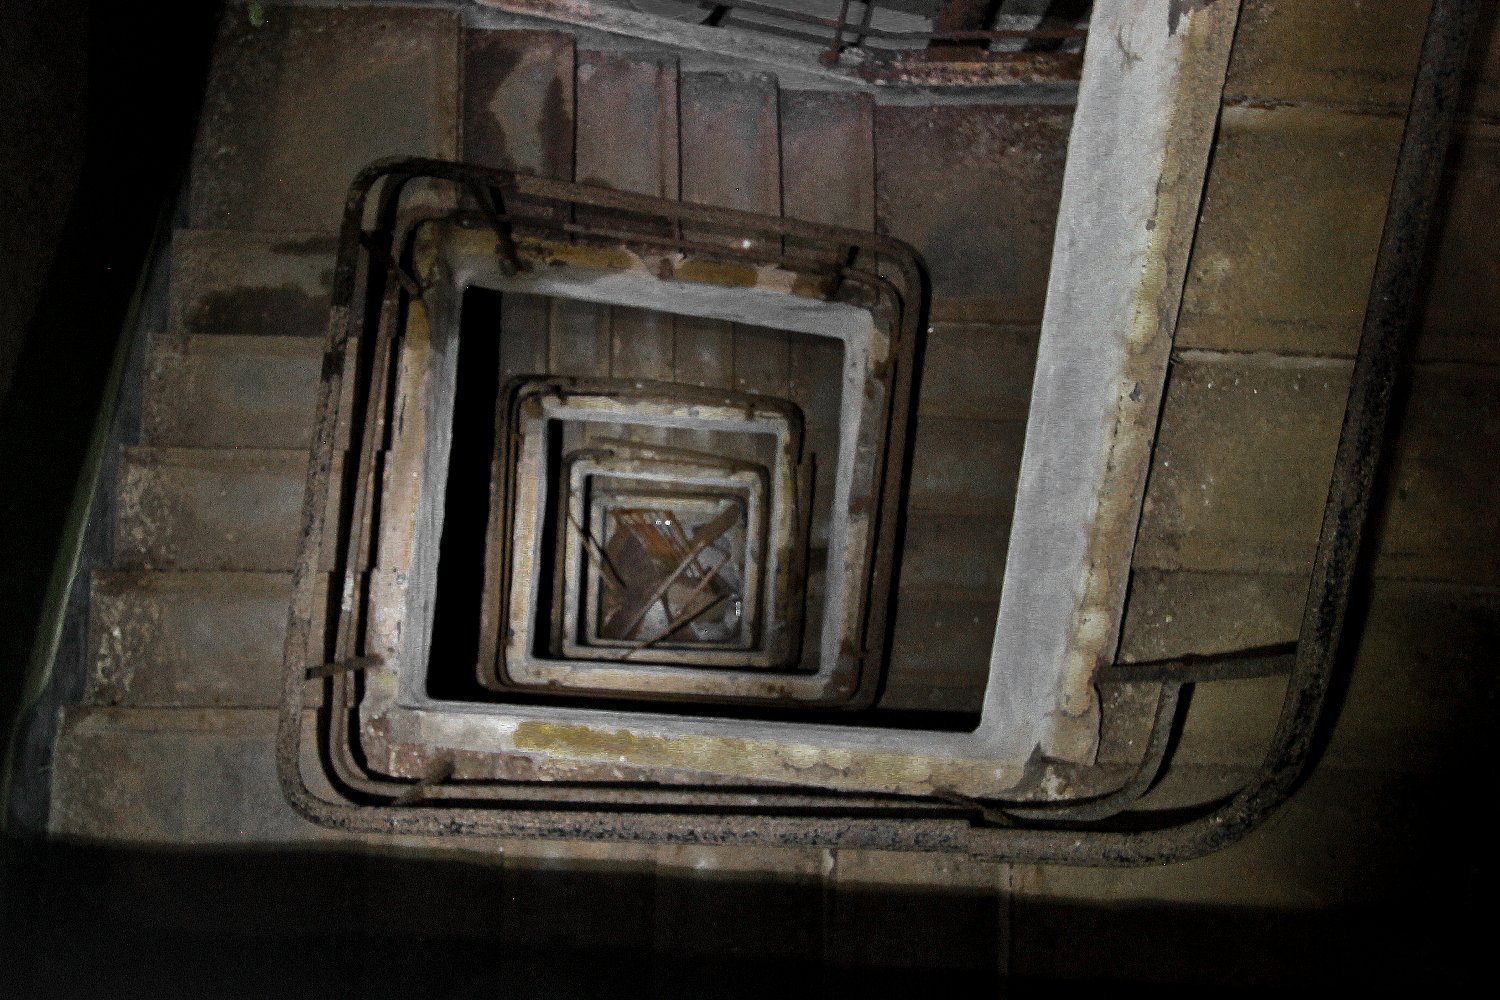
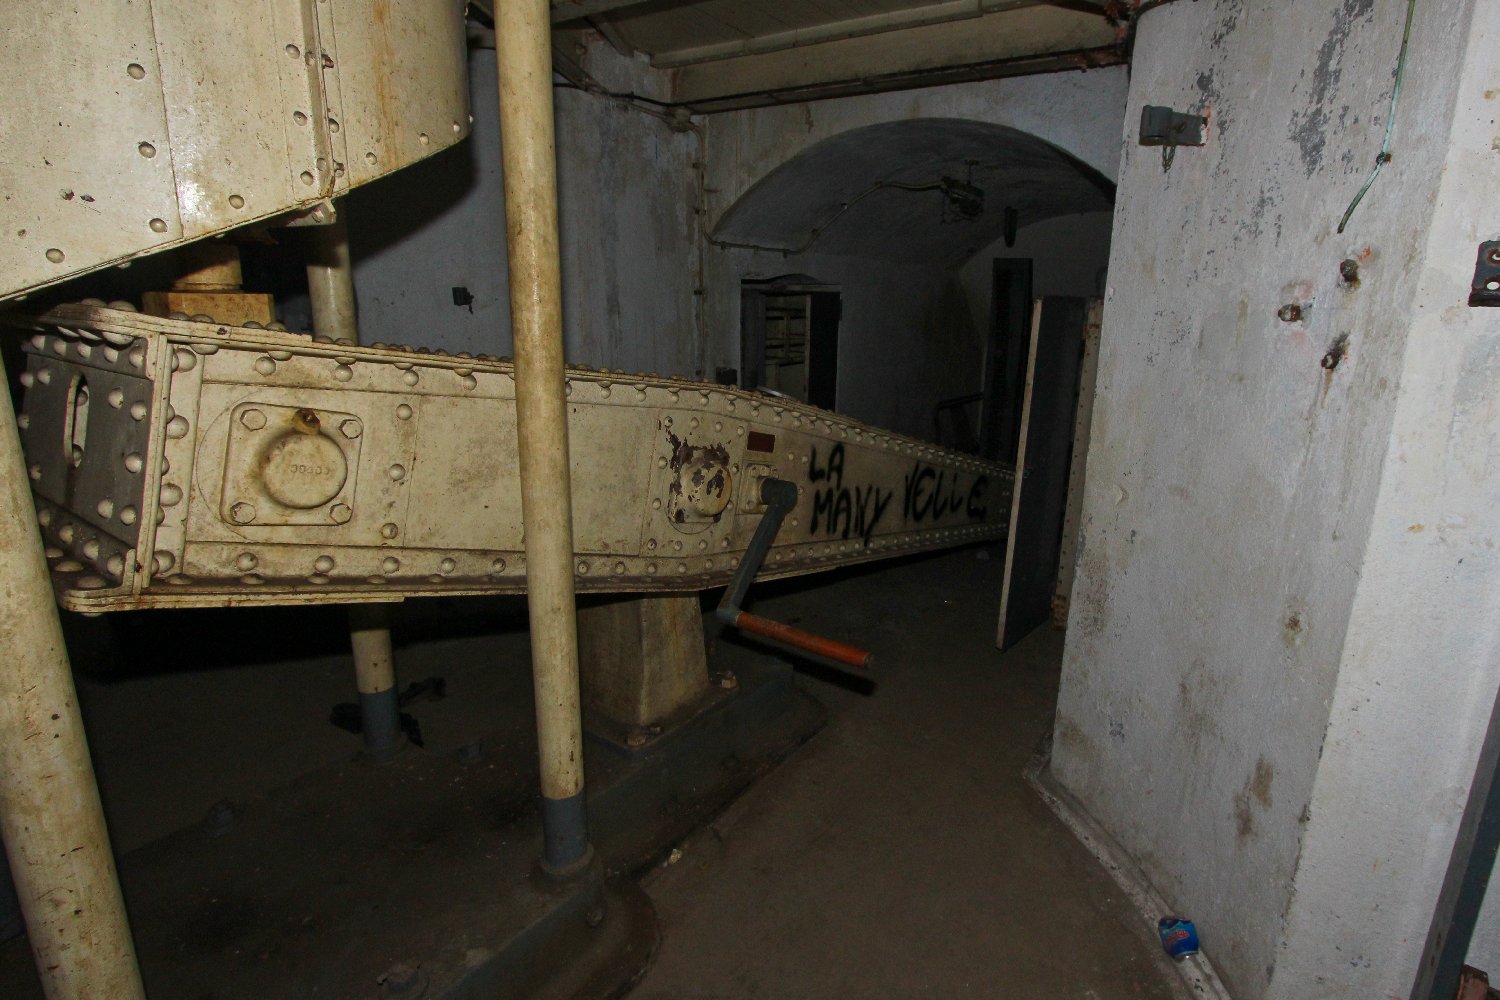
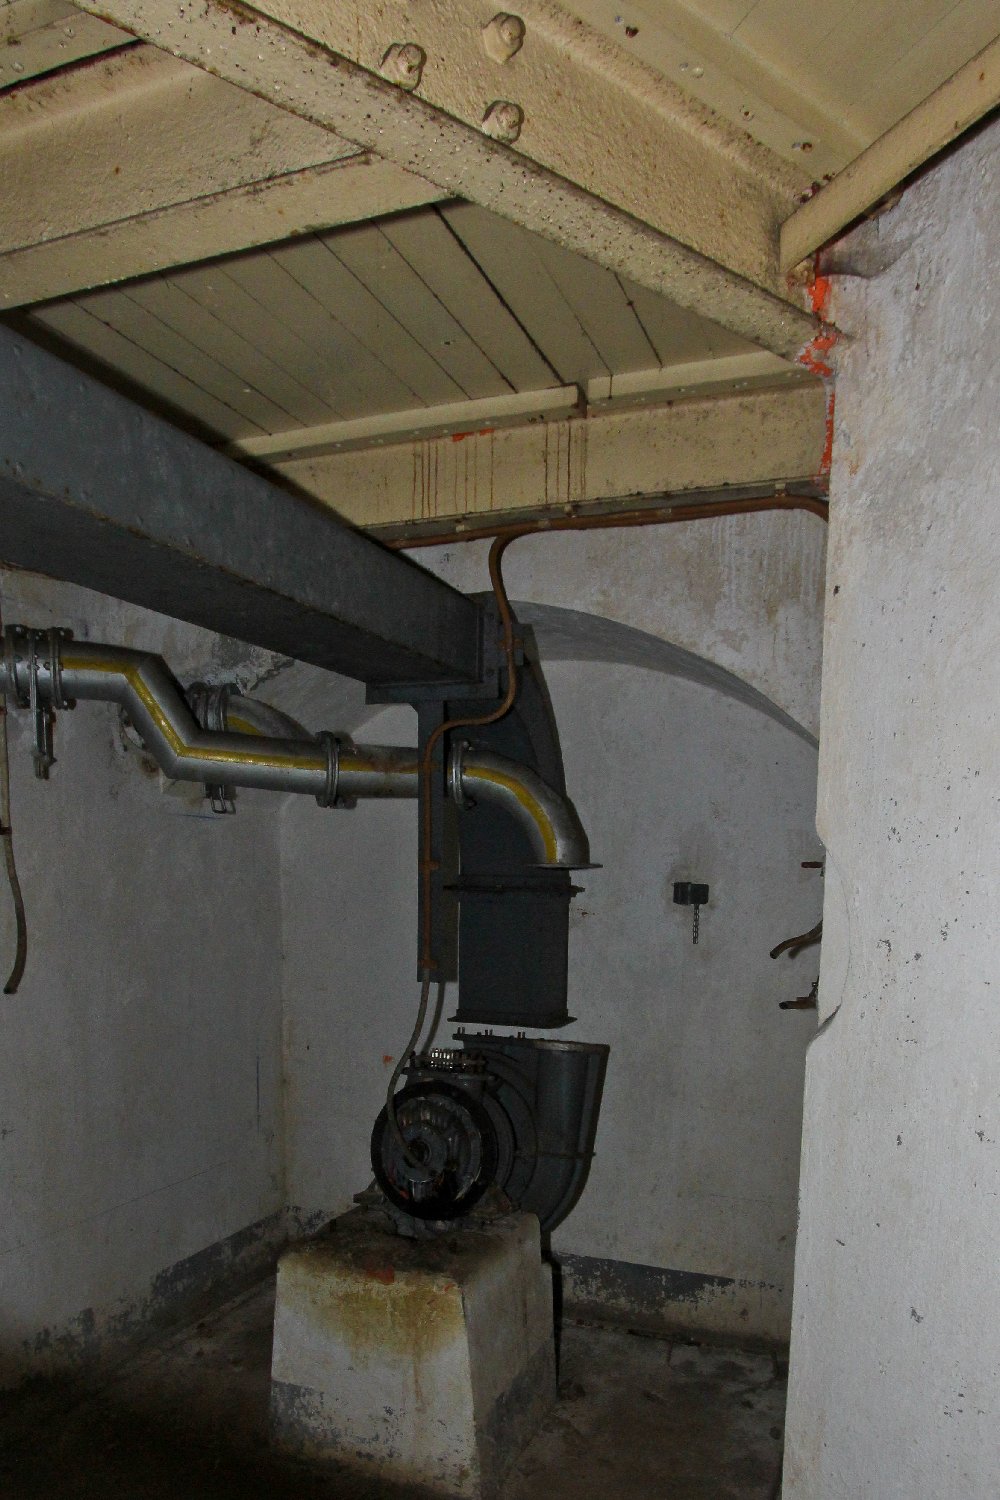
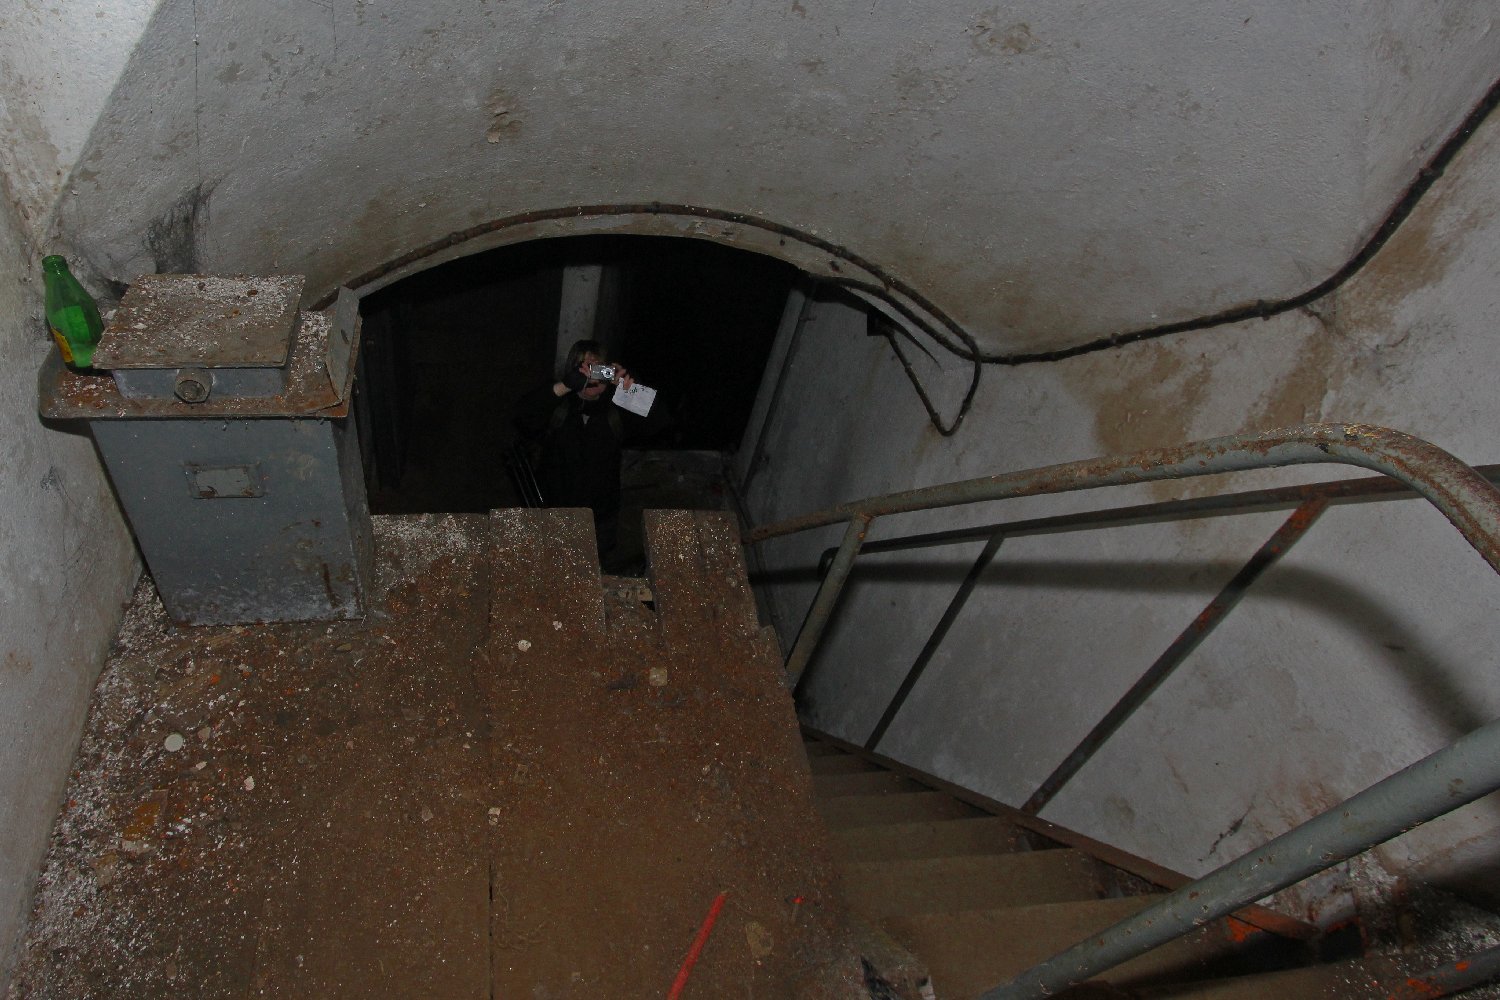
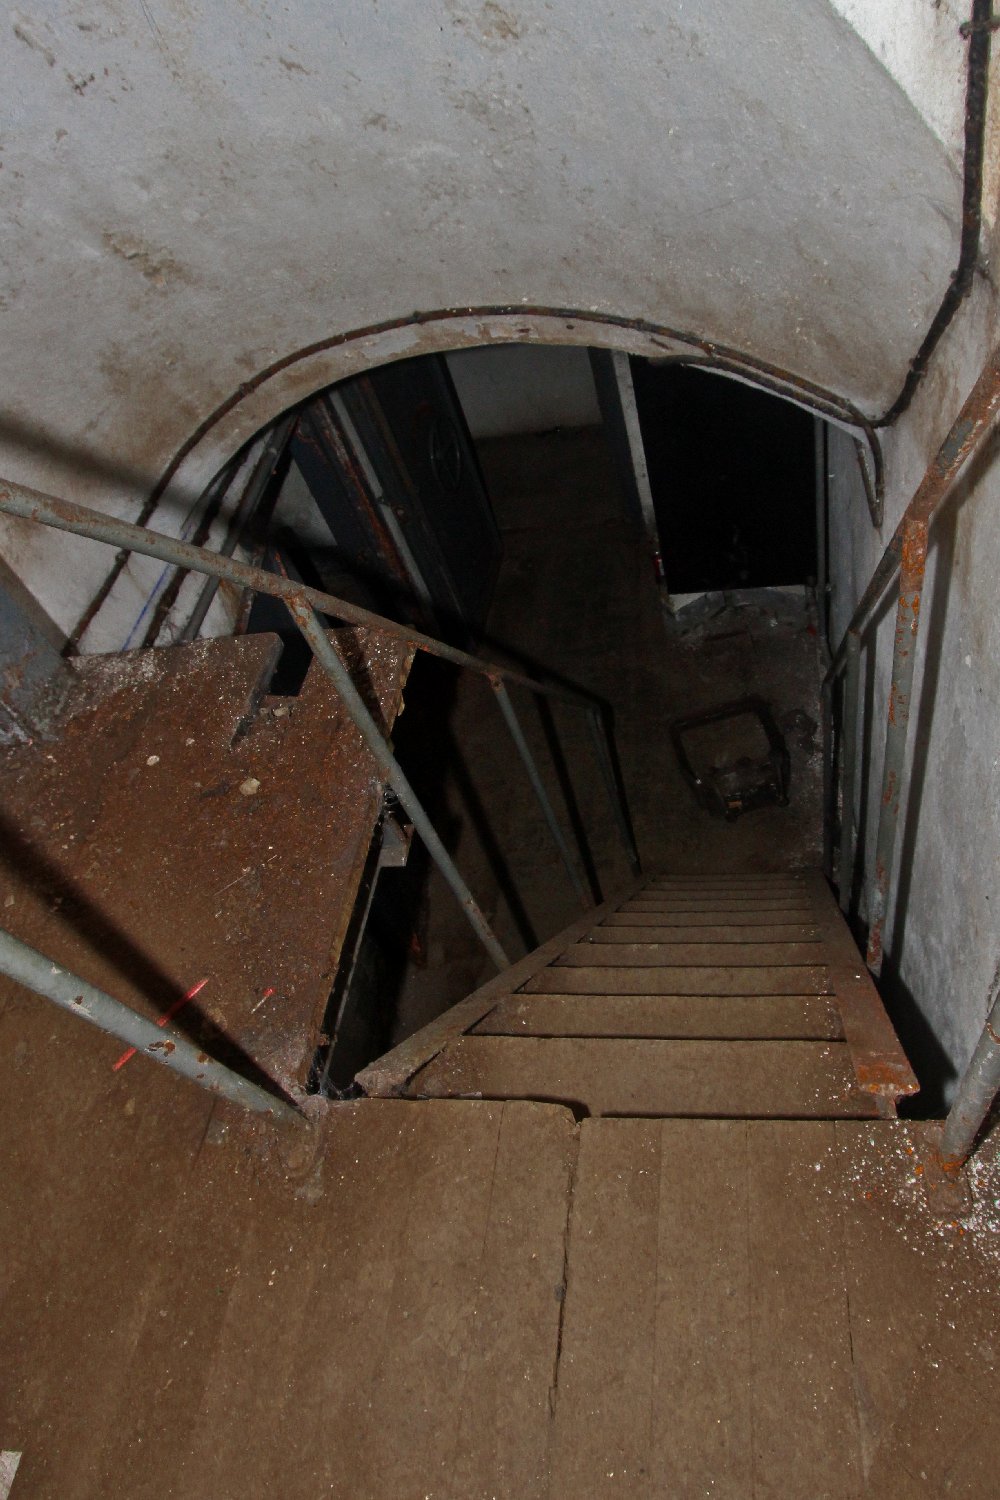
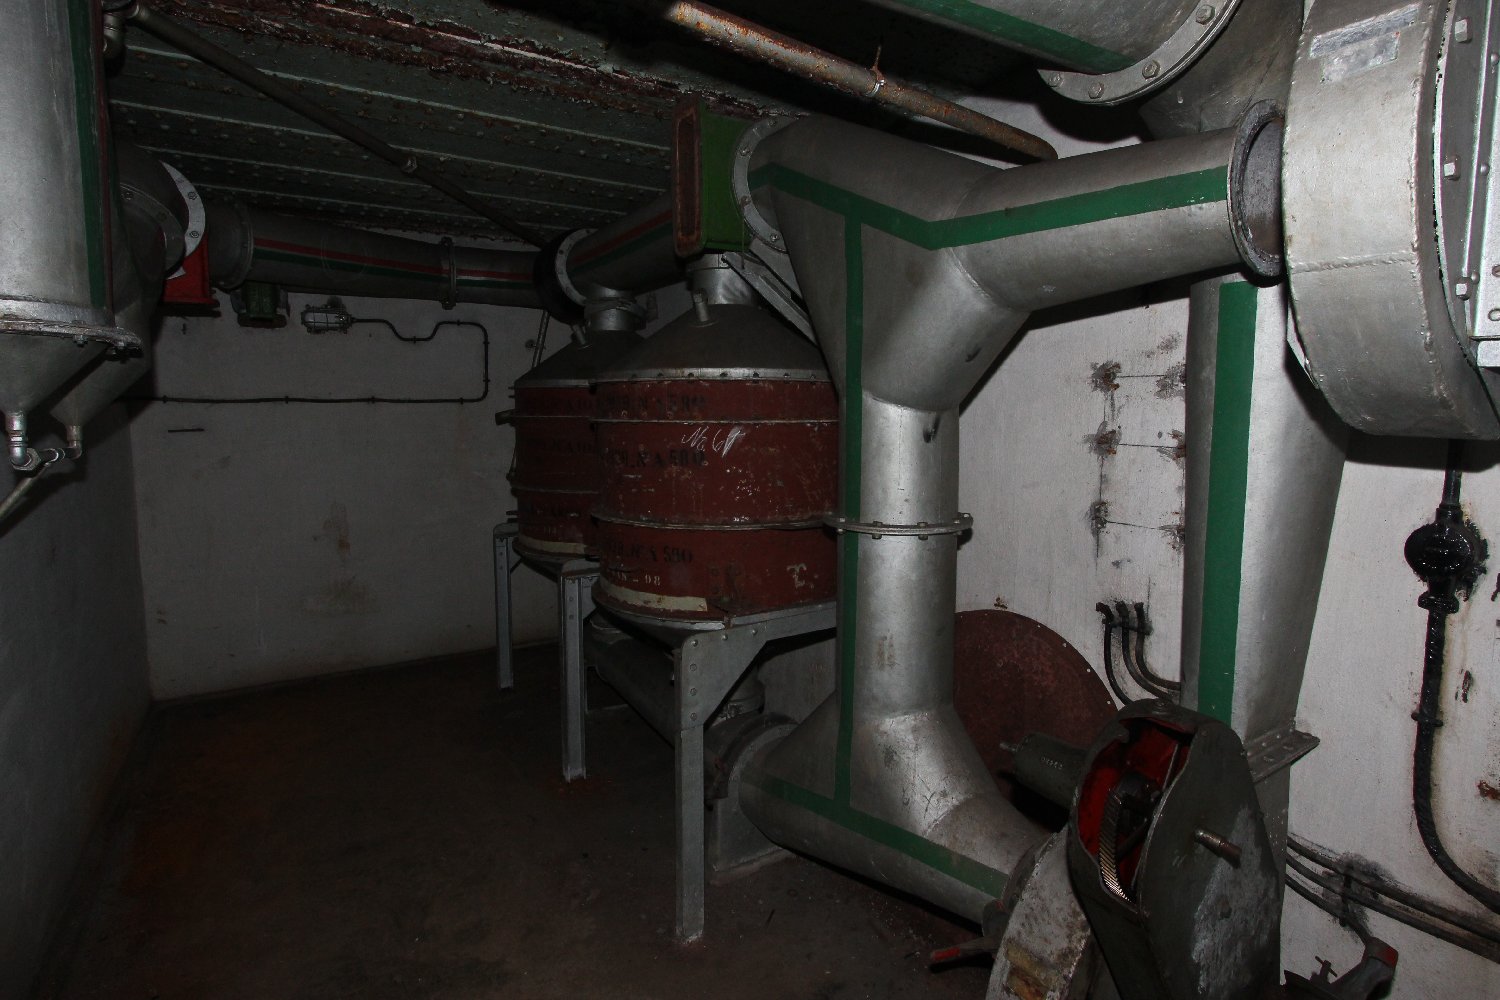
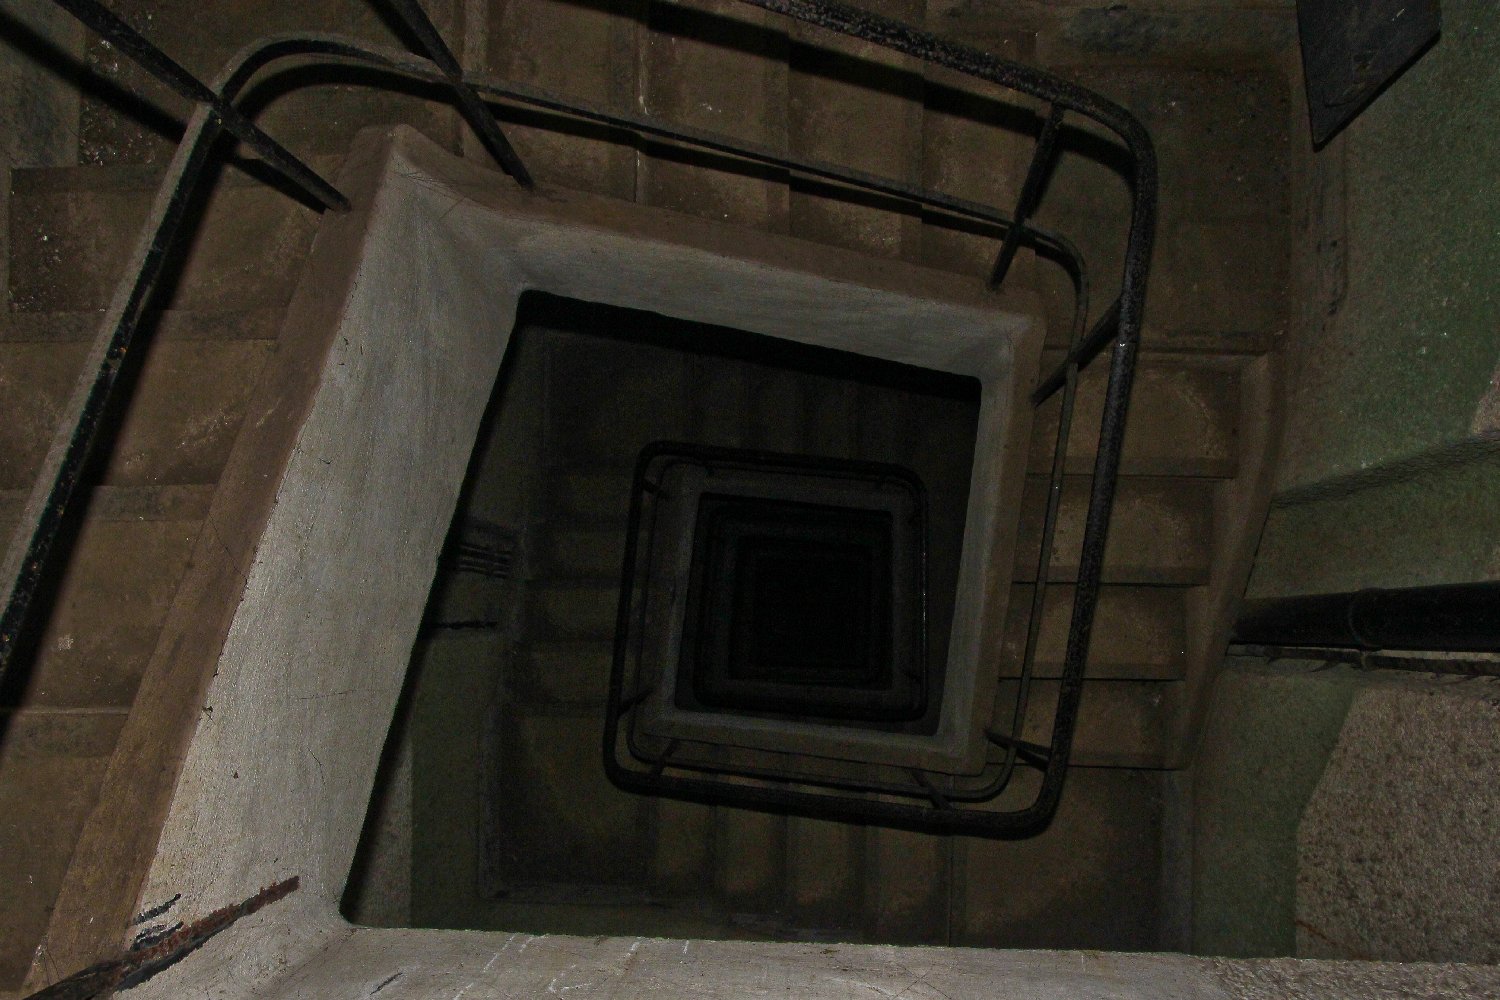
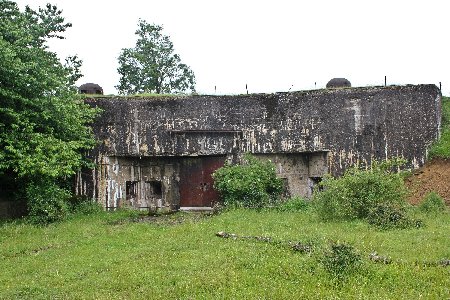
Welschhof was attacked by German forces during the Battle of France and was eventually forced to surrender after withstanding more than three days of heavy artillery bombardment by both light and heavy calibre artillery. The ouvrage was repaired, re-equipped and modified after the war, as indeed were most of Maginot Line forts, in order to present a serious obstacle to the passage of Soviet forces in the event of an invasion through Germany, but it was eventually abandoned in the 1970s when it was realised that little short of nuclear warfare could stop the Russians if they chose to attack. In 1939 the ouvrage was manned by 158 men and 3 officers from the 166th. Fortress Infantry Regiment, commanded by Captain Lhuisset. The nearby Casernement de Bining provided peace time barracks above ground together with support services for Welschhof and the other fortifications and positions in the immediate area. As with all Maginot Line ouvrages electrical power was provided by connection to the national grid above ground but in the event of a loss of power during battle two 85 horsepower SNIM diesel engine driven generators within the usine (power house) of the ouvrage delivered sufficient power to run the fort for as long as the fuel held out. Immediately to the south of the fort there remains a concrete building which housed the transformers to reduce the voltage of the grid down to that required by the fort. Welschhof comprises three combat blocks in very close proximity to each other. The blocks are linked underground by the usual gallery system but unlike the much larger "gros ouvrages" such as Latiremont for example, there was no underground railway. Barracks, a kitchen, workshops and a fully equipped hospital are all located close to the first fighting block of the ouvrage, and there is an ammunition magazine some distance along the gallery which was constructed at an average depth of 18 metres, somewhat shallower than the other forts we have visited in the Line to date.
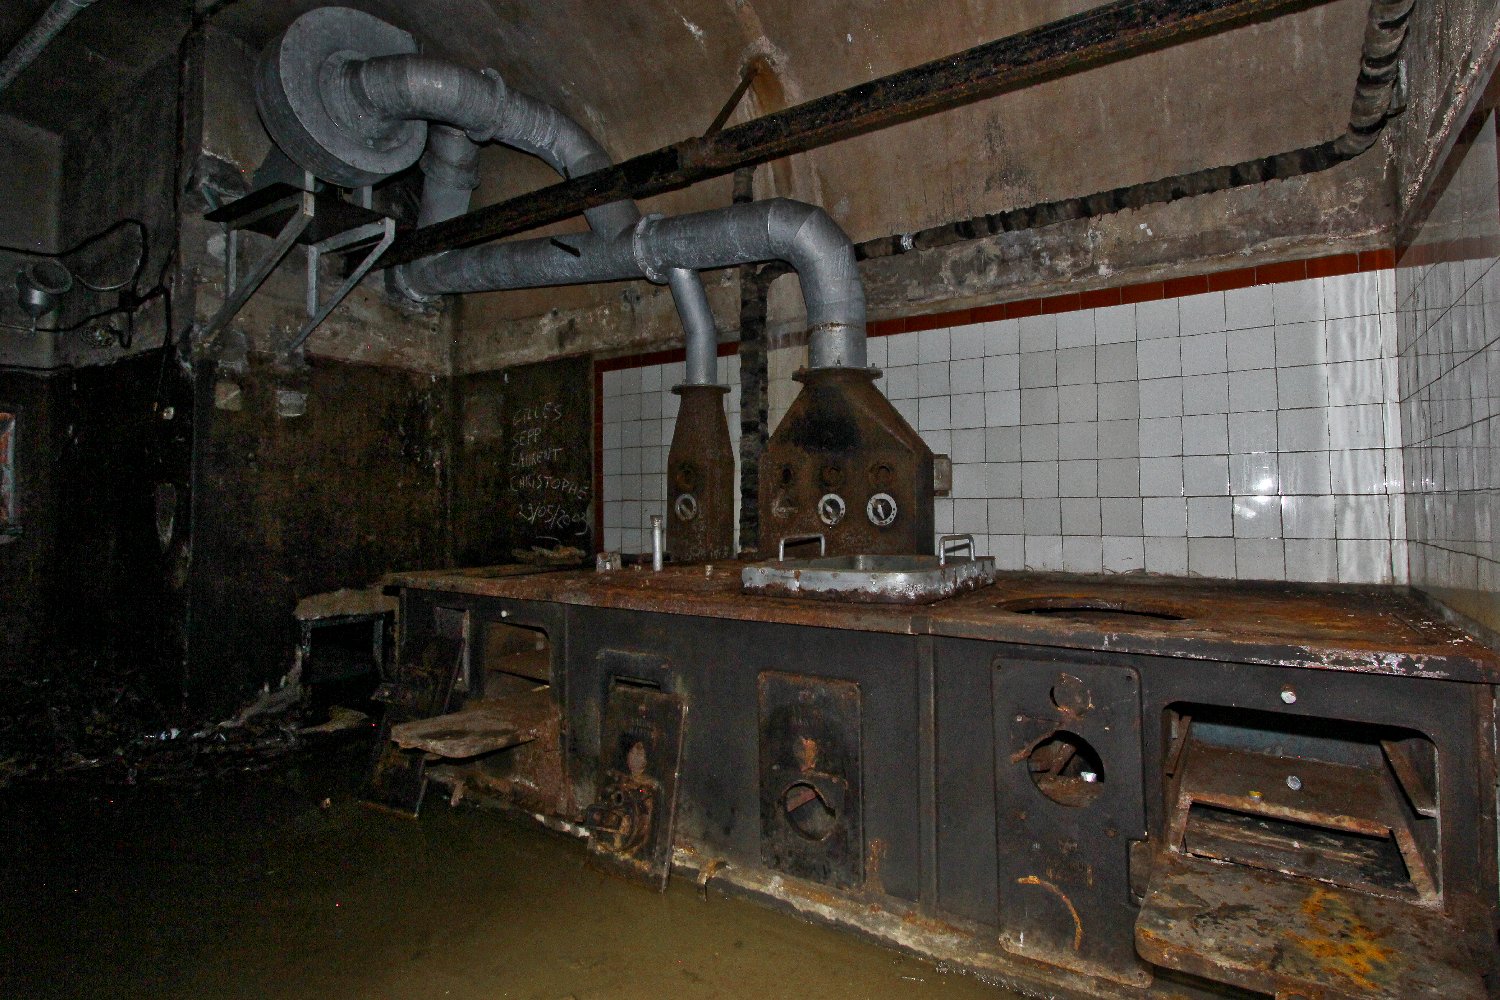
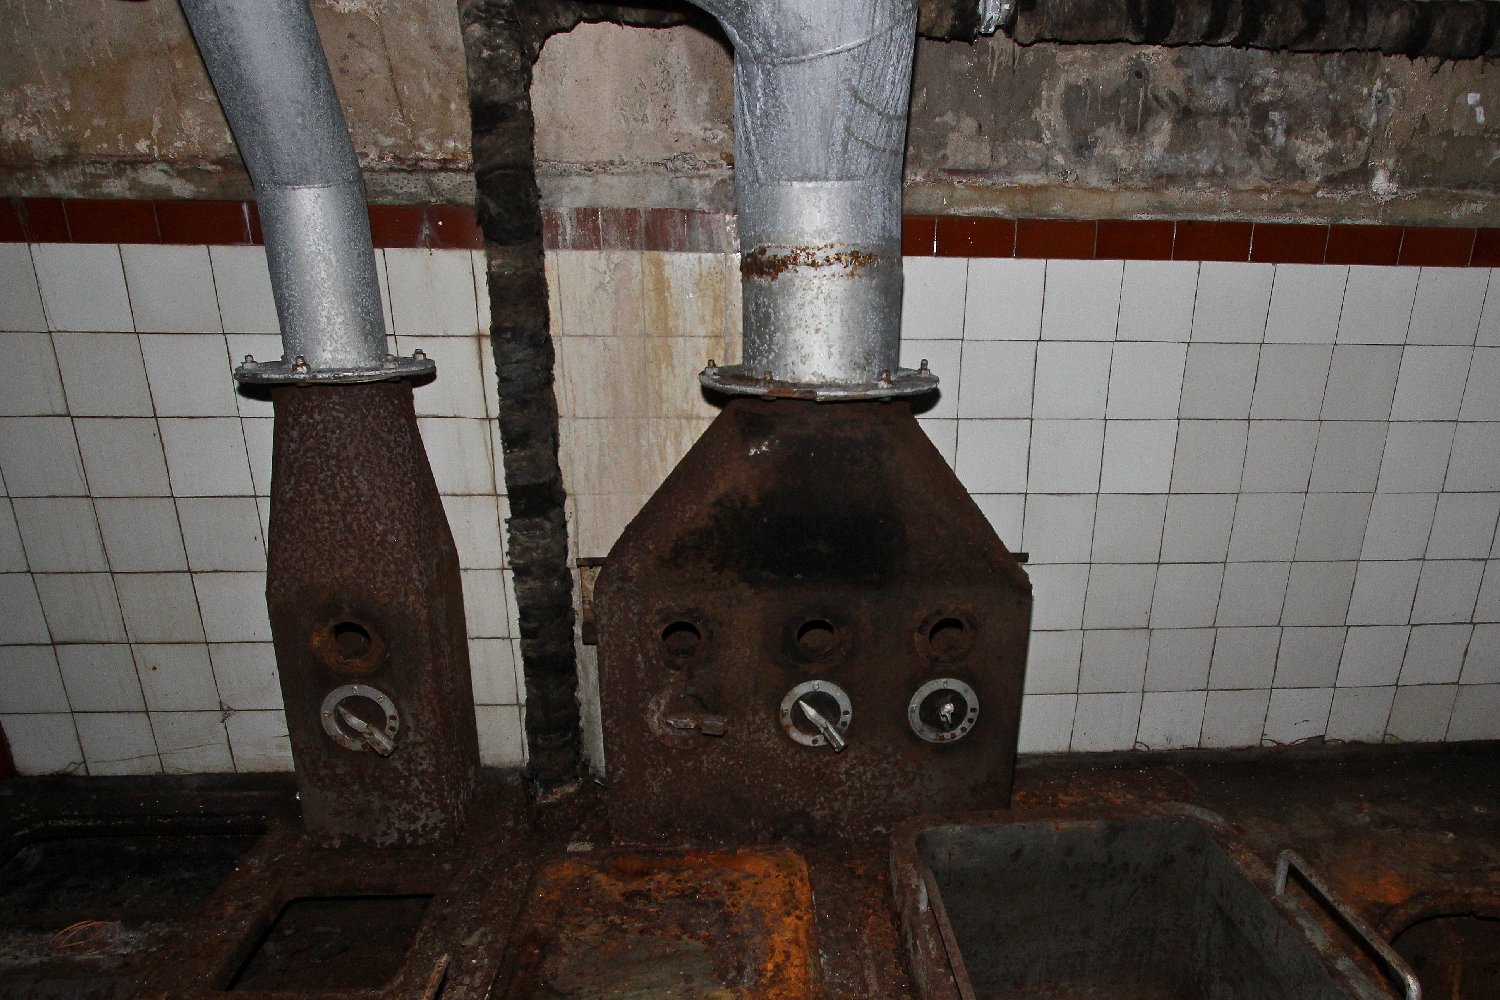
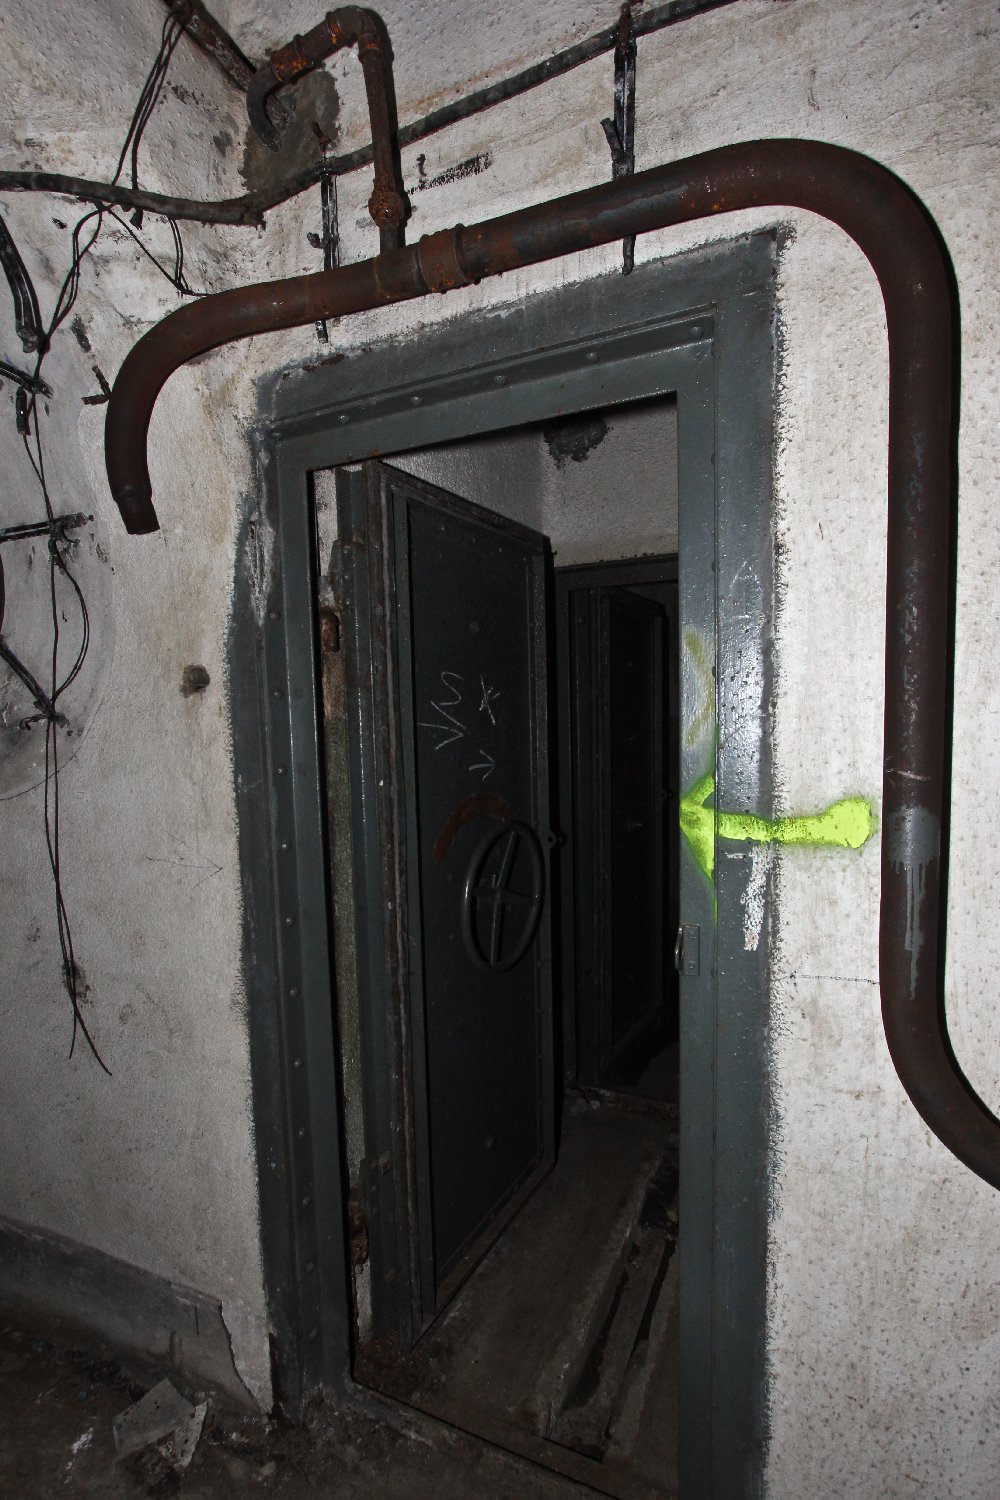
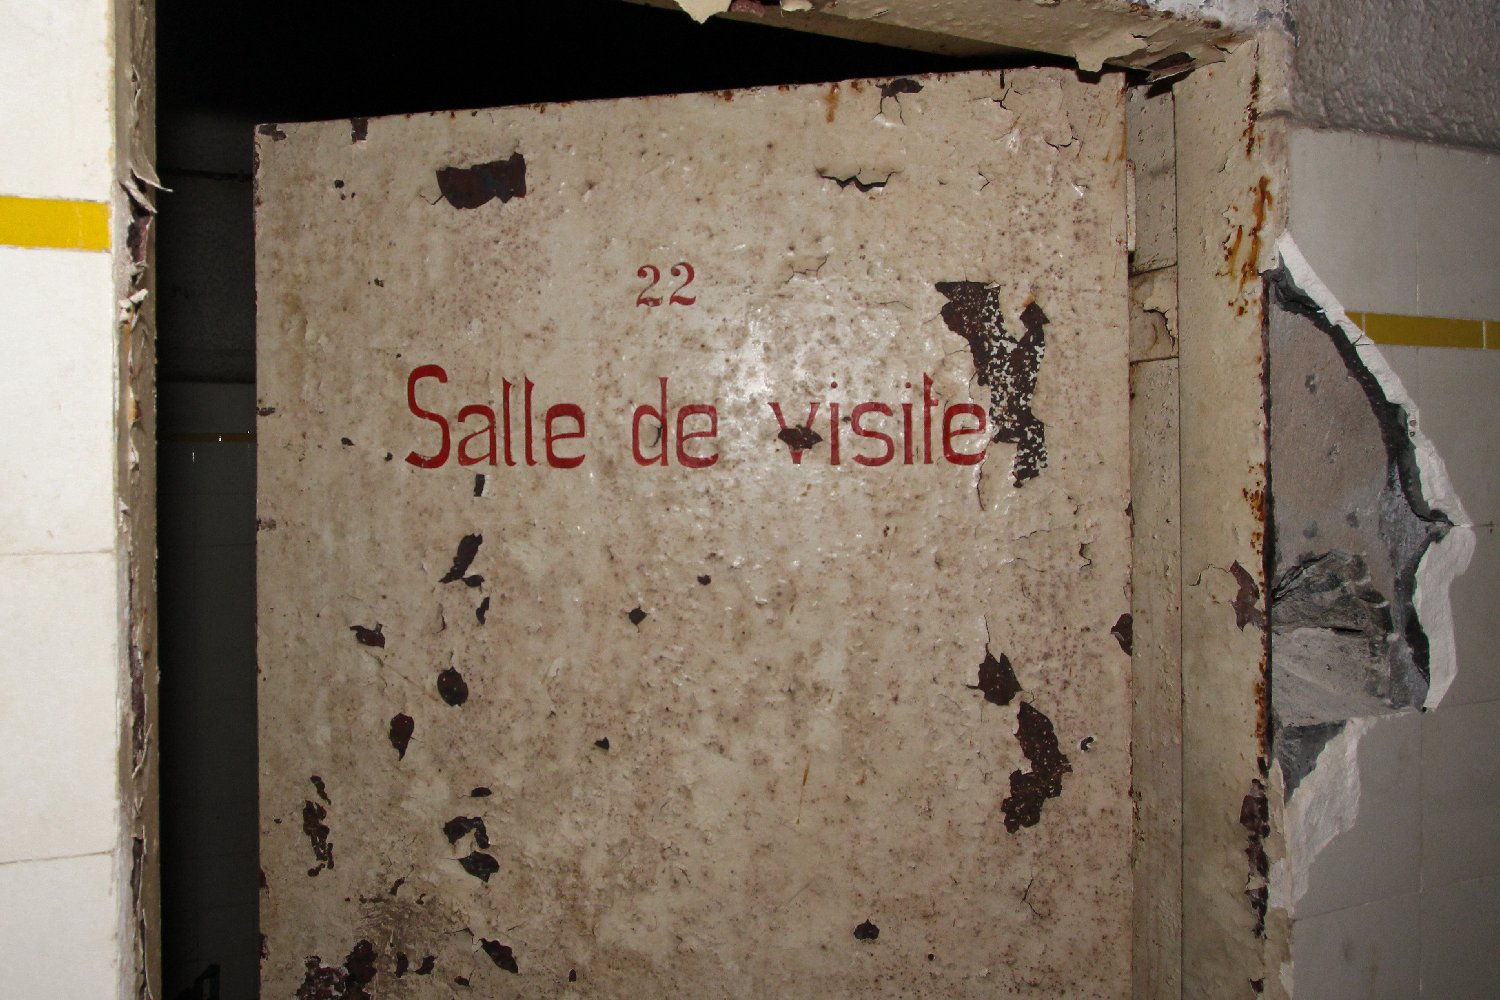
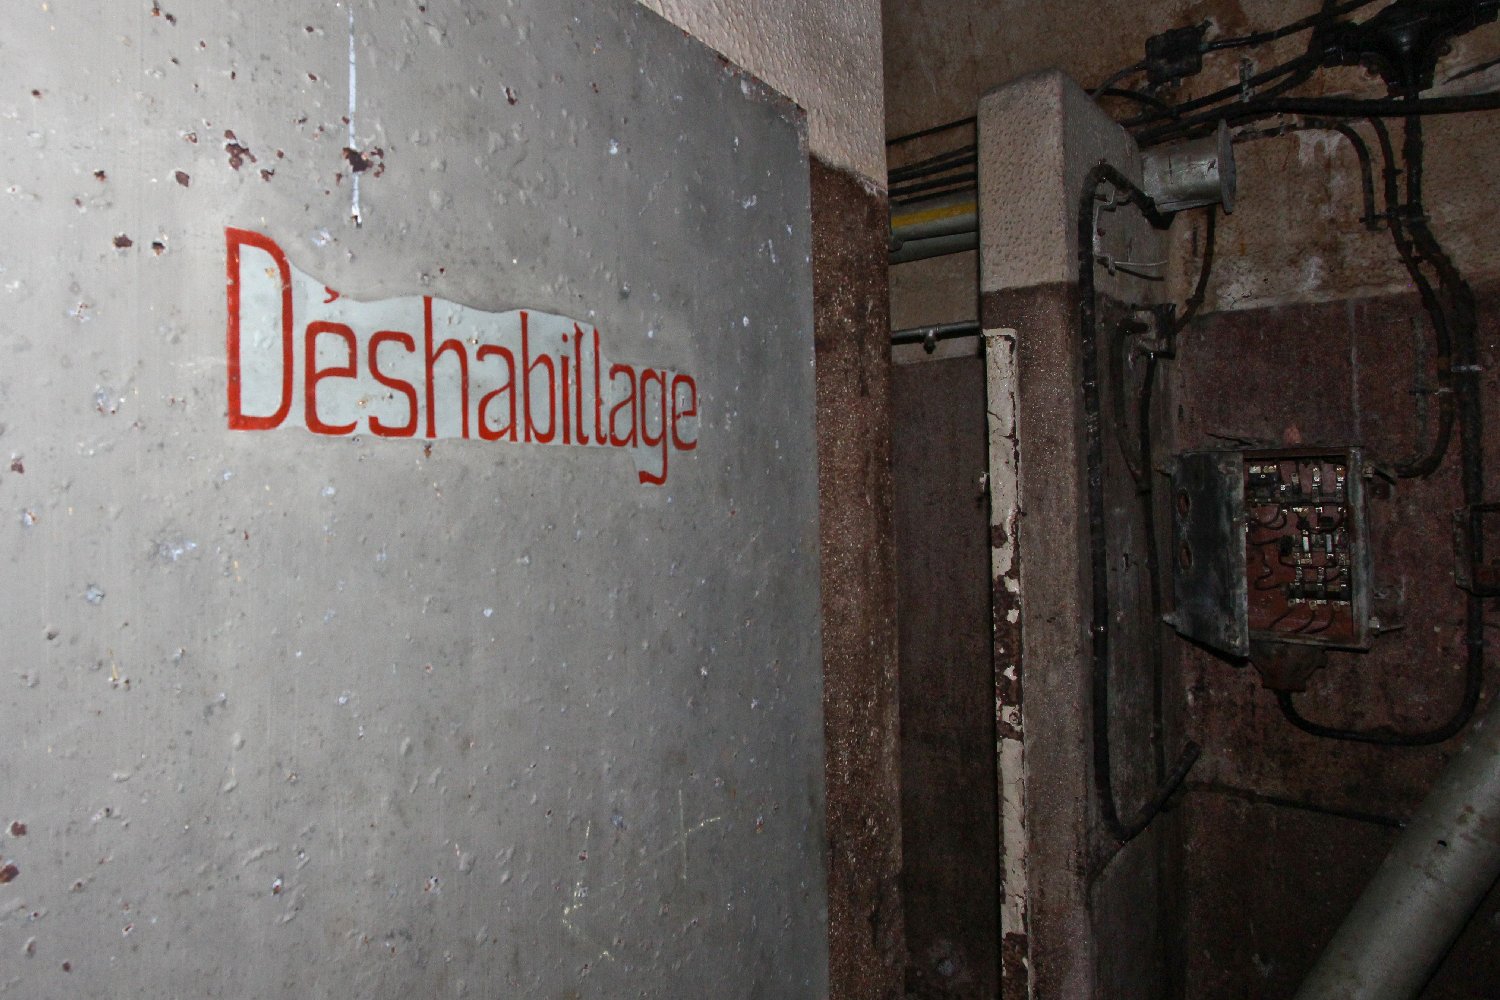
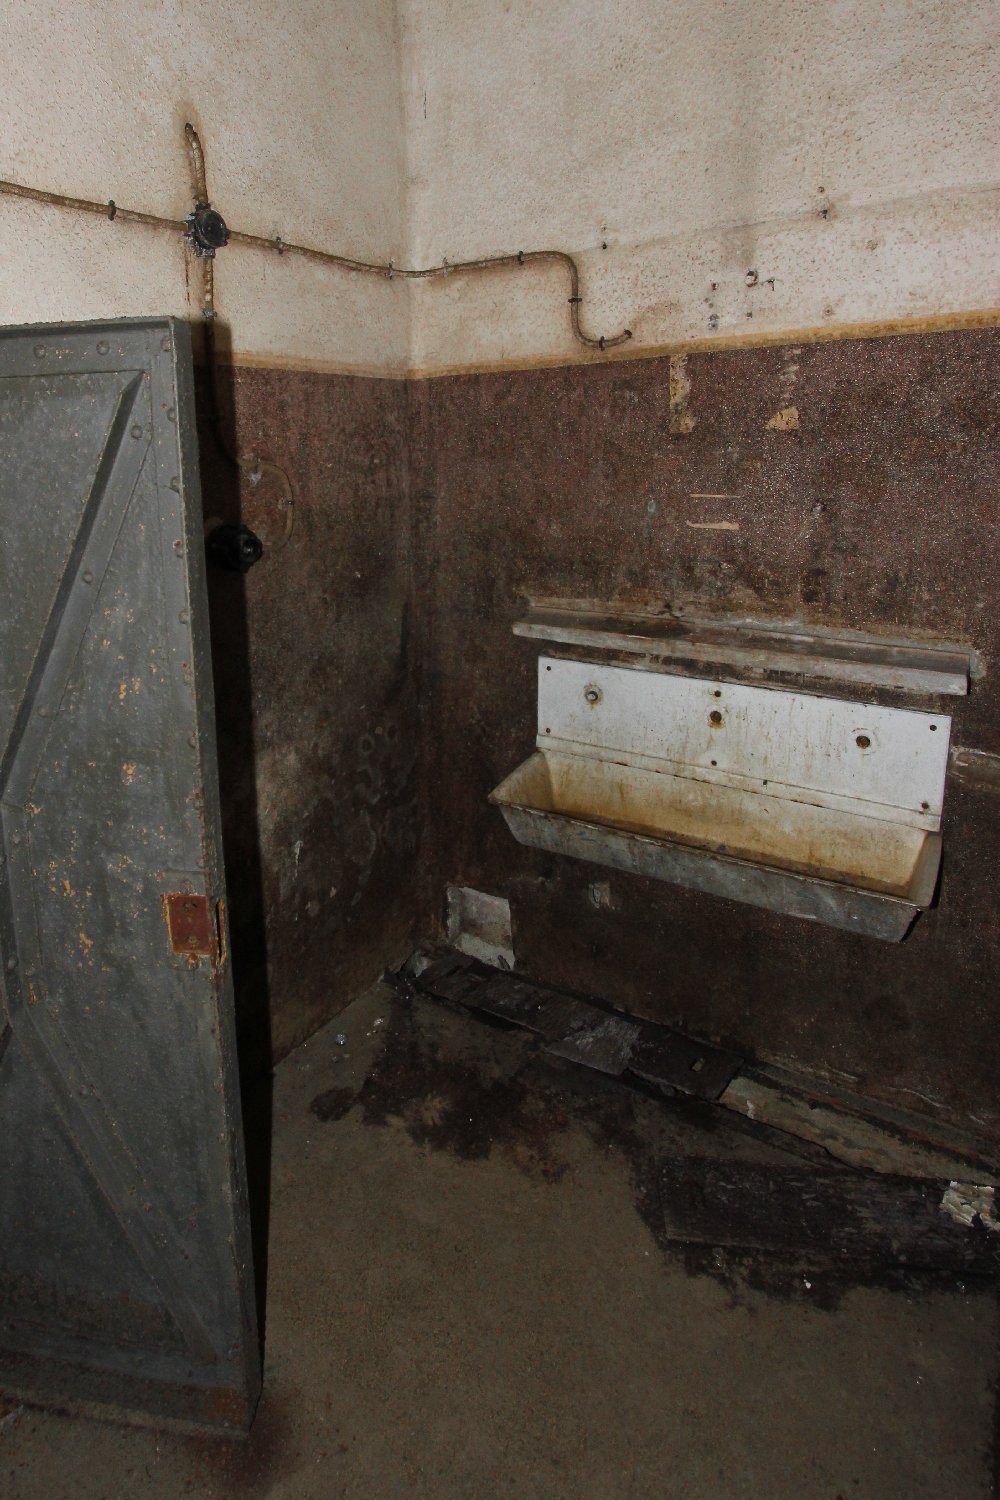
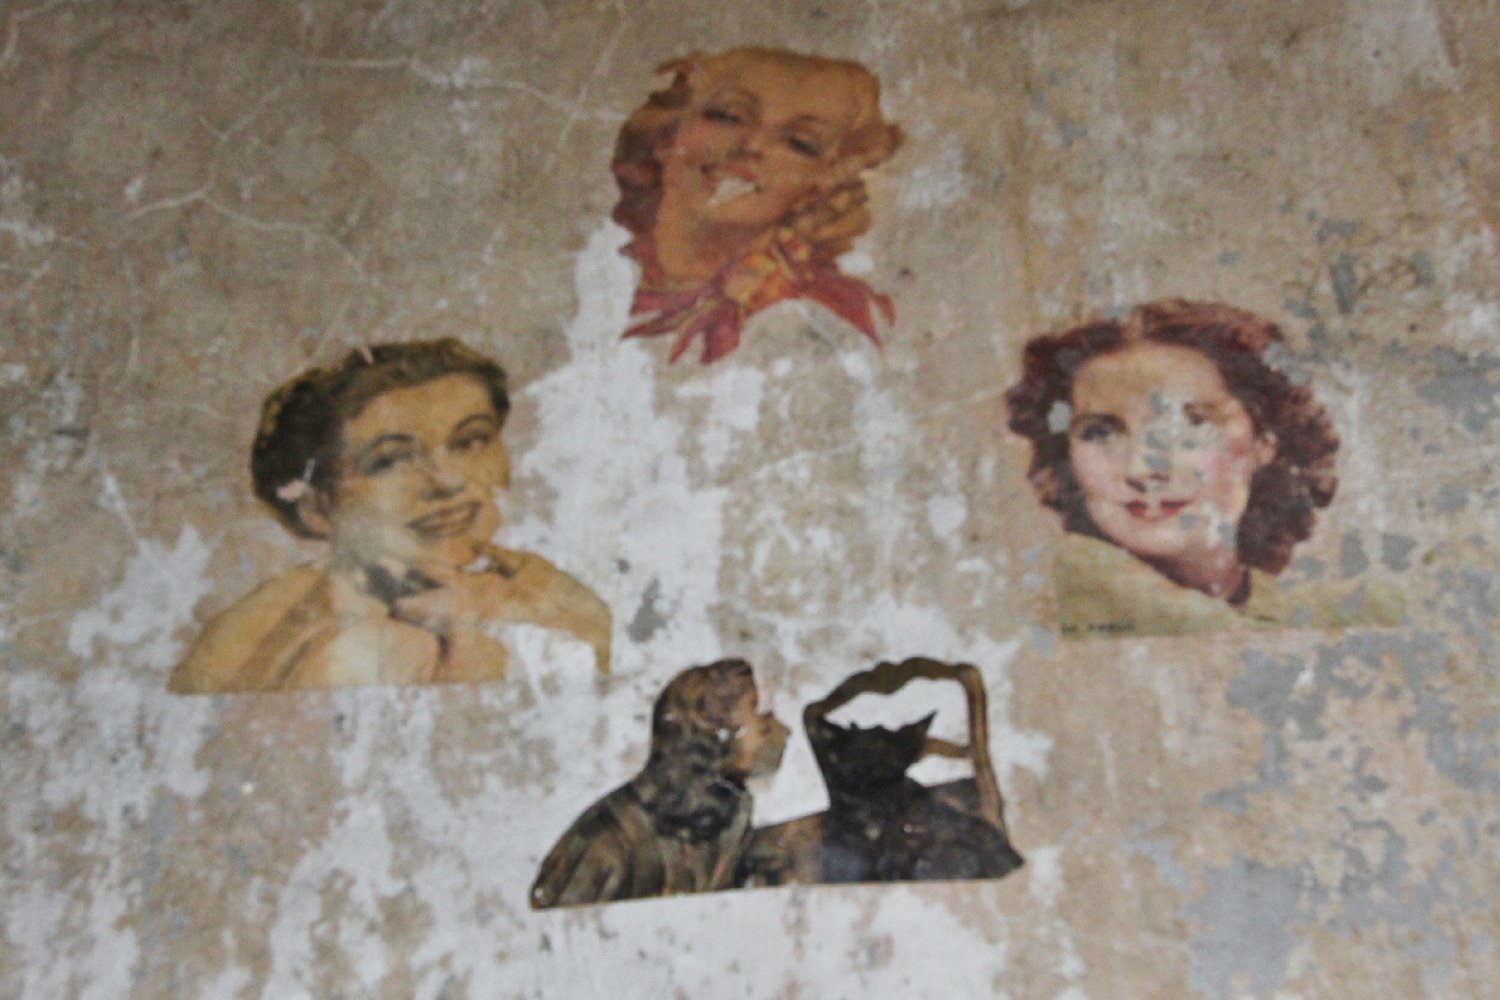
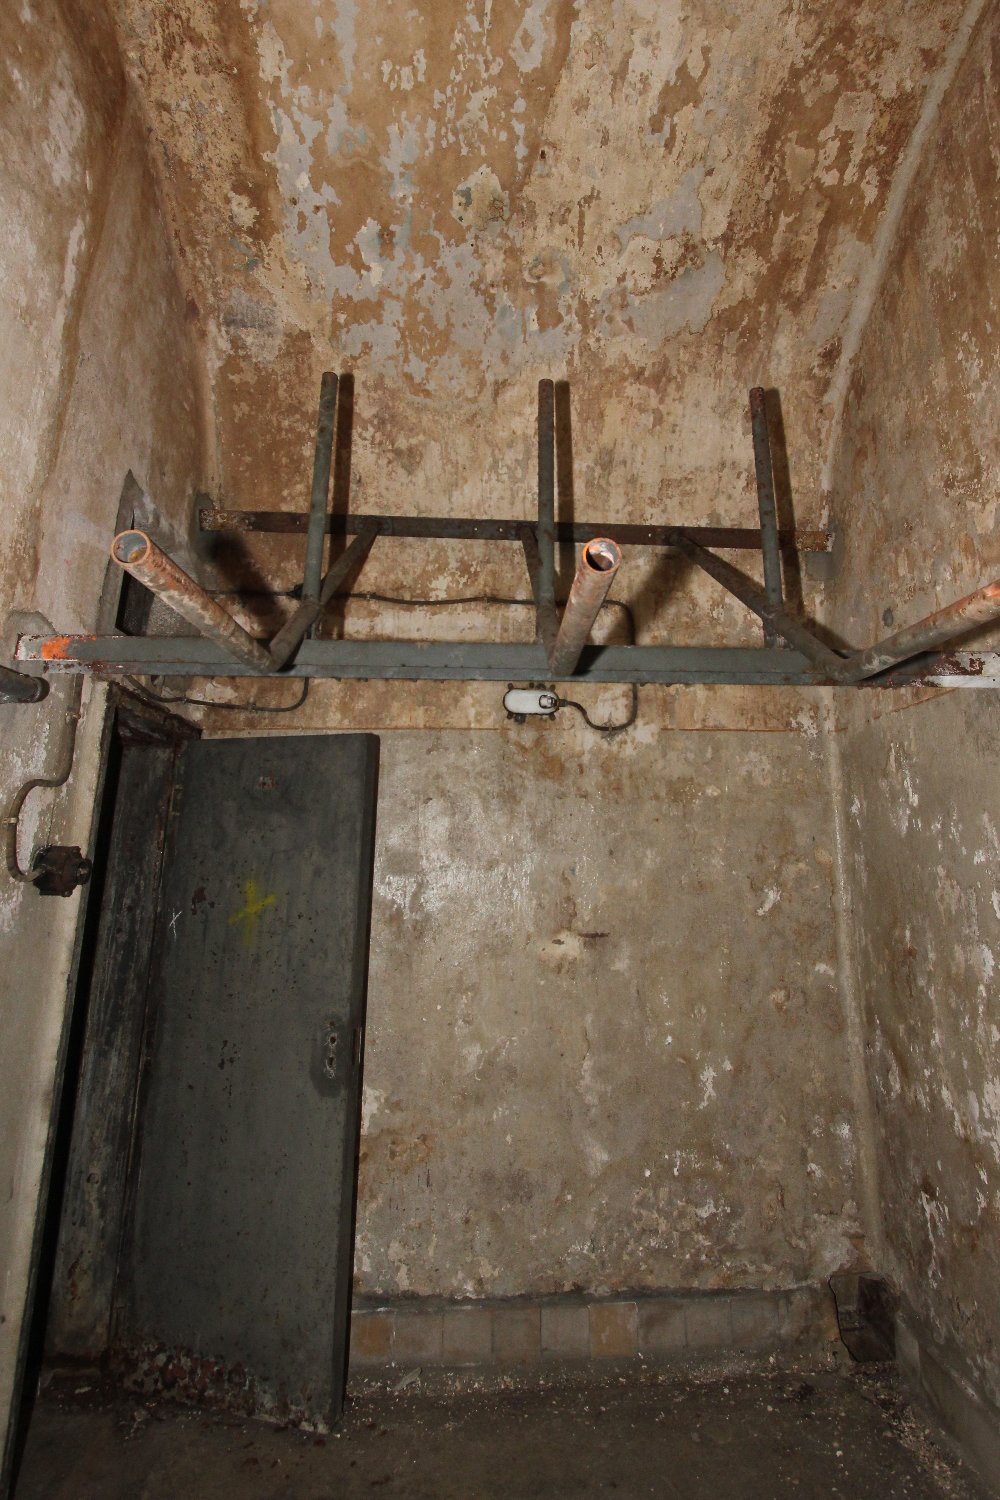
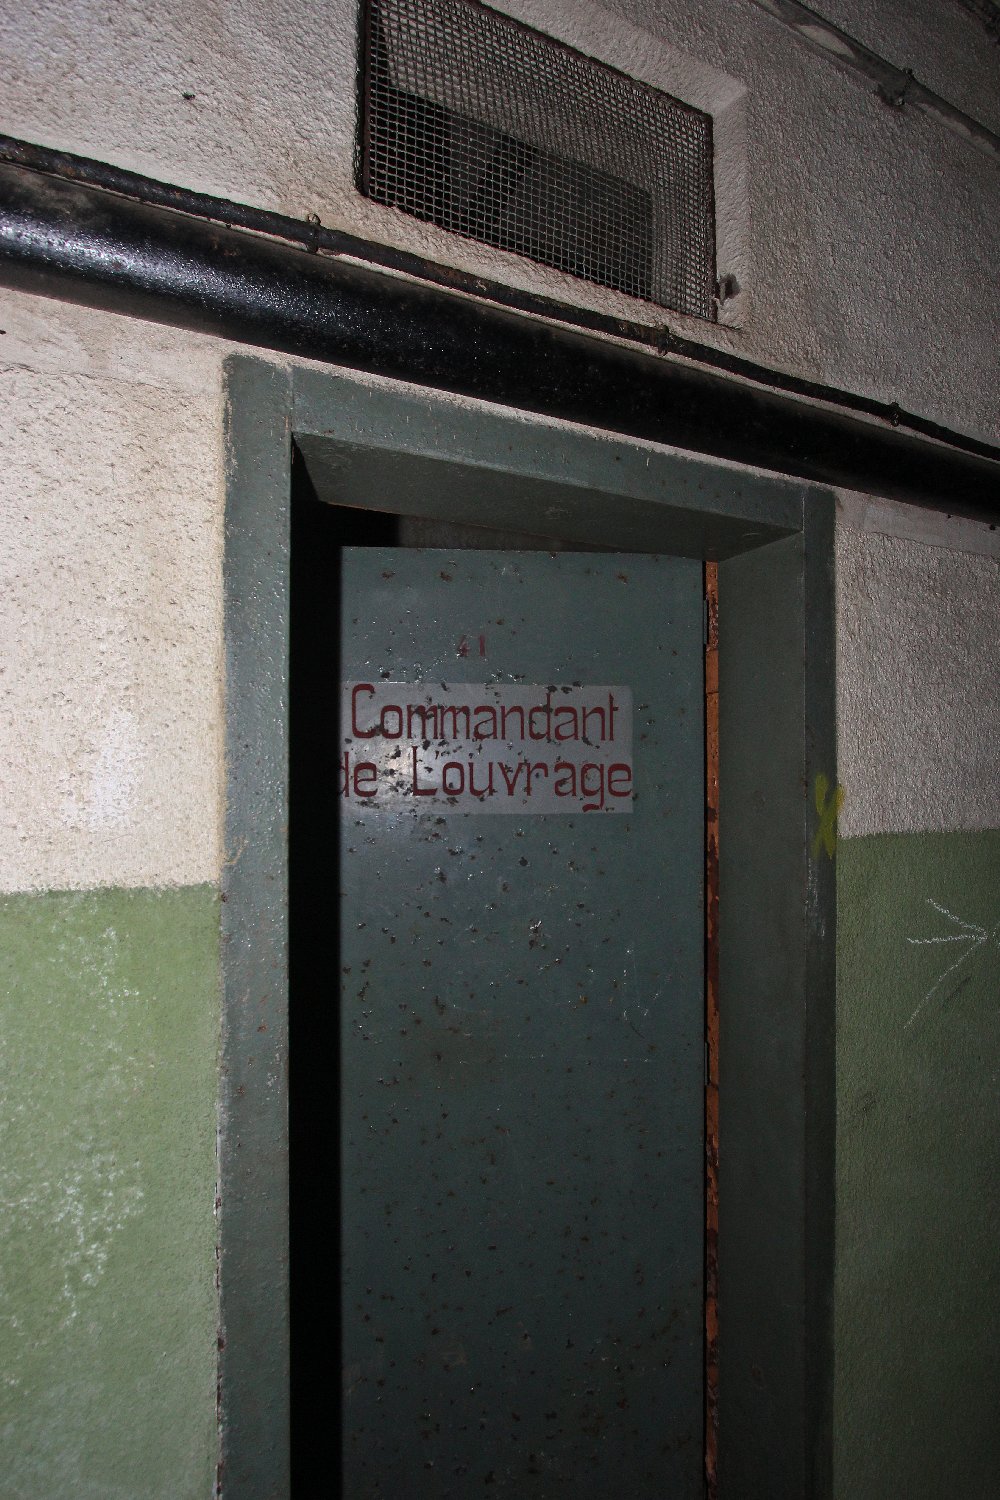
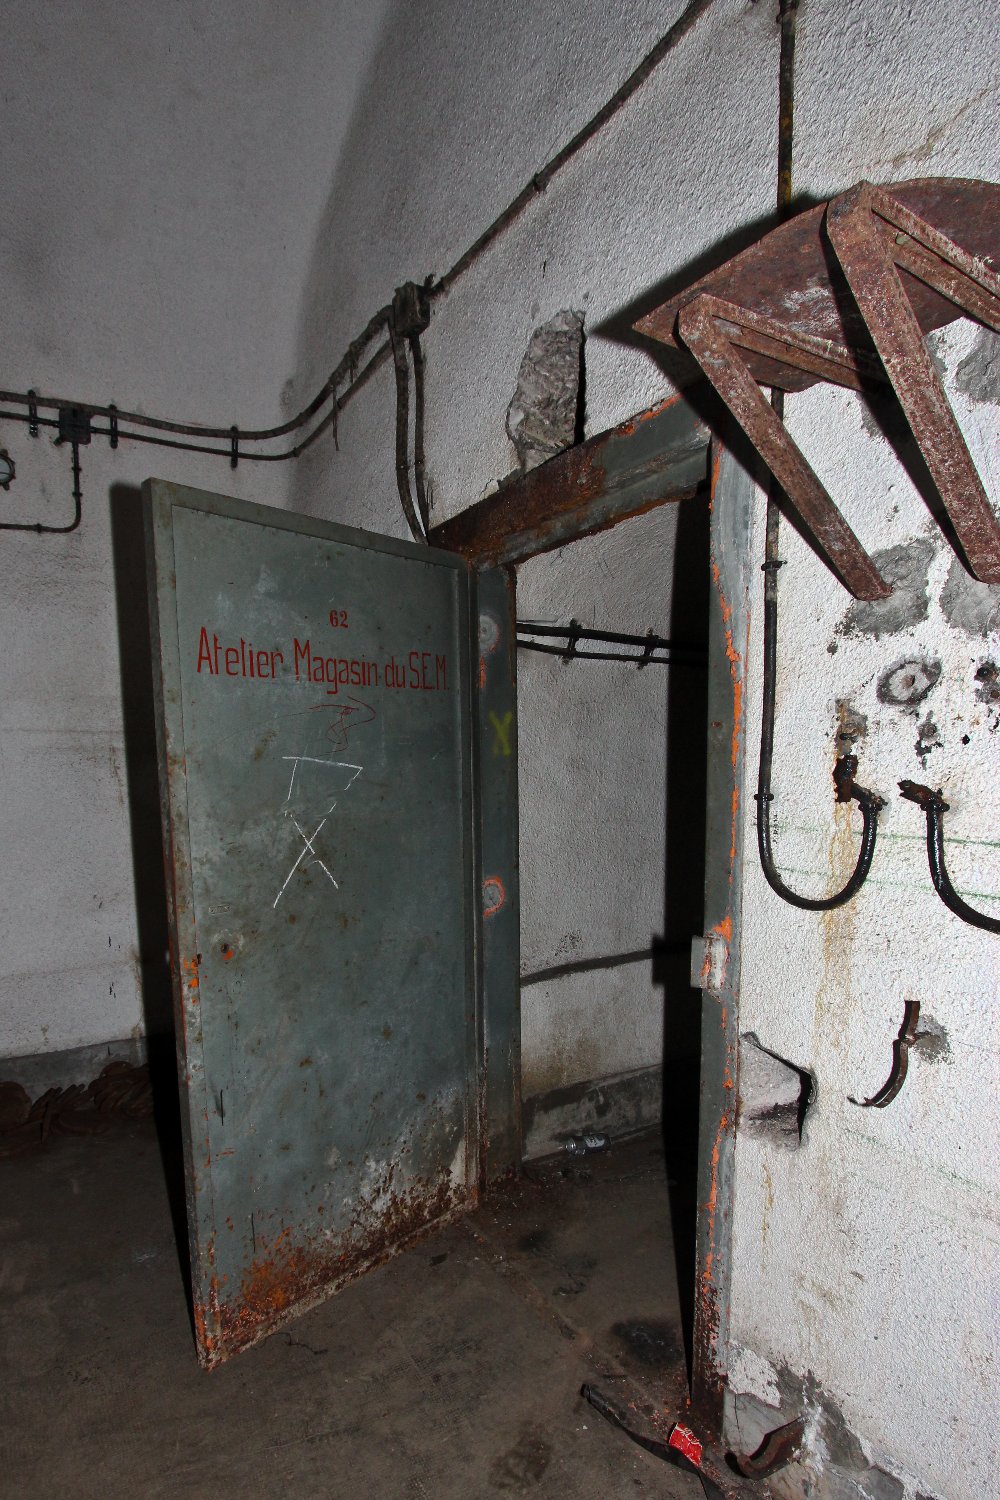
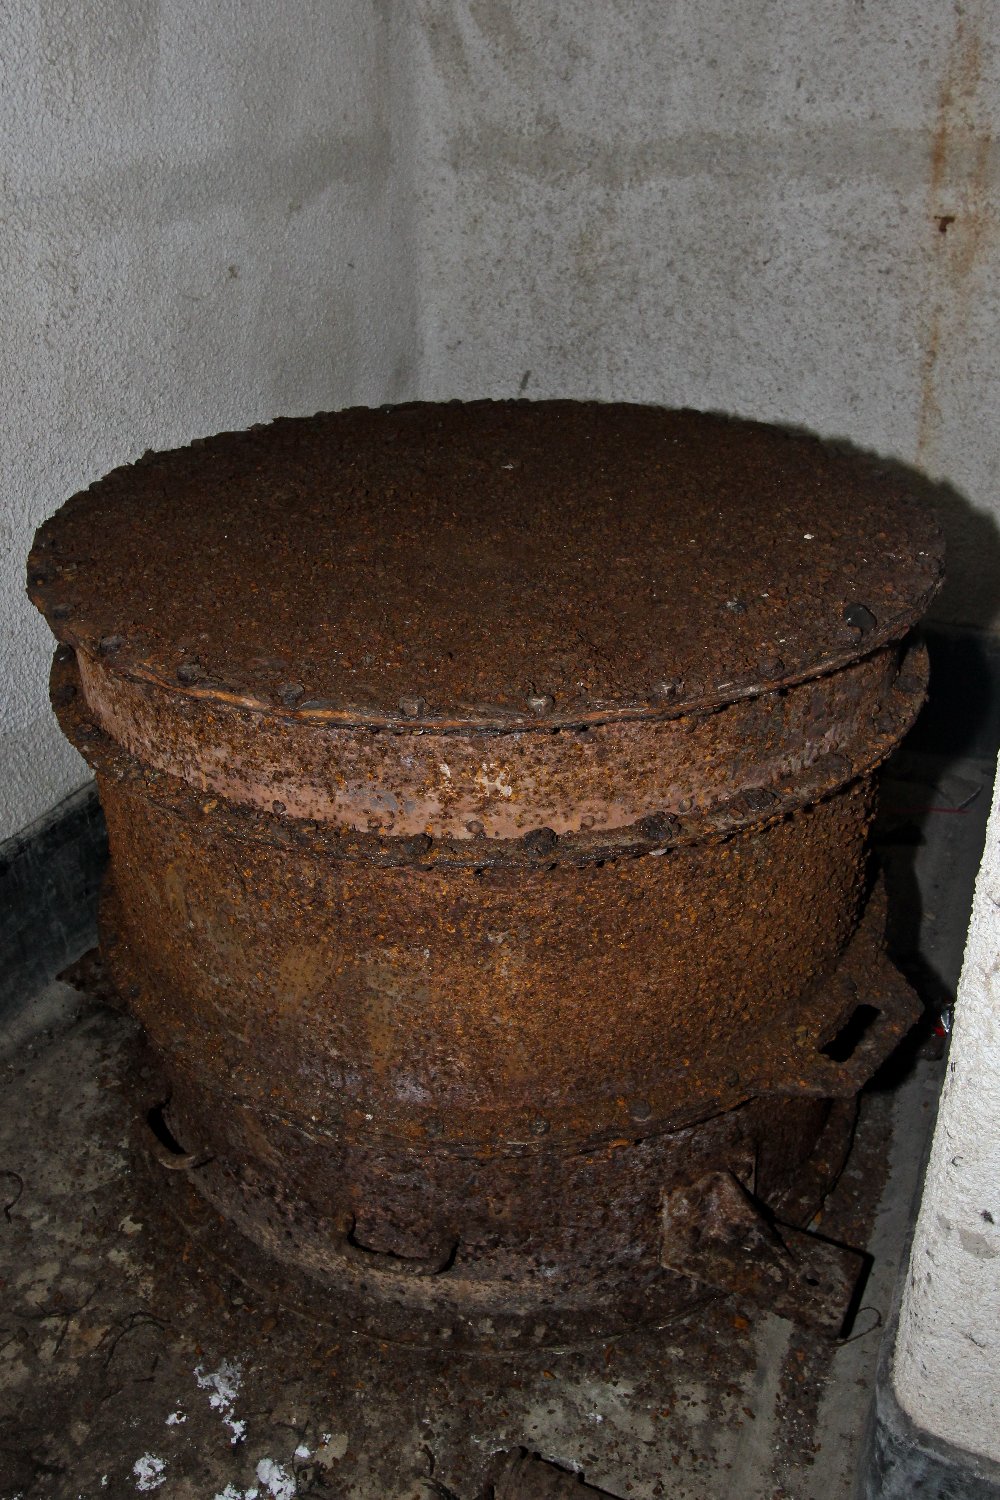
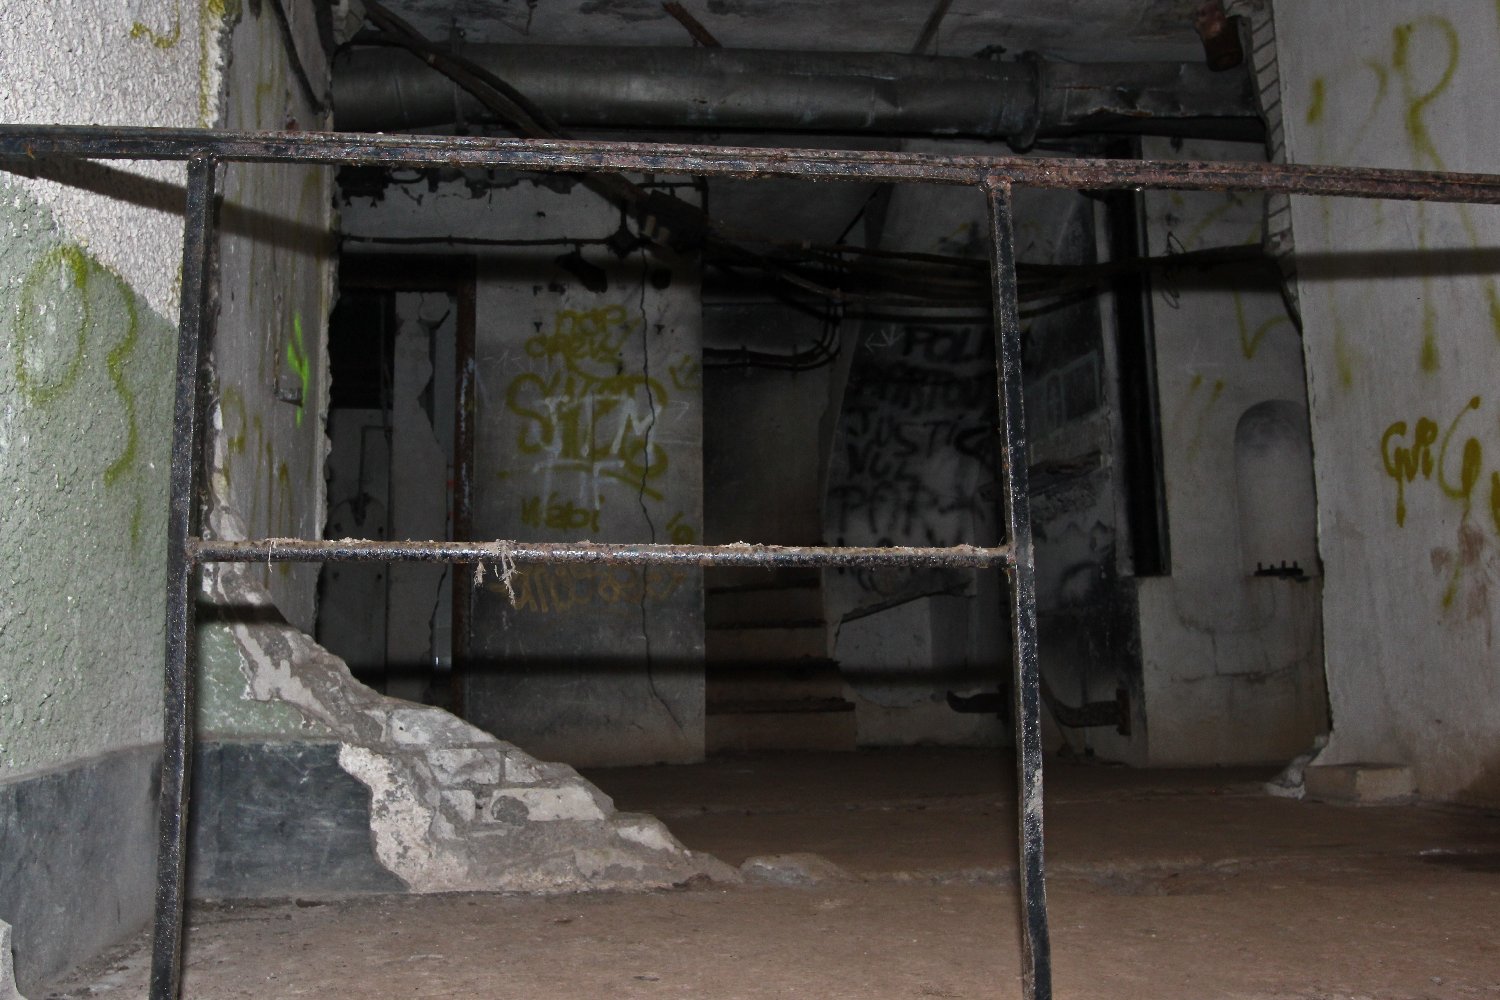
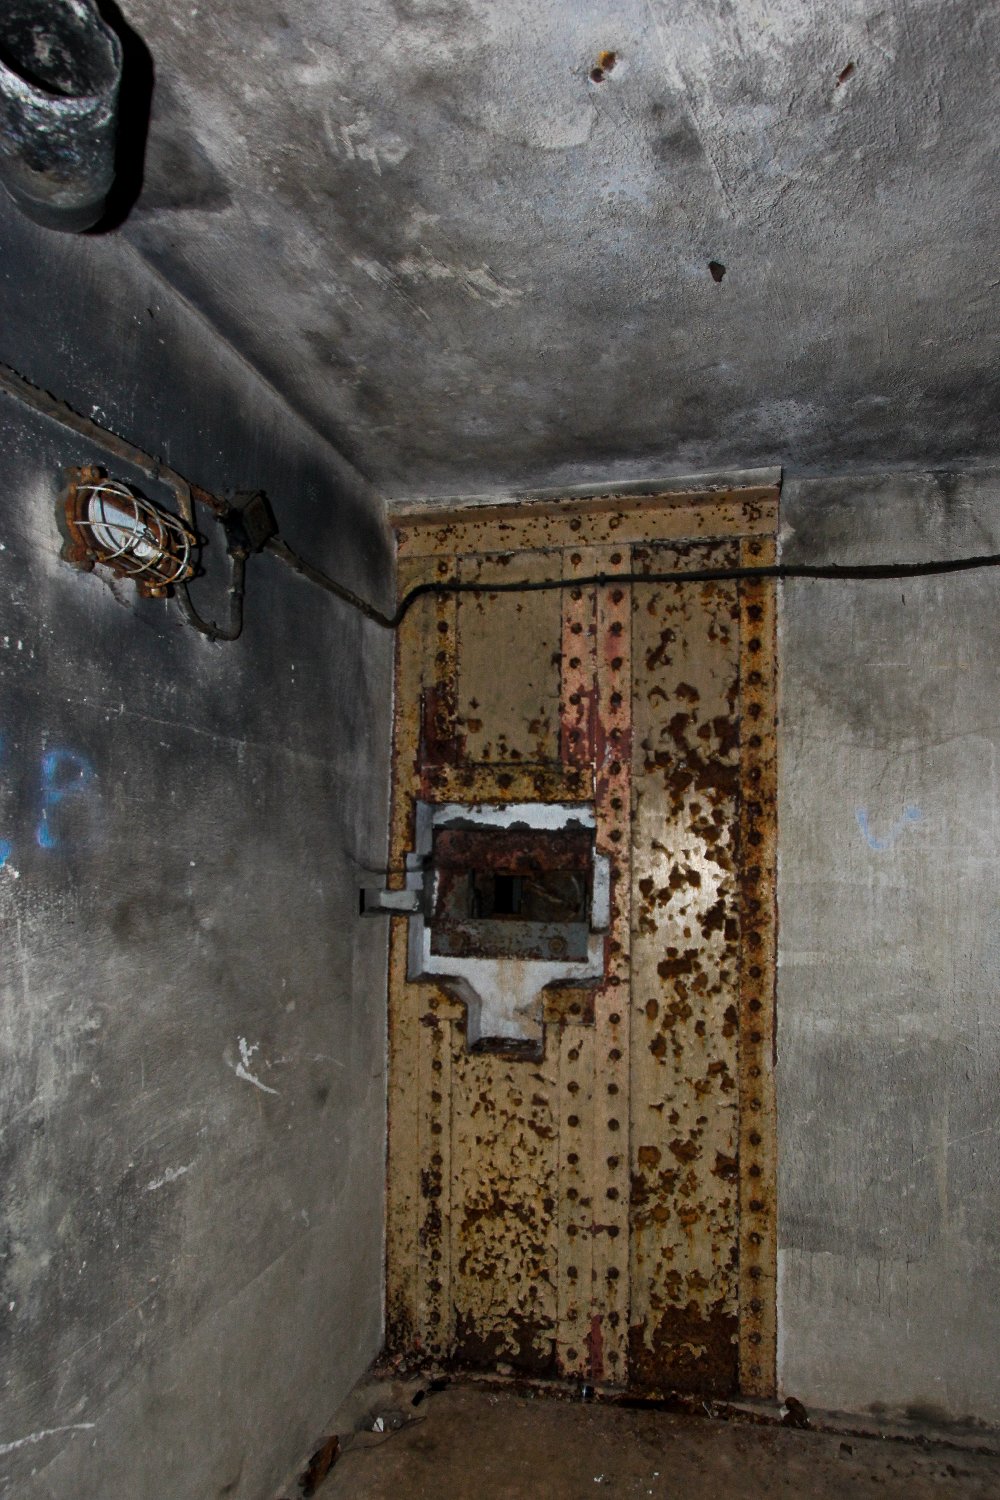
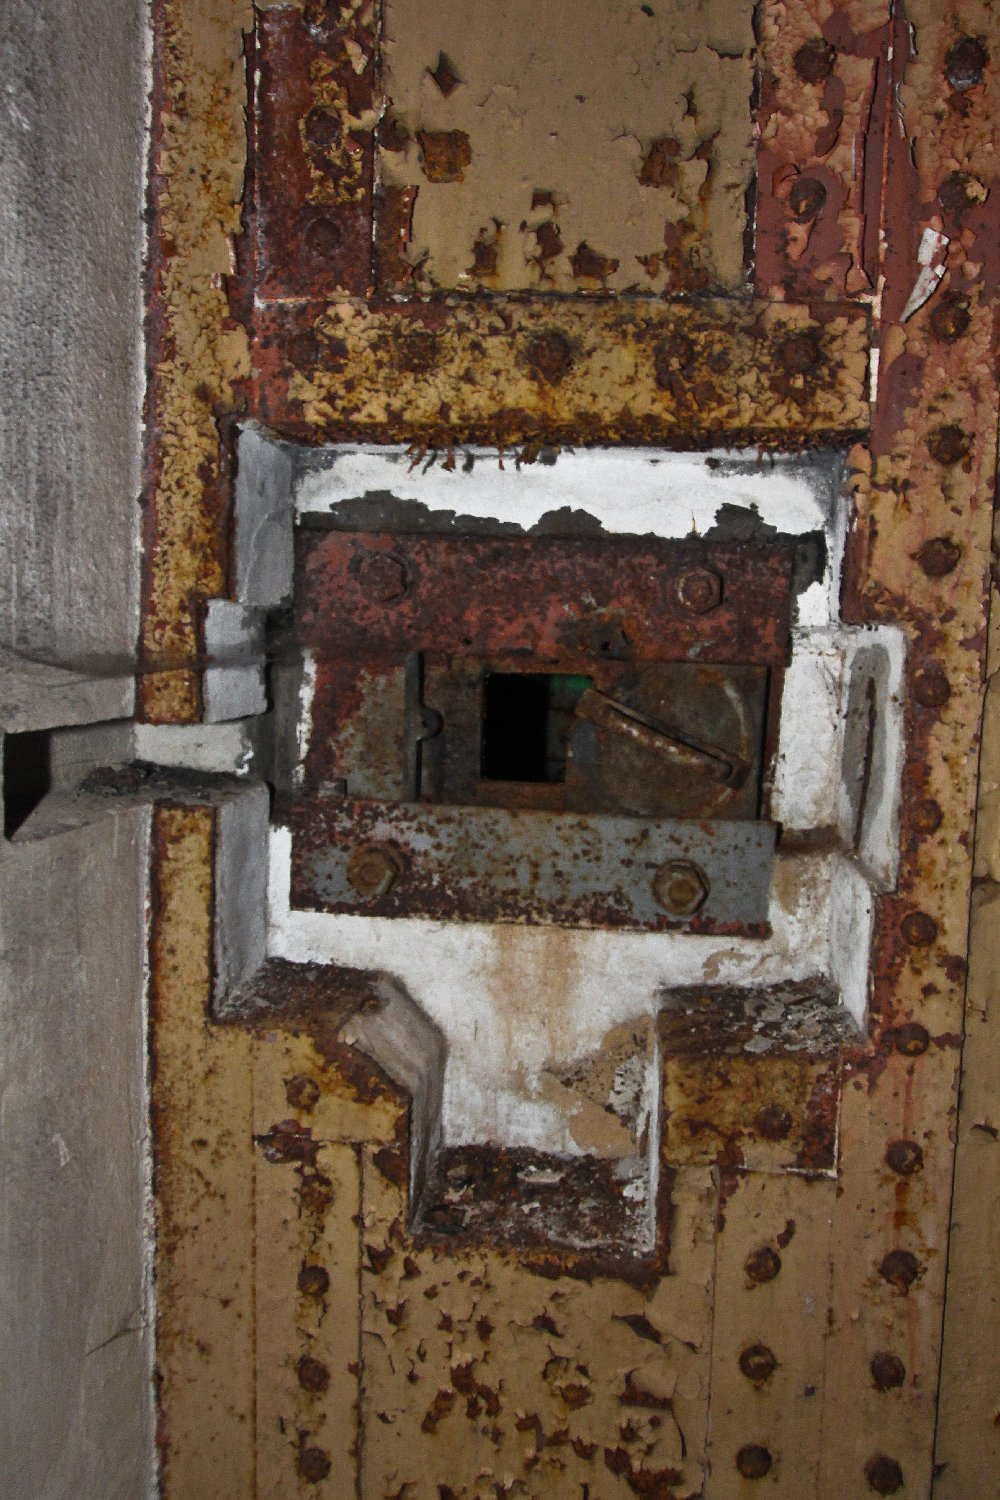
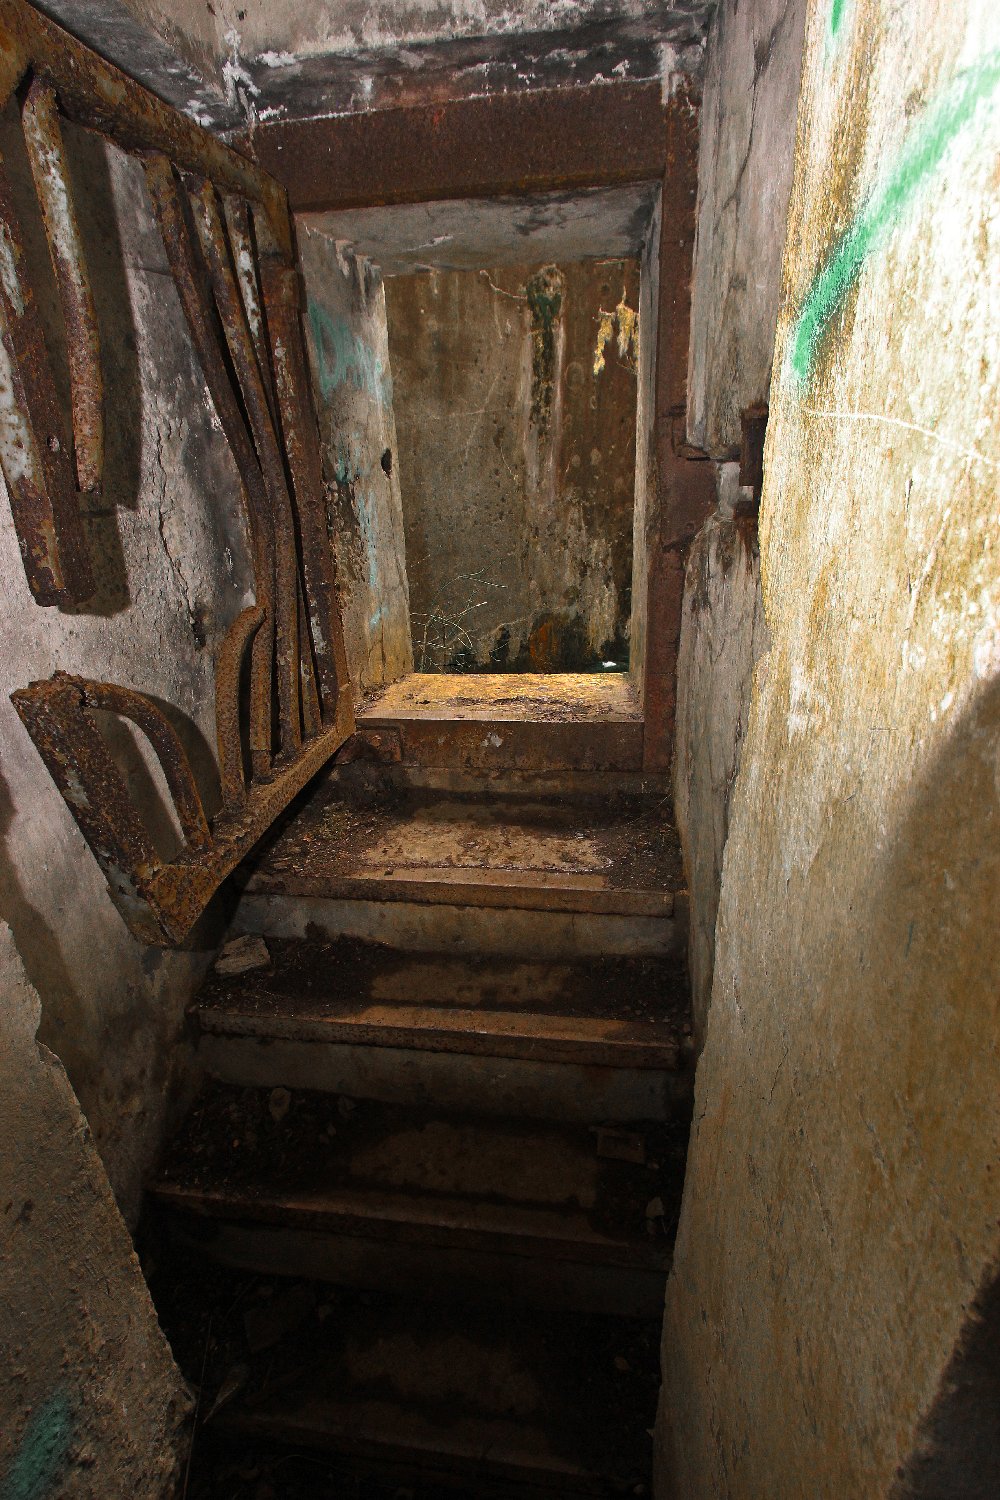
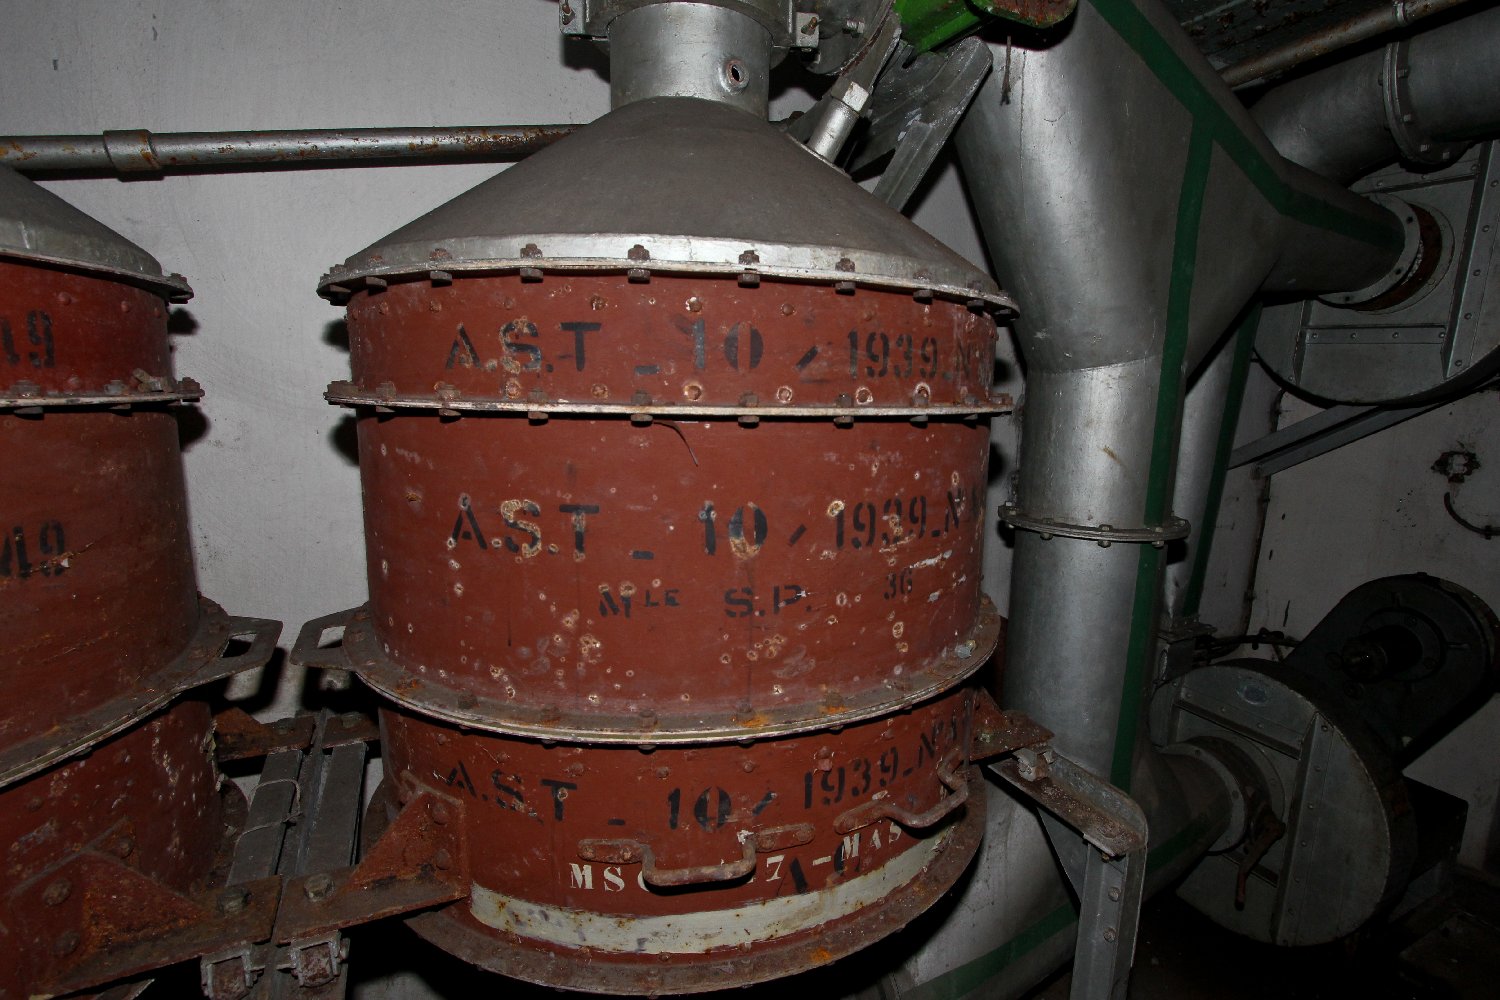
On the 21st. June, 1940, the Wehrmacht's 262nd. Infantry Division attacked Welschhof from the south but it was stopped dead in its tracks by the Welschof garrison together with formidable 75mm artillery support from Gros Ouvrage Simserhof's double turret to the east. Welschof's artillery observers provided fire control for Ouvrage Haut-Poirier which was engaged in counter-battery fire against a German 150 mm gun. During the night of 21st./22nd. June, Ouvrage Haut-Poirier and Casemates Wittring, Grand-Bois and Nord-Est d'Achen, all surrendered to the Germans. During the morning of the 22nd. June, the Germans turned their attention to Welschof which was no longer covered by the positions to the west, however Gros Ouvrage Simserhof to the east continued to offer support with its 75mm turret. The Germans released two 150 mm guns from the attack on the entrance to Simserhof, and began to attack Welschof's Block 1 together with the Casemate Ouest de Singling. One hundred and eleven 150 mm rounds were fired at Block 1, eventually breaching it, but continued support fire from Simserhof prevented the German infantry from storming the ouvrage entrance. Two days later on the morning of 24th. June, Simmserhof was no longer able to support Welschof, and having learned of the fall of the Casemate de Bining, which protected Welschhof's flank, Captain Lhuisset decided to surrender. The fort did not see action again during the Second World War, unlike some of its counterparts, even when the Americans reached the area in December 1944. The reason for this was because the Germans never occupied the fort unlike so many of the others in the Line. In 1951 repair and conversion work began on Welschhof, which in conjunction with its immediate neighbours was designated the môle de Bitche, (the Bitche fortified strongpoint), however with the creation of the French nuclear strike force, the importance of the Line declined and Welschhof was amongst the first of the forts to be deactivated in 1970. Petite Ouvrage Welschof today is still in extremely good condition when compared to the other Maginot Line ouvrages we have visited so far - in fact it is possibly the best preserved and the driest of any we have seen. Sadly though metal thieves are stripping out wiring and souvenir hunters are removing light switches and fittings. The diesel engines remain within the usine and the range is still in place in the kitchen. Unusually too, many of the original door markings are still perfectly legible. Access was relatively easy and we were soon in the usine where we were suitably impressed by the ouvrage name set into the tiles high upon the wall above the generator engines. A short way along the corridor into the accommodation area we found the kitchen and the hospital together with the commander's room.
|
CLICK ABOVE to return
to our urb-ex site main page...
 The
Maginot Line, named after the French
The
Maginot Line, named after the French
 Petite
Ouvrage
Welschof
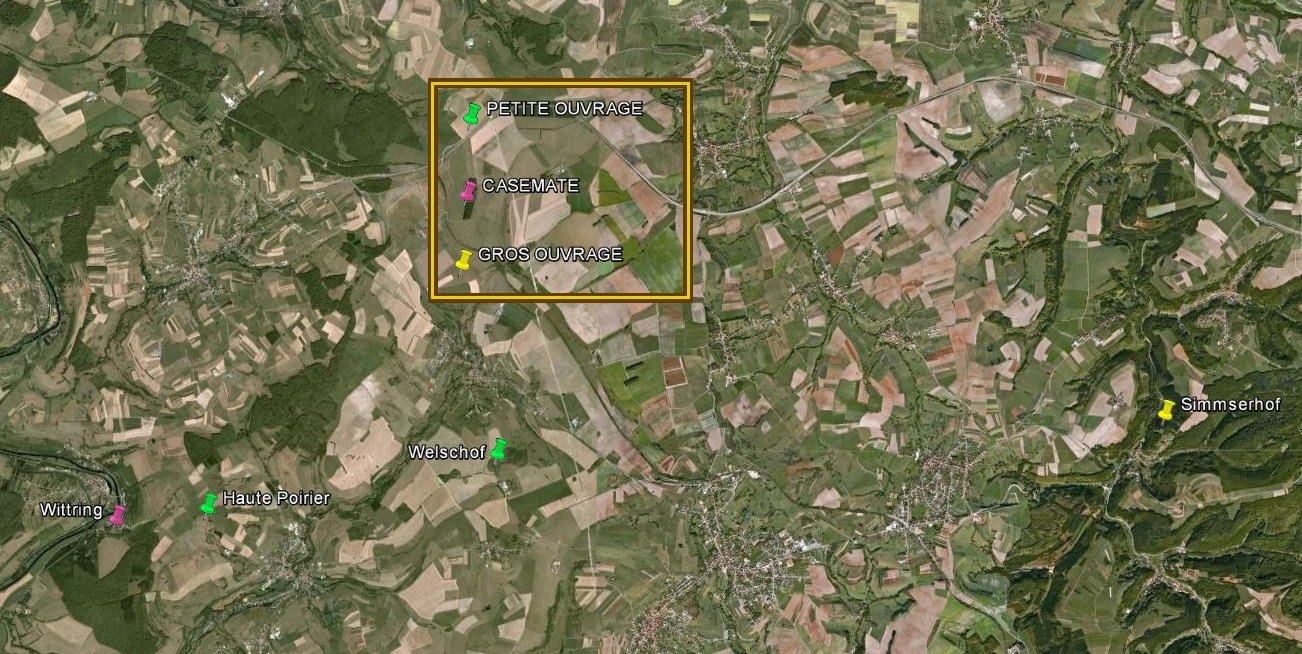
is located on high ground very close to the village of Gros-Réderching in
the Moselle department of
Petite
Ouvrage
Welschof
is located on high ground very close to the village of Gros-Réderching in
the Moselle department of