I have already covered the highly flawed thinking behind the construction of the Maginot Line fortifications in some depth however if you are new to our Line reports you may wish to read this rather more in depth explanation of the Line's raison d'etre first on our Gros Ouvrage Latiremont page, linked here  - RIGHT .

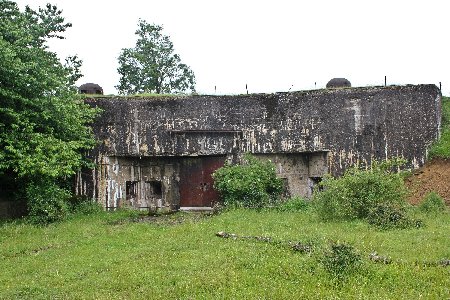
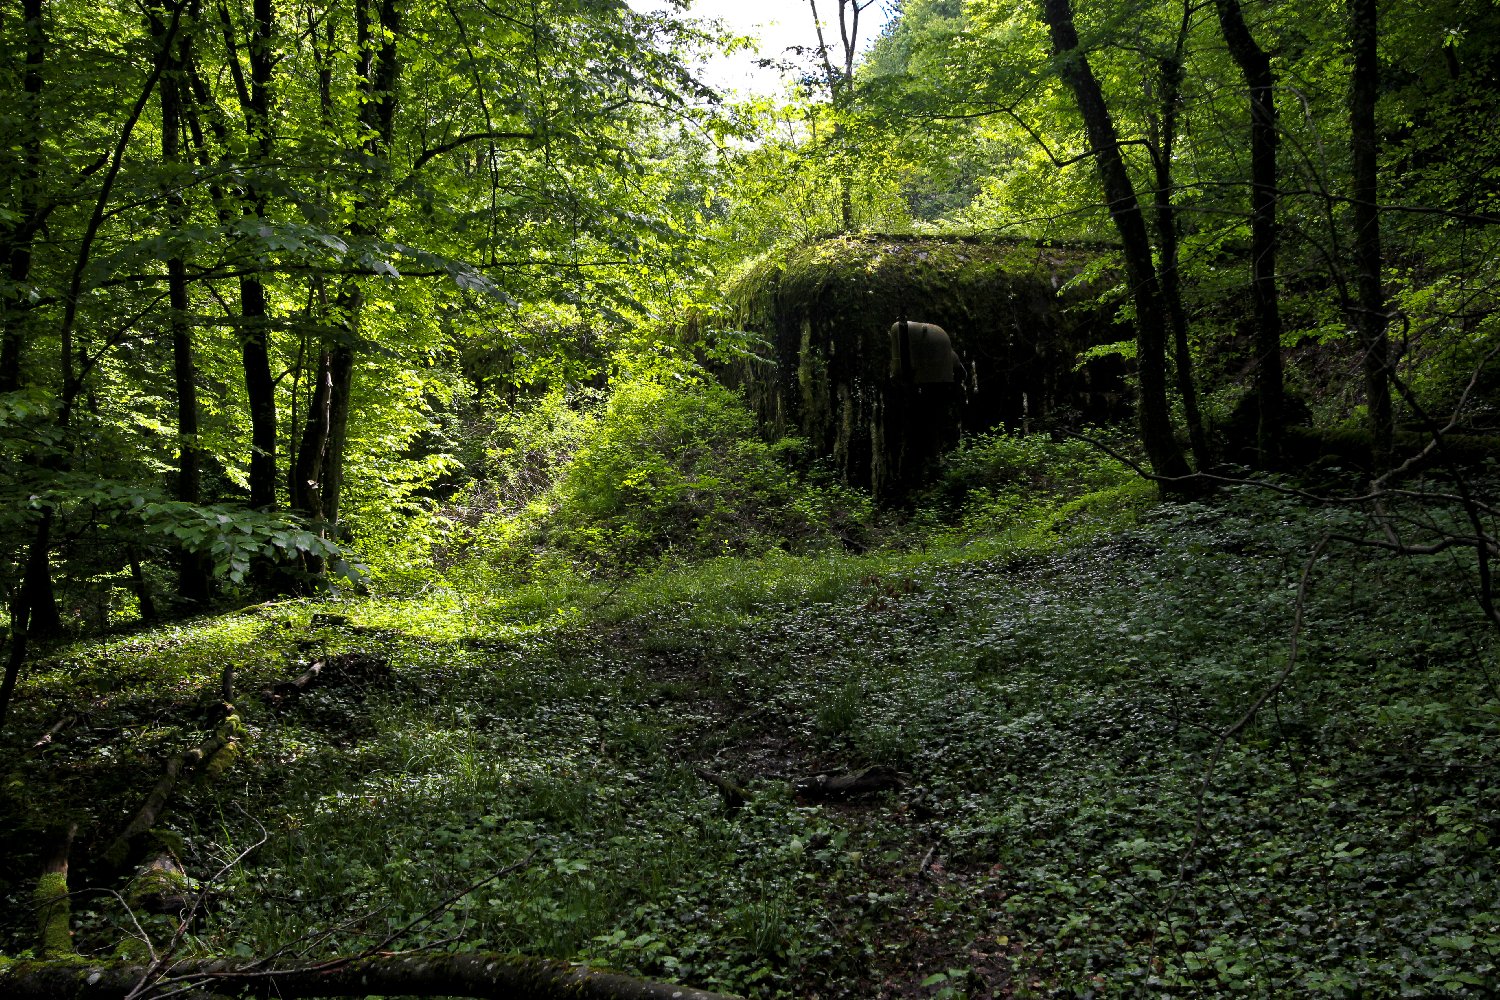
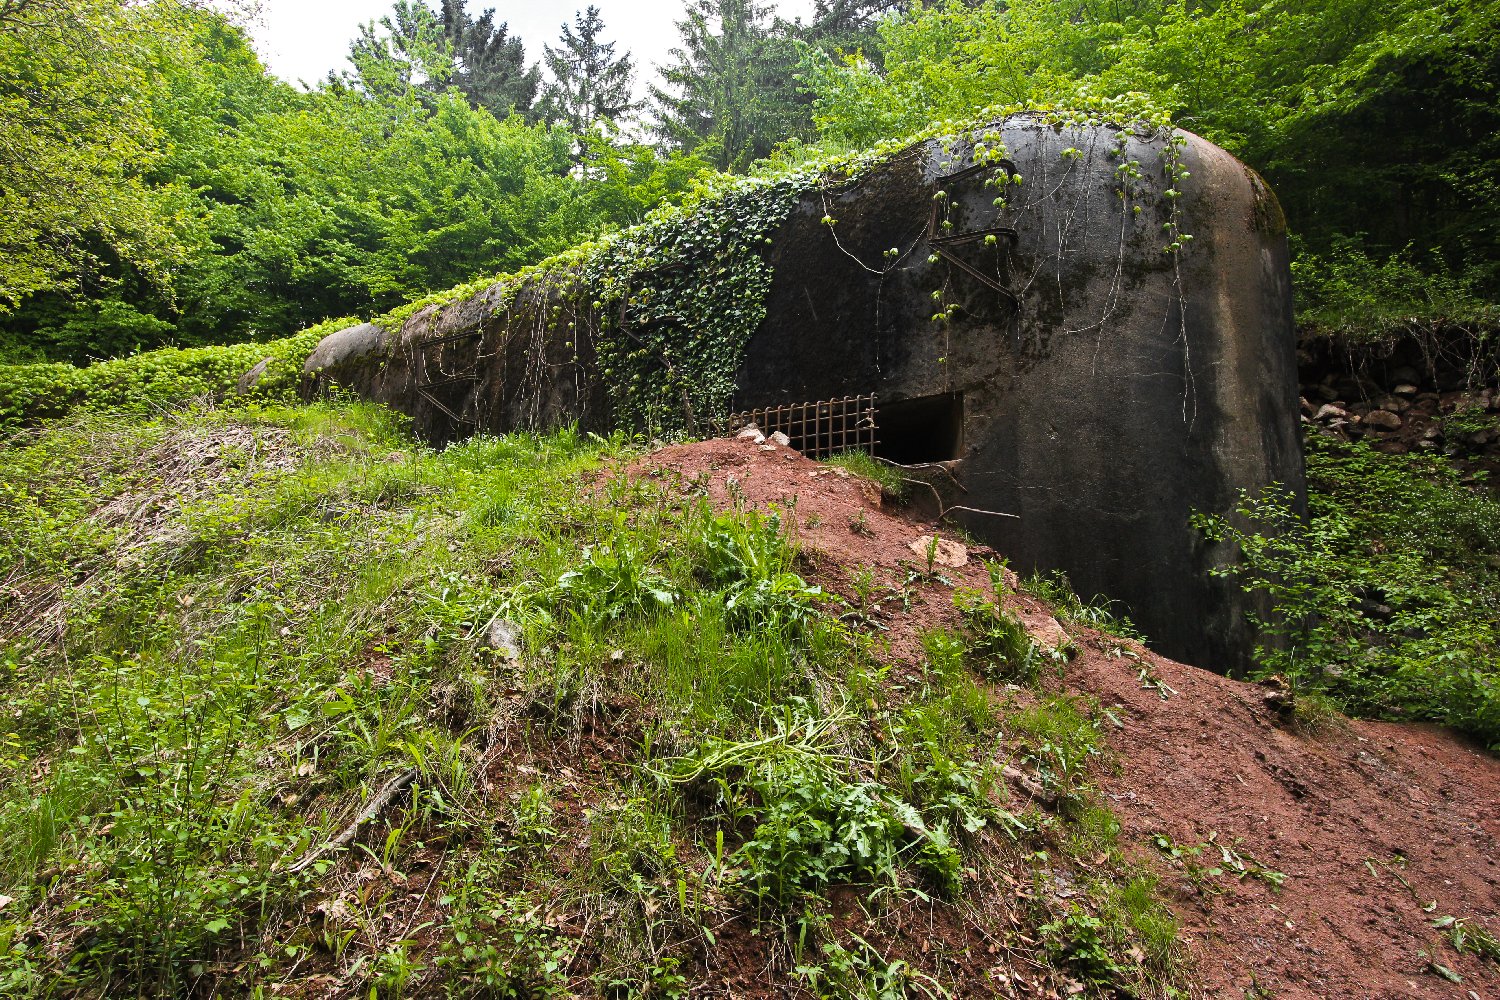
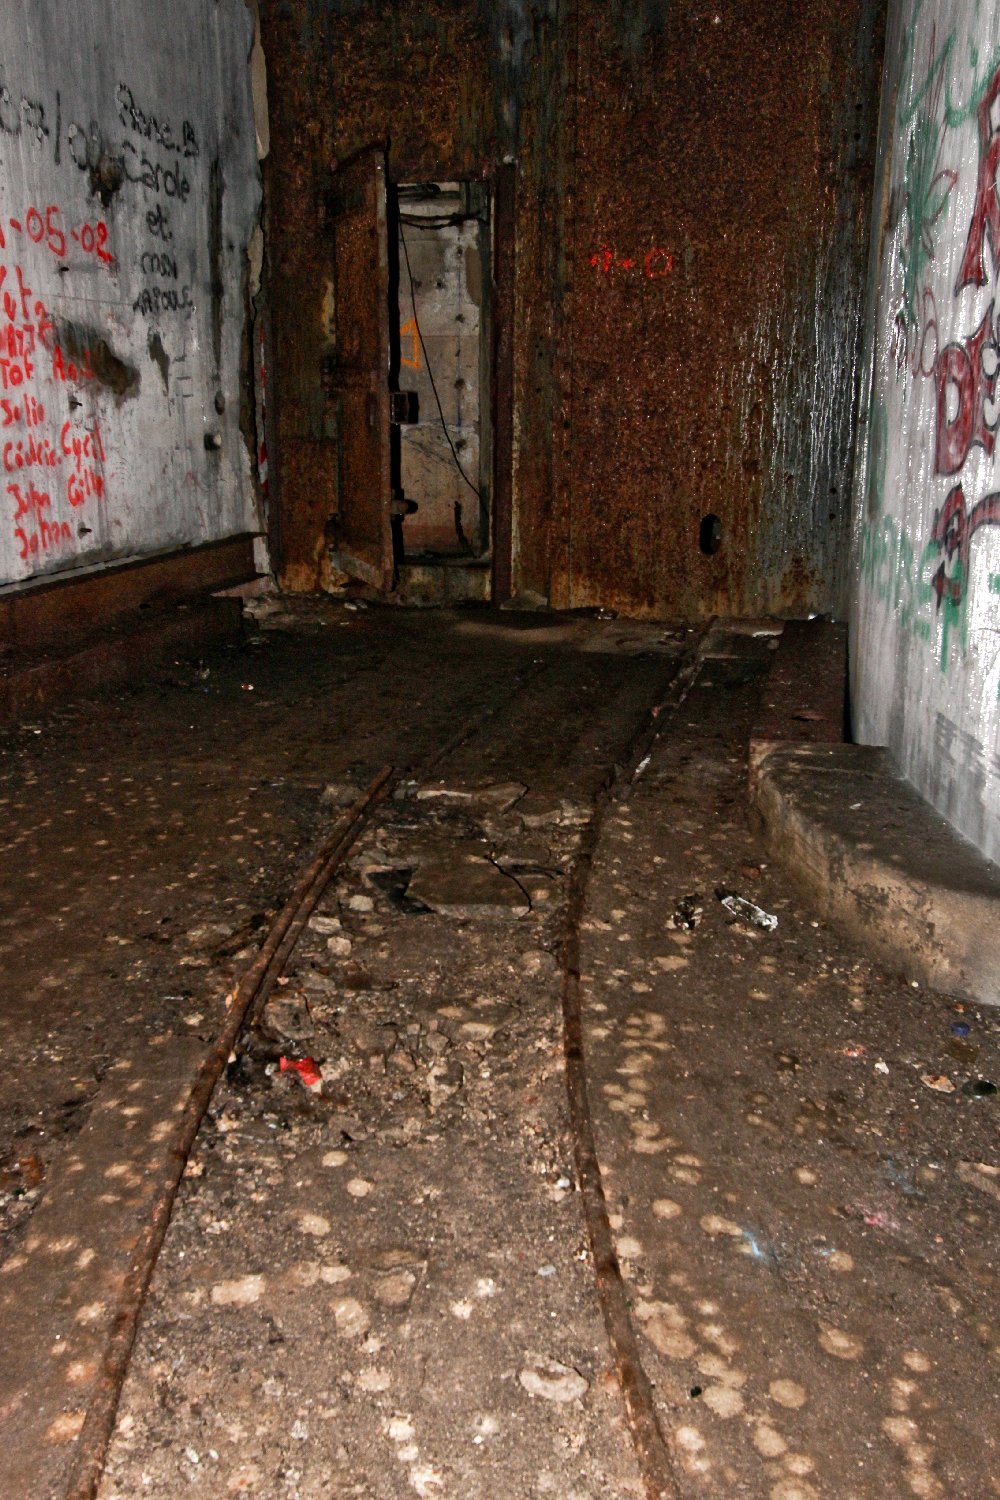
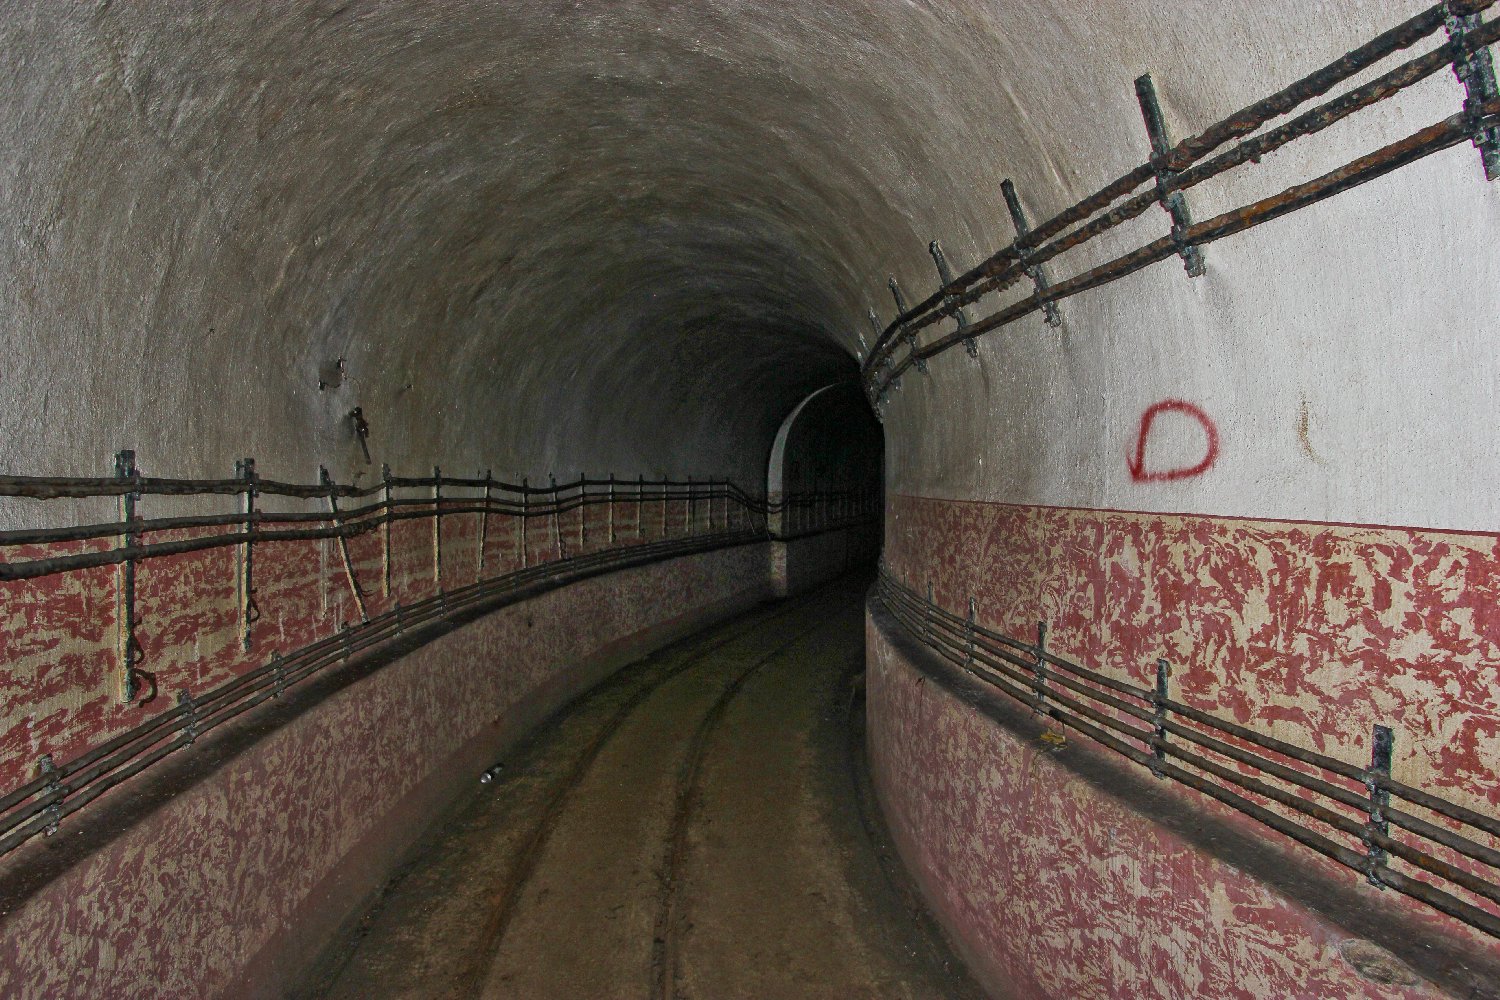
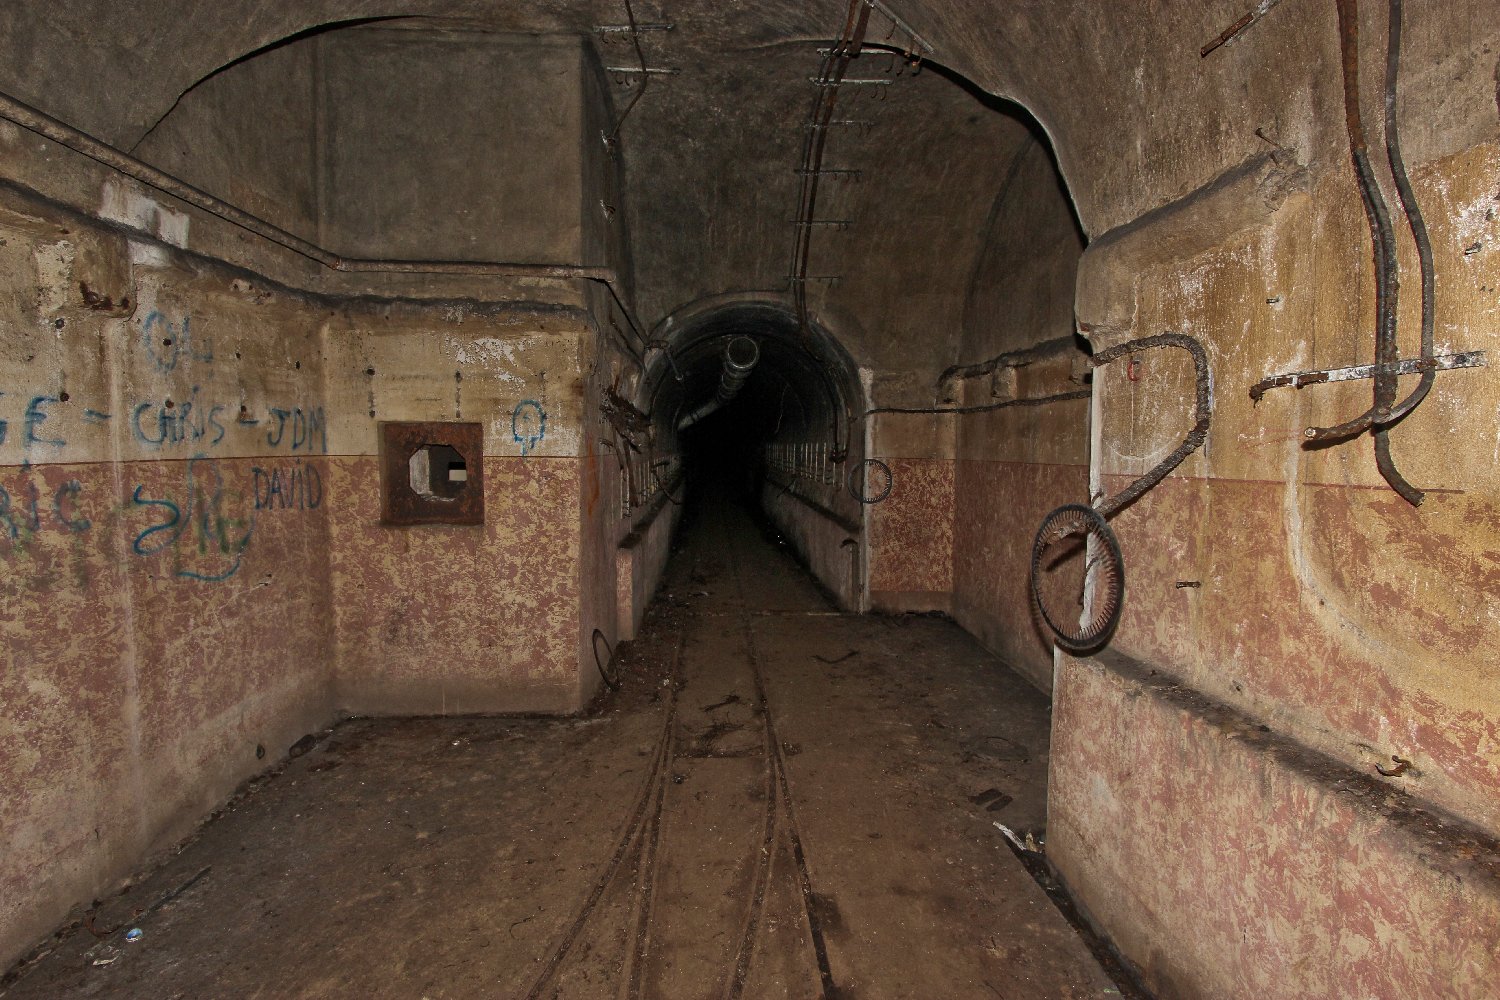
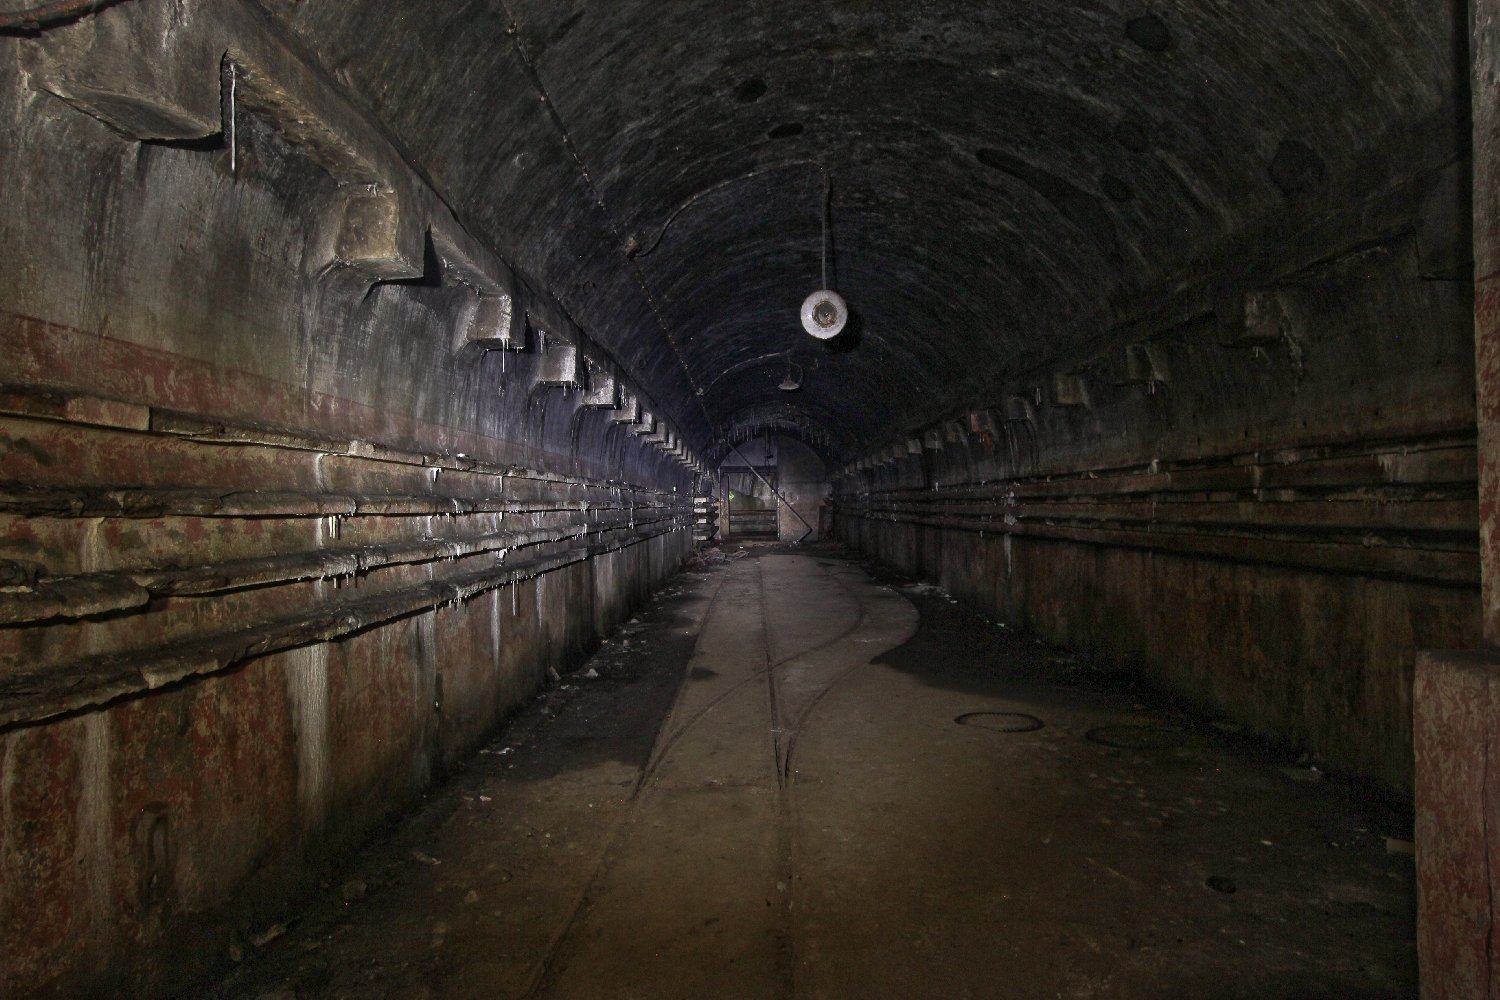
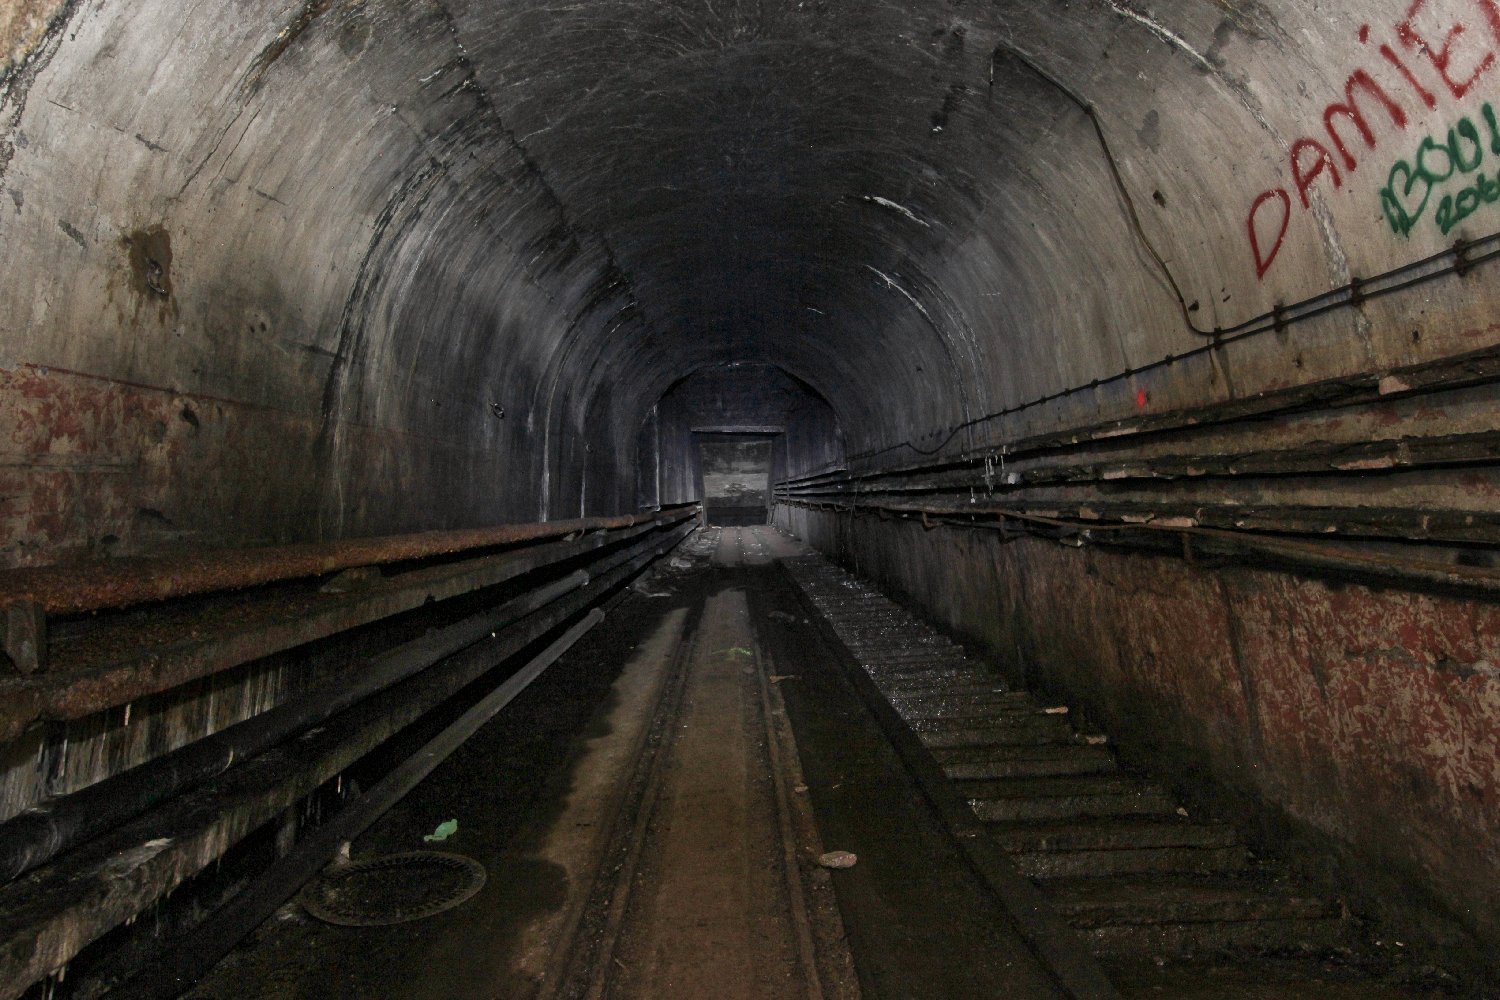
Gros Ouvrage Mont des Welches is situated in the Fortified Sector of Boulay. It is a quite unusual ouvrage in that it is a very compact design, no more than 330 metres from end to end, where as most of the other Maginot ouvrages are constructed in a much more linear fashion with a very long underground corridor, in some cases almost a mile long, connecting the distant fighting blocks to the barracks, magazine, usine etc.  There is no 'M1' main ammunition magazine, and its 60cm internal railway was not electrified, relying instead on man power to move the carriages. It is also rather on the small side to be classified as a 'gros ouvrage' having only five blocks in total. There are separate entry blocks for men (EH) and munitions (EM), one infantry block, one artillery block, one observation block and two combination blocks. The average depth of the fort floor is 30 metres below the surface and it is located between petit ouvrage Coucou and gros ouvrage Michelsberg, facing the German border.

Mont des Welches was built by Gianotti of Nice at a cost of 49 million Francs, and became operational in 1935. The ouvrage did see some nasty action quite briefly during the battle for France in June 1940, when German forces moving along the rear of the Maginot Line engaged the position without success. Along with many of the other Maginot installations some renovation work was carried out on the ouvrage in the 1950s in order to present a serious obstacle to the potential threat of a Soviet Red Army advance through southern Germany however at that time fighting a conventional land war became increasingly unlikely as the nuclear arms race escalated, and due to the prohibitive cost of maintaining and operating the Maginot Line most of the retained ouvrages, including Mont Des Welches, were abandoned in the 1970s.

The garrison of the ouvrage in June 1940 was 17 officers and 490 other ranks of the 167th. Fortress Infantry Regiment and the 151st. Position Artillery Regiment, commanded by Chef de Bataillon (Battalion Chief) Tari. These units were under the command of the 42nd. Fortress Corps of the 3rd. Army, Army Group 2. Casernement de Férange provided peacetime above-ground barracks and support services to this and other ouvrages and associated positions in the area.


     Gros Ouvrage Mont des Welsches has two entrance blocks and five combat blocks:
 

Ammunition entrance:

Inclined access, one JM/AC37 embrasure and two GFM cloches.

Personnel entrance:

Shaft access (lift and stairs), one grenade launcher cloche (LG), three JM embrasures, one JM/AC37 embrasure and one GFM cloche.

Bloc 1: Artillery block with one retractable twin 81mm mortar turret and two automatic rifle cloches (GFM).
Bloc 2: Infantry block with one retractable twin 75mm gun turret, one twin machine gun embrasure, one JM/AC37 twin machine gun/anti-tank gun embrasure, and two GFM cloches.
Bloc 3: Infantry block with one retractable machine gun turret.
Bloc 4: Artillery block with one retractable twin 75mm gun turret, one twin machine gun embrasure (JM), one JM/AC37 embrasure, two 81mm mortar embrasures and two GFM cloches
Bloc 5: Observation block with one observation cloche (VDP) and one GFM cloche.


The ouvrage during World War II...

The German army did not attack this section of the Maginot Line frontally, preferring instead to outflank the sector via the west end of the Line. Mont des Welches provided covering fire to the other ouvrages in the sector throughout this time. On the 15th. June, 1940, the German 1st Army broke through at the Saar and fanned out to the east and west behind the line. The German 95th. Infantry Division under General von Amim attacked the rear of Mont des Welches on 21st. June. Blocks 2 and 3 were engaged by formidable 88mm artillery guns  - LEFT -  but the attack was disrupted by return fire from the two entry blocks, blocks 4 and 5, and supporting fire from nearby gros ouvrage Hackenberg, which effectively silenced the German 88mm battery. The ouvrage fought on until the armistice was declared on the 25th. June, 1940, and the garrison finally left on the 4th. July, at which point the ouvrage served the Germans as a Reichspost mail depot.

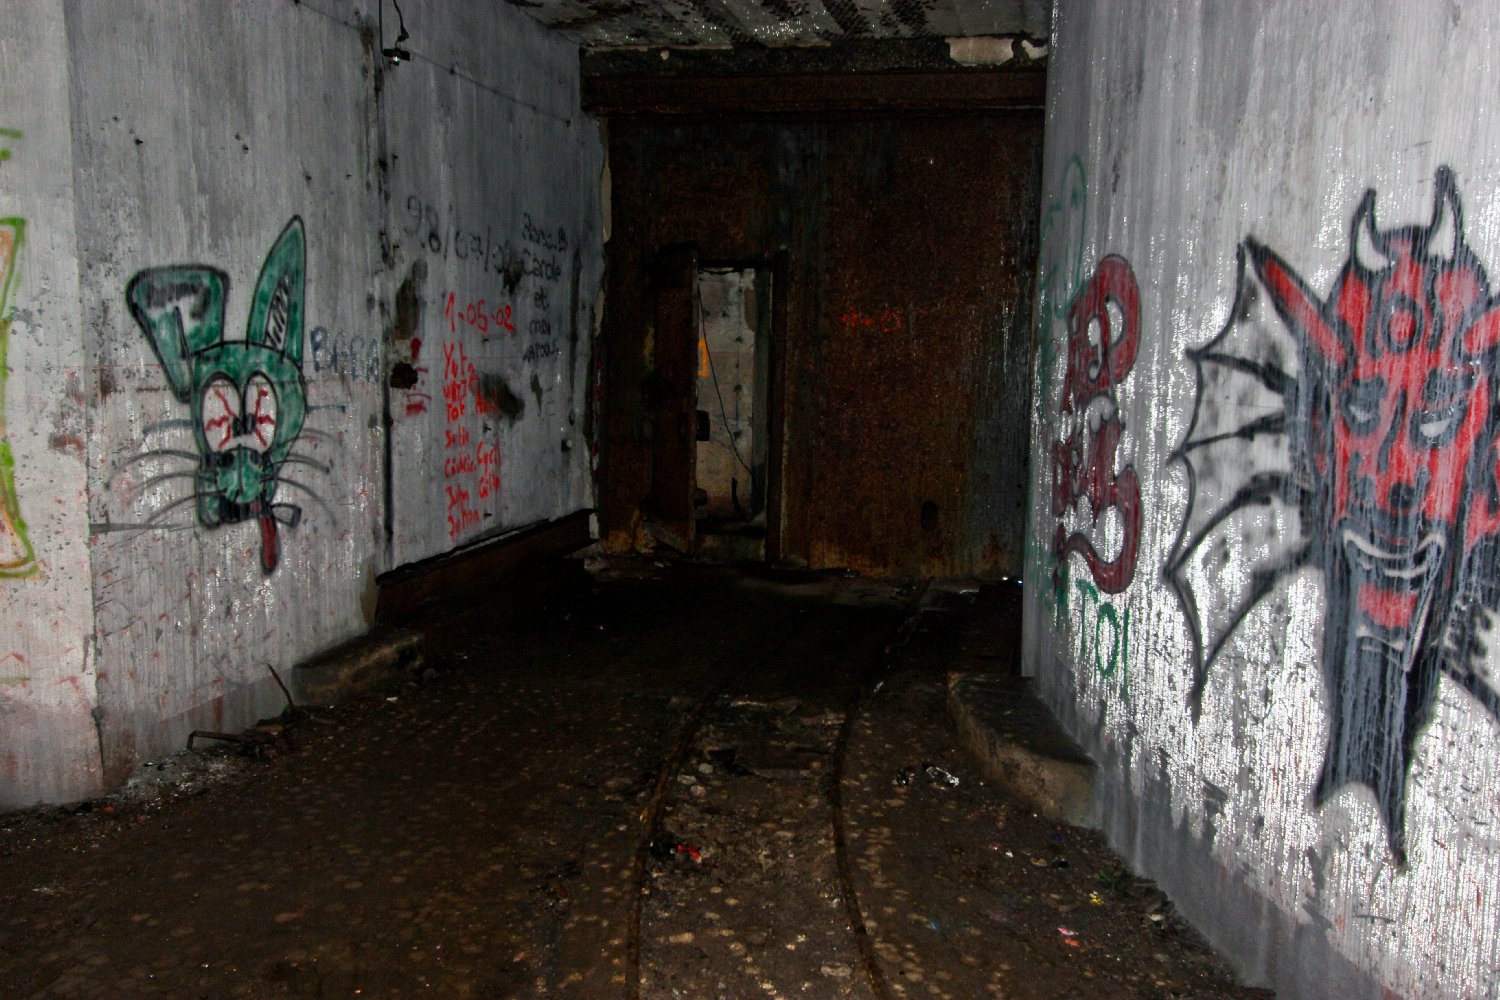
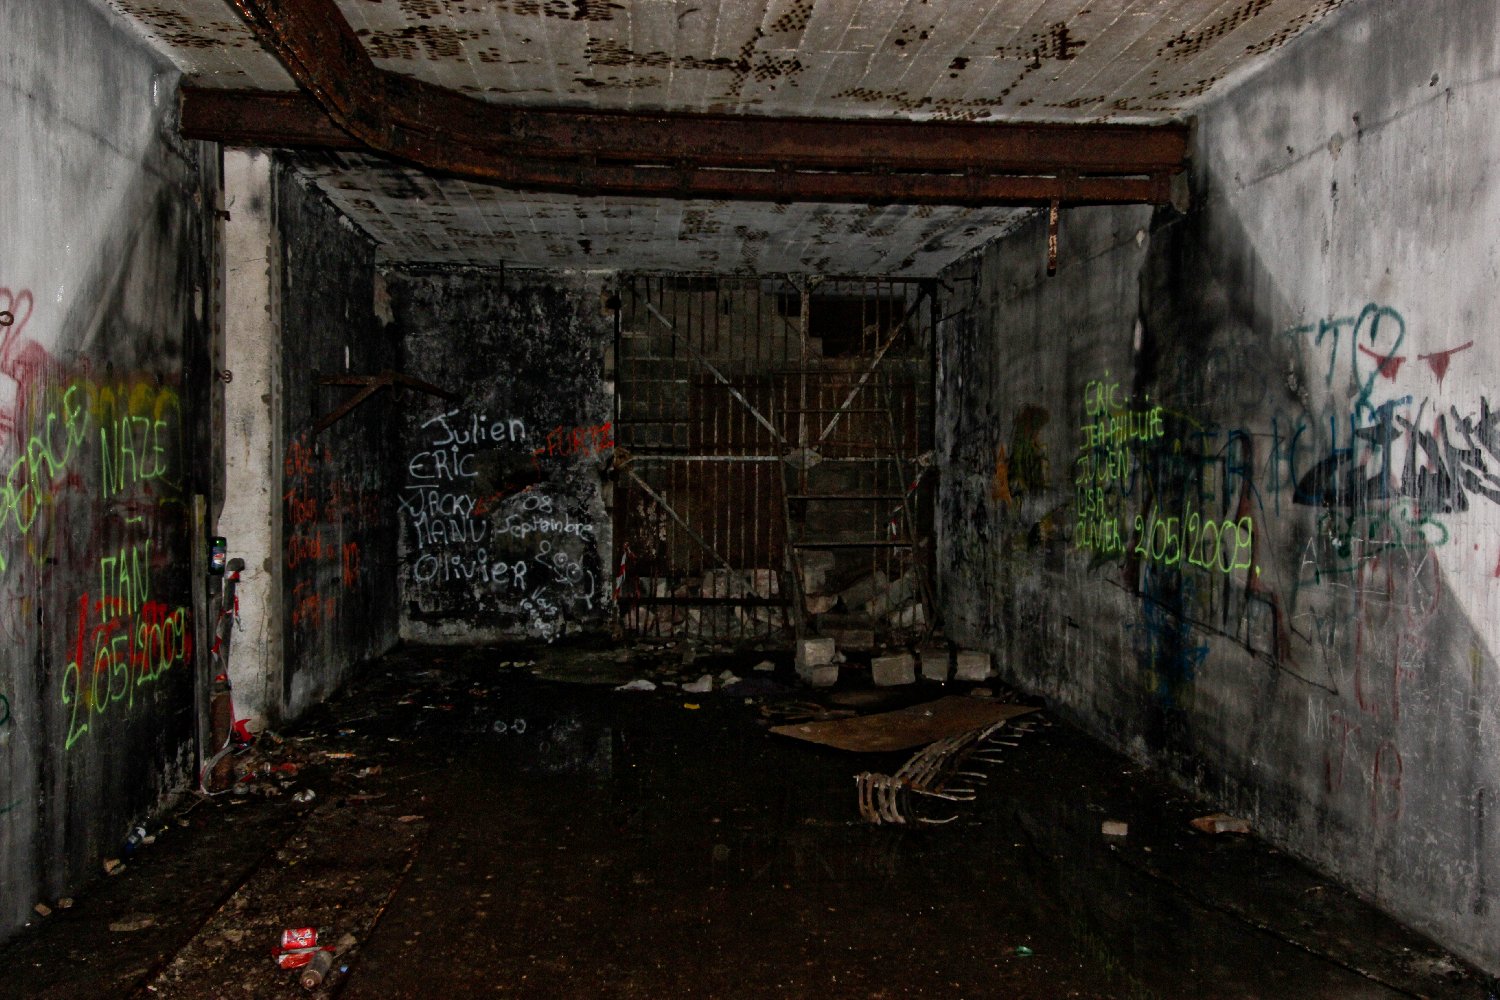
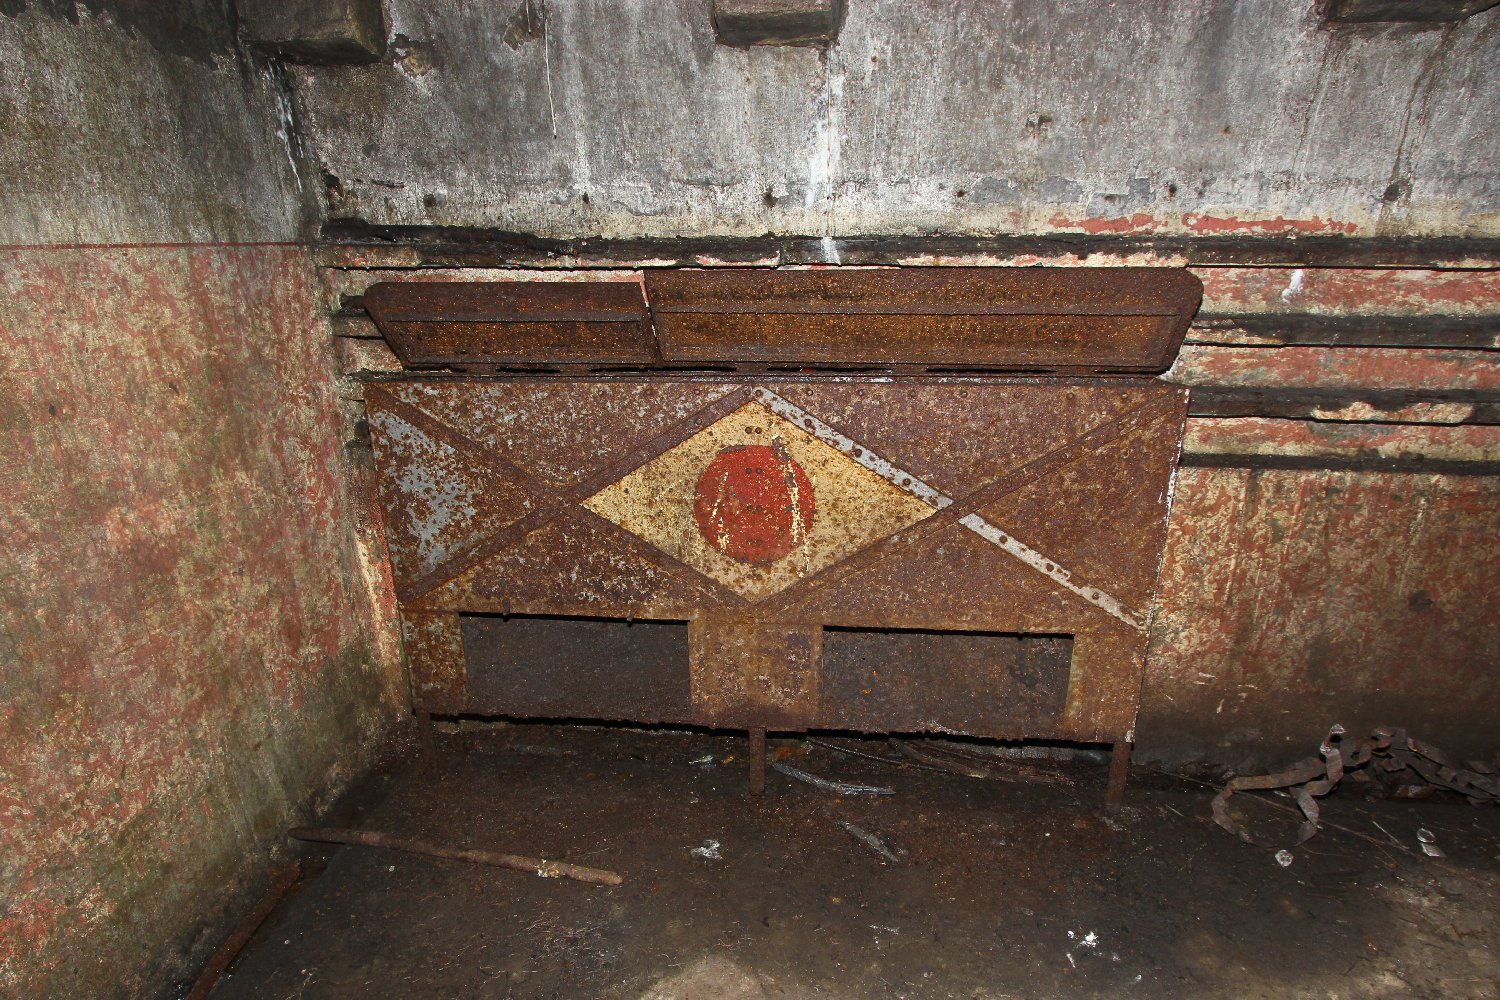
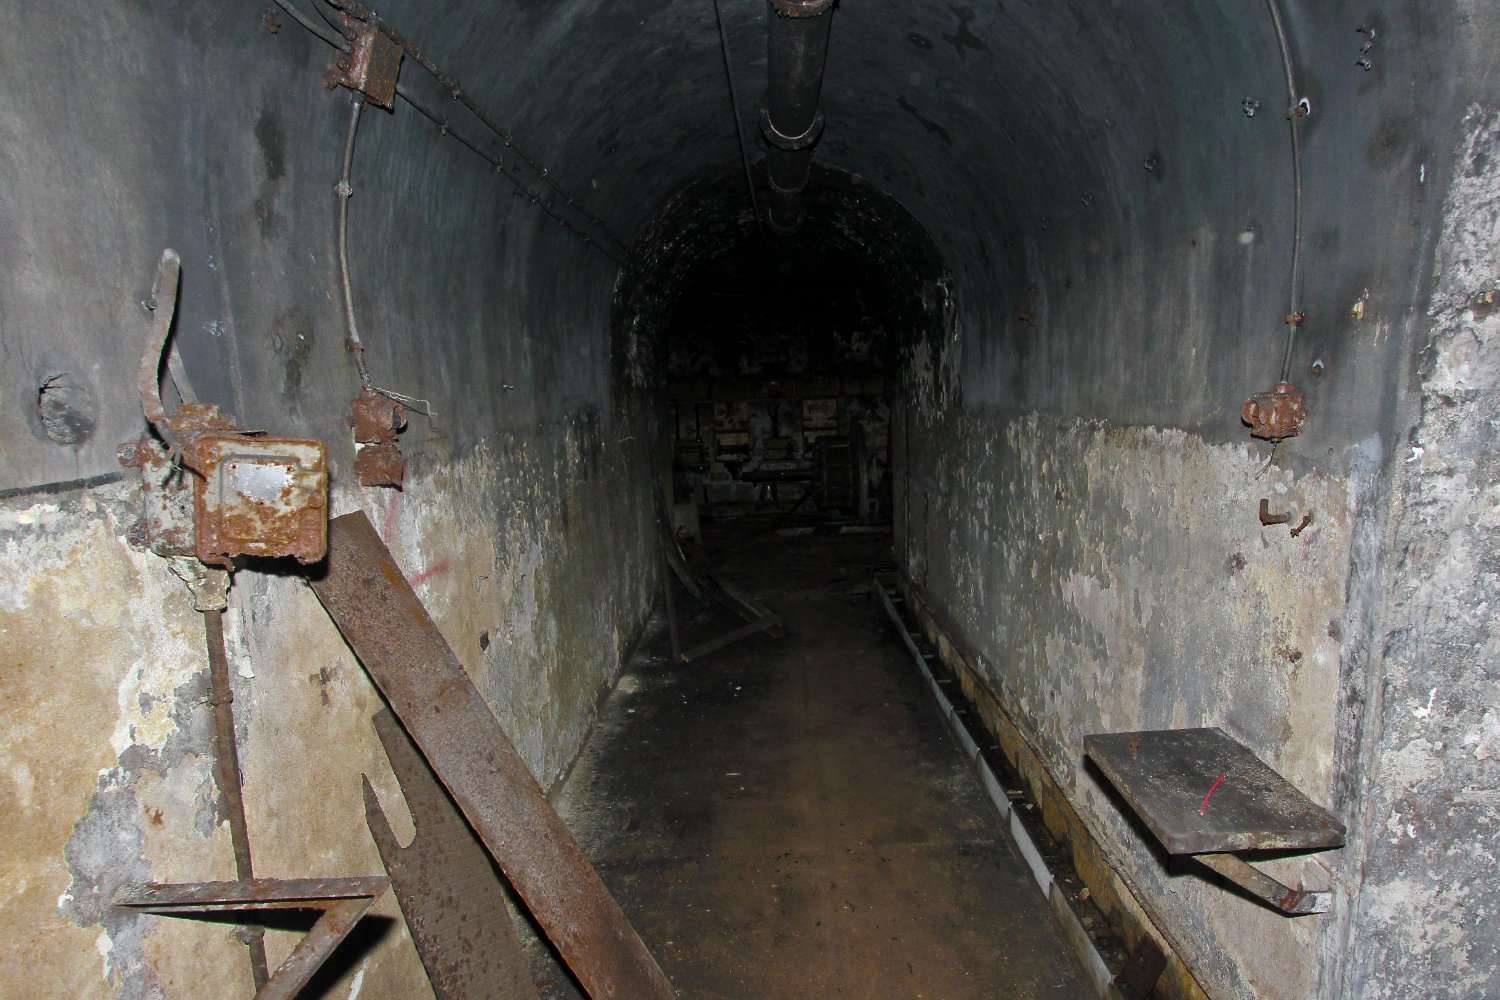
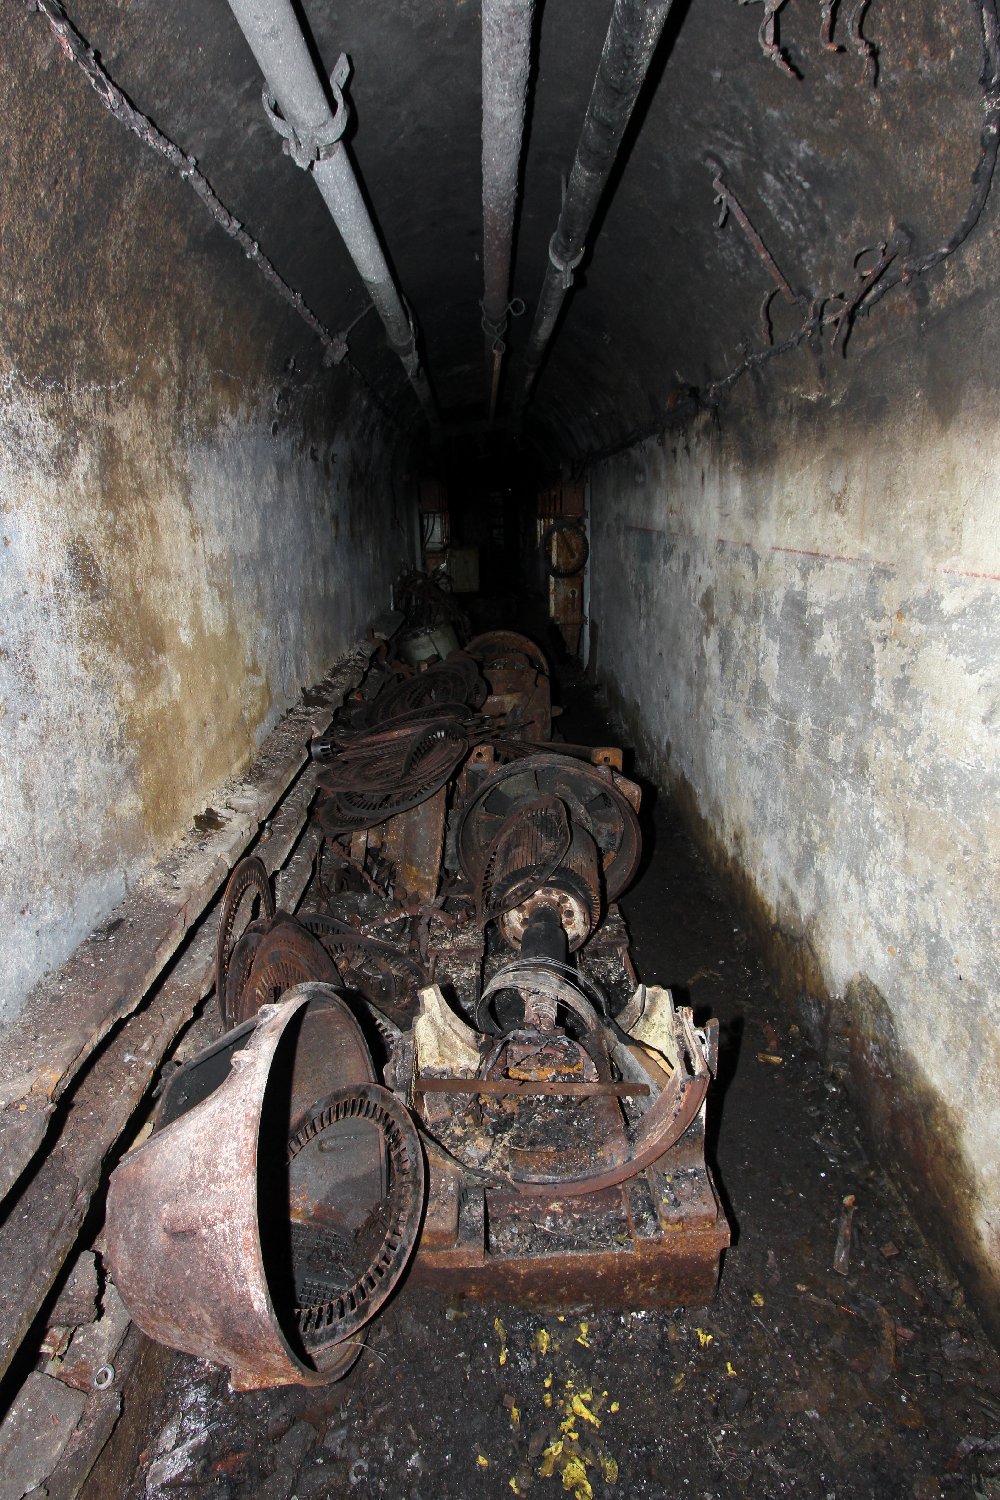
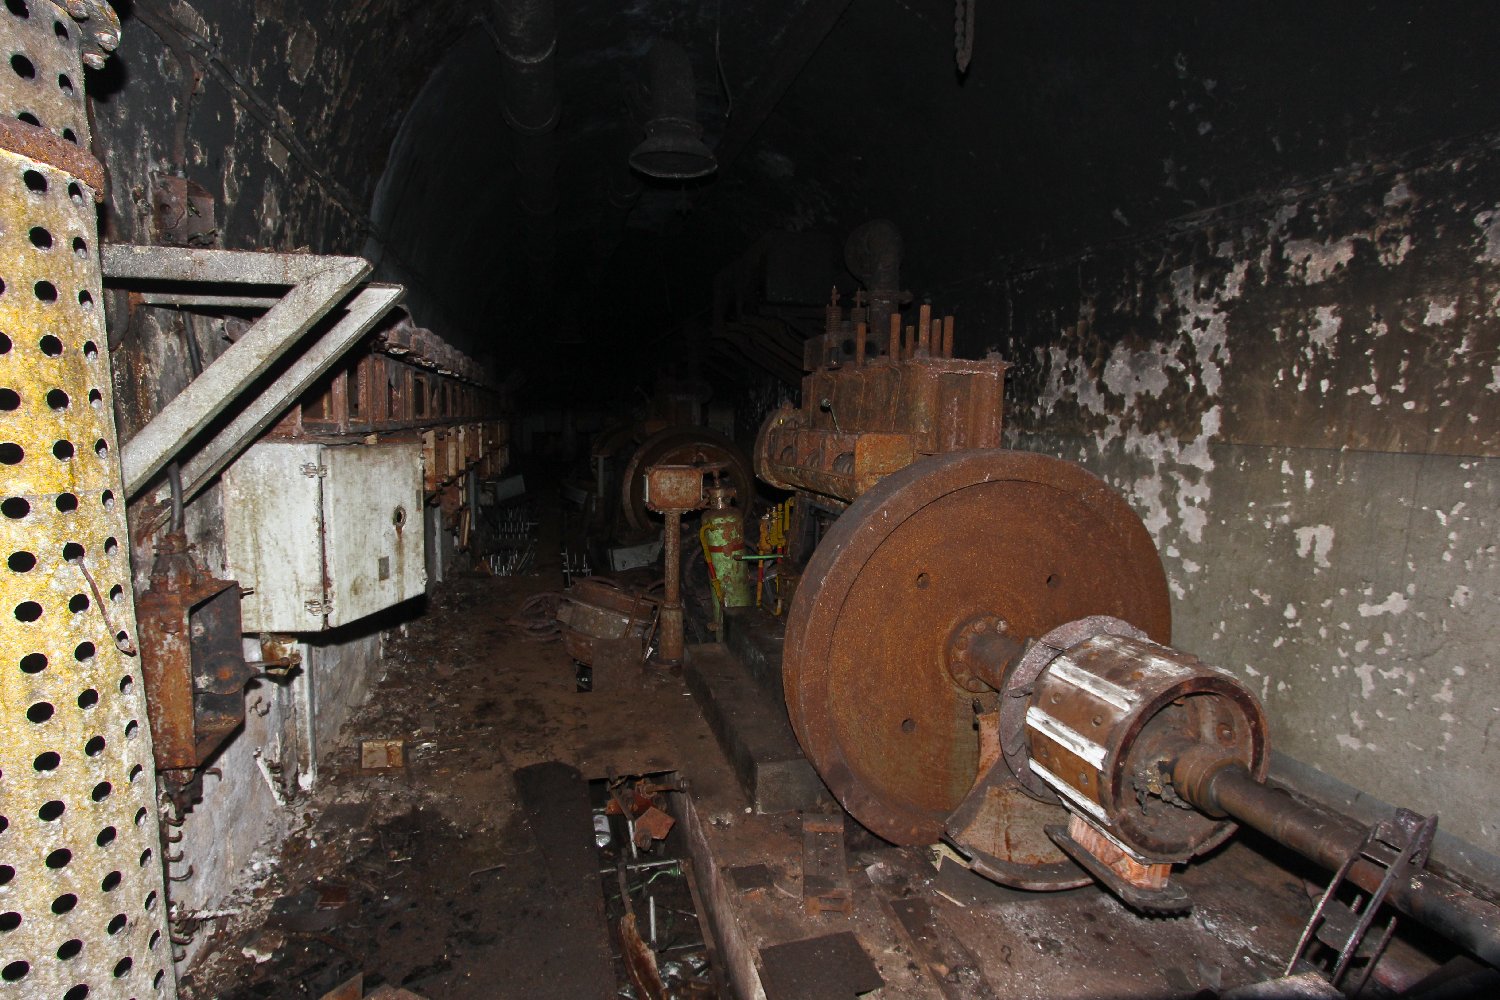
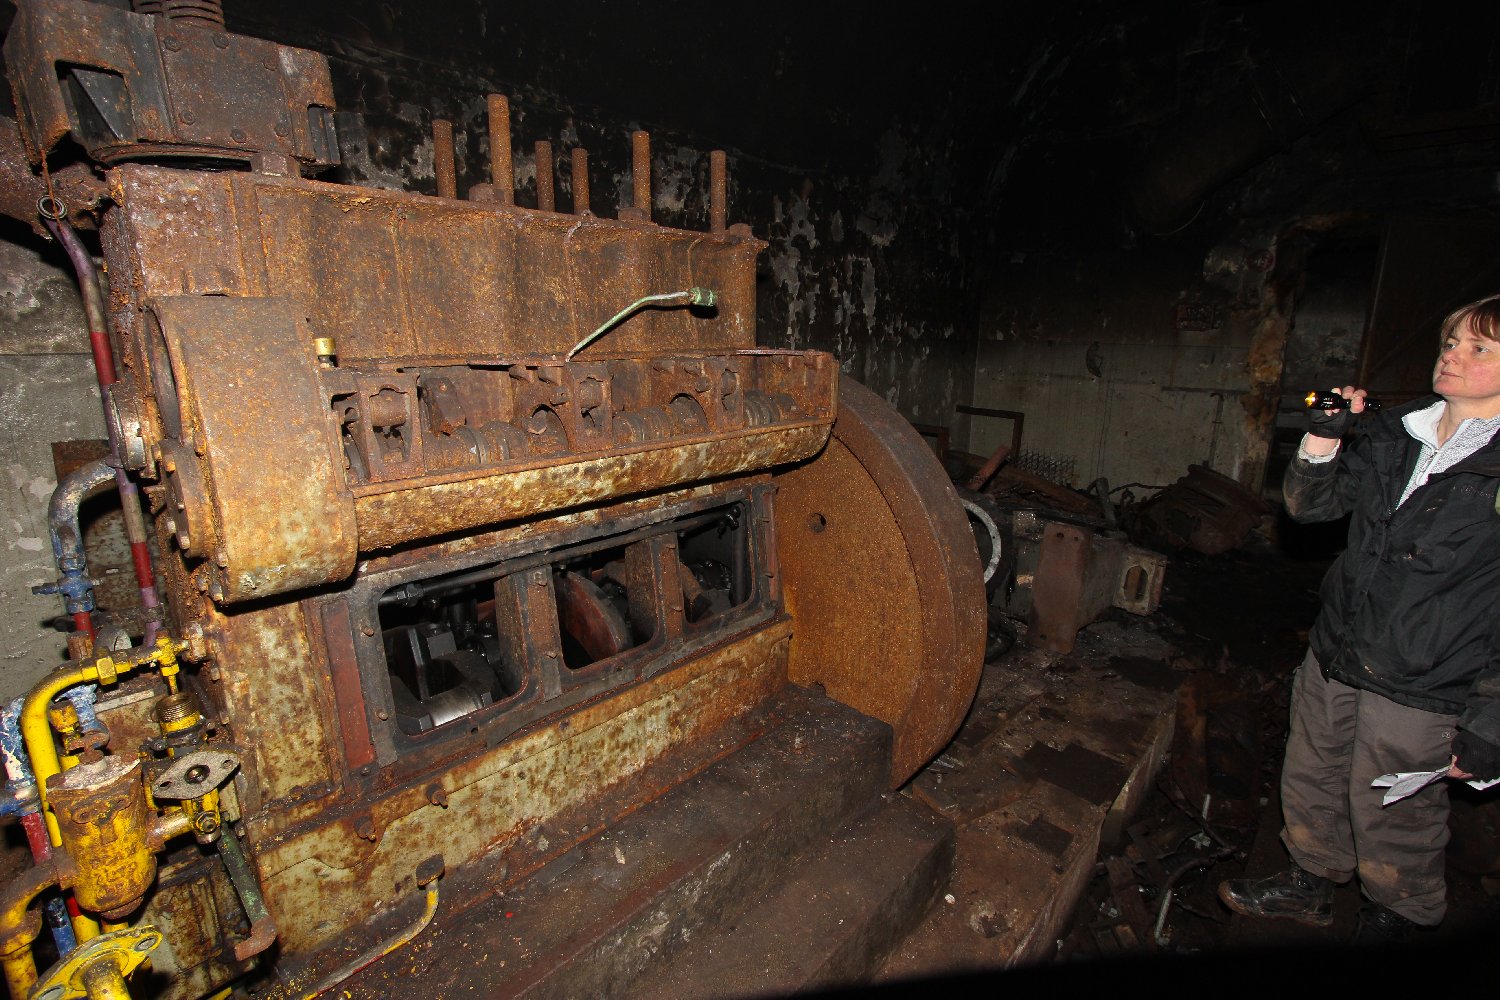
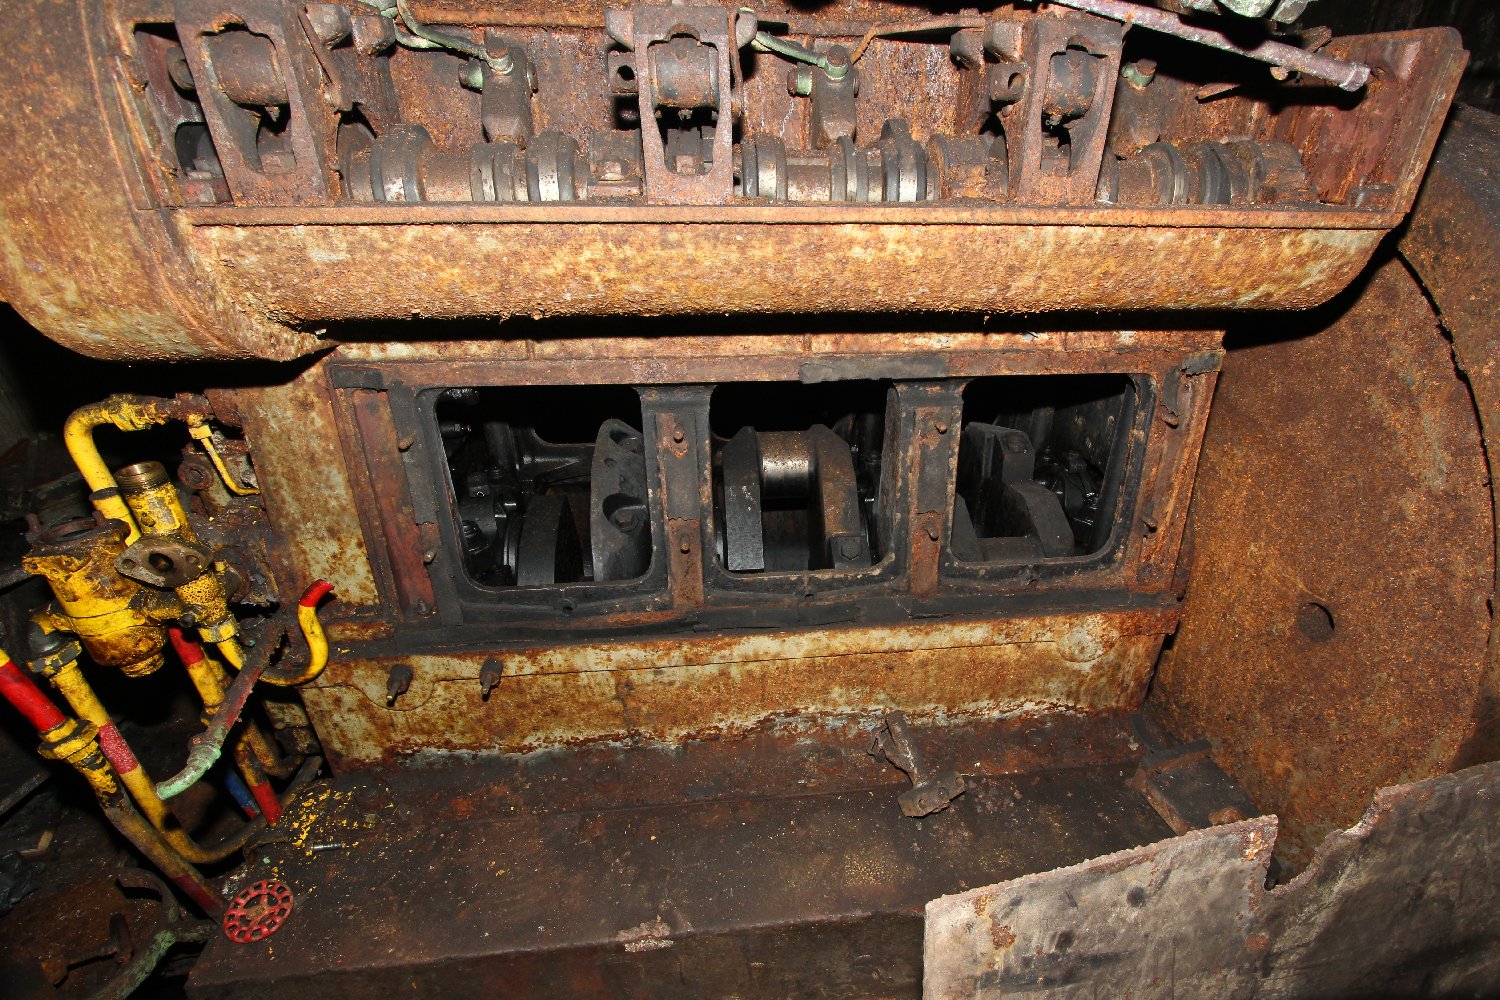
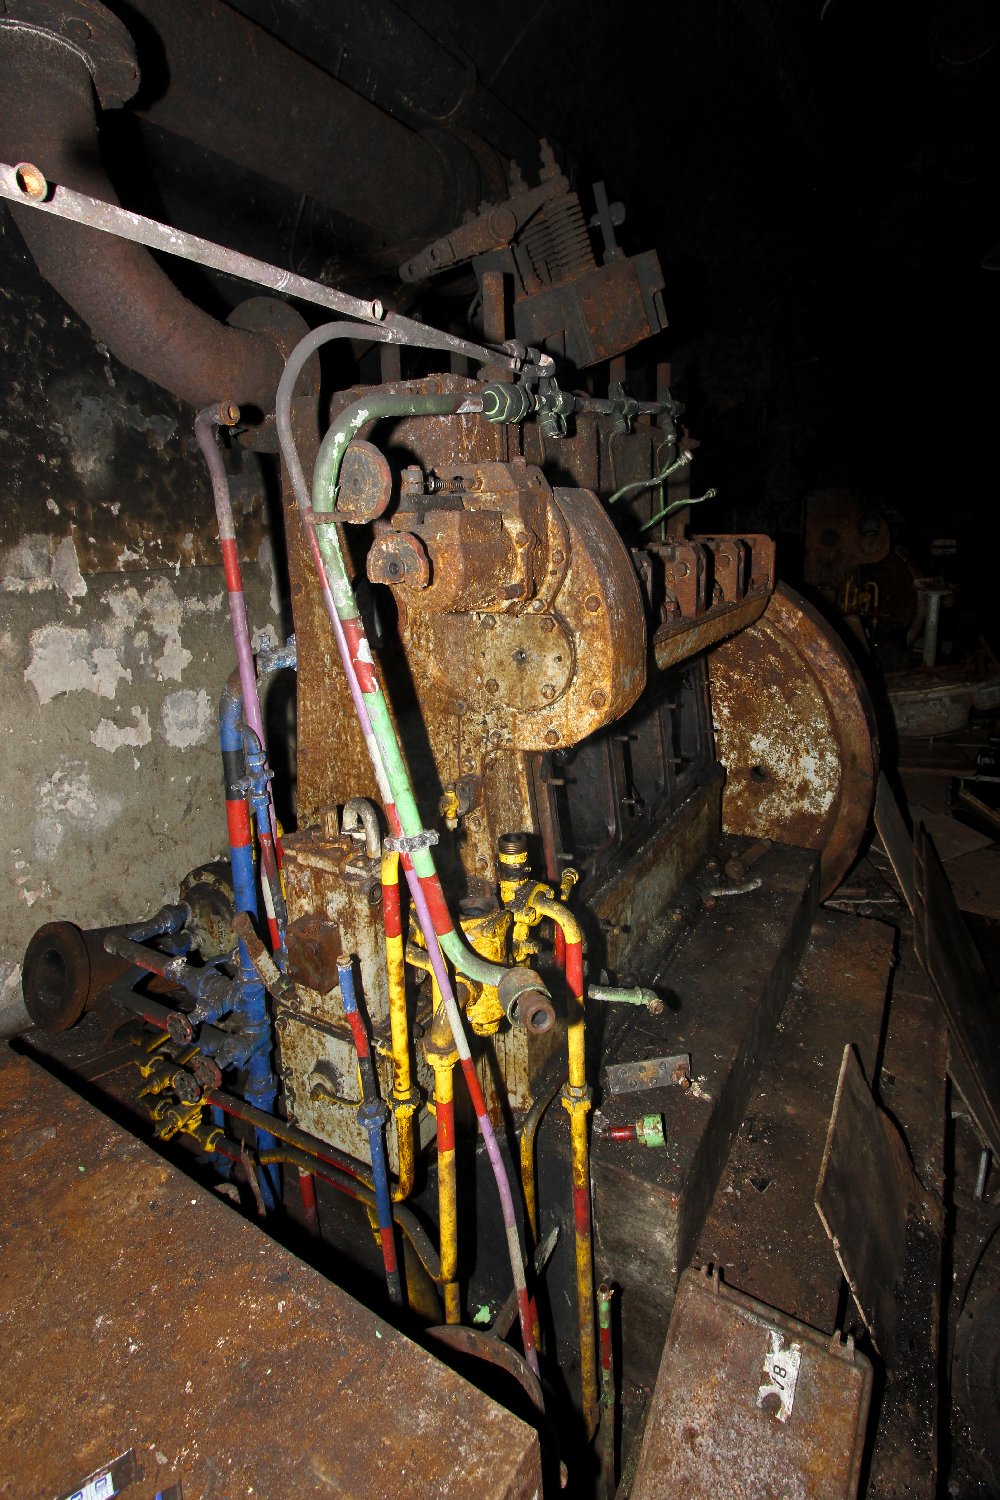
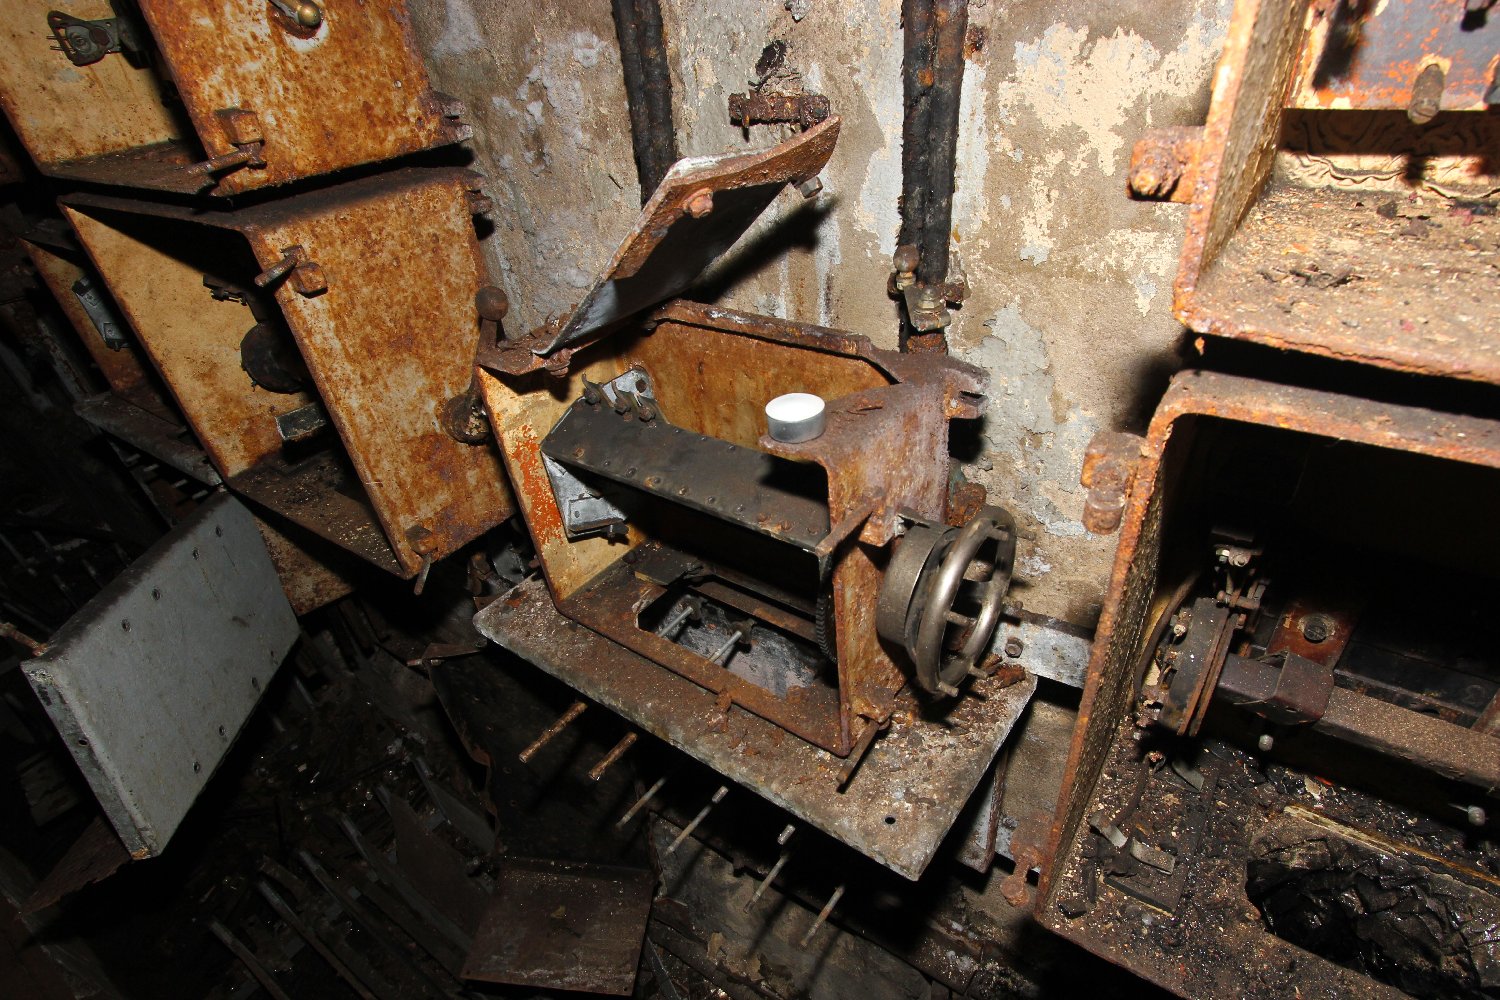
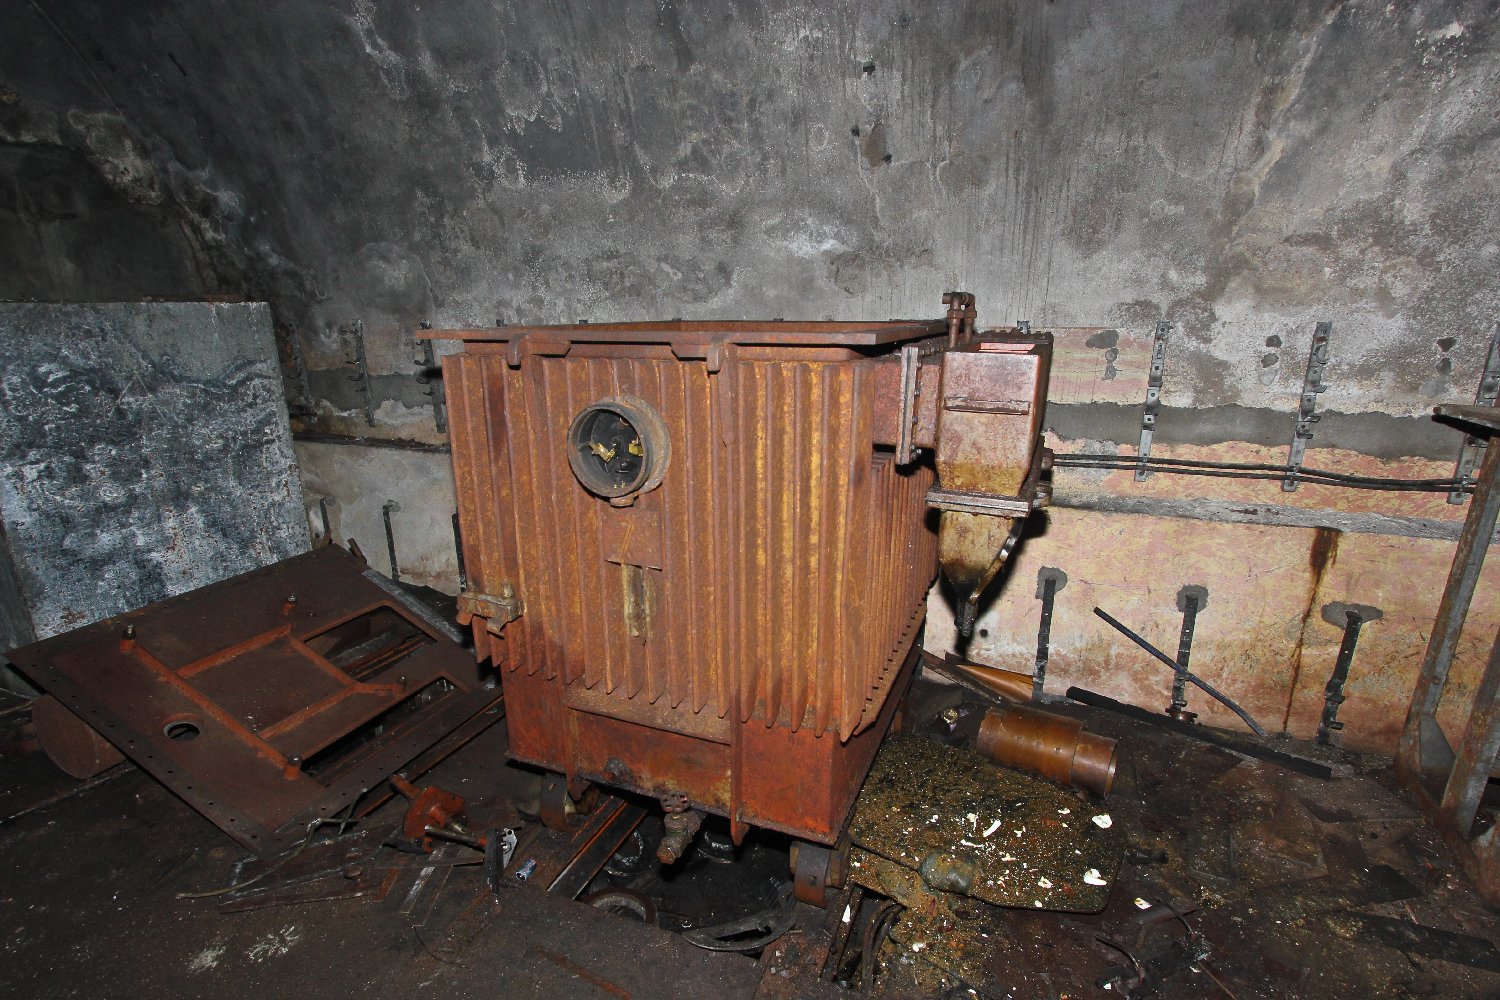
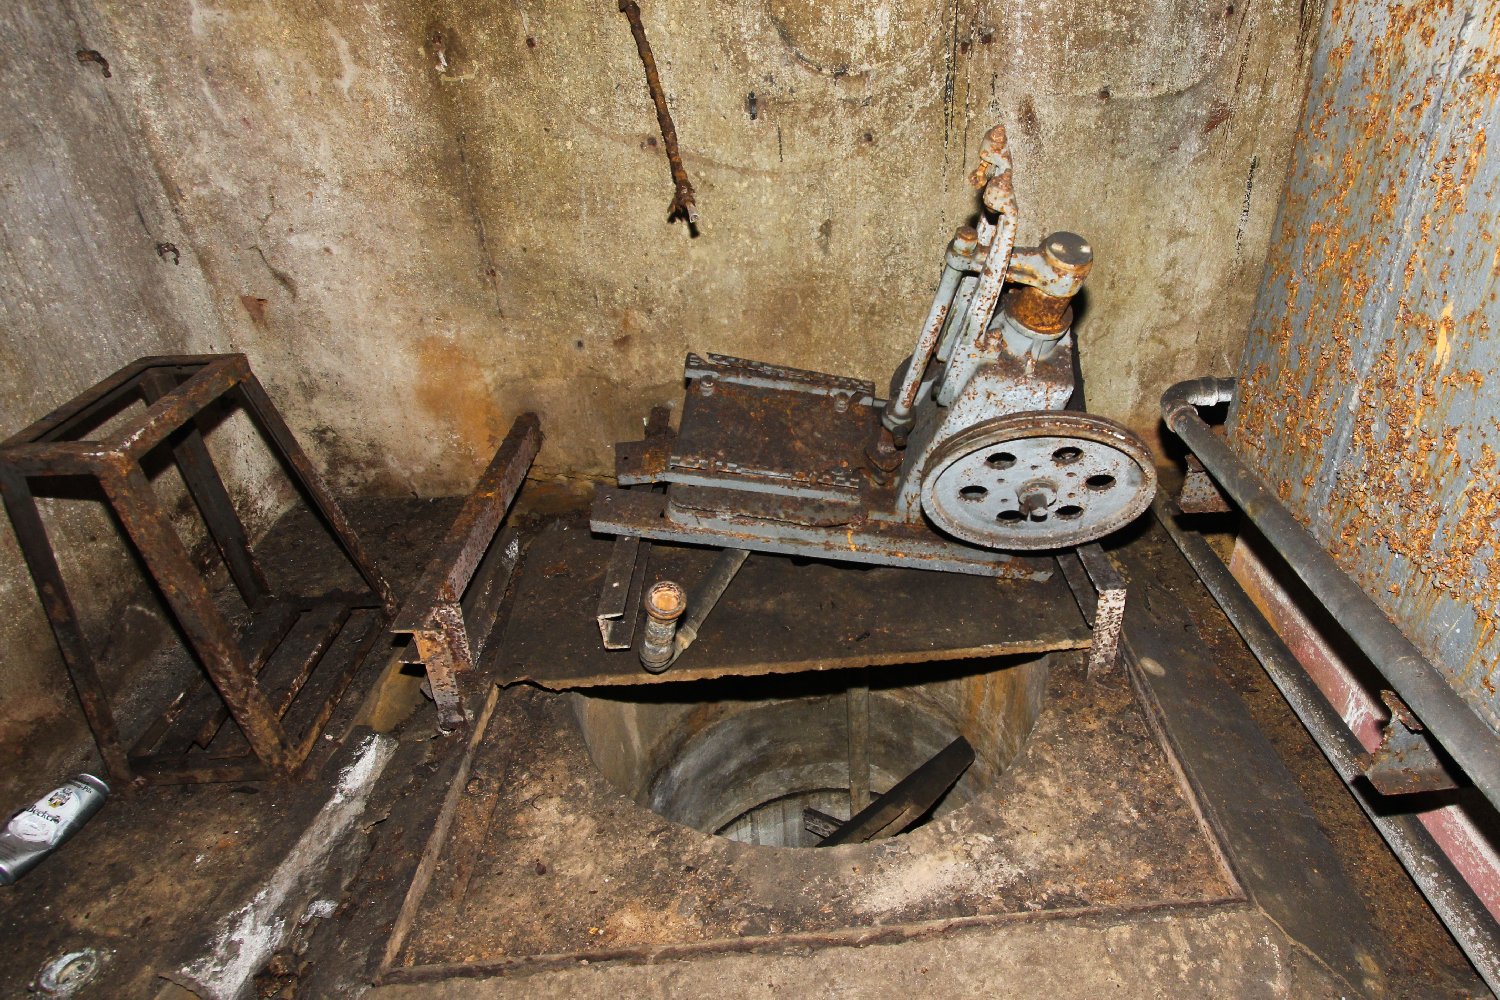
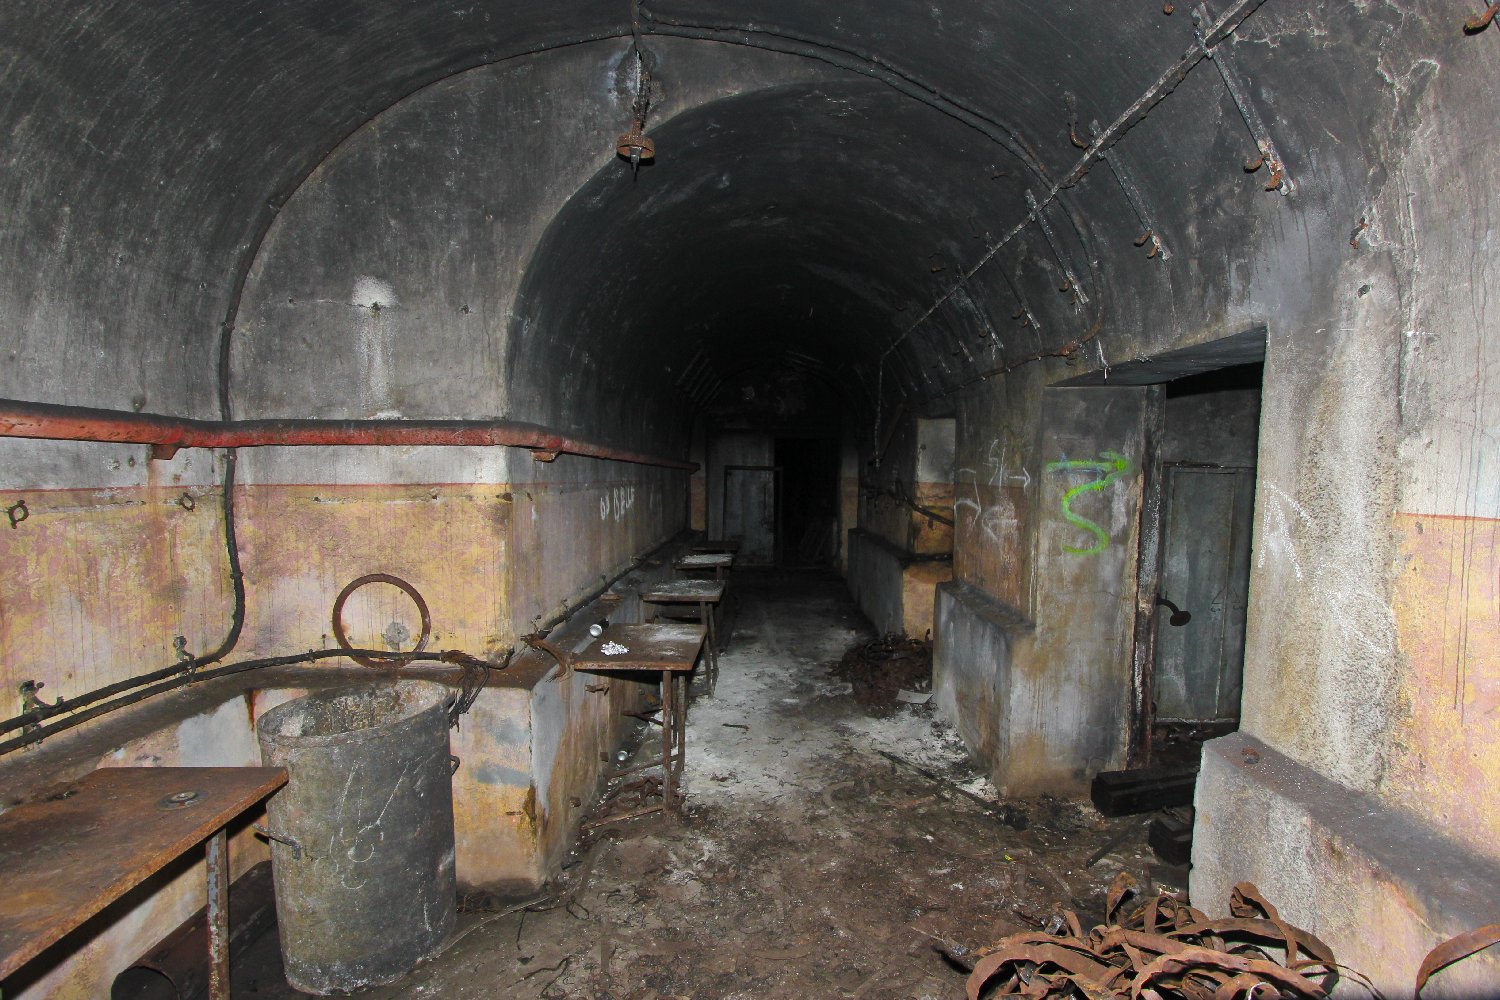
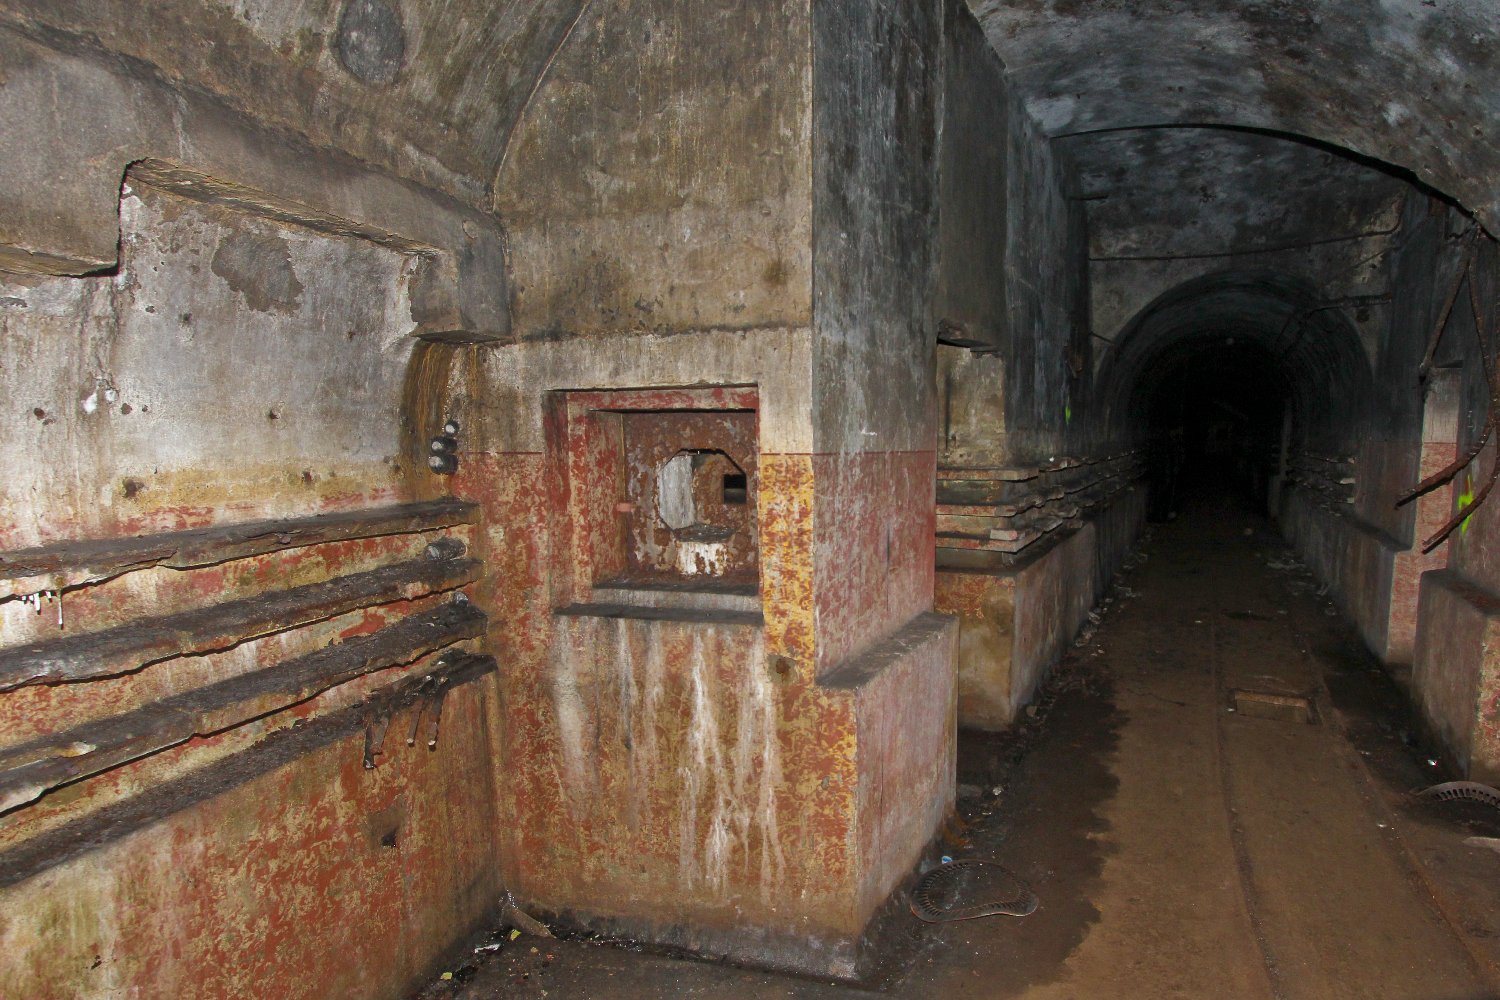
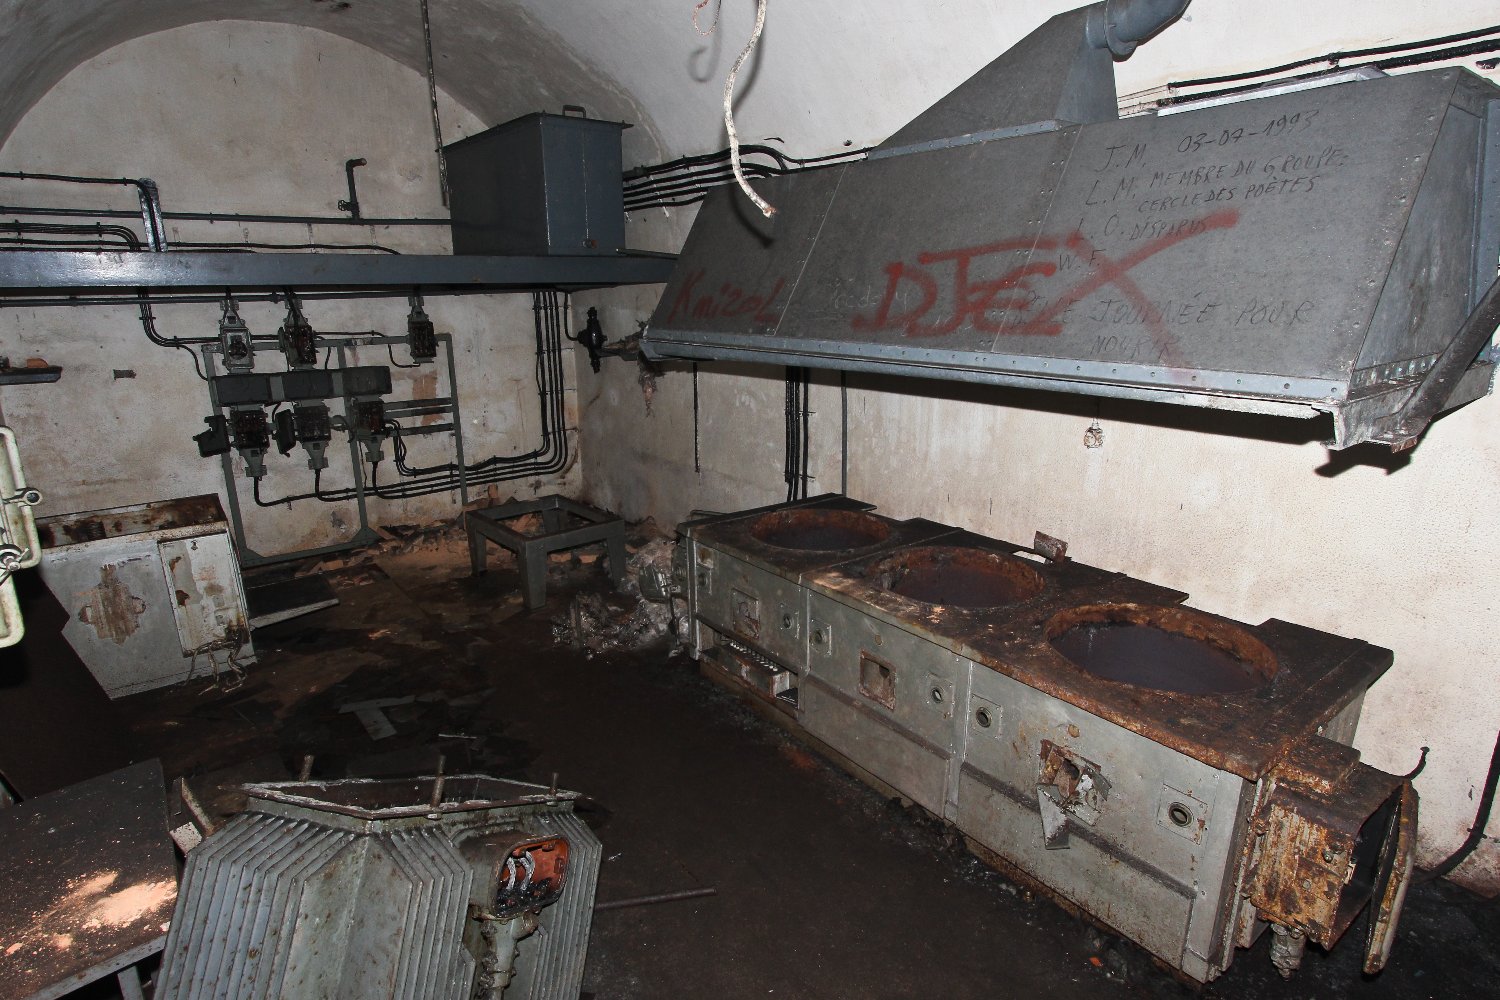
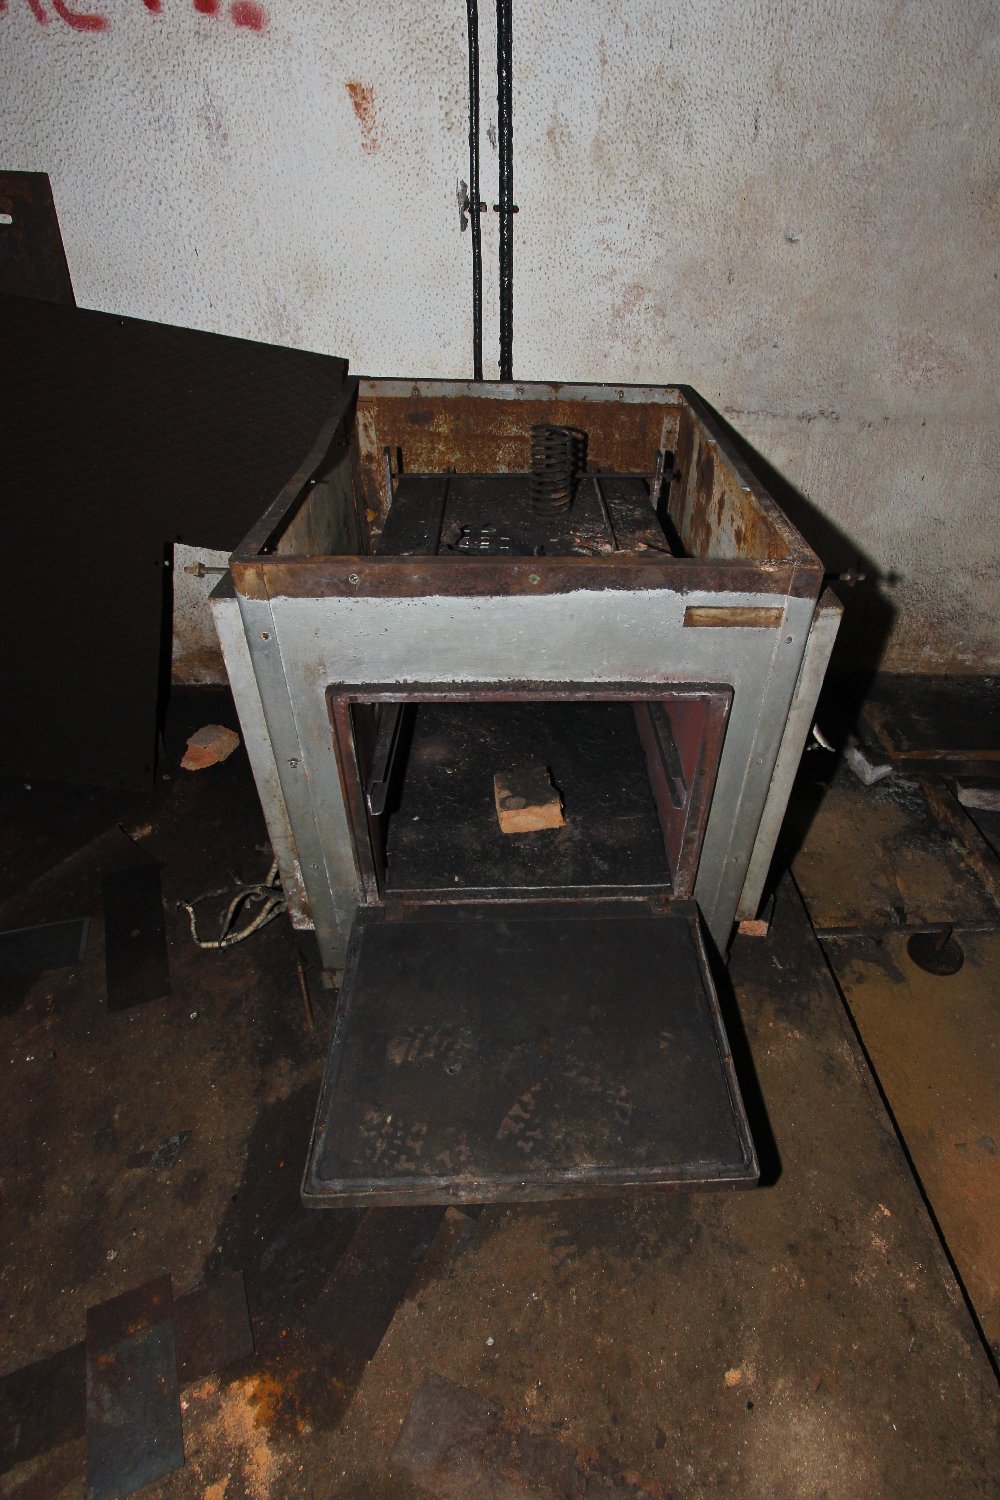
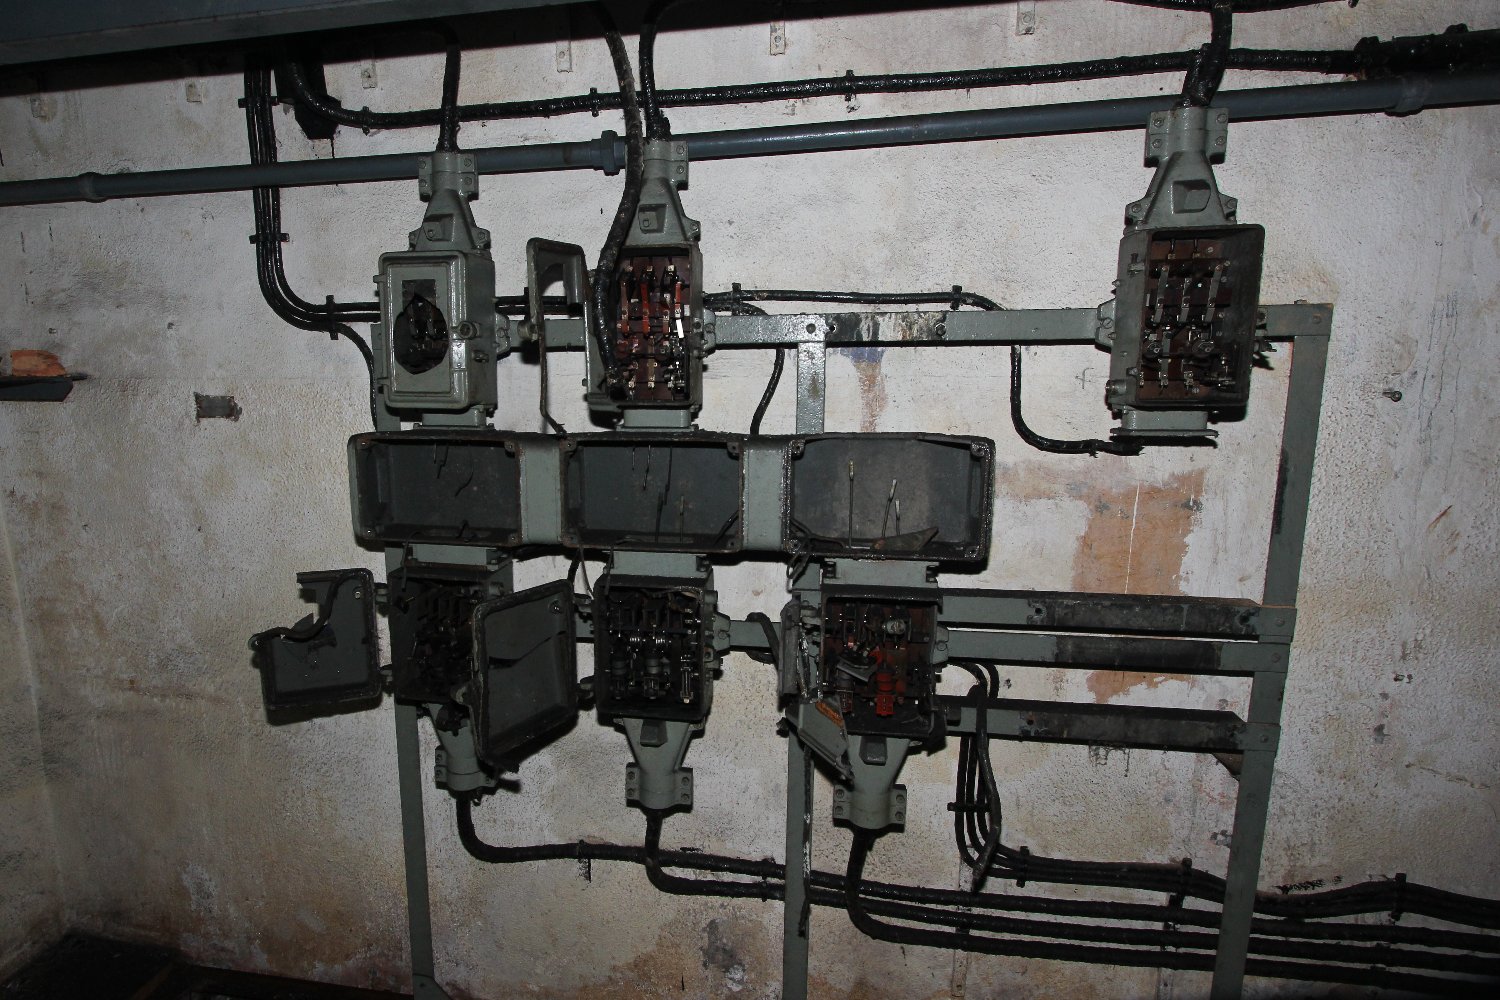
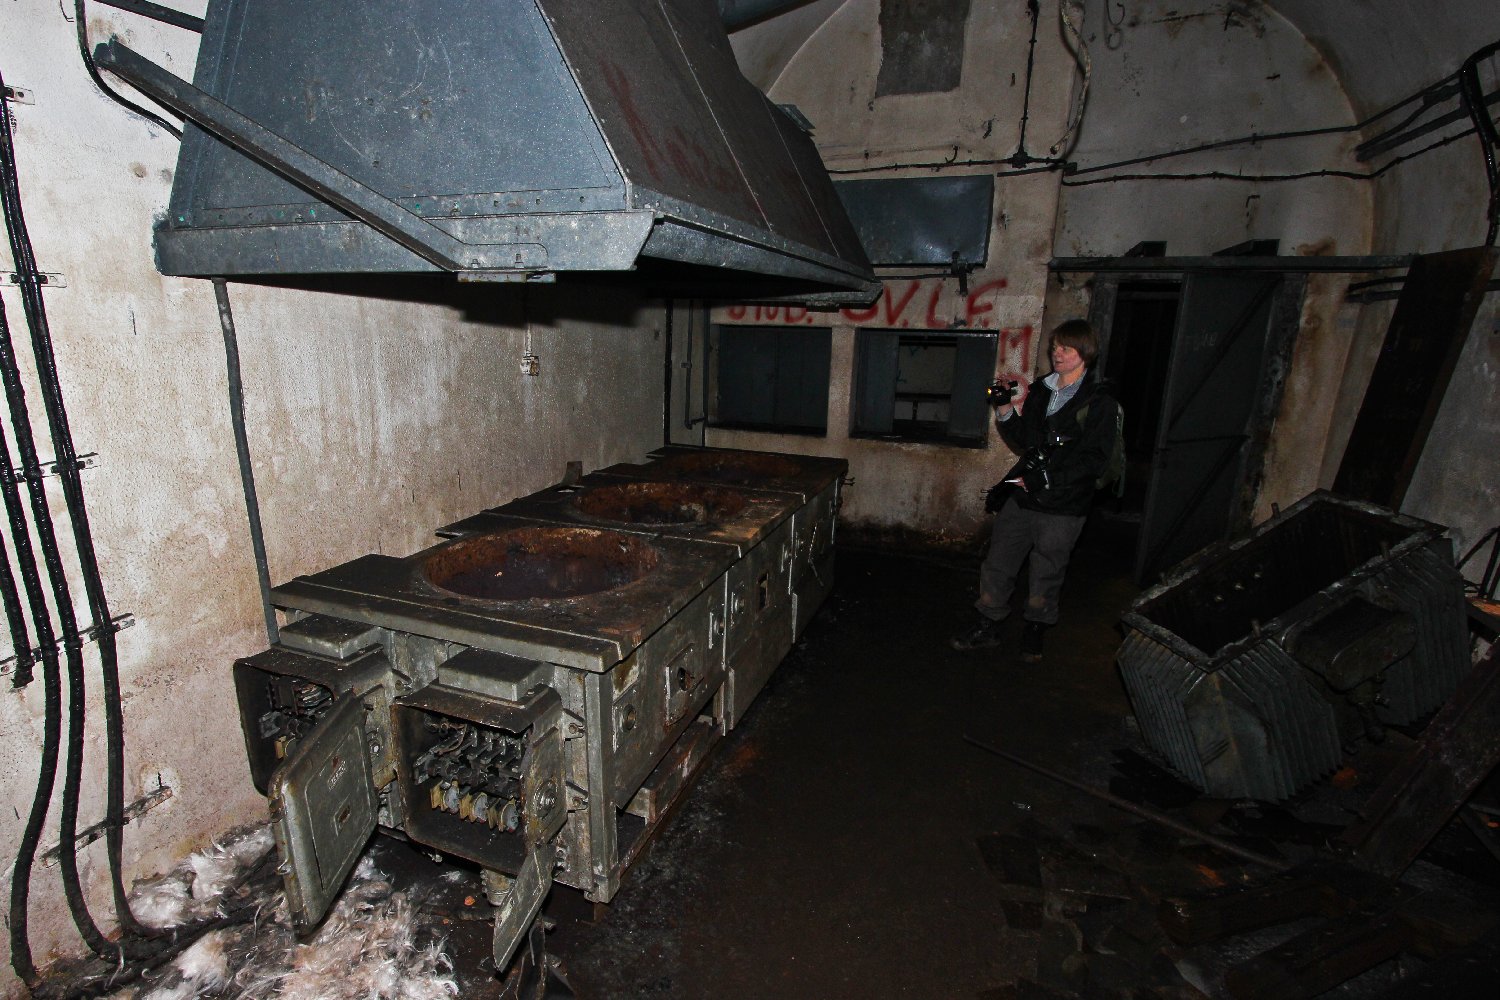
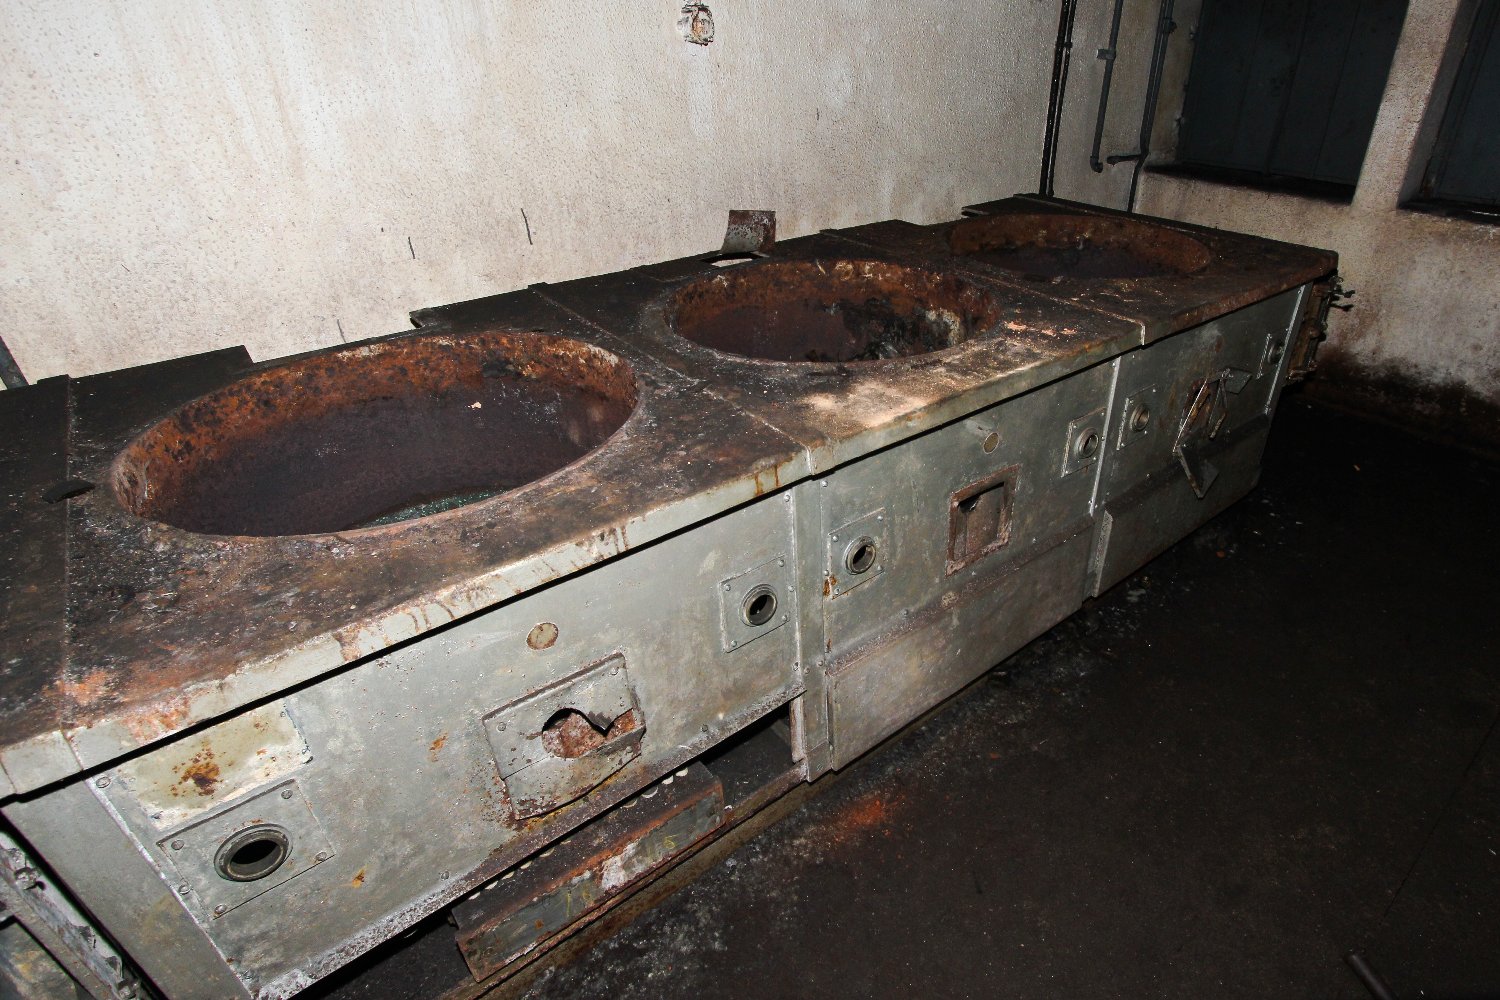
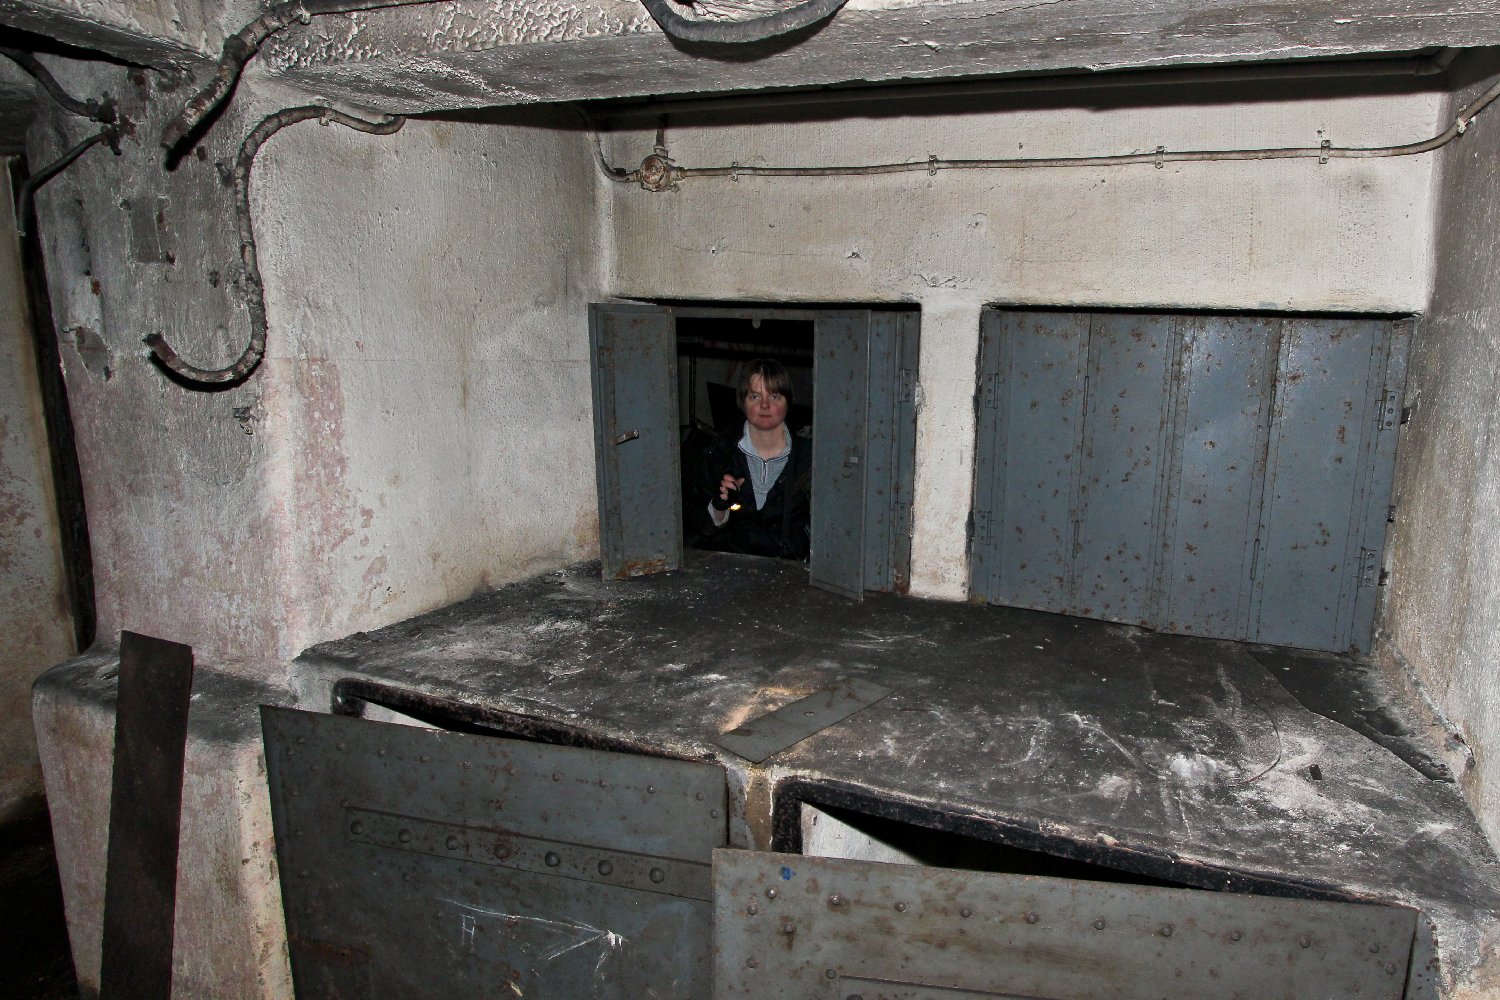
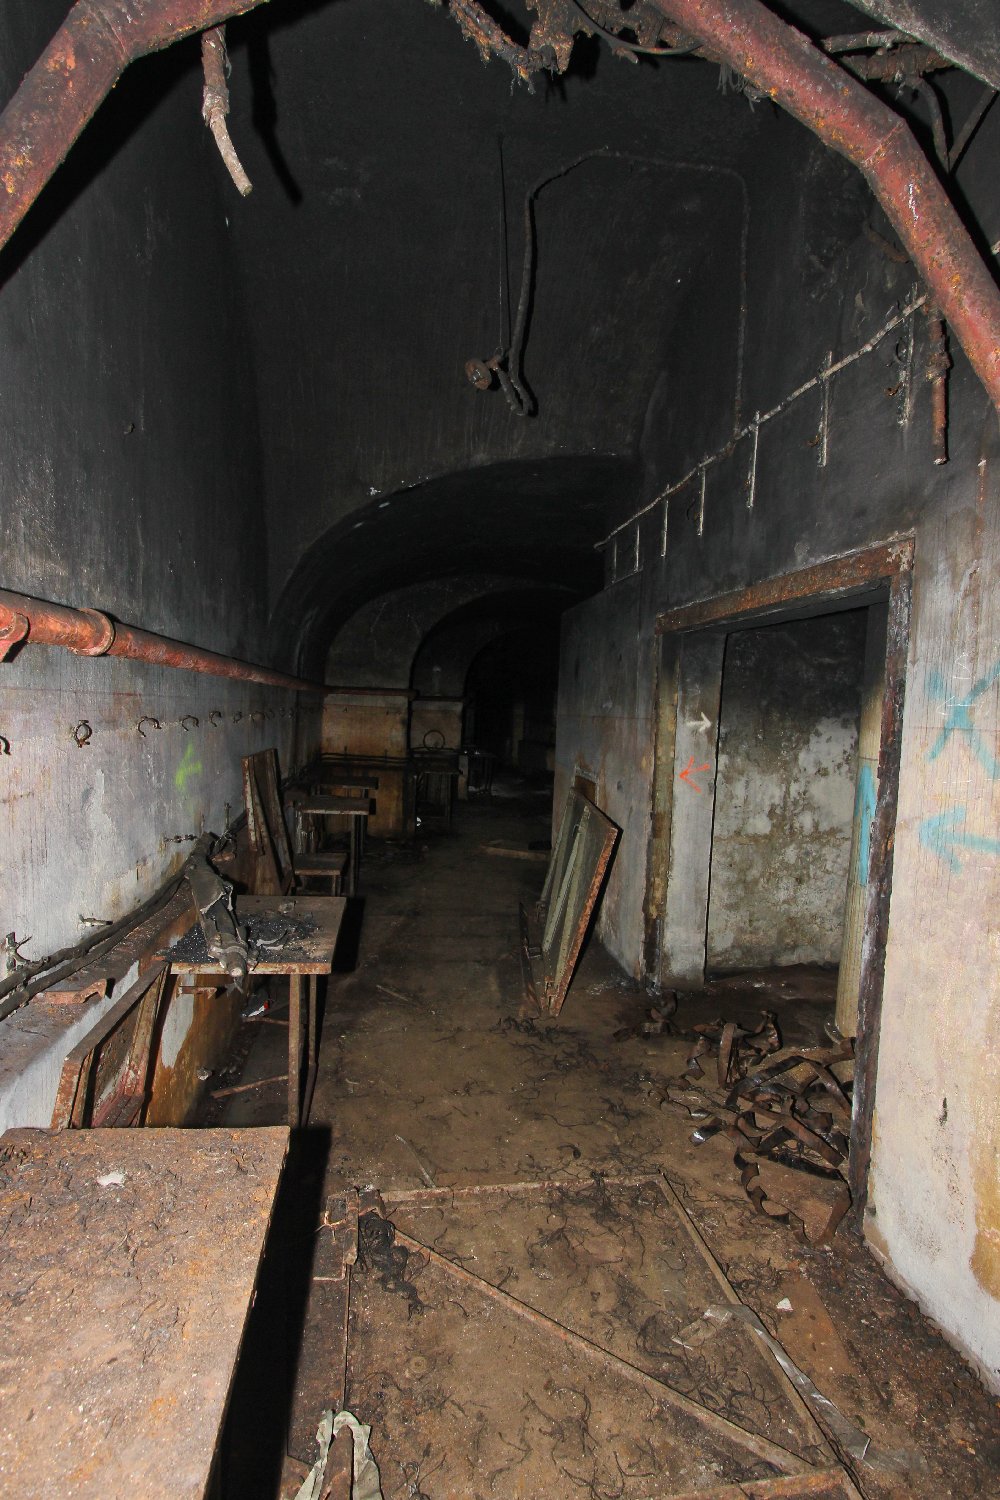
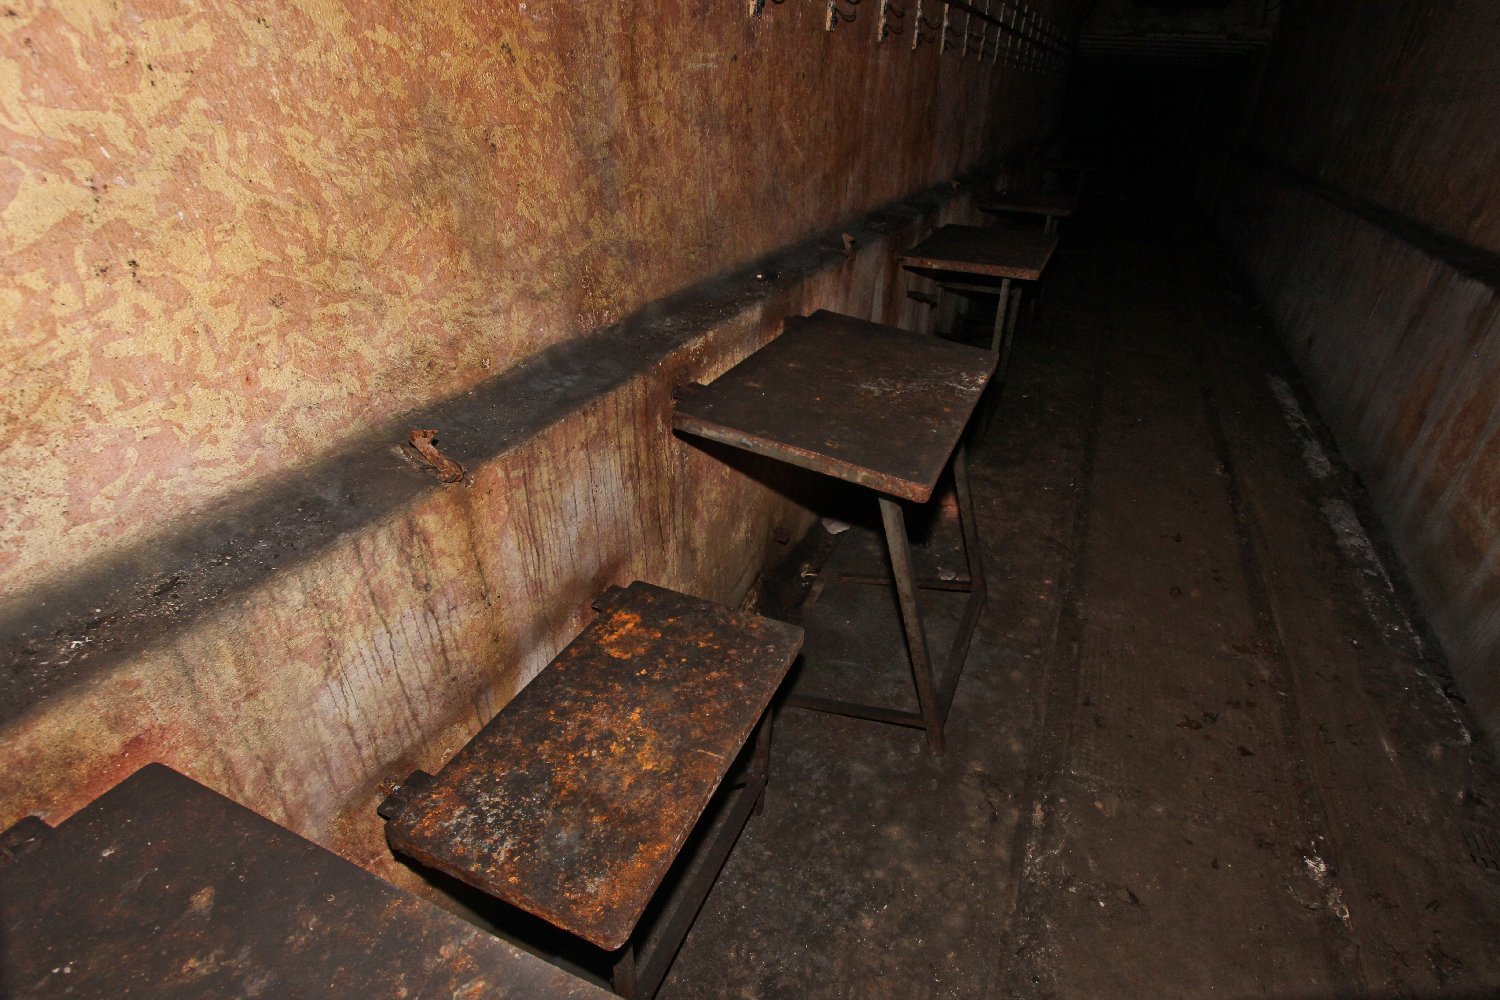
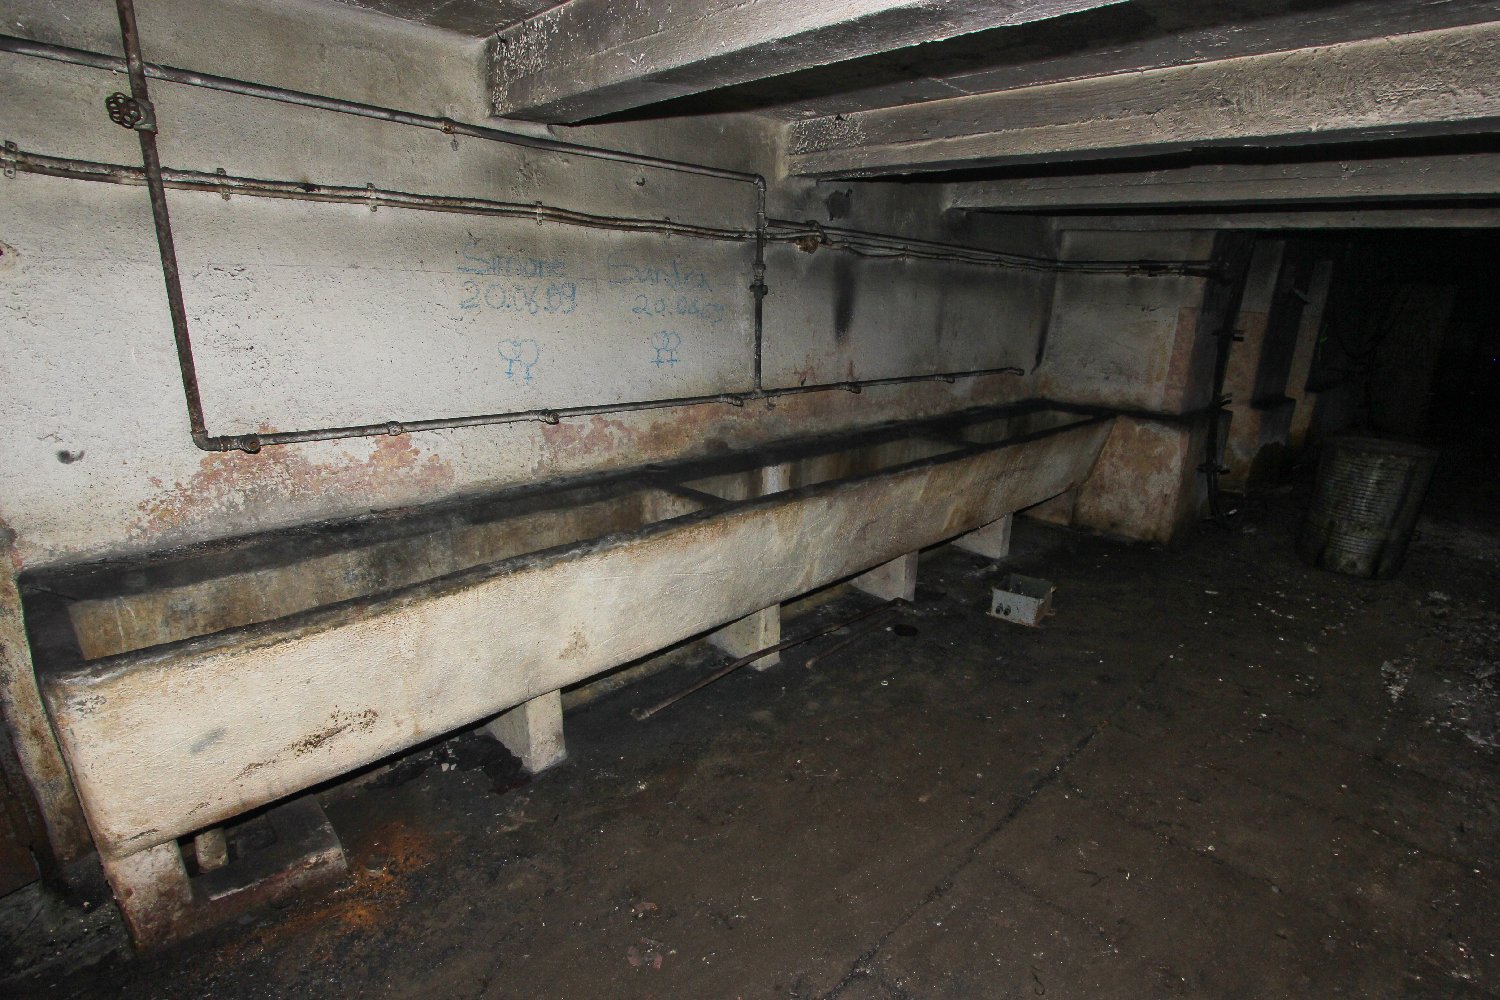
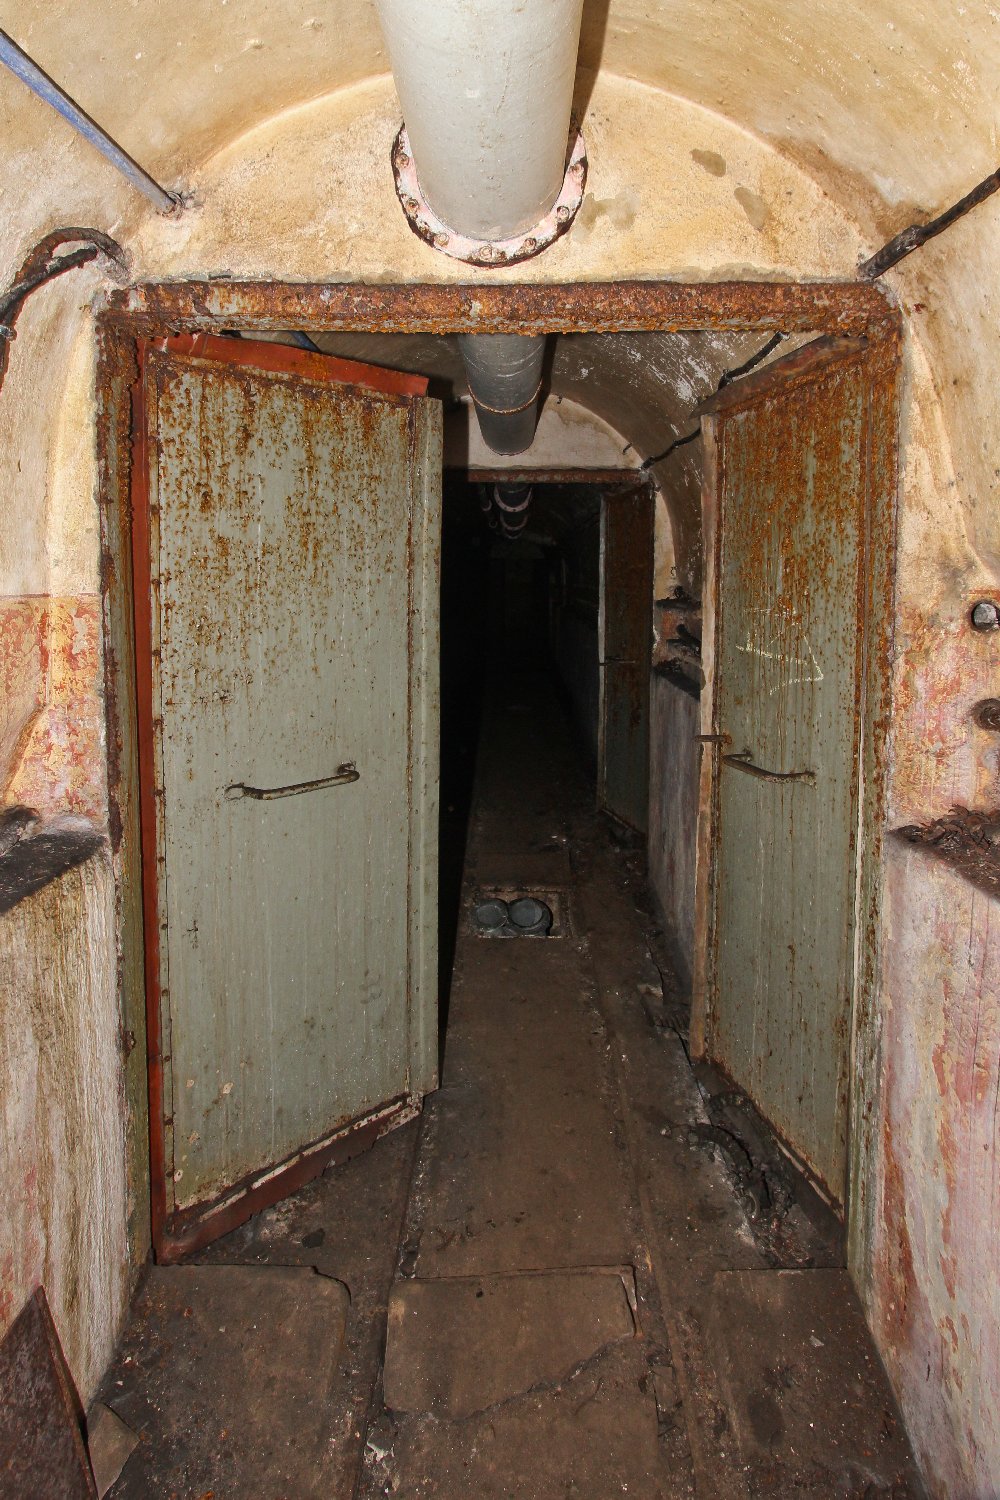
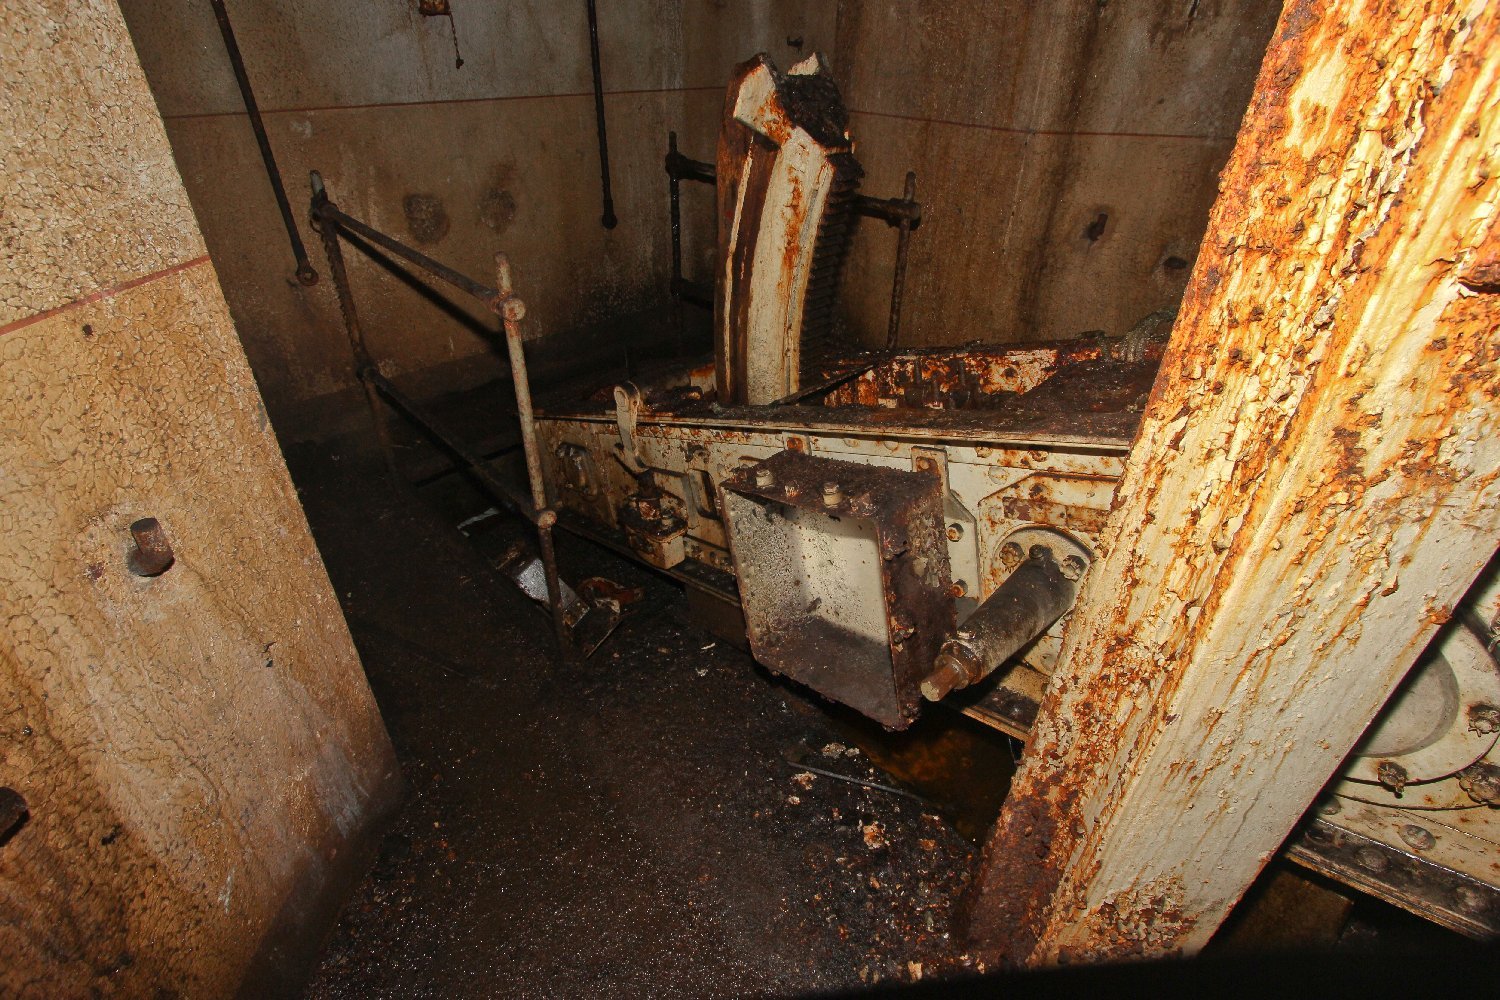
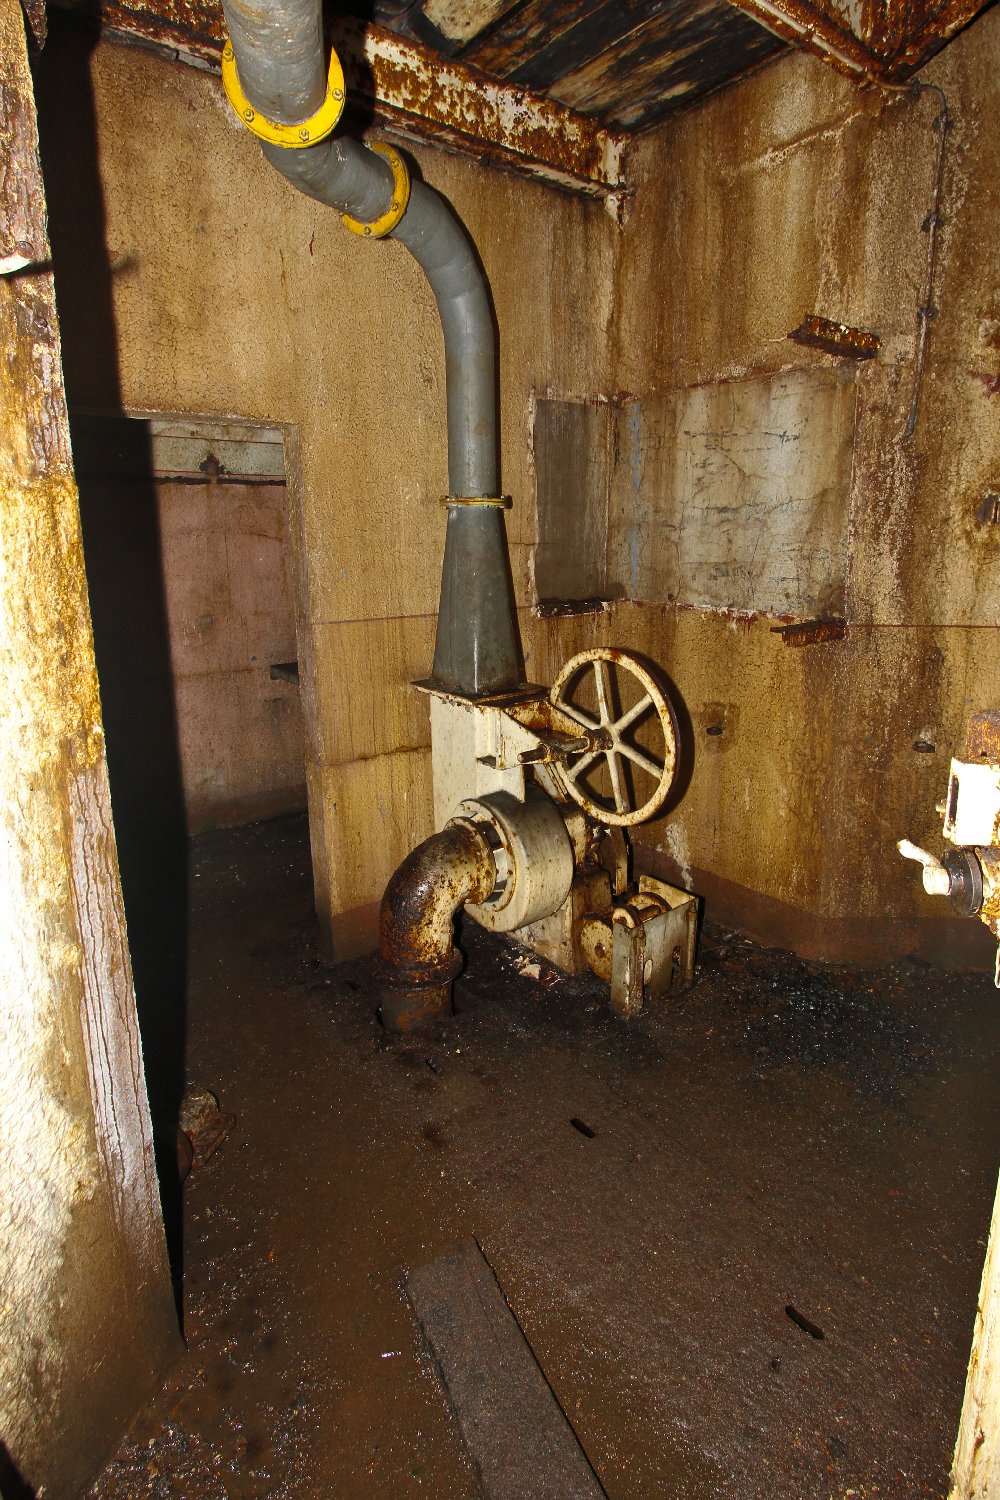
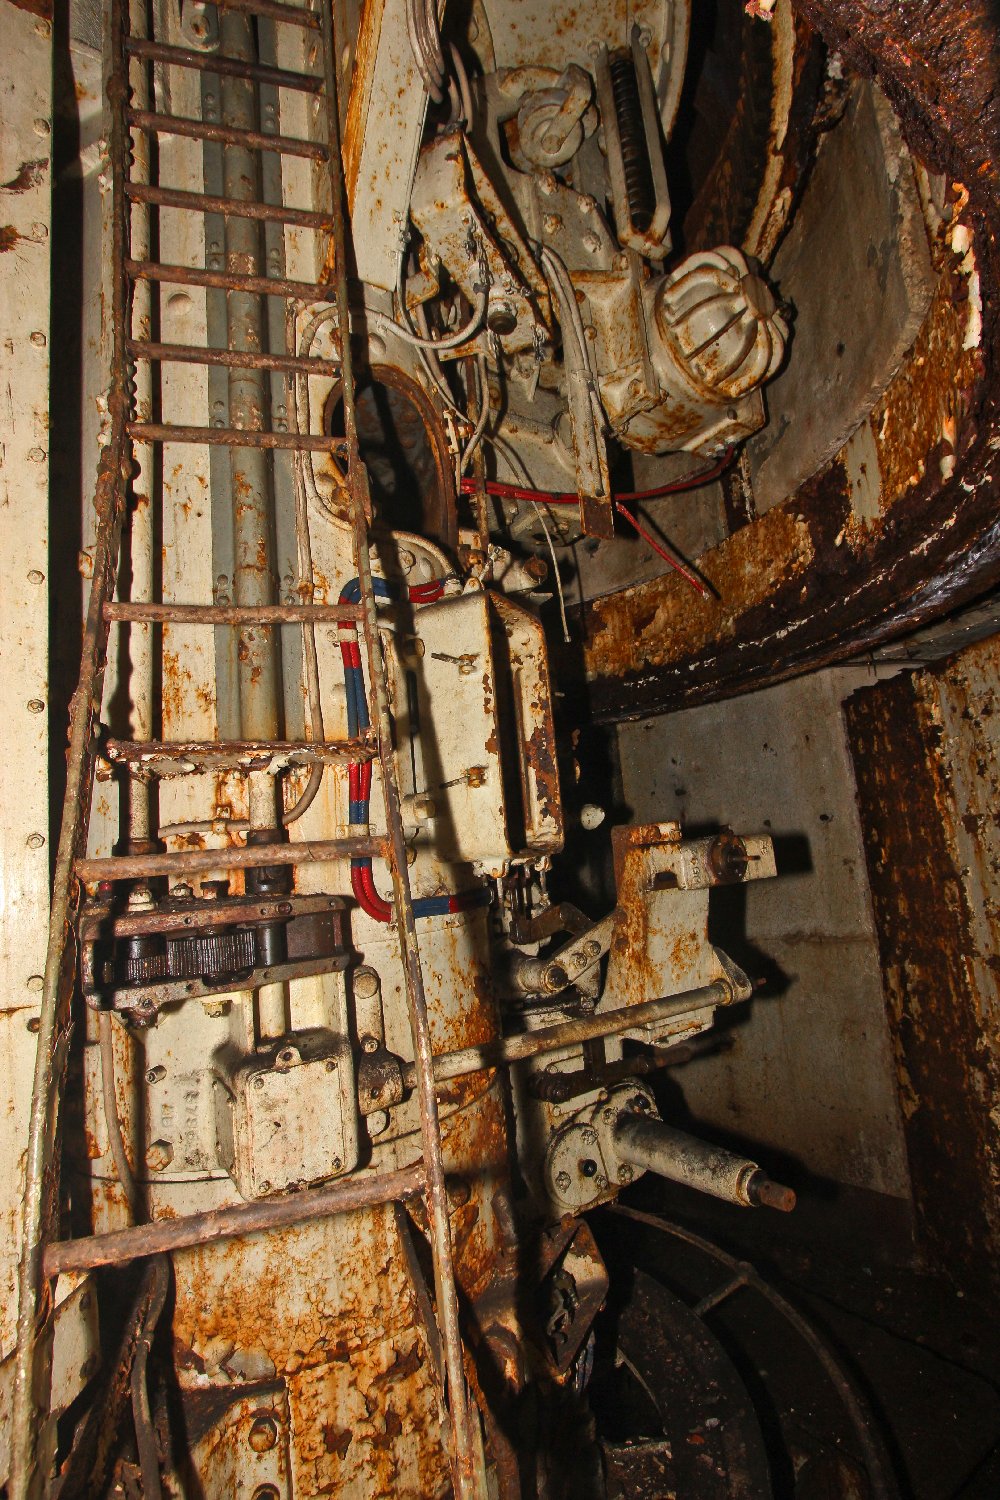
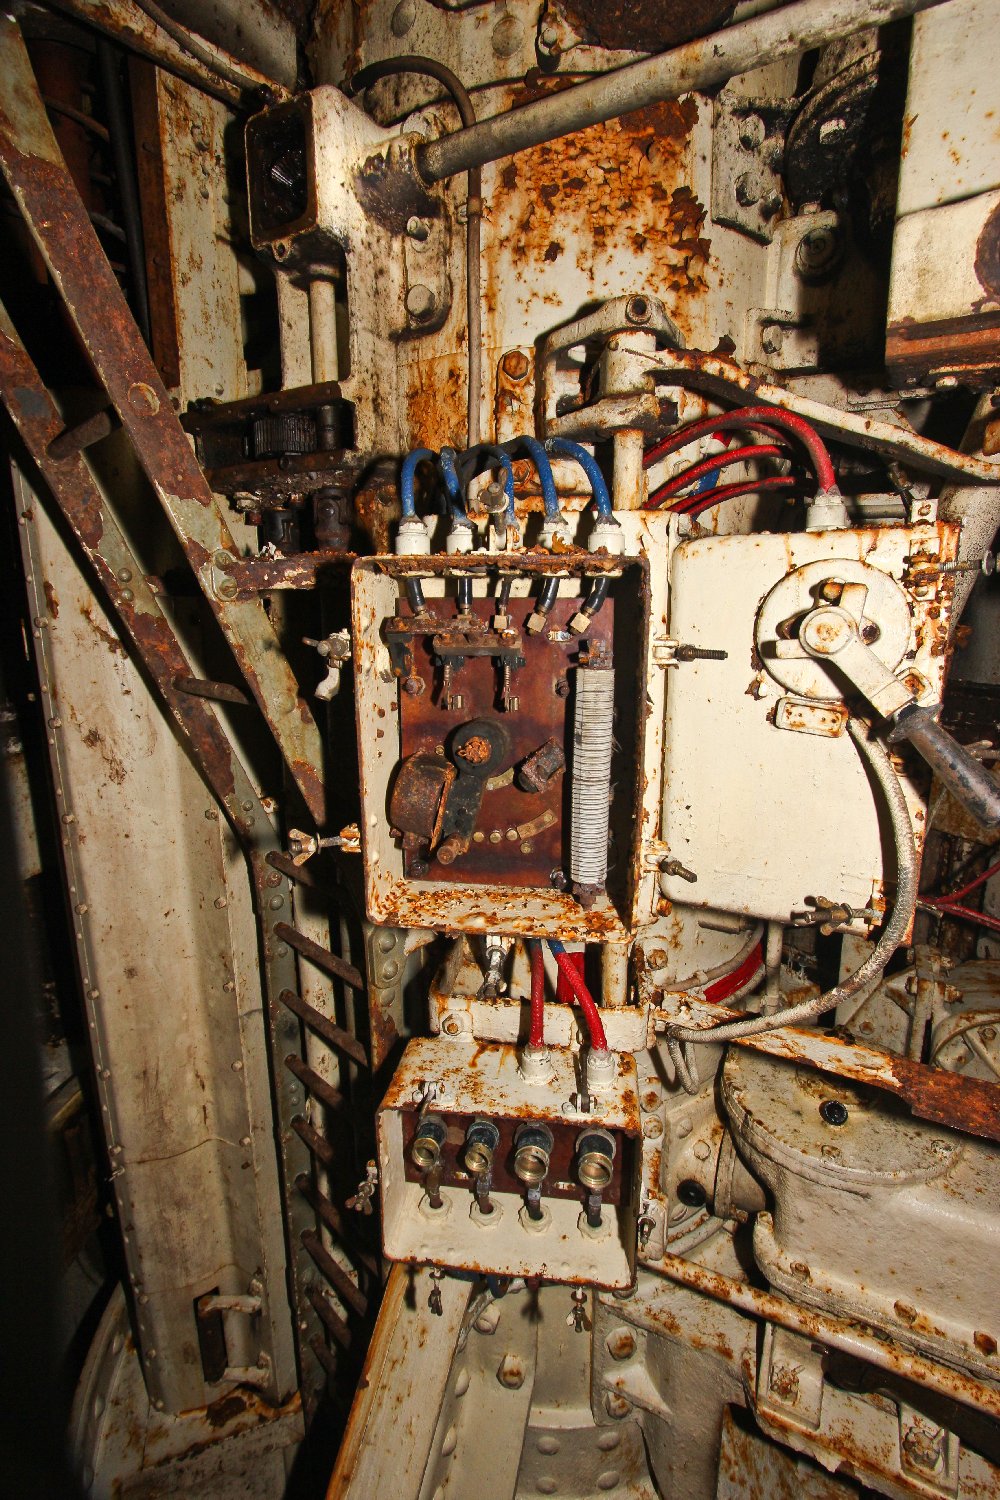
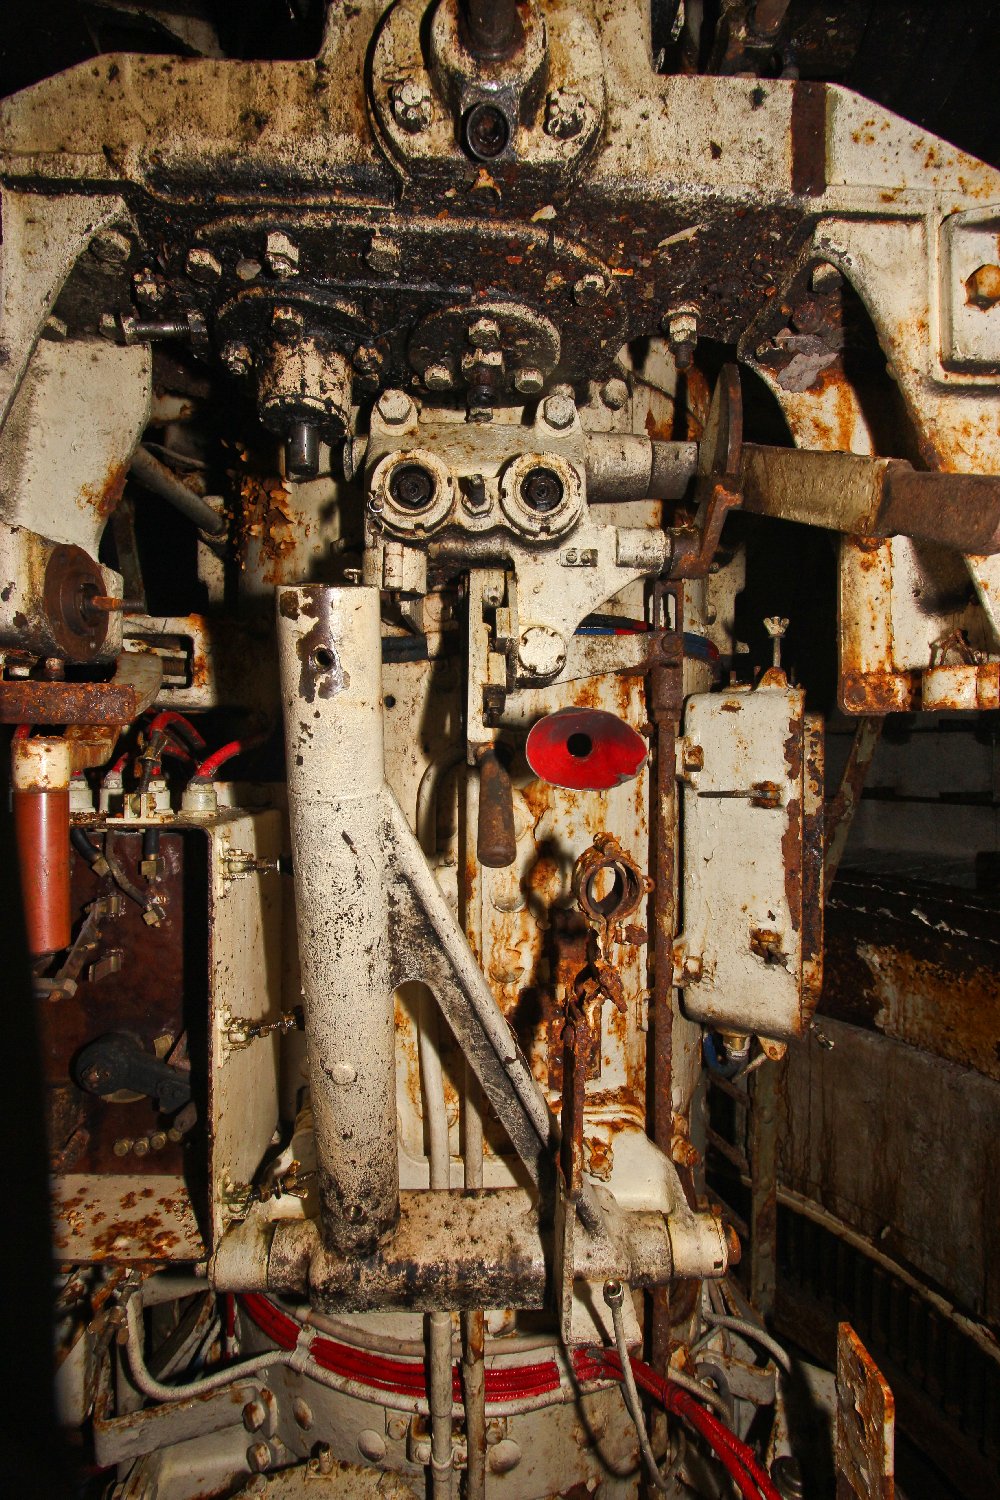
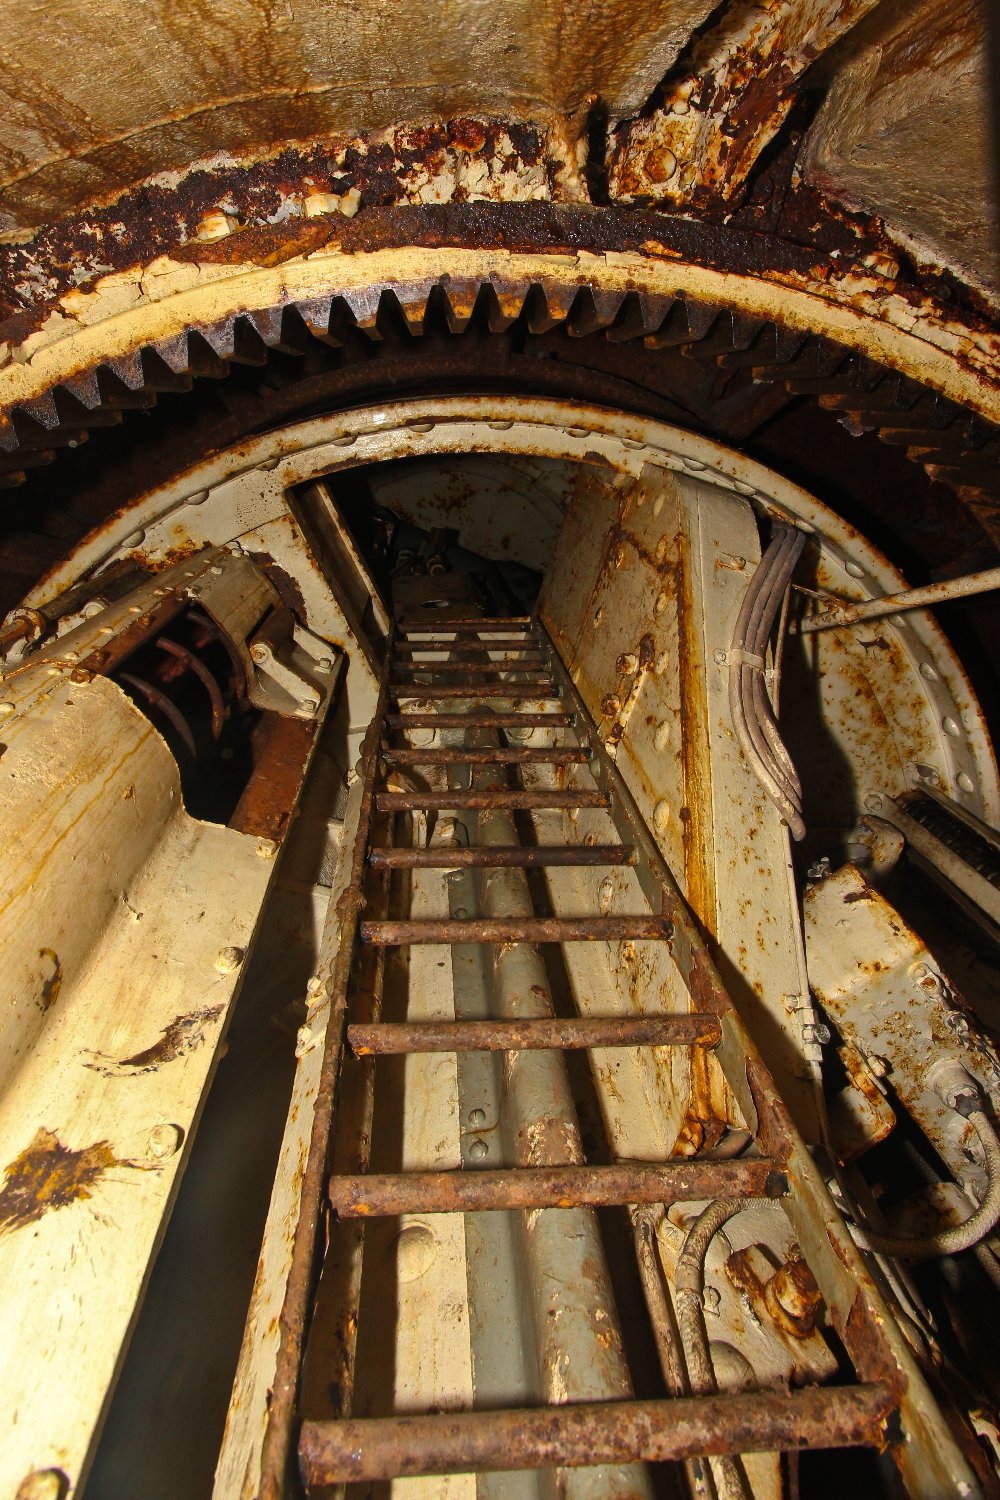
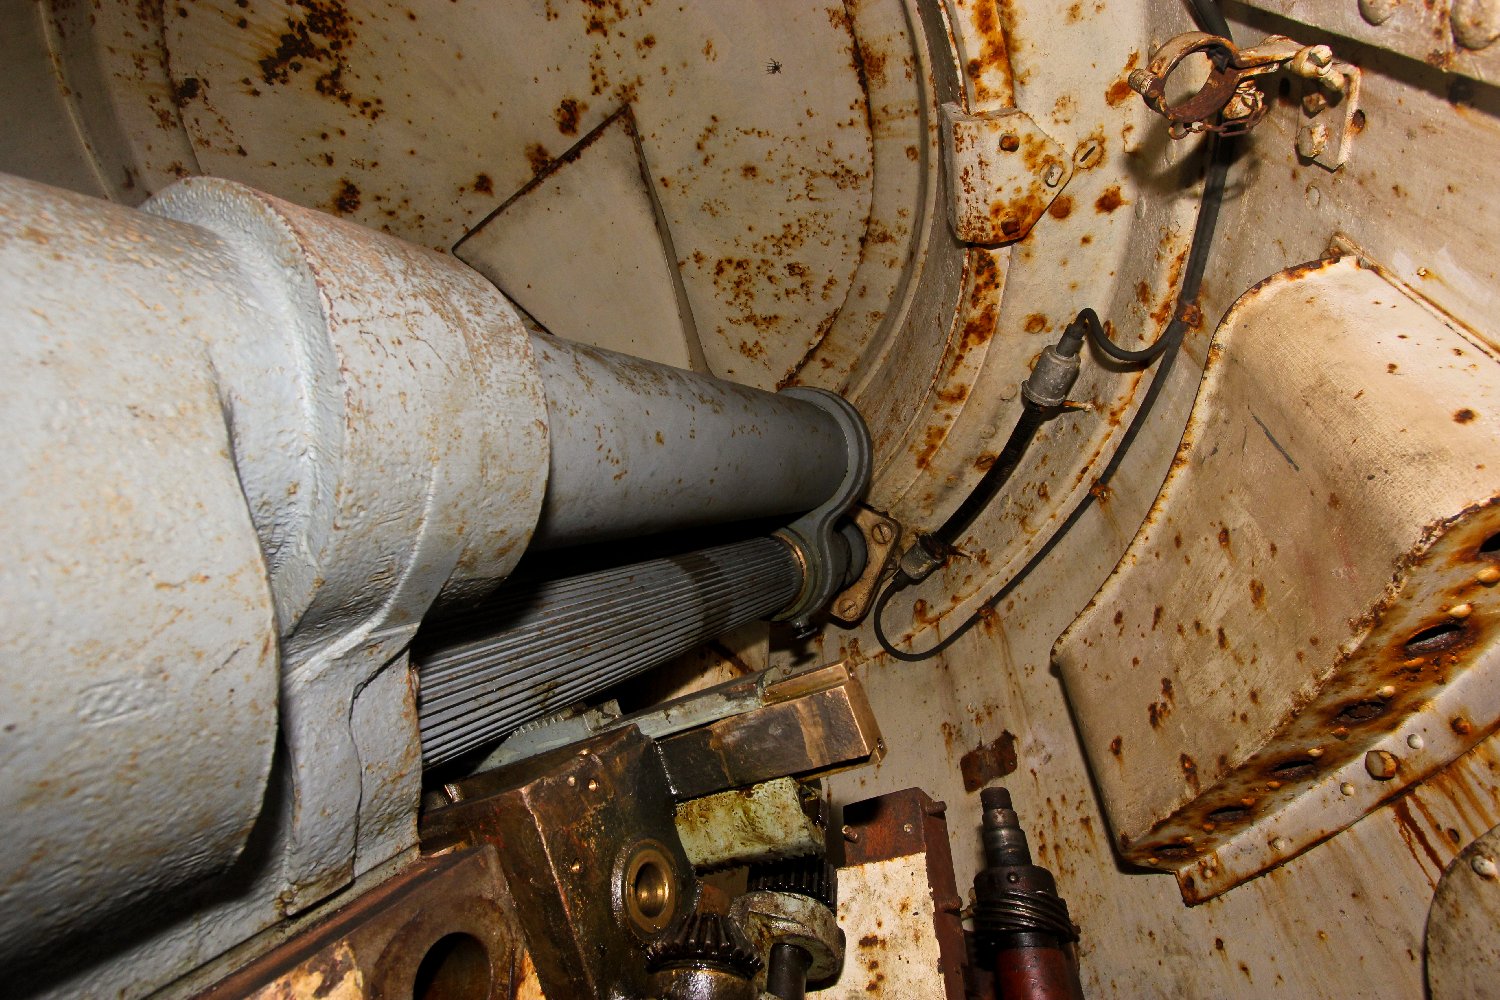
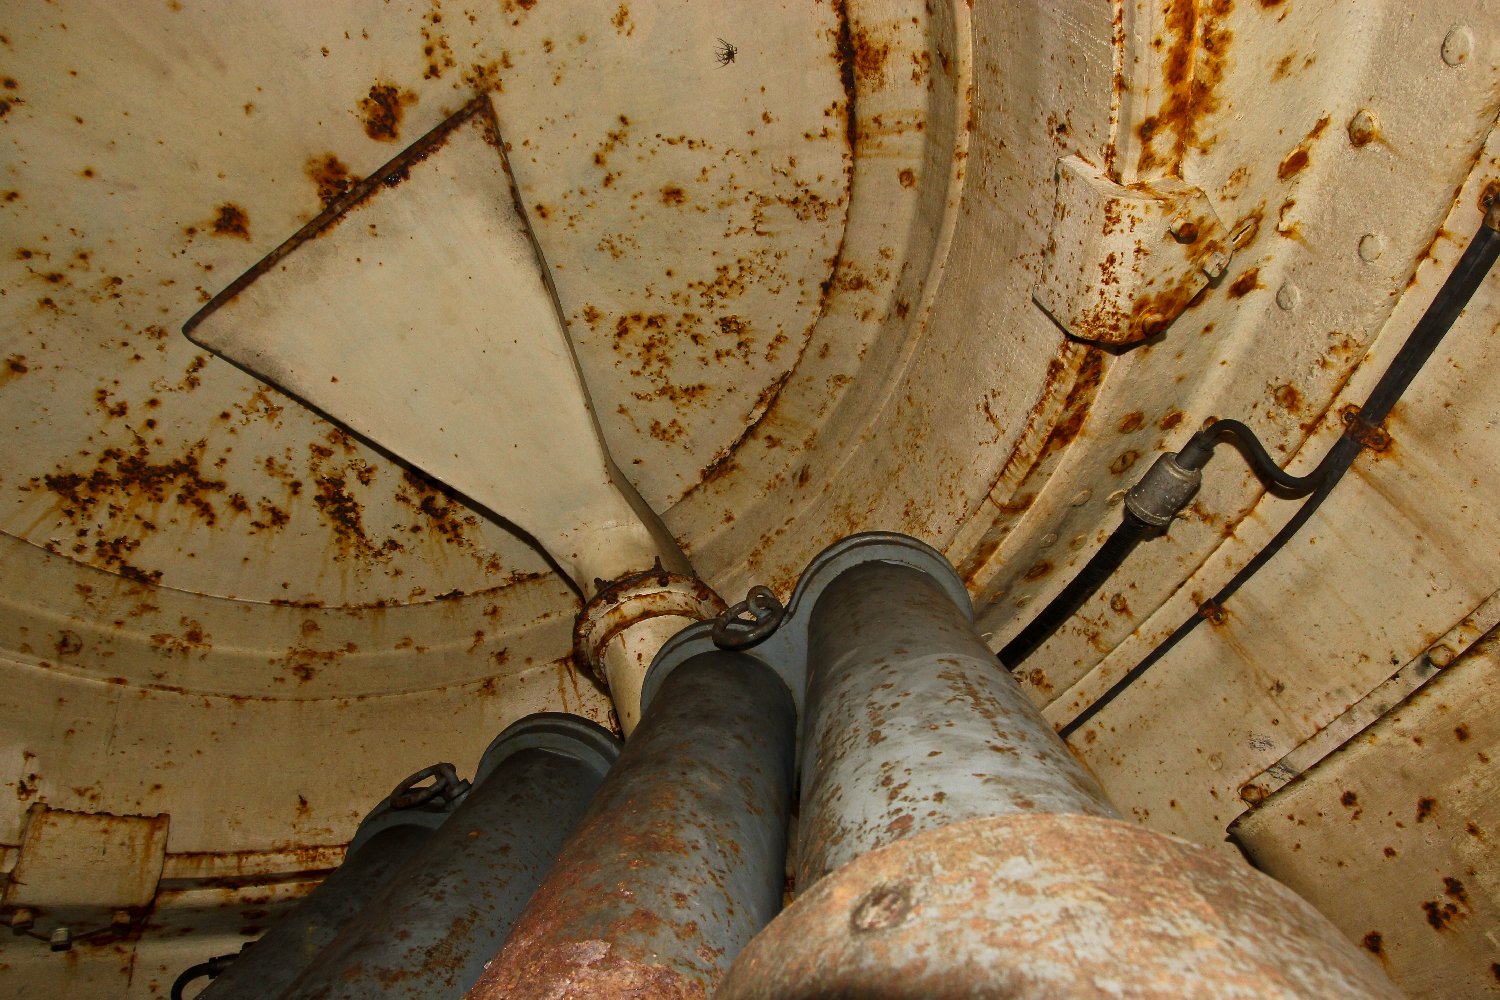
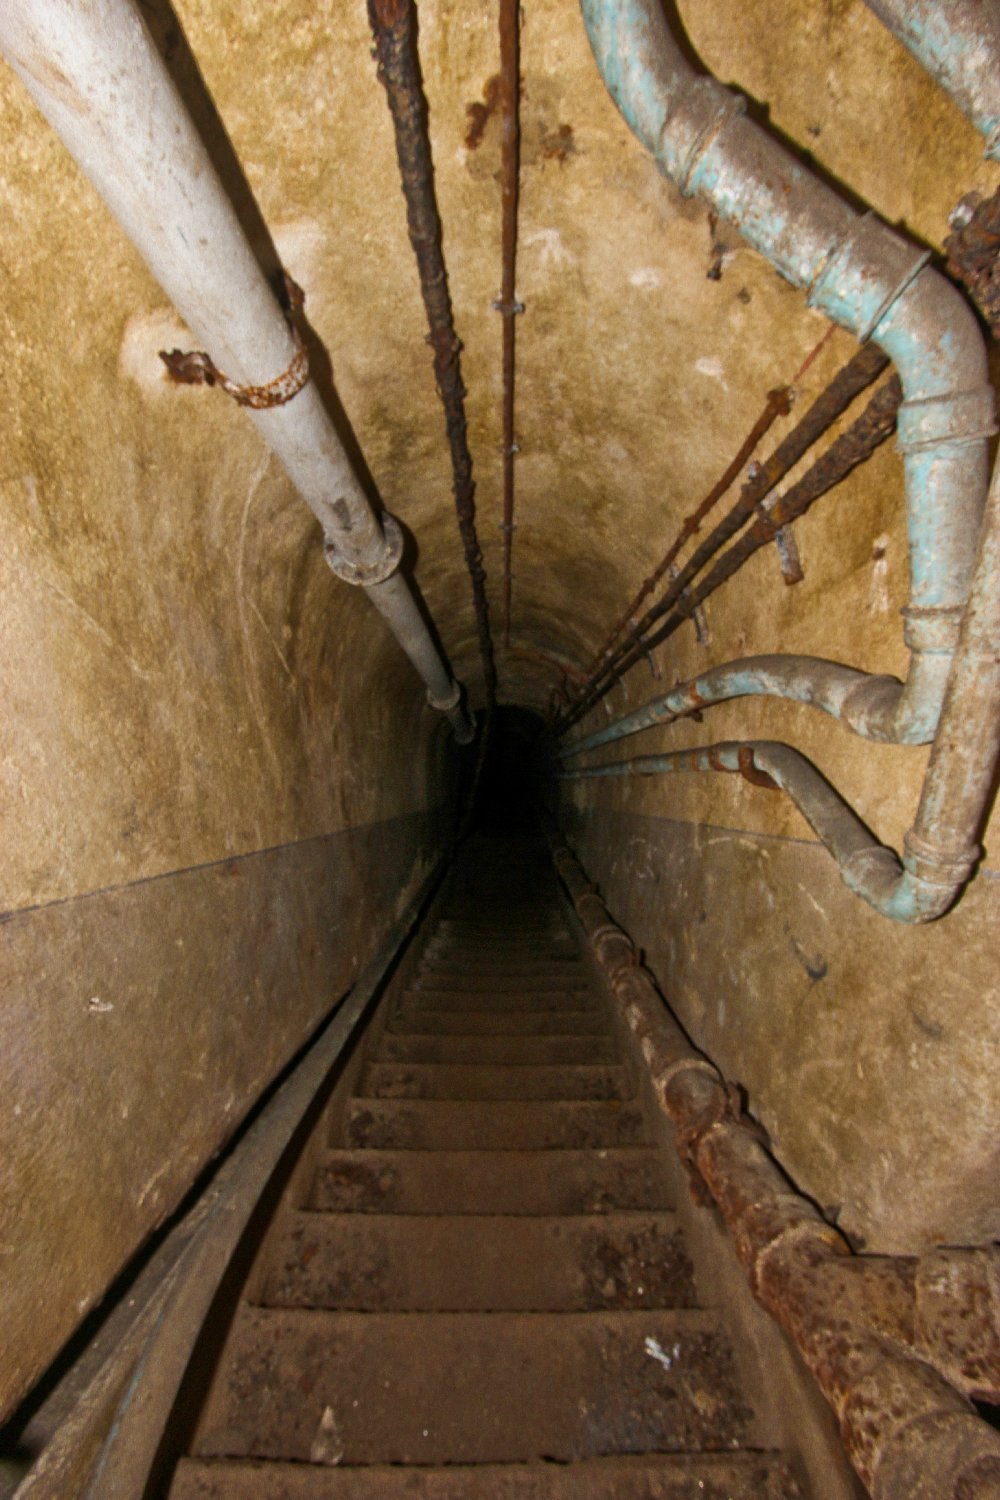
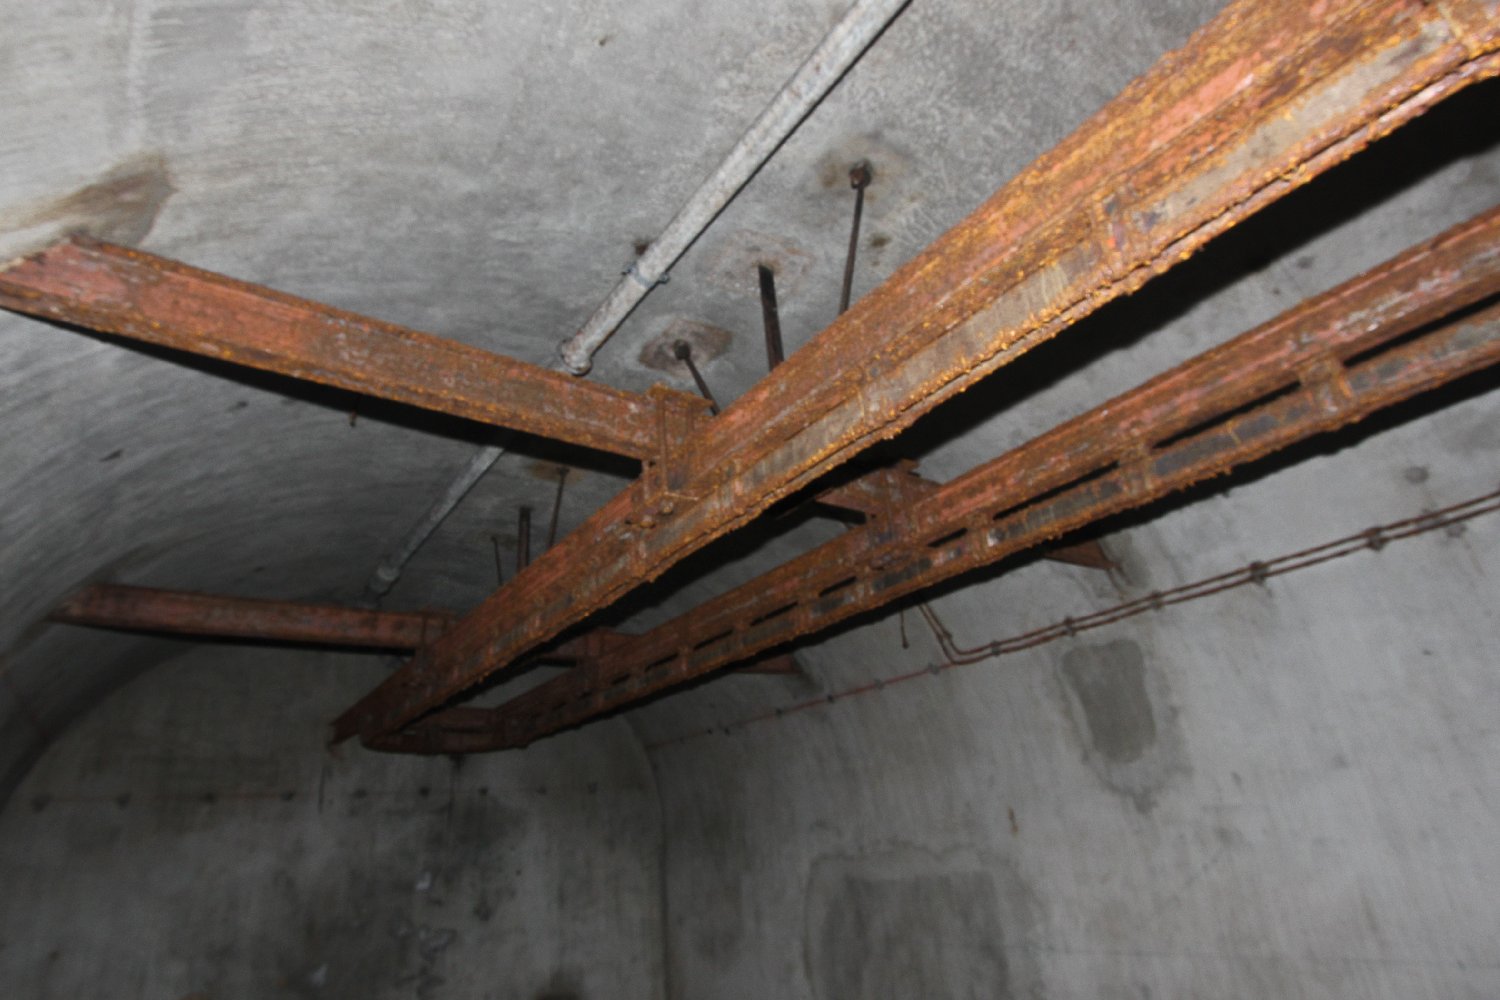
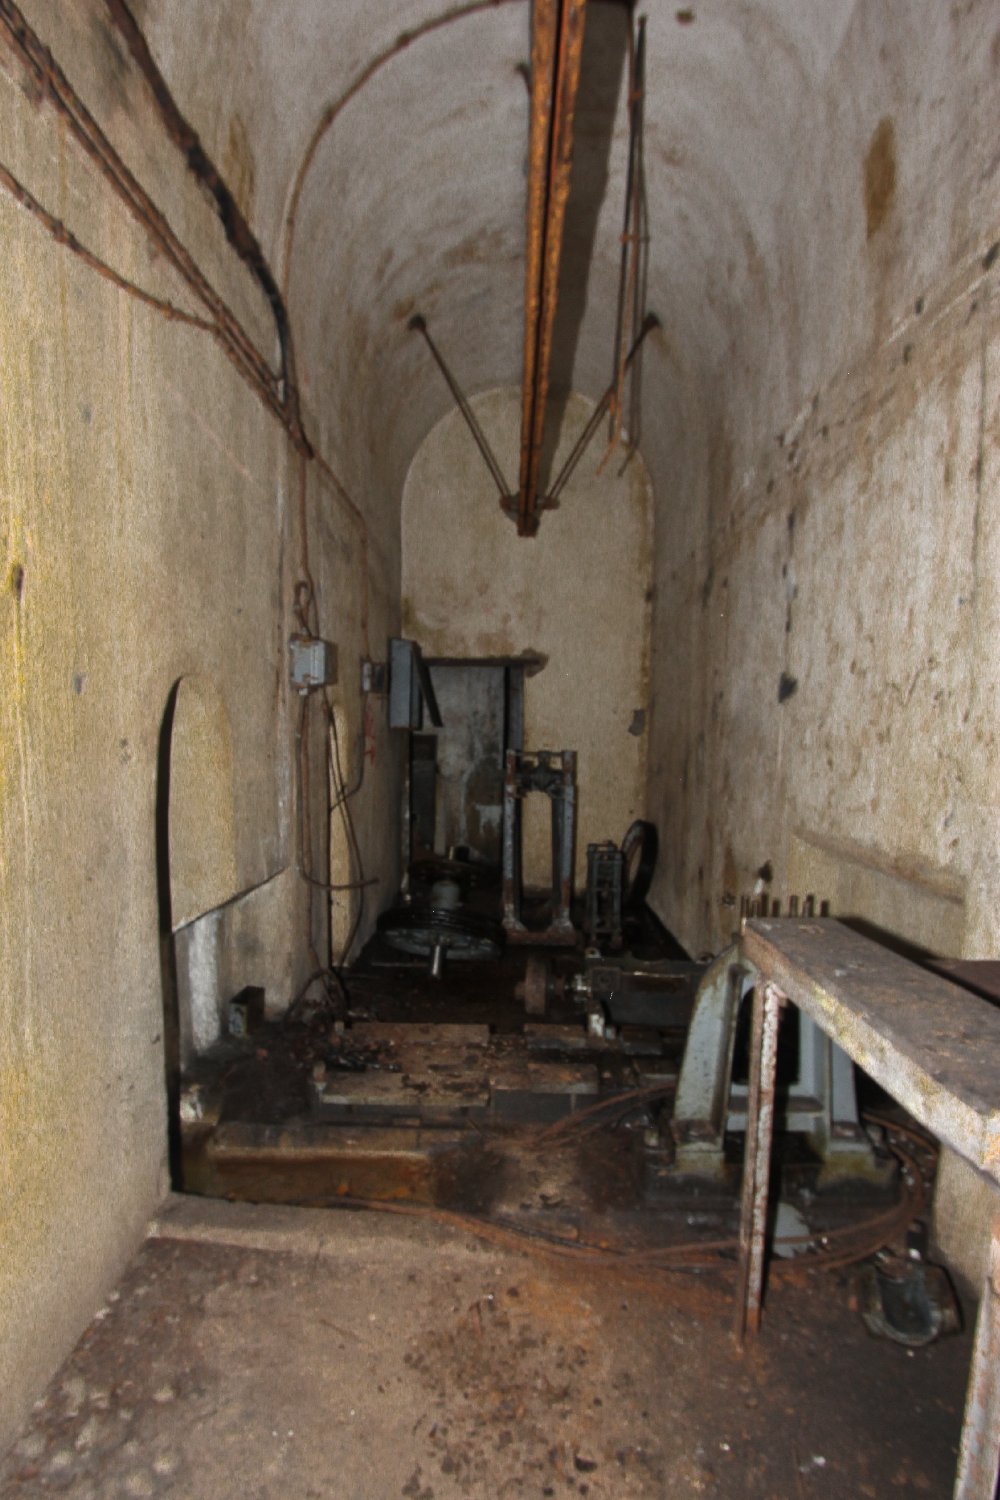
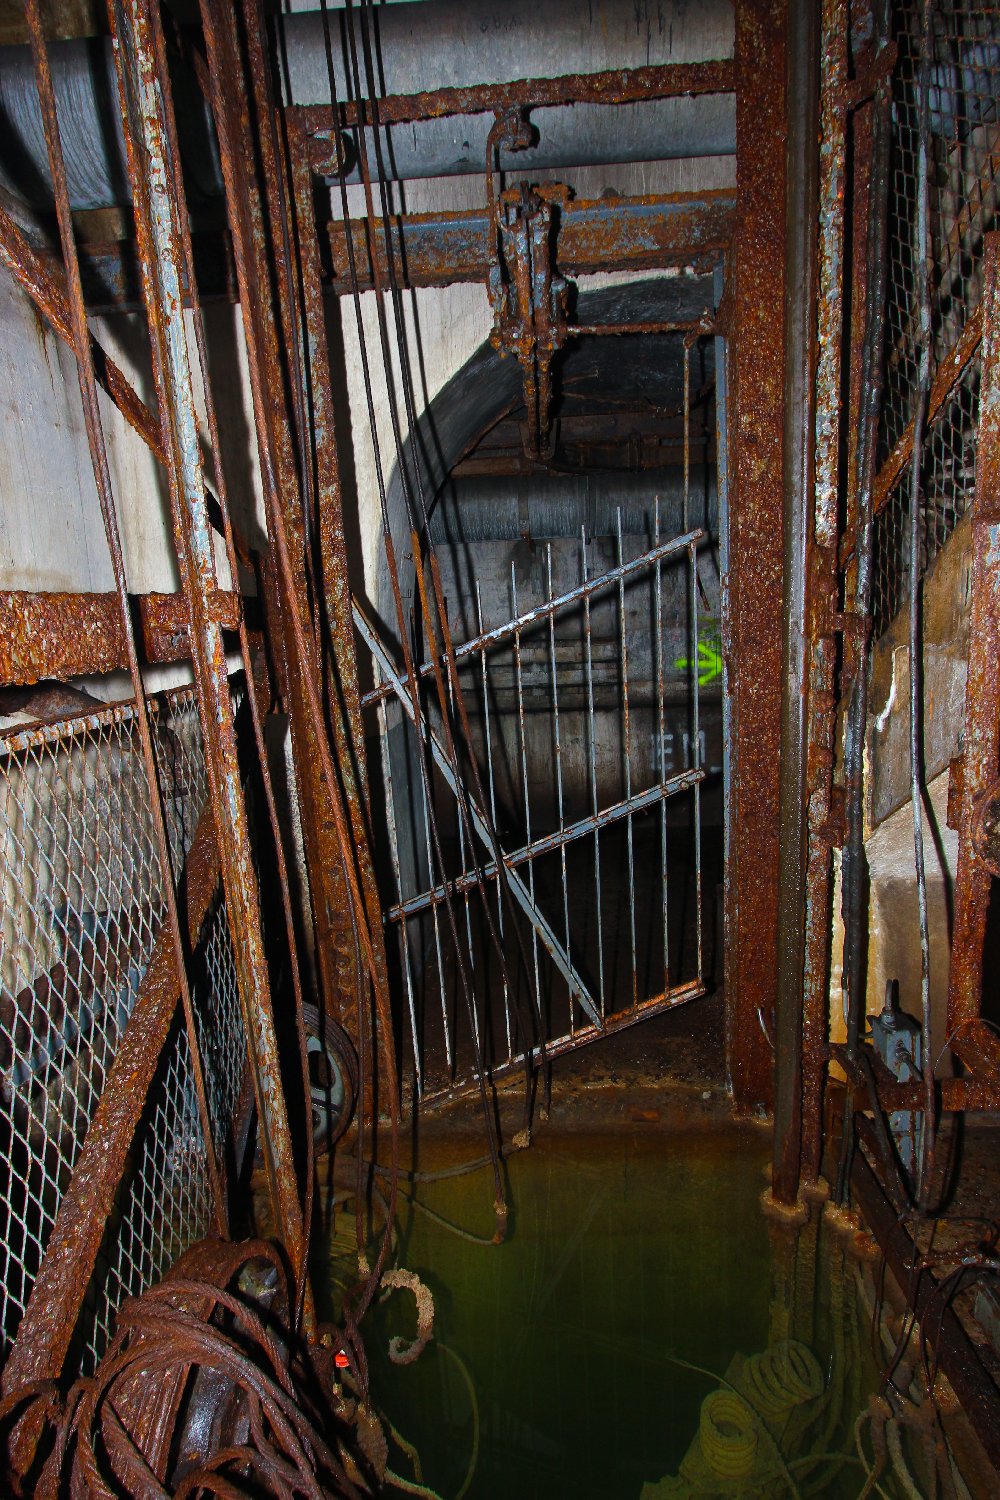
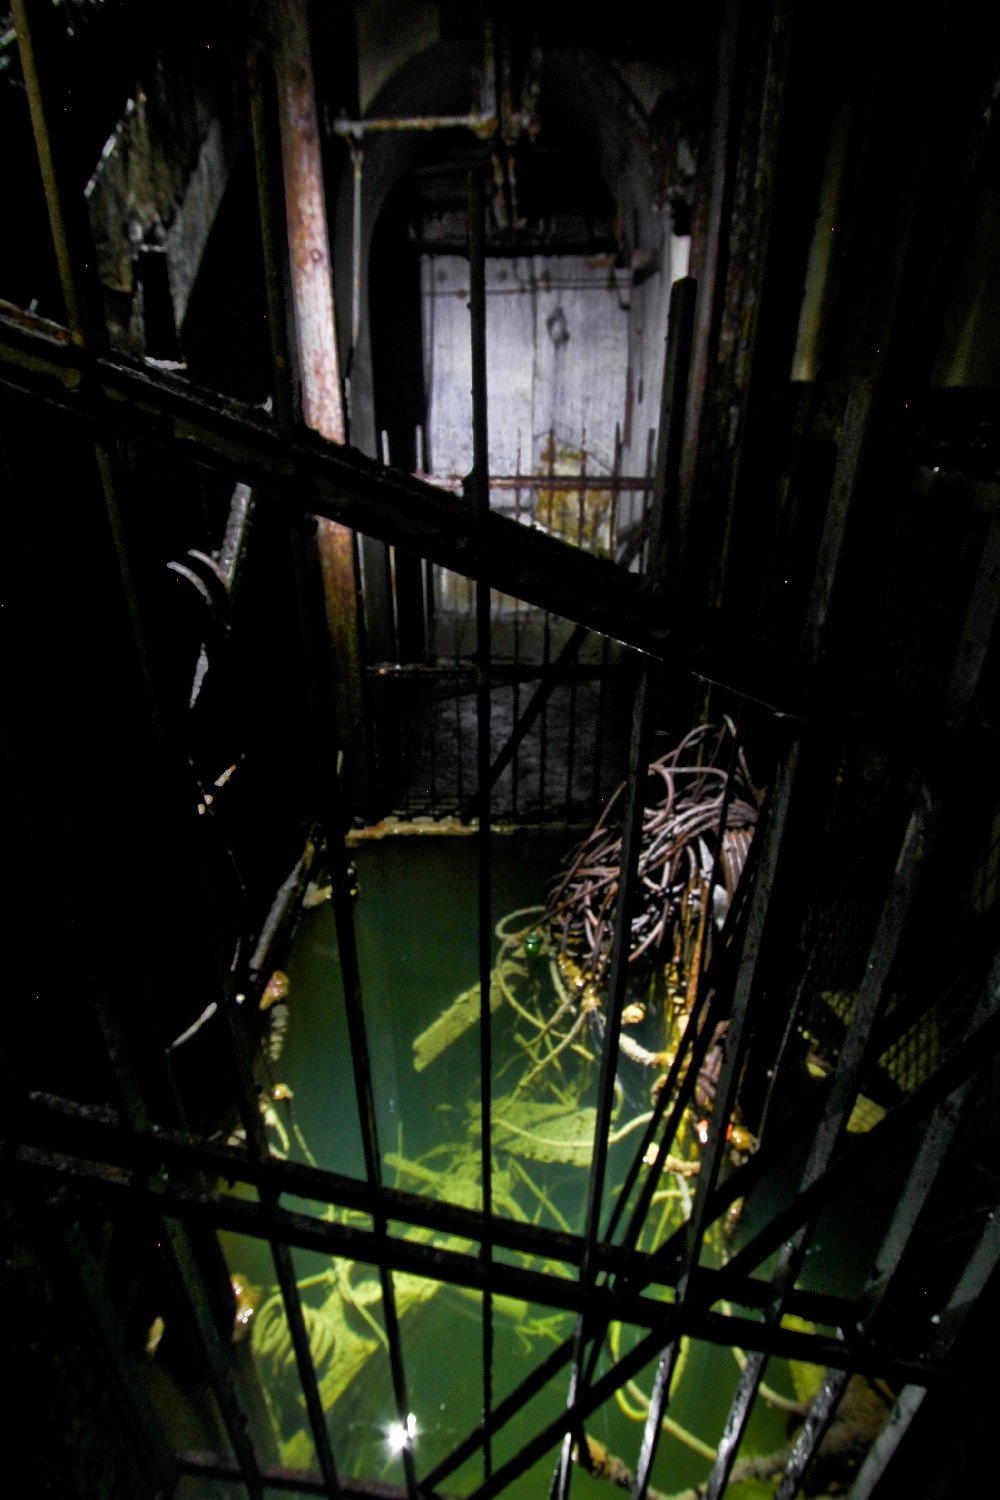
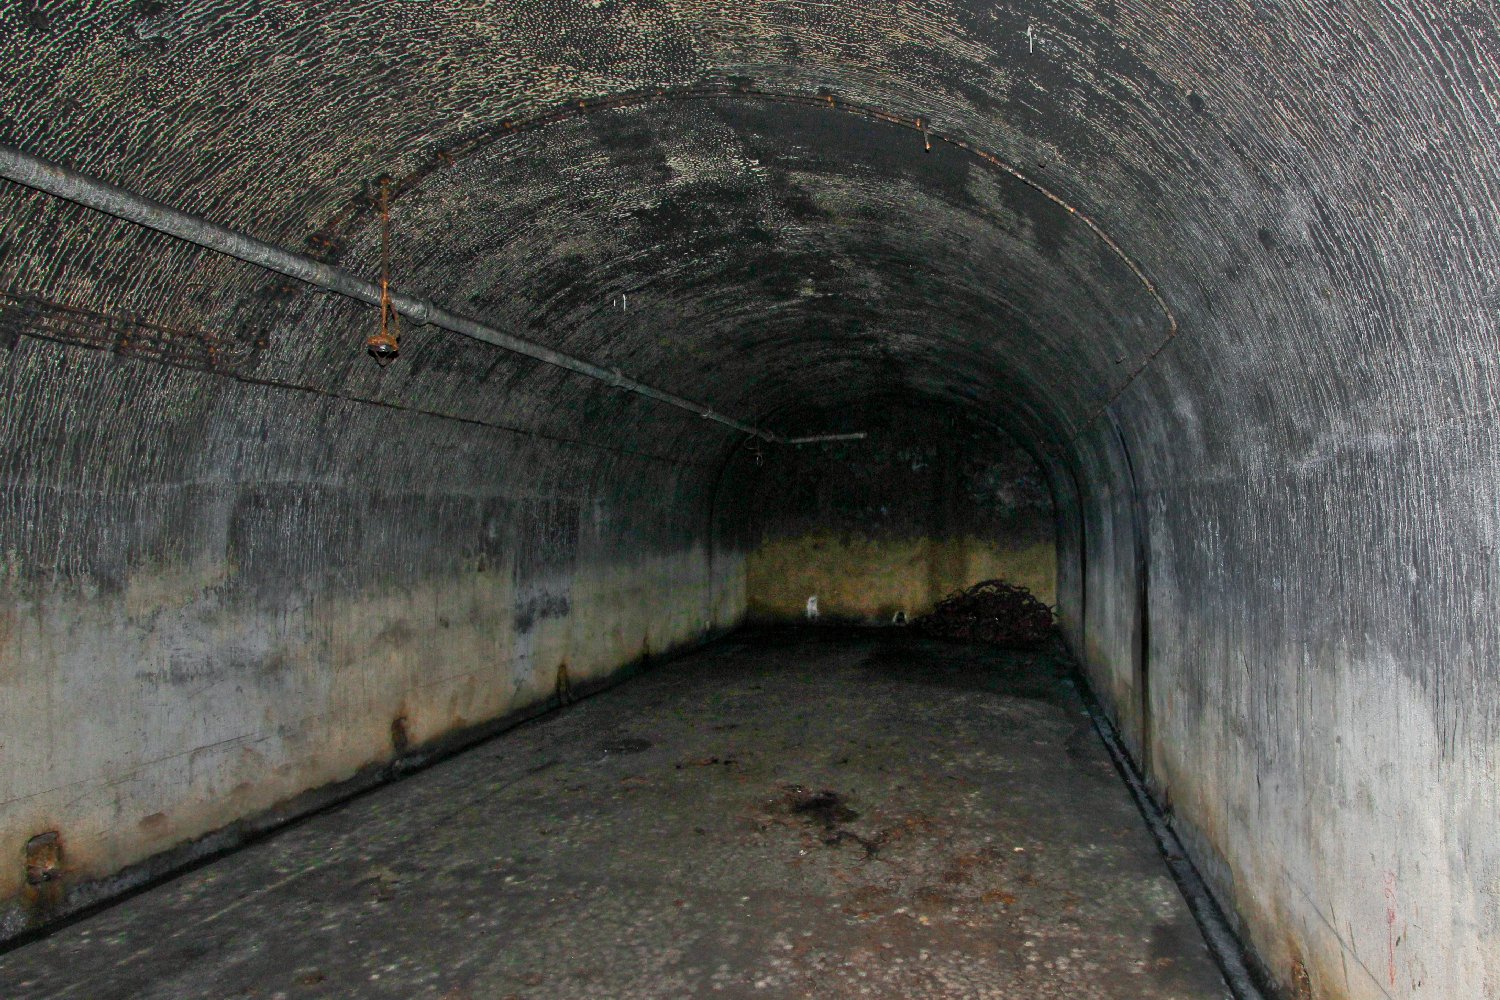
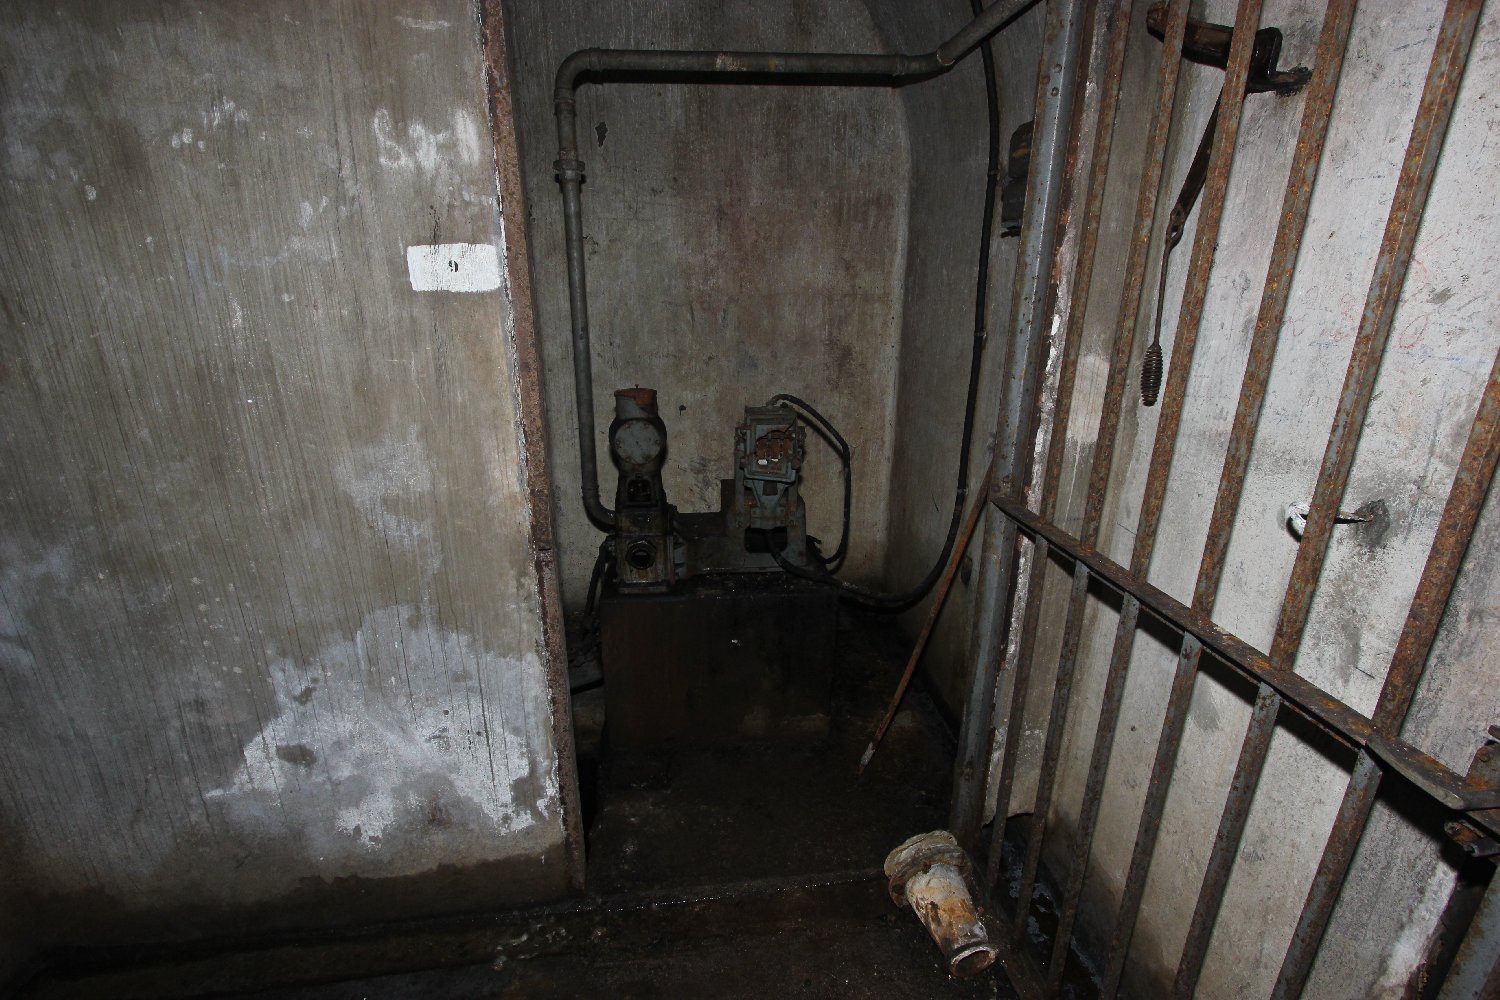
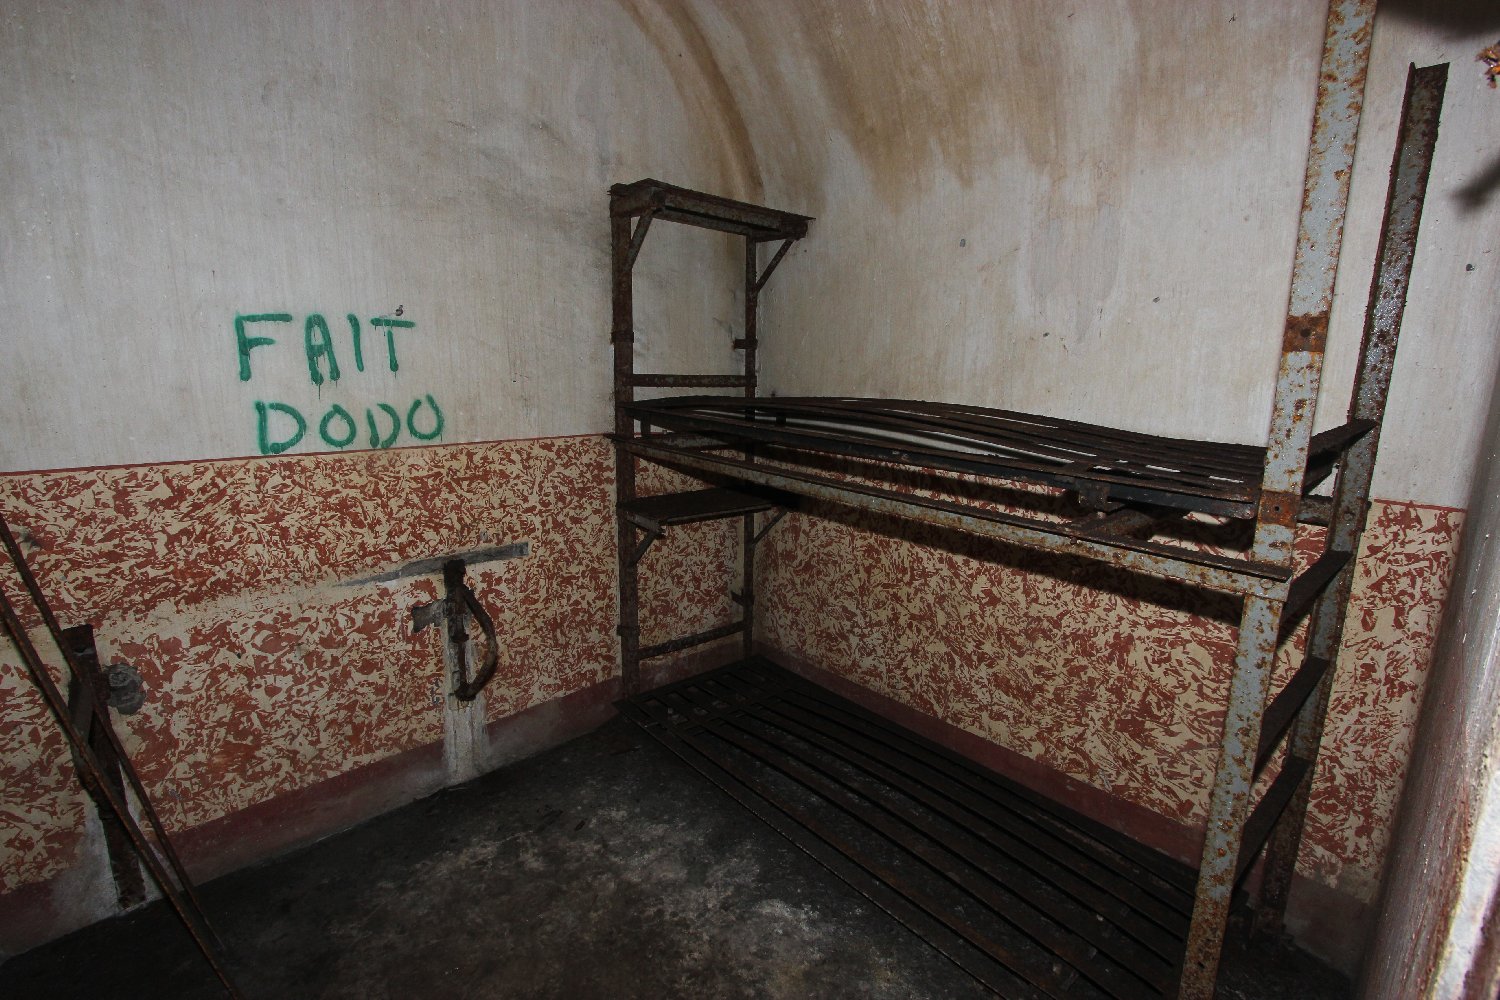
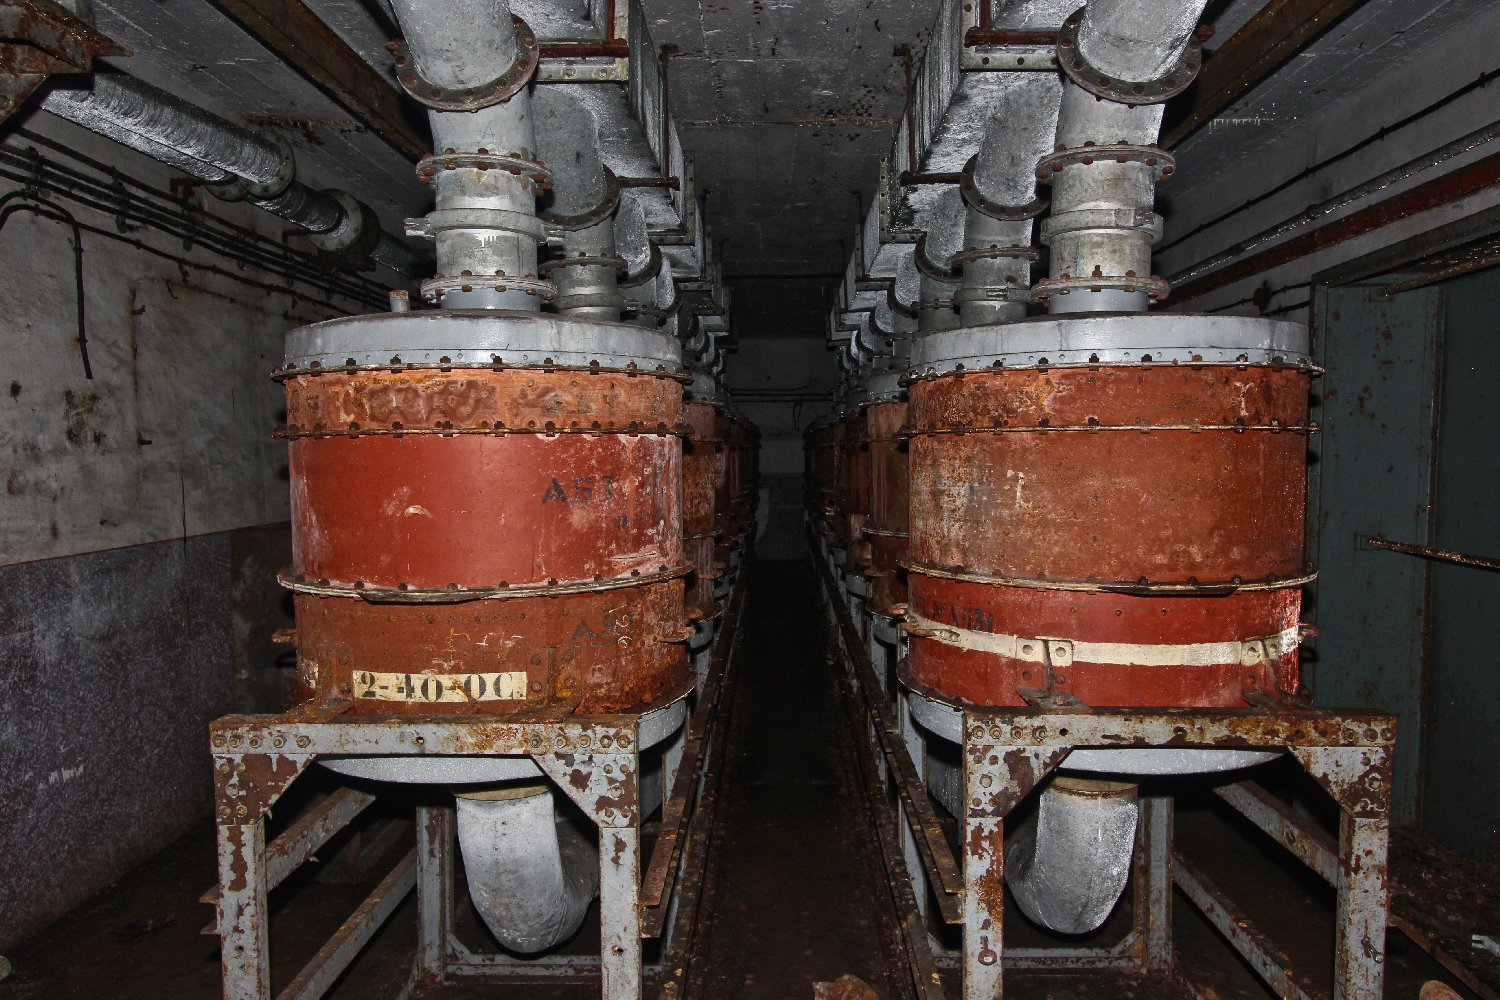
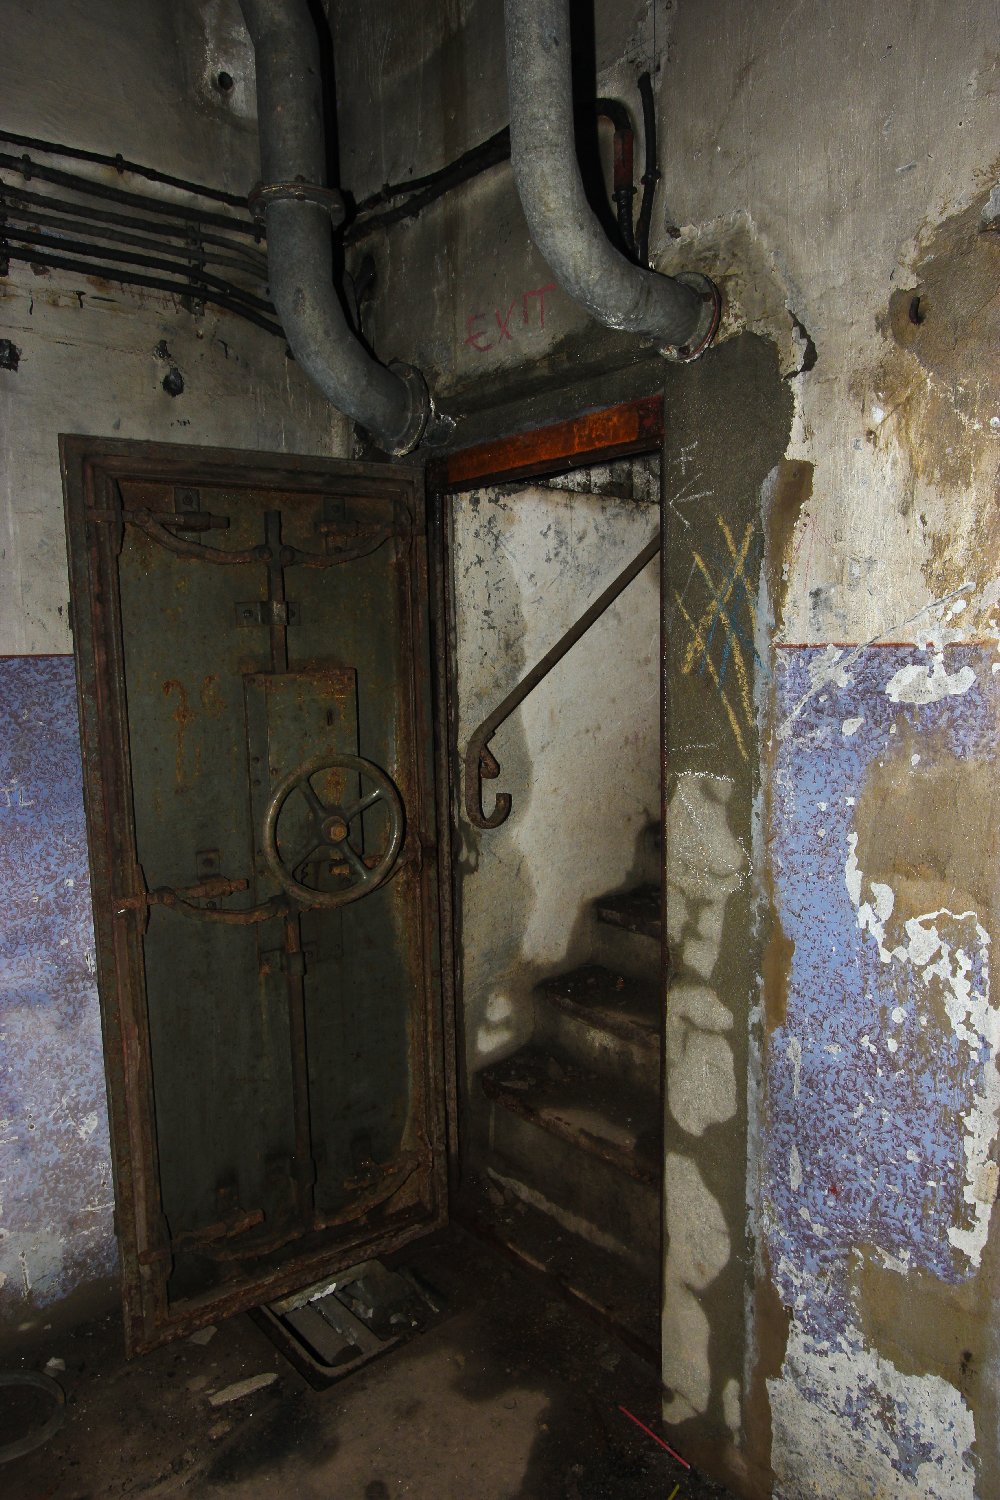
In 1944 during the Lorraine Campaign the allied armies attacked sections of the Line which had been 'turned around' by the Germans however in this sector only Hackenberg was occupied as a fighting fort and therefore Mont des Welches was not attacked.

Mont des Welches is in really quite good condition today when compared to many of the other abandoned Maginot positions. There is little in the way of flooding but sadly there has inevitably been a fire or fires, presumably occasioned by the actions of metal thieves cutting the armour from the power cables with Stihl saws or the like in order to get at the copper. These cables were insulated with cloth and of course it only takes one spark to cause a smouldering time bomb which will erupt sooner rather than later. There was a lot of discolouration to the ceilings in one section of the fort and the ammunition entrance was also rather smoke blackened in places. The kitchen is still almost completely equipped and the fighting block we entered (Bloc 1) still had its mortars in place in the turret. The usine however has seen some serious salvage work at some time, in all likelihood by owners of other Maginot Line forts looking for spare parts for their own generators and engines.


Below is a selection of the photographs we took in and around the Gros Ouvrage Mont Des Welches in May, 2013.

To view any of the photographs in a far bigger size then click on the image of your choice and it will open in a new window.

Click right on the BACK button if you wish to return to our urb-ex site front page... 


The photographs on this website MAY NOT BE USED WITHOUT THE EXPRESS PERMISSION of the website author...


The dense woodland over most of the Line ouvrages means you almost literally bump into the above ground constructions before you see them!


A view of part of the EM (entree munitions) block where an earth banking has been bulldozed up against it to prevent entry.


...and we're in!


Behind the EM entrance gates.


The 60 cm gauge light railway runs in to the fort and down to the fort floor via a steep incline situated beyond these blast doors.
 

A machine gun would have protected this entrance through this armoured crenel.
 

The personnel door to the side of the railway door.
 

First view of the incline disappearing into inky blackness!
 

Part way down the incline with the bottom in sight now.
 

At the bottom of the incline looking back up.


Another machine gun crenel protects the bottom of the incline.


This appears to be a sand bunker for the extinguishing of incendiary devices.
 

Personnel benches line the walls of many of the myriad crossing corridors situated near the usine.
 

Parts of a generator dumped in a crossing corridor.

 
The usine is quite badly stripped now.


TJ examines one of the submarine style diesel engines which drove the generators.
 

The open construction of these engines allows them to be worked on even when they are running.
 

Colour coded feed pipes - a first time sight for us so far!


A 'doo-hickey' in the usine!


We think that this was one of the large transformers used to drop the external grid electricity feed down to operating voltage for the ouvrage.
 

This is possibly a single stage compressor used to fill the storage cylinders with compressed air which were used to start the generator drive engines.
 

A workshop area behind the usine.


Another machine gun position protecting the ouvrage's gare (railway tunnel).
 

Yet another of the myriad interconnecting corridors in the caserne barracks).
 

'Cuisine' - the kitchens.
 

An electrically heated oven.
 

The cuisine power distribution and breaker system.
 

TJ examines the range in cuisine.


It has not taken very long for the damp atmosphere down here to rust everything though this is definitely one of the better preserved ranges we have seen.
 

Le temps de manger. Et qu'est-ce qui vous tente parmi notre vaste menu aujourd'hui ma chère?


Benches against the wall outside the cuisine.
 
These are rather basic eating arrangements!
 
A large washing trough - for plates etc or for ablutions?
 

Back in the gare now, here we can see the manually operated 'points' to direct the carriages along the 60cm railway tracks.
 

A room - purpose unknown, but it looks like a store of some sort.

 
I couldn't agree more!


We are about to enter a fighting block via heavy blast doors. Note the ventilation pipe running overhead.
 

Access up to the block for the average poilu involved climbing stairs unless you were going up in the lift with equipment.
 
The paint on the walls is in really good shape throughout much of GO Mont des Welches because it is relatively dry.
 
Almost there now!


This manually operated winch runs a cable out to the central shaft of the stairwell we have just ascended...
 

...the overhead pulley system for the winch we have just seen.


More gas tight blast doors open onto the bottom level of fighting block 1.
 

The base of the mortar turret.

 
The swivel mechanism for the turret.


What appears to be a universal joint on the bottom of the turret where the raising and lowering mechanism meets the eclipse mechanism.
 

The counter-balanced see-saw beam mechanism which allows the heavily armoured turret to raise and lower easily despite its enormous weight.
 

Fume extraction. The fighting blocks relied upon a positive air pressure inside to prevent the ingress of poison gas but fumes from the weapons still had to be extracted.
 

The gun loaders/layers accessed the turret up this narrow ladder and through an incredibly tight entry hatch.
 

Detail of the turret's electrical supply and control.


The turret commander's station. Note the stereoscopic periscope eye pieces and the red speaking tube.


The way up! Note how tight the access hatch is!


The right hand mortar barrel and recoil mechanism.

 
Fume extraction above the twin mortar recoil mechanisms.


A slightly better view of the right hand mortar of the pair in this turret. The actual mortar barrel is the lower one of the two tubes visible here.
 

The crew access ladder to the adjacent observation turret dome.


Huge activated carbon filters to extract poison gas from the incoming air supply for the block.


Bunks for the block's duty crew.


This particular block was slightly unusual in that it is accessed part way by an inclined staircase before the more usual staircase and landings arrangement normally encountered in the Line.
 

...and here they are!


Back at floor level again now and moving on towards another fighting block floor level entrance.


Here you can see clearly the overhead railway system used to move artillery ammunition into the lift up to the fighting compartments of the block.
 

The M2 magazine near the block ammunition lift.


The overhead ammo handling railway tracks run into the magazine as one might expect.
 

This corridor by the M2 magazine also has an overhead ammo railway. I suspect it is an armourer's workshop.
 

First sight of the flooded ammo lift on this block.

 
The water in the lift buffer pit is a lovely deep green!
 

Another fascinating view of the flooded lift buffer pit.
 

The water is probably 5 or 6 feet deep!
 

One of so many doo-hickeys and wots-its we found randomly scattered about the ouvrage!


Clear evidence of a fire on the ceiling of this magazine.


A large chamber - purpose unknown. It is unlikely to be  amagazine as there is no overhead railway and no evidence of their ever having been one.
 

Probably another compressor but this time it is complete with its donkey engine in place.
 

Off along the gare again.


As the gare narrows a guard room with a machine gun emplacement protects the corridor.
 
Duty detail's bunk room.


The gare widens periodically to allow trucks to pass each other on the 60cm railway.
 

We are back at the ammo incline again now after enjoying a great morning of exploration.
 

More poisonous gas filters up by the munitions entrance.

Another blast door so reminiscent of being on board a fighting ship.

Almost out now, TJ squeezes through a muddy hole in the wall.


CLICK ABOVE to return to our urb-ex site main page...