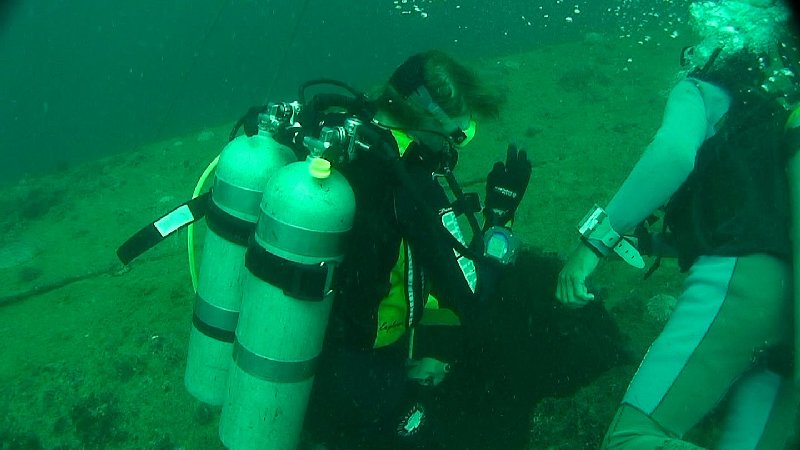
|
This ship really is a
mega-pleasure to dive in so many ways and it is very famous too... so famous
in fact that it's even possible to buy an "Airfix" type model kit of her - I
managed to get one mail ordered to me from America although I haven't built
it yet twelve months on - I'm a bit too ham fisted these days so Tracy is
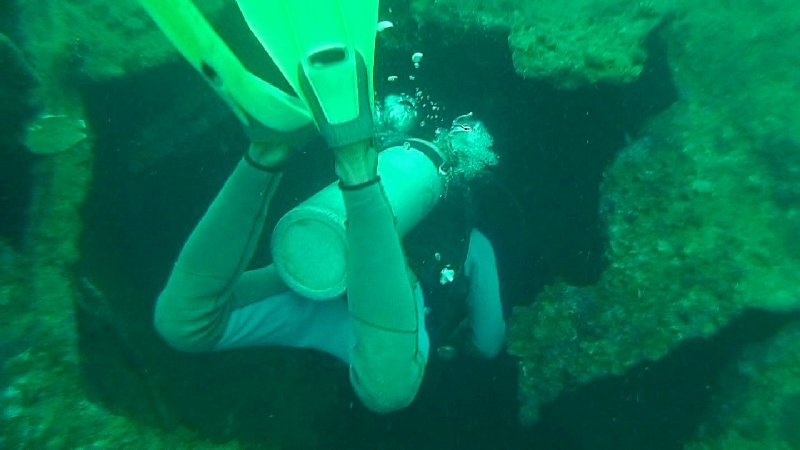
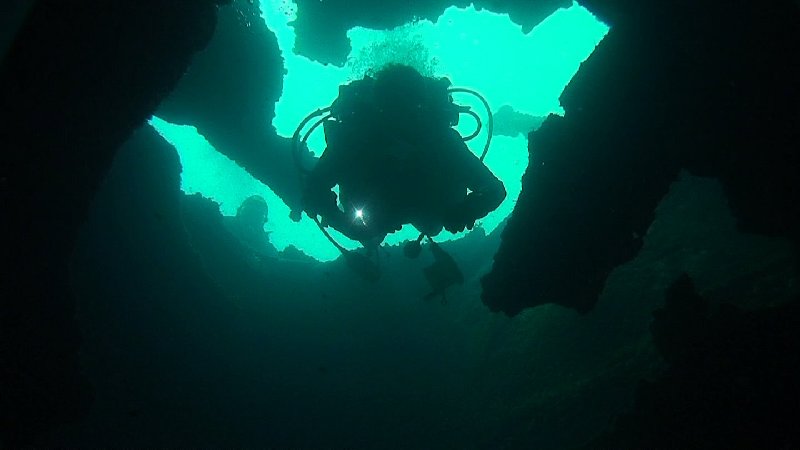
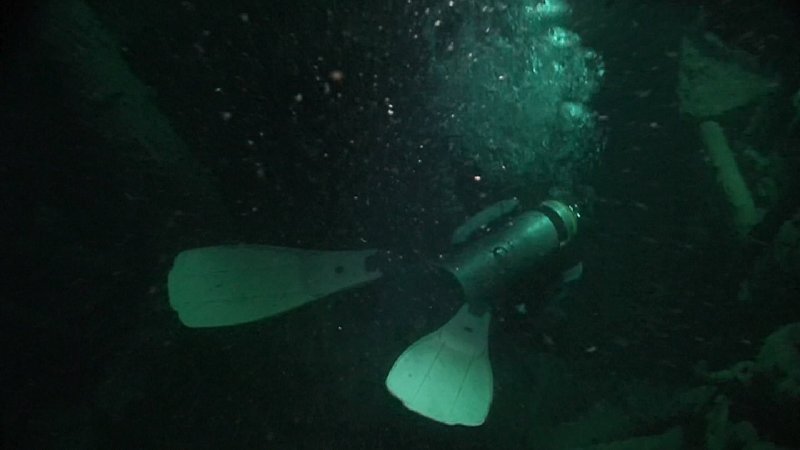
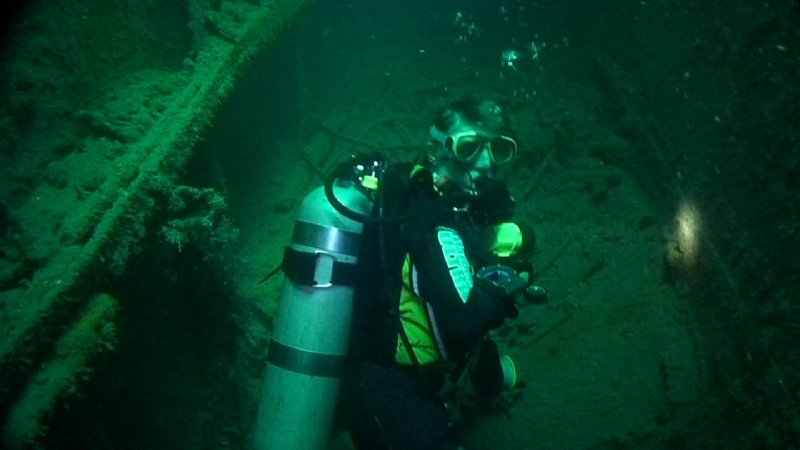
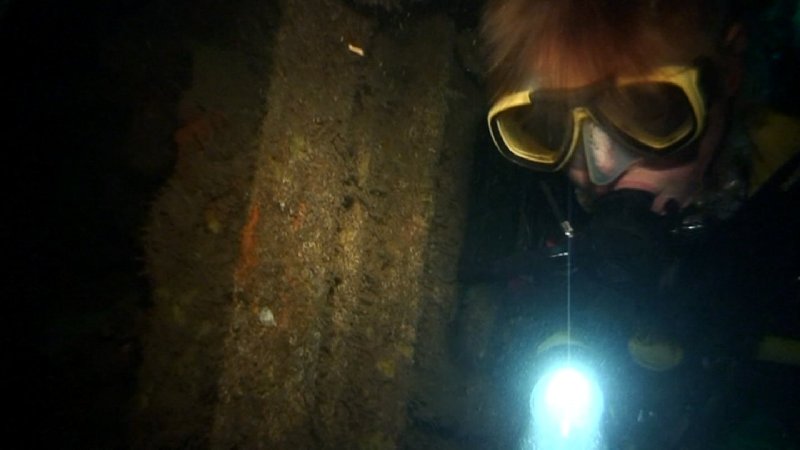
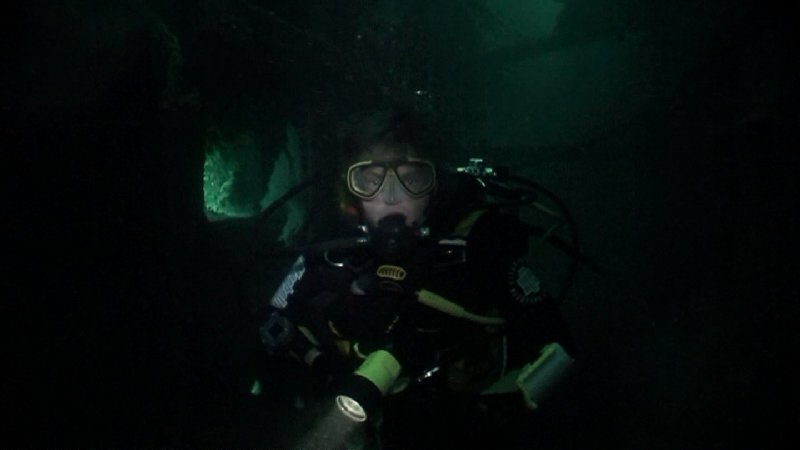
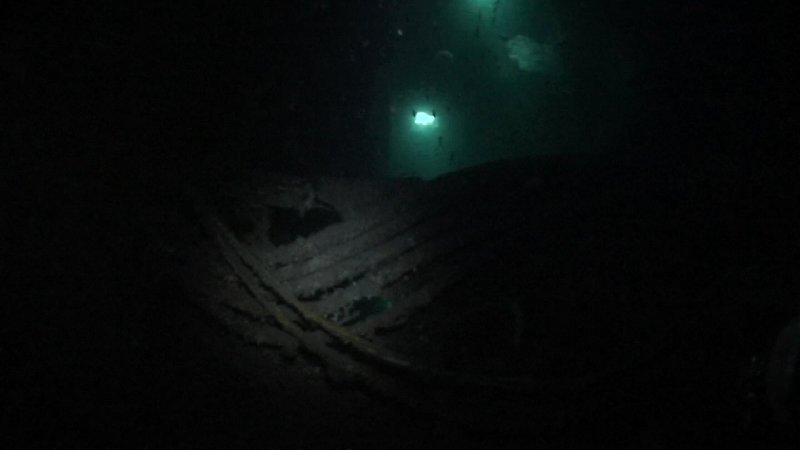
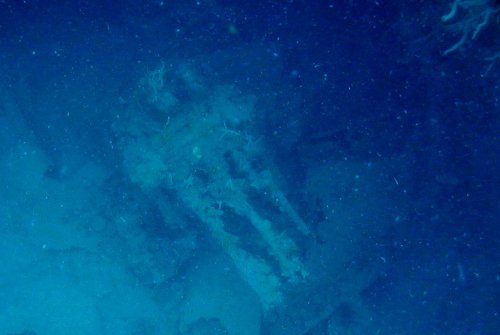
going to give it a go instead!!! The down side to the Akitsushima is that
she is a pig to get any decent photographs on, in or around due to
relatively poor visibility externally, and the extreme darkness when you are
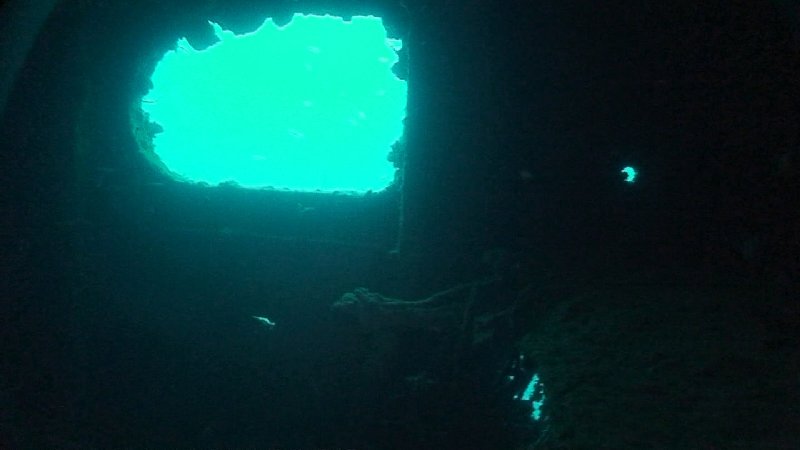
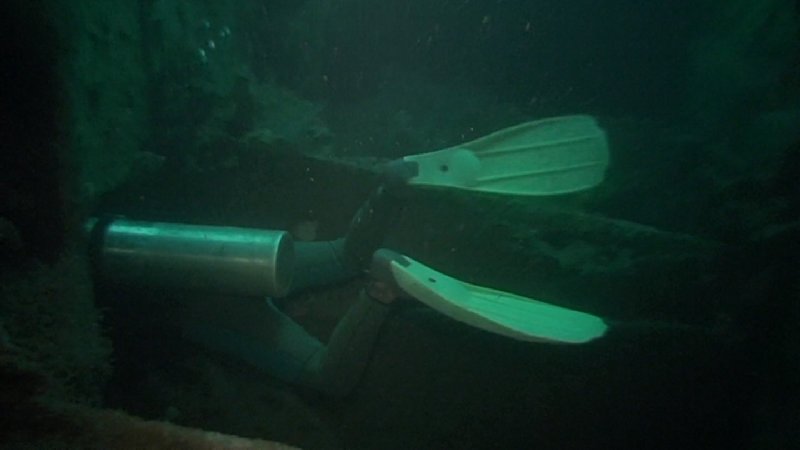
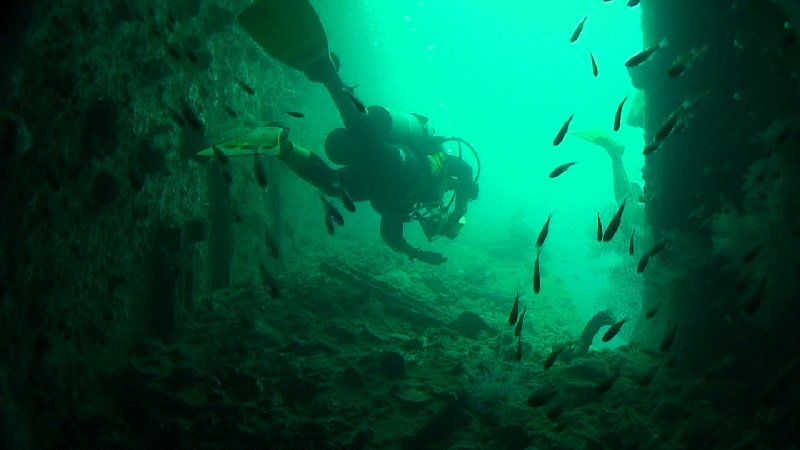
inside her. That said the excitement of swimming through this ship is
intense because she is tight and the corridors meander every which way.
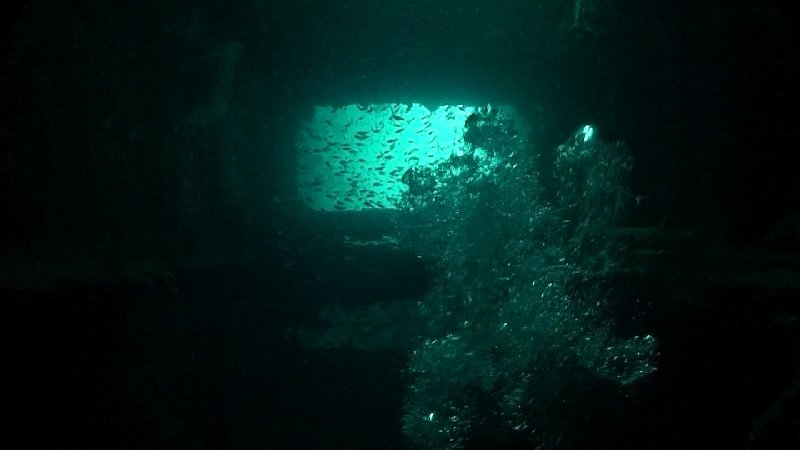
Numerous bomb damage holes in the hull allow sun light through but due to
the depth of the wreck the intense shafts of light are always green giving
an amazing contrast to the darkness. In places the "wall" alongside you will
be buckled and twisted with huge holes in the steel. It takes you a while to
realise why and then the penny will drop. You are actually looking at the
floor because the wreck lies on it's port side, and the torn steel shows
where an American bomb has entered through the hull of the ship and then
detonated below the floor of the deck level you are swimming along bursting
the steel deck upwards into your level. Imagine the horror of being a sailor
or airman trapped inside the ship with bombs detonating all around you,
waiting for the one that will come just that bit too close.
 Built narrow and sharp like a
destroyer, but long at 118 metres, she was clearly meant to be fast. Her
diesel engines are enormous - they take up most of the engine room space and
leave very little room for you to swim through - and the very choice of that
form of propulsion rather than the more common coal or oil fired steam
turbines of the time shows that responsiveness
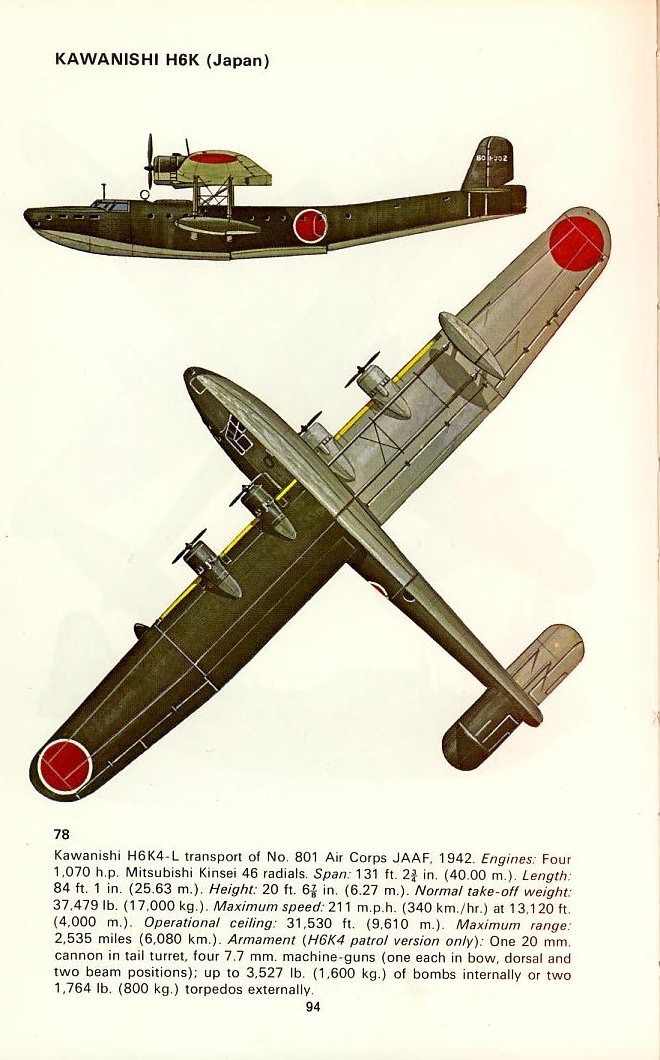
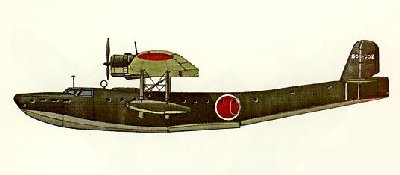
and huge power were clearly required. Akitsushima was in effect the eyes of
the Japanese fleet. She carried a huge Kawanishi flying boat which in terms
of size was very similar to our own Short Sunderland and if you are
interested in such things you may read the technical data on the flying boat
and see a full illustration by clicking the small photograph above right.
With her speed Akitsushima could run ahead of the rest of the fleet and fly
her Kawanishi off to reconnoitre as far as 1000 miles further still. The
name Akitsushima was given to several ships throughout the years much as the
British navy has had several Ark Royals right back to the time of Henry
VIII. There was actually a cruiser with the name Akitsushima too. This
seaplane tender with such an illustrious name was built in 1939 and launched
in 1940 and was actually supposed to have been one of three with larger and
smaller sister ships, but I cannot find any record of whether they were
actually built. She was initially attacked at Truk Lagoon during Operation
Hailstorm but she crept away under cover of darkness and was repaired in
Manila before moving down to Coron Bay where she ultimately met her end.
Akitsushima, Irako and the two submarine chasers are the fighting ship
contingent sunk during the attacks, all the other ships in and around the
islands were supply freighters. However although the Irako was a Japanese
navy ship she was not actually a true fighting ship because her purpose was
to bring supplies and food and prepare it for the soldiers landed at a beach
head whilst sitting off shore. Given then that the two gunboats were not
ships by virtue of their size this actually means that the Akitsushima has
the distinction of being the only true fighting ship sunk in Coron Bay. Built narrow and sharp like a
destroyer, but long at 118 metres, she was clearly meant to be fast. Her
diesel engines are enormous - they take up most of the engine room space and
leave very little room for you to swim through - and the very choice of that
form of propulsion rather than the more common coal or oil fired steam
turbines of the time shows that responsiveness
and huge power were clearly required. Akitsushima was in effect the eyes of
the Japanese fleet. She carried a huge Kawanishi flying boat which in terms
of size was very similar to our own Short Sunderland and if you are
interested in such things you may read the technical data on the flying boat
and see a full illustration by clicking the small photograph above right.
With her speed Akitsushima could run ahead of the rest of the fleet and fly
her Kawanishi off to reconnoitre as far as 1000 miles further still. The
name Akitsushima was given to several ships throughout the years much as the
British navy has had several Ark Royals right back to the time of Henry
VIII. There was actually a cruiser with the name Akitsushima too. This
seaplane tender with such an illustrious name was built in 1939 and launched
in 1940 and was actually supposed to have been one of three with larger and
smaller sister ships, but I cannot find any record of whether they were
actually built. She was initially attacked at Truk Lagoon during Operation
Hailstorm but she crept away under cover of darkness and was repaired in
Manila before moving down to Coron Bay where she ultimately met her end.
Akitsushima, Irako and the two submarine chasers are the fighting ship
contingent sunk during the attacks, all the other ships in and around the
islands were supply freighters. However although the Irako was a Japanese
navy ship she was not actually a true fighting ship because her purpose was
to bring supplies and food and prepare it for the soldiers landed at a beach
head whilst sitting off shore. Given then that the two gunboats were not
ships by virtue of their size this actually means that the Akitsushima has
the distinction of being the only true fighting ship sunk in Coron Bay.
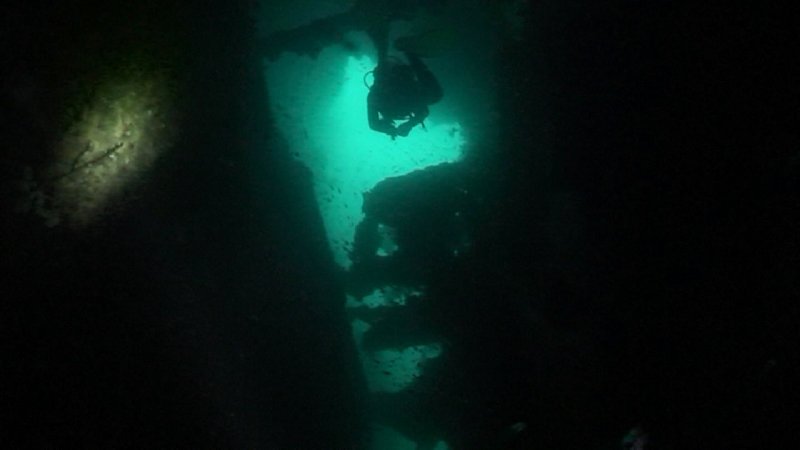
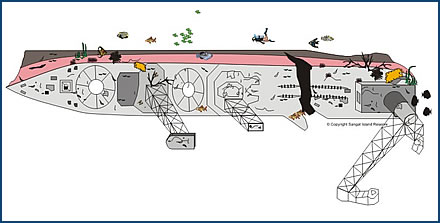 Despite
the fact that she was sunk during an intensive bombing attack by several
waves of American aircraft she is still
remarkably intact. Although the damage to her is extensive it is abundantly clear that
MOST of the bombs that actually fell on target punched holes in her
steel plate and caused immense internal disruption but without ultimately
cause her demise. At the stern of the ship though it is immediately obvious
what did eventually sink her. A huge rent in the deck allows easy entry to
the winch room of the ship and the deck, the hull and the keel are so badly
torn that it's a wonder the stern did not actually drop off, especially in
view of the weight of the crane and the huge winch reels below the deck. The
artist's impression of the wreck now which you can see to the left captures
it fairly well. A bomb has clearly penetrated her at this point and
exploded, perhaps taking up fuel or munitions situated in this area, and
caused catastrophic damage which she could never have survived. It is likely
that the flying boat was on the deck at the time however the explosion
clearly totalled the lightly built aircraft because nothing remains of it
apart from one small fragment of an engine cowling about 18 inches long. Despite
the fact that she was sunk during an intensive bombing attack by several
waves of American aircraft she is still
remarkably intact. Although the damage to her is extensive it is abundantly clear that
MOST of the bombs that actually fell on target punched holes in her
steel plate and caused immense internal disruption but without ultimately
cause her demise. At the stern of the ship though it is immediately obvious
what did eventually sink her. A huge rent in the deck allows easy entry to
the winch room of the ship and the deck, the hull and the keel are so badly
torn that it's a wonder the stern did not actually drop off, especially in
view of the weight of the crane and the huge winch reels below the deck. The
artist's impression of the wreck now which you can see to the left captures
it fairly well. A bomb has clearly penetrated her at this point and
exploded, perhaps taking up fuel or munitions situated in this area, and
caused catastrophic damage which she could never have survived. It is likely
that the flying boat was on the deck at the time however the explosion
clearly totalled the lightly built aircraft because nothing remains of it
apart from one small fragment of an engine cowling about 18 inches long.
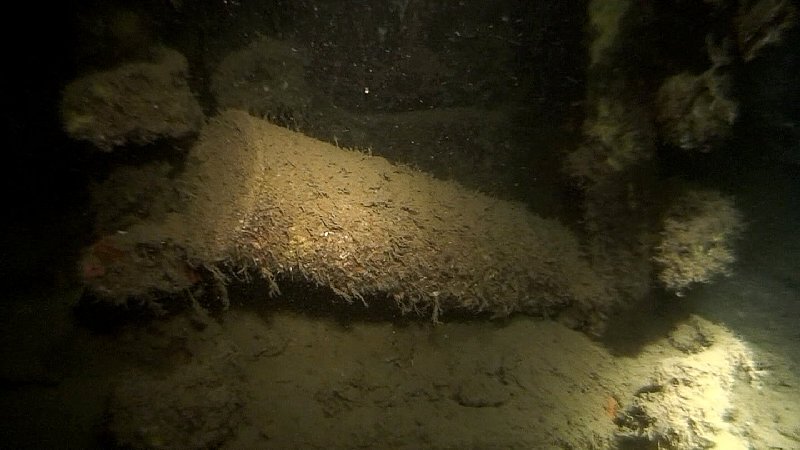
The winches are quite something to behold, after all the weight of the
flying boat must have been appreciable, and so it needed serious gear to
lift it out of the water and swing it back across onto the deck.
 There
are two huge geared drums with the cable still in place heading off towards
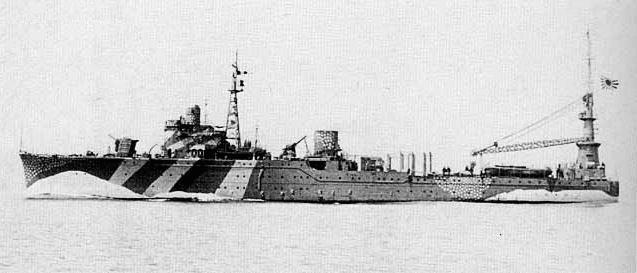
the crane tower above the deck. The crane itself is enormous and as can be
seen on the old photograph at the top of the page it comprised a tower and
an arm. The tower lies straight out from the ship across the seabed and it
is most likely that it's weight acted as a lever and pulled the Akitsushima
over almost upside down as she sank before the crane would have impacted
with the seabed below and partially righted her so that she finished up
lying on her port side. The crane was obviously very sturdily built as it
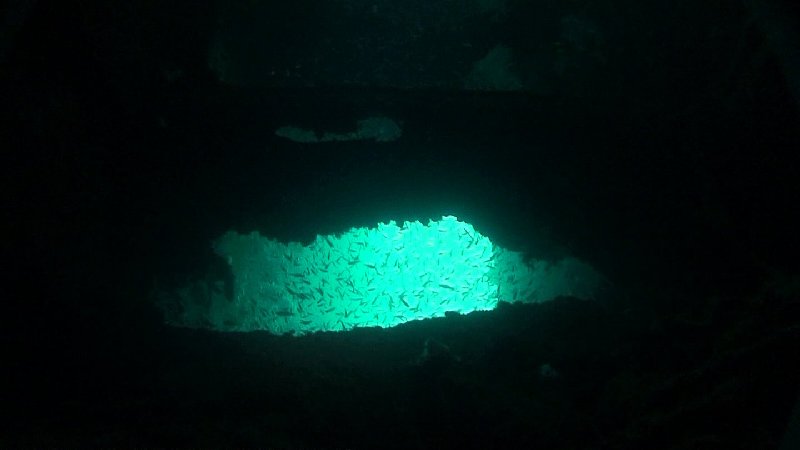
shows no deformation despite the ship's chaotic demise. Beneath the crane a
large shoal of batfish have made their home and they welcome the diver as he
or she approaches the wreck entry point adjacent to the triple barrelled AA
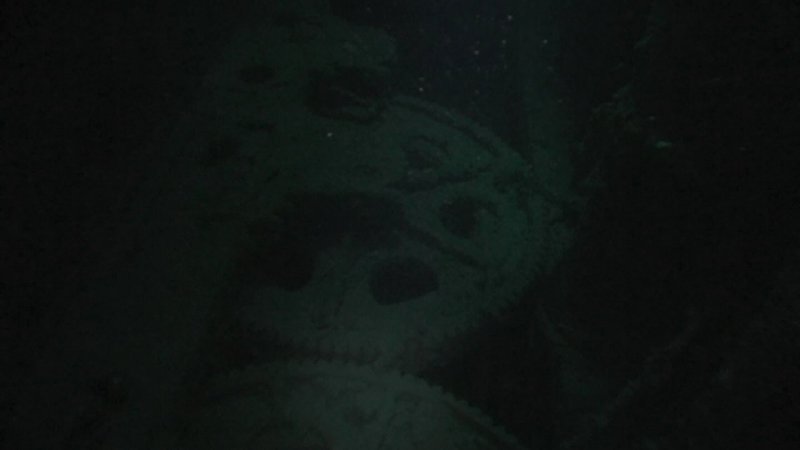
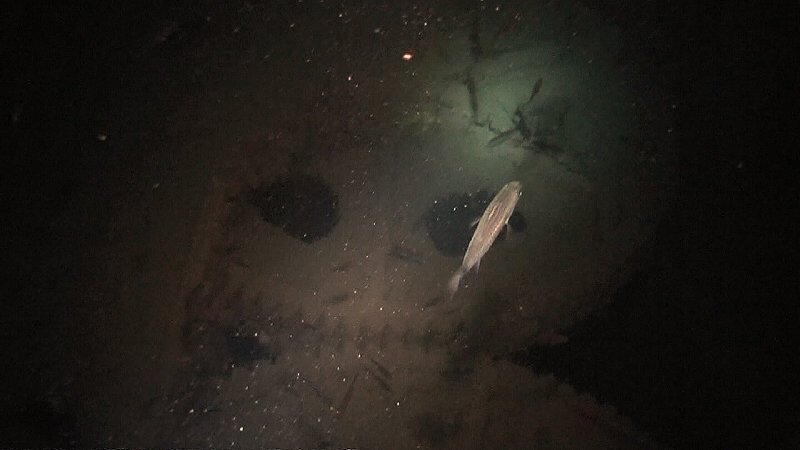
gun installation. Within the ship it is possible to swim into the magazine
and two or three shells, which I estimate at 5" calibre or thereabouts, have
fallen out of the ammunition lift and are scattered about the room. One
still lies in the silt half in and half out of the spiral lift mechanism. A
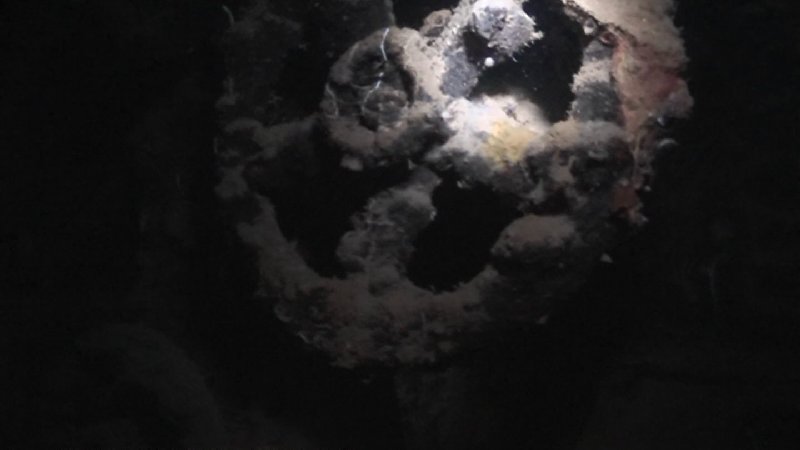
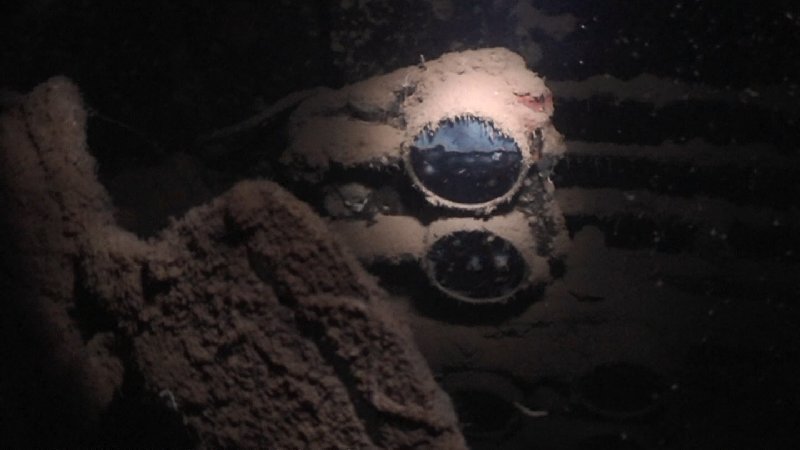
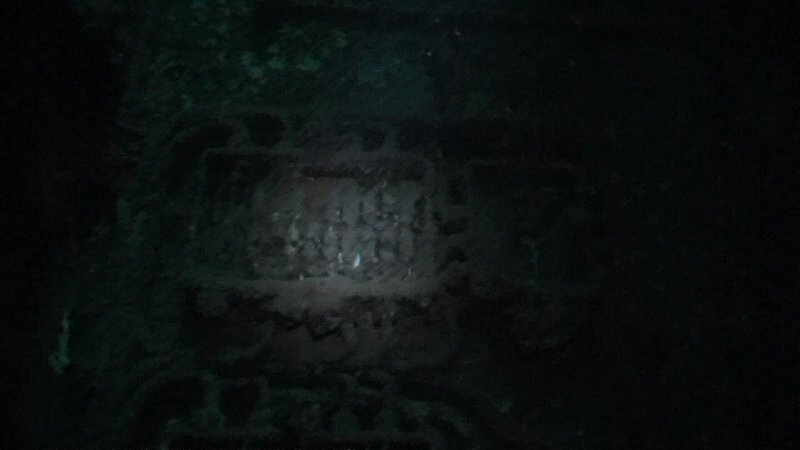
further "must-see" area is the diesel engine control room. A narrow shaft
drops down into the depths of the ship - in reality a transverse corridor -
at the bottom of which numerous control gauges are to be found, some with
their glass still intact. Cables run the length of the ships corridors and
terminate in a switch room on contact bus bars on the bulkheads and in
places porcelain insulators can still be seen carrying their high tension
cables. There
are two huge geared drums with the cable still in place heading off towards
the crane tower above the deck. The crane itself is enormous and as can be
seen on the old photograph at the top of the page it comprised a tower and
an arm. The tower lies straight out from the ship across the seabed and it
is most likely that it's weight acted as a lever and pulled the Akitsushima
over almost upside down as she sank before the crane would have impacted
with the seabed below and partially righted her so that she finished up
lying on her port side. The crane was obviously very sturdily built as it
shows no deformation despite the ship's chaotic demise. Beneath the crane a
large shoal of batfish have made their home and they welcome the diver as he
or she approaches the wreck entry point adjacent to the triple barrelled AA
gun installation. Within the ship it is possible to swim into the magazine
and two or three shells, which I estimate at 5" calibre or thereabouts, have
fallen out of the ammunition lift and are scattered about the room. One
still lies in the silt half in and half out of the spiral lift mechanism. A
further "must-see" area is the diesel engine control room. A narrow shaft
drops down into the depths of the ship - in reality a transverse corridor -
at the bottom of which numerous control gauges are to be found, some with
their glass still intact. Cables run the length of the ships corridors and
terminate in a switch room on contact bus bars on the bulkheads and in
places porcelain insulators can still be seen carrying their high tension
cables.
So all in all then the Imperial
Japanese Navy Ship Akitsushima is one hell of a dive and must be one of our
top ten wrecks worldwide. Given that the Taiei Maru and the Kyokuzan Maru
are also in our top ten then that should give you some idea of why Coron is
a must dive place for any serious wreckie! We first dived her in January
2007 however we returned in the July of the same year and got some far
better photographs within the wreck, so hopefully you will enjoy these now
as much as we enjoyed taking them.
|
|
Don't forget that if you wish to see a larger version of any of
the images below all you have to do is click the relevant thumbnail and it
will open a new window displaying a much bigger version of the
photograph. Don't |
|
|